
将jupyter notebook通过nginx代理
最近要学习数据分析,就需要一个jupyter notebook环境,由于不想在公司和家里的环境来回切换,正好有台公网服务器,就将jupyter notebook部署到服务器上,然后通过nginx代理处理。期间踩了好多坑,现记录如下。
一、安装jupyter notebook
pip3 install jupyter
二、配置jupyter
1、配置jupyter登录密码
由于token随时会变,因此使用密码登录
jupyter notebook password
将哈希过的密码默认写入了/root/.jupyter/jupyter_server_config.json
# 具体形式如下:
{
    "IdentityProvider": {
    "hashed_password": "argon2:$argon2id$v=19$m=10240,t=10,p=8$vMxxxvXYdj400Lrdxxxxxxxxxxxxxxxxxxxxxxxxxxxxx2cvQhuqx29xxx2C38XiA"
  }
}
2、生成jupyter配置文件
配置文件生成路径为:/root/.jupyter/jupyter_notebook_config.py
jupyter notebook --generate-config
并修改如下参数:
c.ServerApp.allow_origin = '*'    # 允许跨域
c.ServerApp.allow_remote_access = True    # 允许远程访问,这项配置必须配置,即使是使用了反向代理。
c.ServerApp.allow_root = True    # 允许root启动jupyter
c.ServerApp.open_browser = False    # 是否启动之后自动在浏览器加载jupyter服务。因为在服务端,因此不自动加载。
c.ServerApp.password = u'argon2:$argon2id$v=19$m=10240,t=10,p=8$vMxxxvXYdj400Lrdxxxxxxxxxxxxxxxxxxxxxxxxxxxxx2cvQhuqx29xxx2C38XiA'    # 将生成的经过哈希的密码放这里。要注意前面的u
c.ServerApp.port = 8888    # 指定服务端要启动的端口
三、配置nginx代理
upstream jupyter {
     server 127.0.0.1:8888;
}

server {
    listen 80;
    server_name www.xxx.love xxx.love;

    location / {
        proxy_pass            http://jupyter;
        proxy_set_header      Host $host;

        # websocket 配置
        proxy_http_version    1.1;
        proxy_set_header      Upgrade "websocket";
        proxy_set_header      Connection "Upgrade";
        proxy_read_timeout    86400;
    }
}
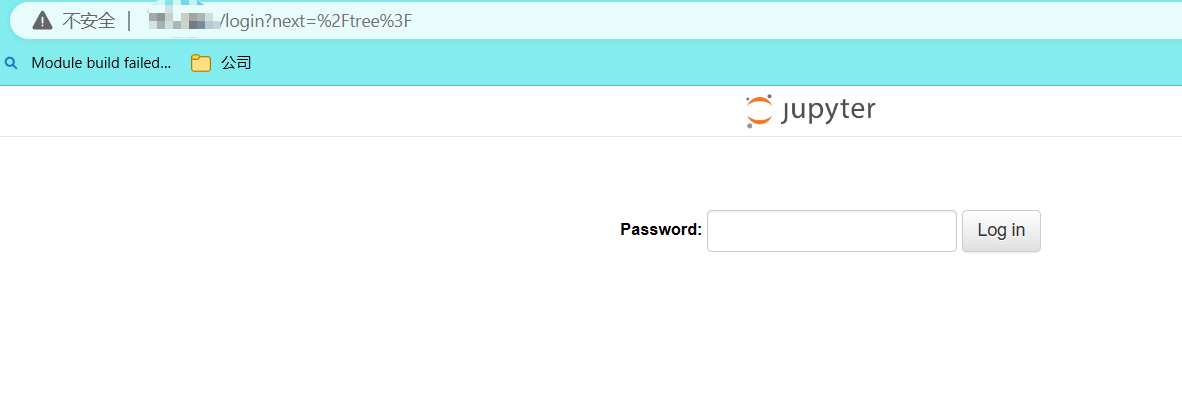
四、搞定

 浙公网安备 33010602011771号