electron教程4-发布与更新
官方文档:https://www.electronjs.org/zh/docs/latest/tutorial/tutorial-first-app
一、搭建electron项目
1.首先初始化项目 npm init
npm init
2.安装对应依赖
//electron
npm install  electron --save-dev
//升级工具
npm install electron-updater --save
//打包工具
npm install electron-builder --save-dev
二、配置builder以及update操作
1.更改配置package.json


{
  "name": "yj_oa",
  "version": "1.0.2",
  "description": "酉玖OA",
  "main": "main.js",
  "scripts": {
    "test": "echo \"Error: no test specified\" && exit 1",
    "start": "electron .",
    "build": "electron-builder --win --x64"
  },
  "author": "",
  "license": "ISC",
  "build": {
    "productName": "酉玖OA",
    "appId": "com.makek.app",
    "directories": {
      "output": "dist"
    },
    "asar": false,
    "win": {
      "icon": "./logo.ico",
      "target": [
        "nsis"
      ]
    },
    "nsis": {
      "installerIcon": "./logo.ico",
      "uninstallerIcon": "./logo.ico",
      "uninstallDisplayName": "卸载",
      "oneClick": false,
      "allowToChangeInstallationDirectory": true,
      "allowElevation": true,
      "createDesktopShortcut": true,
      "artifactName": "${productName}_${version}.${ext}",
      "shortcutName": "酉玖OA"
    },
    "publish": [
      {
        "provider": "generic",
        "url": "http:/xxxxxxx.com/download/exe/"
      }
    ]
  },
  "devDependencies": {
    "electron": "latest",
    "electron-builder": "^23.6.0",
    "electron-packager": "^17.1.1",
  "electron-updater": "^5.3.0"
  },
  "dependencies": {
    "electron-updater": "^5.3.0"
  }
}
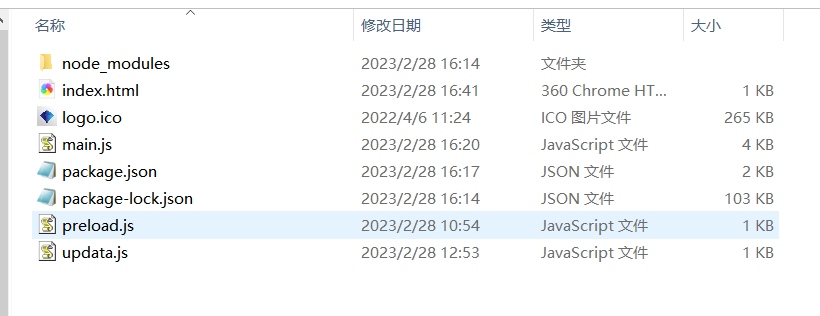
2.根目录创建main.js文件
const {app, BrowserWindow, Menu, ipcMain} = require('electron')
const { autoUpdater } = require('electron-updater')
const path = require('path')
const url = require('url')
// 创建全局变量并在下面引用,避免被GC
let win

function createWindow () {
    // 创建浏览器窗口并设置宽高
    win = new BrowserWindow({
        width: 460,
        height: 780,
        webPreferences: {
          nodeIntegration:true,
          contextIsolation: false,
          preload: path.join(__dirname, 'preload.js'),//后端js
        },
    })

    /*隐藏electron创听的菜单栏*/
    //--下面一句放开之后f12不可以用
    // Menu.setApplicationMenu(null)

    // 加载页面
    // win.loadFile('./index.html')
    win.loadURL(url.format({

      pathname: path.join(__dirname, 'index.html'),
      protocol: 'file:',
      slashes: true,
    }))

    // 打开开发者工具
    // win.webContents.openDevTools()

    // 更新
    updateHandle()

    // 添加window关闭触发事件
    win.on('closed', () => {
        win = null  // 取消引用
    })
}

// 初始化后 调用函数
app.on('ready', createWindow)
// 当全部窗口关闭时退出。
app.on('window-all-closed', () => {
   // 在 macOS 上,除非用户用 Cmd + Q 确定地退出,
   // 否则绝大部分应用及其菜单栏会保持激活。
   if (process.platform !== 'darwin') {
        app.quit()
   }
})

app.on('activate', () => {
// 在macOS上,当单击dock图标并且没有其他窗口打开时,
// 通常在应用程序中重新创建一个窗口。
    if (win === null) {
      createWindow()
    }
})

function updateHandle() {
  //设置更新路径
  autoUpdater.setFeedURL("http:/xxxxx.com/download/exe/");
  console.log("update-url");
  autoUpdater.on('error', function (error) {
       console.log("update-error");
    sendUpdateMessage('检查更新出错')
  });
  autoUpdater.on('checking-for-update', function () {
      console.log("checking-error");
    sendUpdateMessage('正在检查更新')
  });
  autoUpdater.on('update-available', function (info) {
      console.log("download-error");
    sendUpdateMessage('正在下载新版本')
  });
  autoUpdater.on('update-not-available', function (info) {
      console.log("new-error");
    sendUpdateMessage("当前为最新版本")
  });

  // 更新下载进度事件
  autoUpdater.on('download-progress', function (progressObj) {
    win.webContents.send('downloadProgress', progressObj)
  })


    //在更新下载完成的时候触发。
  autoUpdater.on('update-downloaded', function (event, releaseNotes, releaseName,
  releaseDate, updateUrl, quitAndUpdate) {
    console.log('更新完成')
    ipcMain.on('isUpdateNow', (e, arg) => {
      console.log("开始更新");
      autoUpdater.quitAndInstall();
    });

    win.webContents.send('isUpdateNow')
  });

  //通讯渲染层
  ipcMain.on("checkForUpdate",()=>{
      autoUpdater.checkForUpdates();
  })
}

// 通过main进程发送事件给renderer进程,提示更新信息
function sendUpdateMessage(text) {
    console.log(text)
  win.webContents.send('message', text)
}
3.根目录创建preload.js文件
window.addEventListener('DOMContentLoaded', () => {
  const replaceText = (selector, text) => {
    const element = document.getElementById(selector)
    if (element) element.innerText = text
  }

  for (const dependency of ['chrome', 'node', 'electron']) {
    replaceText(`${dependency}-version`, process.versions[dependency])
  }
})
4.根目录创建updata.js文件
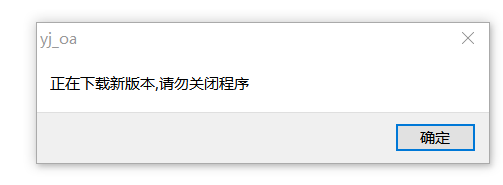
const { ipcRenderer } = require('electron');

//主线程使用mainWindow.webContents.send传输,渲染线程使用ipcRenderer接收
//渲染线程使用ipcRenderer.send传输,主线程使用ipcMain接收

//接收主线程信息
ipcRenderer.on("message", (event, text) => {
    console.log(text)
    if(text=='正在下载新版本'){
        alert('正在下载新版本,请勿关闭程序')
    }
    // this.tips = text;
});

ipcRenderer.on("downloadProgress", (event, progressObj)=> {
    console.log(progressObj)
    // this.downloadPercent = progressObj.percent || 0;
});

ipcRenderer.on("isUpdateNow", () => {
    ipcRenderer.send("isUpdateNow");
});

//主动触发主线程checkForUpdate。。。有需要可改为自动触发
function checkUpdate () {
    ipcRenderer.send("checkForUpdate");
}

checkUpdate()
5.根目录创建index.html文件,主要引入updata.js文件
<!DOCTYPE html>
<html>
  <head>
    <meta charset="UTF-8" />
    <meta
      http-equiv="Content-Security-Policy"
      content="default-src 'self'; script-src 'self'"
    />
    <meta
      http-equiv="X-Content-Security-Policy"
      content="default-src 'self'; script-src 'self'"
    />
    <title>Hello</title>
  </head>
  <body>
    <h1>我是第一版</h1>
    <p id="info"></p>
  </body>
  <!-- 引入主要js -->
  <script src="./updata.js"></script>
</html>
6.将package.json,main.js两个文件的更新目录写上真实域名
7.根目录加入logo.ico文件
8.相关命令
npm run start  //不打包直接运行---测试
npm run build //打包
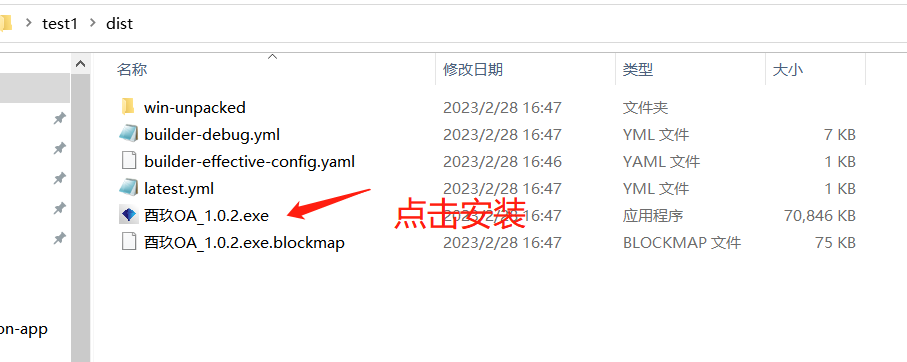
9.执行打包命令
npm run build
多了dist文件夹,运行exe文件安装初版运用
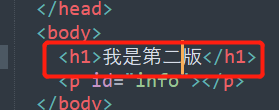
10.修改package.json文件版本号,并修改index.html内容
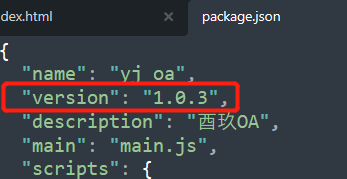
执行打包命令
npm run build
得到第二版文件,将 3个配置升级配置文件,放入你对应的服务器中
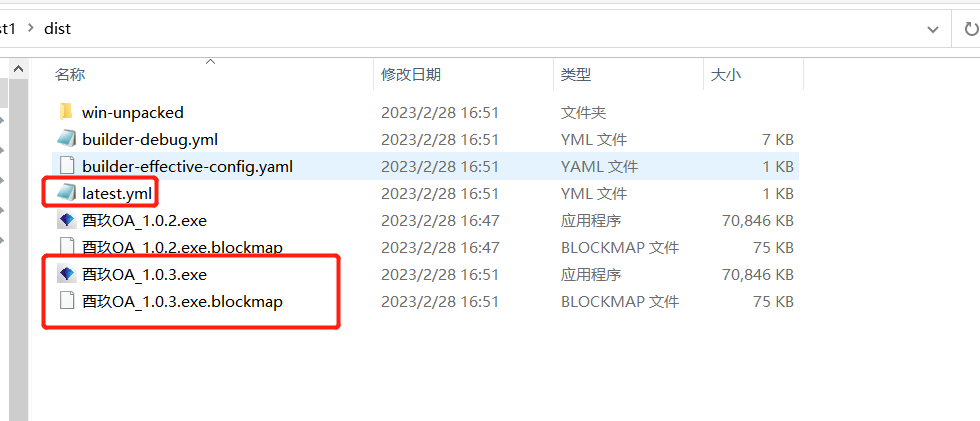
放入服务器更新地址

运行第一版程序查看是否触发更新,并且更新之后内容是否为更新后的内容

 浙公网安备 33010602011771号