Vue cli路由
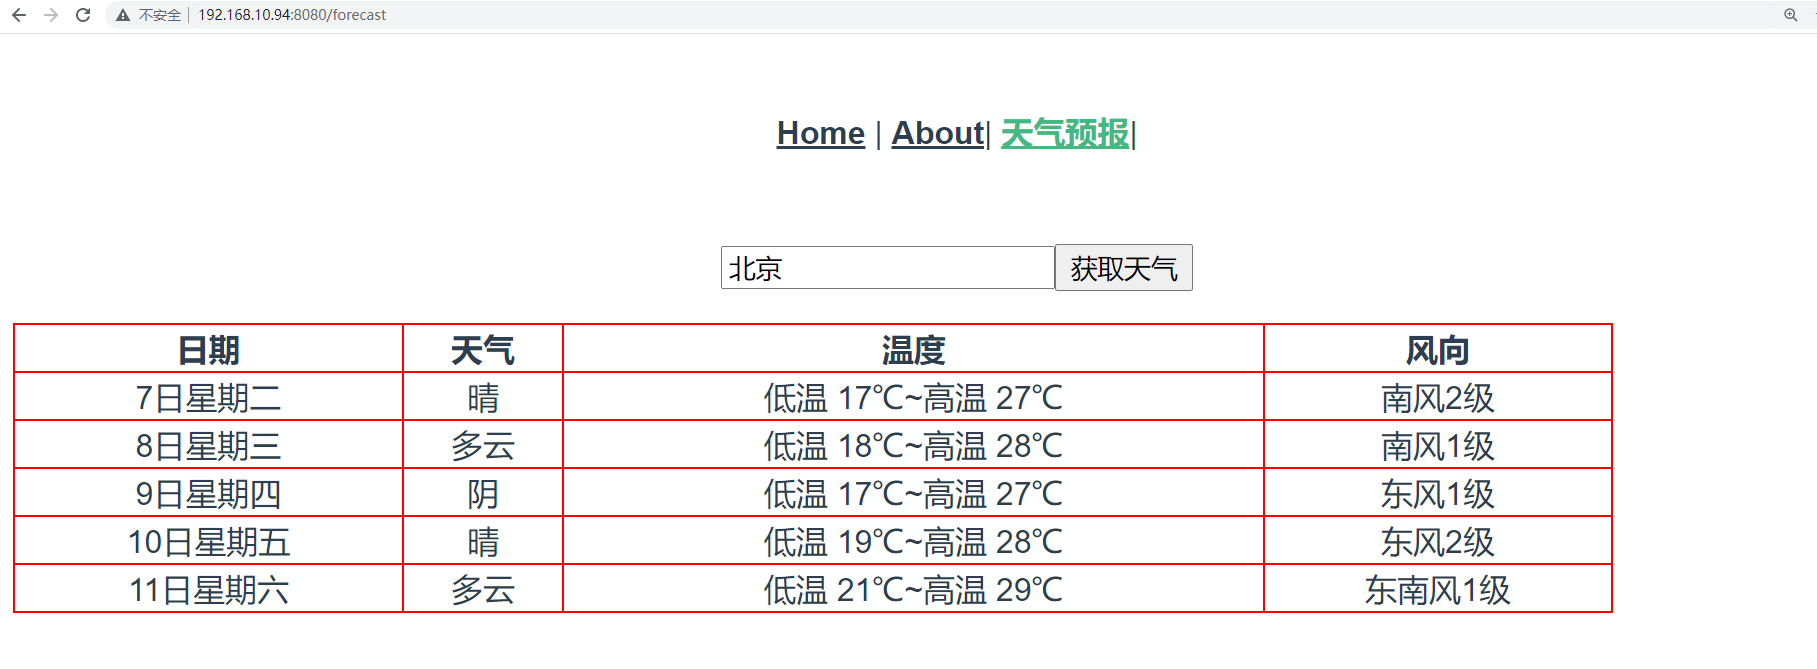
上面是将Forecast组件作为了Home的子组件使用,现在我们将其作为一个路由组件使用。
在router/index.js路由系统注册路由:
1 2 3 4 5 6 7 8 | { path: '/forecast', name: 'Forecast', // route level code-splitting // this generates a separate chunk (about.[hash].js) for this route // which is lazy-loaded when the route is visited. component: () => import(/* webpackChunkName: "about" */ '../components/Forecast.vue') }, |
app.Vue中更新为:
1 2 3 4 5 6 7 8 | <template> <div id="nav"> <router-link to="/">Home</router-link> | <router-link to="/about">About</router-link>| <router-link to="/forecast">天气预报</router-link> </div> <router-view/></template> |
1、路由跳转
vue-router提供了2种写法让我们实现页面跳转。
(1)通过router-link来跳转
正如App.Vue中的使用:
1 2 3 4 5 6 7 8 9 | <template> <div id="nav"> <router-link to="/">Home</router-link> | <router-link to="/about">About</router-link>| <router-link to="/forecast">天气预报</router-link>| </div> <router-view/></template> |
(2)通过this.$router来跳转
1 2 3 4 5 6 7 8 9 10 11 12 13 14 15 16 17 18 19 20 21 22 23 24 25 26 27 28 29 30 31 32 33 34 35 36 37 38 39 40 41 42 43 44 45 46 47 48 49 50 51 52 53 54 | <template> <div id="nav"> <router-link to="/">Home</router-link> | <router-link to="/about">About</router-link>| <router-link to="/forecast">天气预报</router-link>| <a href="" @click.prevent="gohome">Home</a> </div> <router-view/></template><script>export default { name: 'App', // 组件名 data(){ return { user:"root", } }, methods:{ gohome(){ // 页面跳转 if(this.user === "root"){ this.$router.push("/"); // ajax页面跳转到指定的路由地址 // this.$router.back(); // 跳转返回上一页 // this.$router.go(-1); // -1相当于back,后退一页 // this.$router.go(1); // 1表示forward,前进一页 } } },}</script><style>#app { font-family: Avenir, Helvetica, Arial, sans-serif; -webkit-font-smoothing: antialiased; -moz-osx-font-smoothing: grayscale; text-align: center; color: #2c3e50;}#nav { padding: 30px;}#nav a { font-weight: bold; color: #2c3e50;}#nav a.router-link-exact-active { color: #42b983;}</style> |
2、传递参数
vue-router提供了2种用于开发中传递参数的方式给我们使用。
(1)路径参数
url地址的路径作为变量,传递参数到下一个页面组件中进行获取使用。
注册路由:
1 2 3 4 5 6 7 8 | { path: '/article/:year/:month', name: 'Article', // route level code-splitting // this generates a separate chunk (about.[hash].js) for this route // which is lazy-loaded when the route is visited. component: () => import(/* webpackChunkName: "about" */ '../components/Article.vue') }, |
创建Article.vue:
1 2 3 4 5 6 7 8 9 10 11 12 13 14 15 16 17 18 19 20 21 22 23 24 25 | <template> <h3> 查询{{year}}年{{month}}的系列文章 </h3></template><script>export default { name: "Article", data(){ return { year: 0, month: 0, } }, created() { this.year = this.$route.params.year; this.month = this.$route.params.month; }}</script><style scoped></style> |
最后在App.Vue中添加:
1 | <router-link to="/article/2000/12">文章列表</router-link>| |

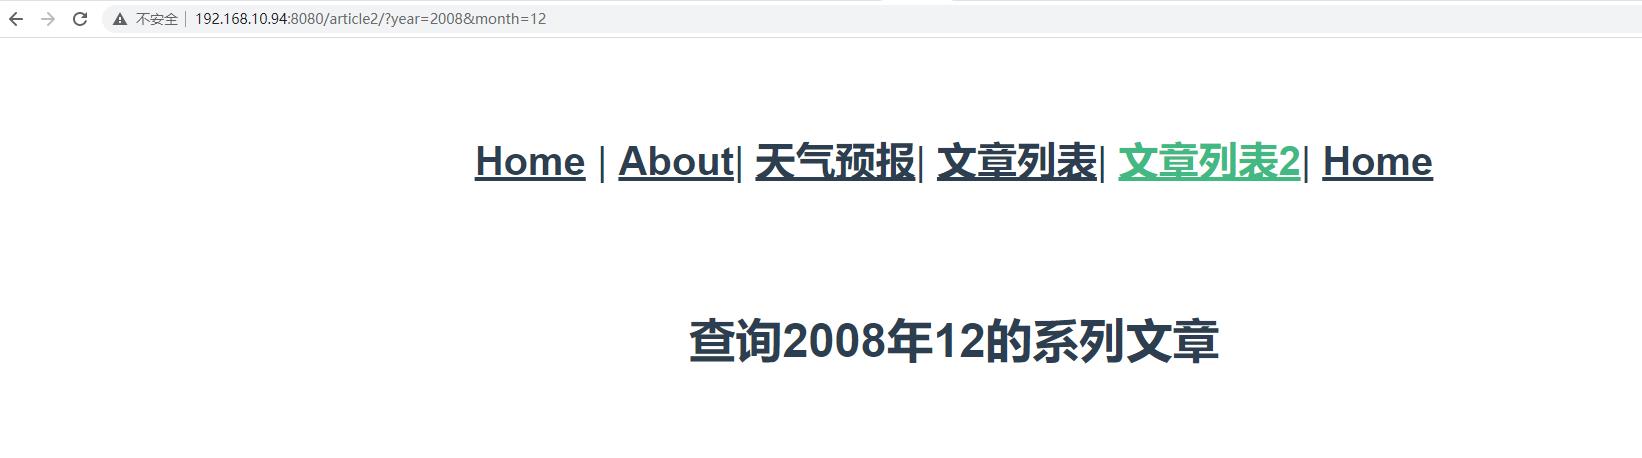
(2)查询参数
url地址的查询字符串作为参数,在下一个页面组件中进行获取使用。
注册路由:
1 2 3 4 5 6 7 8 | { path: '/article2/', name: 'Article2', // route level code-splitting // this generates a separate chunk (about.[hash].js) for this route // which is lazy-loaded when the route is visited. component: () => import(/* webpackChunkName: "about" */ '../components/Article2.vue') }, |
创建Article2.vue:
1 2 3 4 5 6 7 8 9 10 11 12 13 14 15 16 17 18 19 20 21 22 23 24 25 | <template> <h3> 查询{{year}}年{{month}}的系列文章 </h3></template><script>export default { name: "Article", data(){ return { year: 0, month: 0, } }, created() { this.year = this.$route.query.year this.month = this.$route.query.month }}</script><style scoped></style> |
最后在App.Vue中添加:
1 | <router-link to="/article2/?year=2008&month=12">文章列表2</router-link>| |


【推荐】国内首个AI IDE,深度理解中文开发场景,立即下载体验Trae
【推荐】编程新体验,更懂你的AI,立即体验豆包MarsCode编程助手
【推荐】抖音旗下AI助手豆包,你的智能百科全书,全免费不限次数
【推荐】轻量又高性能的 SSH 工具 IShell:AI 加持,快人一步
· AI与.NET技术实操系列:基于图像分类模型对图像进行分类
· go语言实现终端里的倒计时
· 如何编写易于单元测试的代码
· 10年+ .NET Coder 心语,封装的思维:从隐藏、稳定开始理解其本质意义
· .NET Core 中如何实现缓存的预热?
· 分享一个免费、快速、无限量使用的满血 DeepSeek R1 模型,支持深度思考和联网搜索!
· 基于 Docker 搭建 FRP 内网穿透开源项目(很简单哒)
· ollama系列01:轻松3步本地部署deepseek,普通电脑可用
· 25岁的心里话
· 按钮权限的设计及实现