
UICollectionView 很简单的写个瀑布流
你项目中要用到它吗?
可能会在你的项目中用到这玩意,最近也是要用就简单的写了一个 Demo。没多少代码,就不放Git了,下面会详细点的说说代码的,要还有什么问题的小伙伴可以直接Q我,也可以把Demo发给你,这里有Q可以找一下加我 多多交流,互相学习!
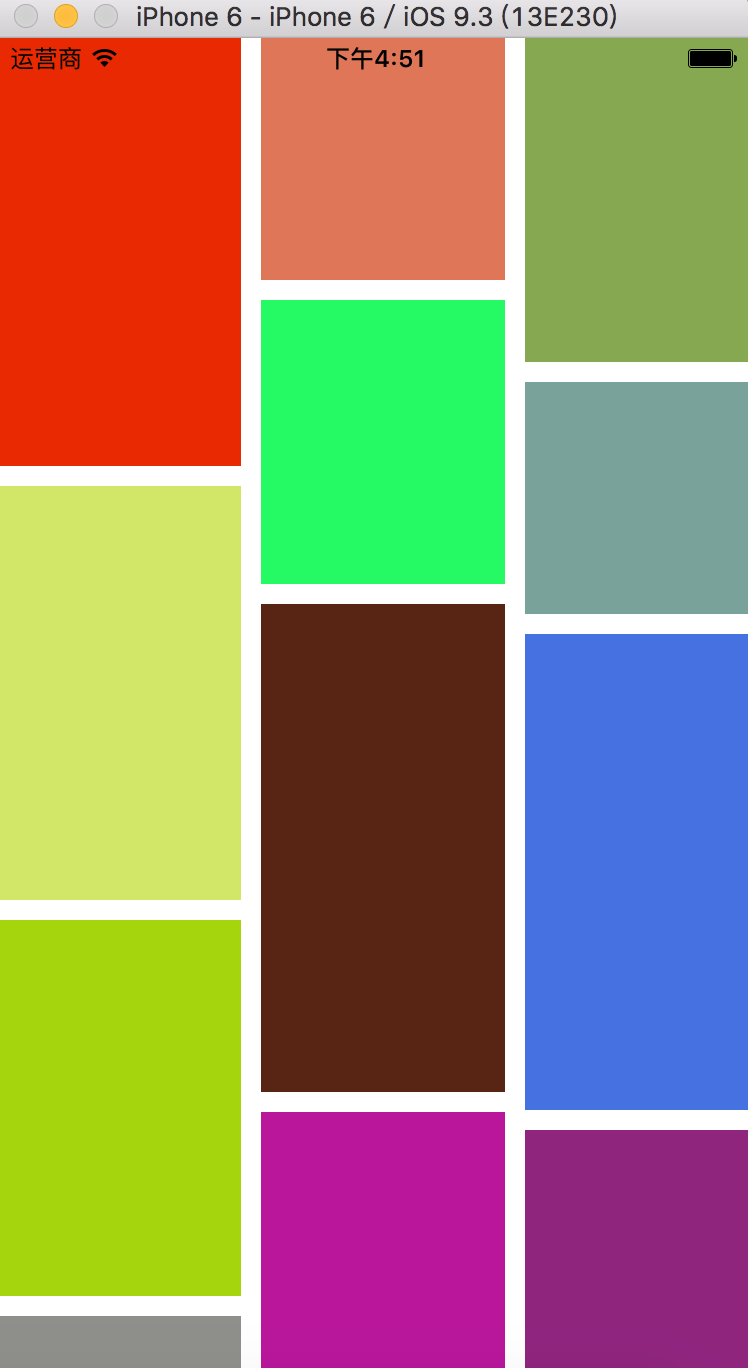
下面是简单的一个效果图,先给看看效果图!
先说说控制器里面的代码,控制器里面就是我们的 UICollectionView 的一些基本的创建了。其实它和 UITableView 相比较的话,但从创建使用看的话,是挺相似的,但其实它真的比 UITableView 要强大好多!很值得大家去好好的学习学习!你要占我它的基本创建的话,可以参考 UITableView ,参考对比也有利于学习。
1 2 3 4 5 6 7 8 9 10 11 12 13 14 15 16 17 18 19 20 21 22 23 24 25 26 27 28 29 30 31 32 33 34 35 36 37 38 39 40 41 42 43 44 45 46 47 48 49 50 51 52 53 54 55 56 57 58 | #import "ViewController.h"#import "zxFlowLayout.h"@interface ViewController ()<UICollectionViewDelegate,UICollectionViewDataSource,UICollectionViewDelegateFlowLayout>{ NSString * cellId;}@property(nonatomic,strong) UICollectionView * collectionview;@end@implementation ViewController- (void)viewDidLoad { [super viewDidLoad]; // Do any additional setup after loading the view. cellId = @"zhangxucell"; self.view.backgroundColor = [UIColor whiteColor]; [self.view addSubview:self.collectionview]; [_collectionview registerClass:[UICollectionViewCell class] forCellWithReuseIdentifier:cellId];}-(NSInteger)numberOfSectionsInCollectionView:(UICollectionView *)collectionView{ return 1;}- (NSInteger)collectionView:(UICollectionView *)collectionView numberOfItemsInSection:(NSInteger)section{ return 100;}// The cell that is returned must be retrieved from a call to -dequeueReusableCellWithReuseIdentifier:forIndexPath:-(UICollectionViewCell *)collectionView:(UICollectionView *)collectionView cellForItemAtIndexPath:(NSIndexPath *)indexPath{ UICollectionViewCell *cell = [collectionView dequeueReusableCellWithReuseIdentifier:cellId forIndexPath:indexPath]; cell.backgroundColor = [UIColor colorWithRed:arc4random()%255/255.0 green:arc4random()%255/255.0 blue:arc4random()%255/255.0 alpha:1]; return cell;}-(UICollectionView * )collectionview{ if (!_collectionview) { zxFlowLayout * collectionLayout = [[zxFlowLayout alloc]init]; [collectionLayout setScrollDirection:UICollectionViewScrollDirectionVertical]; collectionLayout.itemcount = 100; _collectionview = [[UICollectionView alloc]initWithFrame:self.view.bounds collectionViewLayout:collectionLayout]; _collectionview.delegate = self; _collectionview.dataSource = self; _collectionview.backgroundColor = [UIColor whiteColor]; } return _collectionview;} |
上面是Demo的控制器部分,要是对 UICollectionView 不怎么熟悉的话,你可以看看 这篇博客。觉得写得很不错,推荐给大家去学习,里面的内容很详细!
上面的控制器说完了,就到重点了,也就是继承与 UICollectionViewFlowLayout 的 zxFlowLayout ,有一点大家注意一下,就是你在初始化UICollectionView 的时候, [UICollectionView alloc]initWithFrame:(CGRect) collectionViewLayout:(nonnull UICollectionViewLayout *) 这个方法中,UICollectionViewLayout 这里需要的参数看上去是 UICollectionViewLayout 类型的,其实你创建的时候是要用继承与它的 UICollectionViewFlowLayout 对象去初始化的,这也就解释了我们的zxFlowLayout 是继承与 UICollectionViewFlowLayout 的!!不然你是不会看到 cell 的。有朋友以前说过这个,就特别提醒一下下吧。
1 2 3 4 5 6 7 8 9 10 11 12 13 14 15 16 17 18 19 20 21 22 23 24 25 26 27 28 29 30 31 32 33 34 35 36 37 38 39 40 41 42 43 44 45 46 47 48 49 50 51 52 53 54 55 56 57 58 59 60 61 62 63 64 65 66 67 68 69 70 71 72 73 74 75 76 77 78 79 80 81 82 83 84 85 86 87 88 89 90 91 92 93 94 95 96 97 98 99 100 101 102 103 104 105 106 107 108 109 110 111 112 113 114 115 116 117 118 119 120 121 | #import "zxFlowLayout.h"@implementation zxFlowLayout// 数组相关的属性在这里重写// 在布局之前会调用的这个方法-(void)prepareLayout{ _attArray = [[NSMutableArray alloc]init]; /** * 重写父类方法,这个记得要加进去! */ // typeof 是一个一元运算,放在一个运算数之前,运算数可以是任意类型。 // typedef [super prepareLayout]; // 设计 item的宽度 设计3列或者2列 float WIDTH = ([UIScreen mainScreen].bounds.size.width - self.minimumInteritemSpacing - self.sectionInset.left - self.sectionInset.right )/3; //定义数组保存每一列的高度 //这个数组的主要作用是保存每一列的总高度,这样在布局时,我们可以始终将下一个Item放在最短的列下面,初始化值全都定义成零 CGFloat colHight[3]={0,0,0}; // 遍历传过来的 cell 设置属性 for (int i =0; i<_itemcount; i++) { NSIndexPath * indexpath = [NSIndexPath indexPathForItem:i inSection:0]; UICollectionViewLayoutAttributes * attributes = [UICollectionViewLayoutAttributes layoutAttributesForCellWithIndexPath:indexpath]; // 把高度控制在100 - 150 之间 CGFloat Hight = arc4random()% 150 + 100; /** * 瀑布流是两行还是三行甚至再多行,你都可以在这里修改只是下面的判断就会相应的变化! 我注释掉的是两行的!!! */// int width=0;// if (colHight[0]<colHight[1]) {// // //将新的item高度加入到短的一列// colHight[0] = colHight[0]+Hight+self.minimumLineSpacing;// width=0;// // }else{// // colHight[1] = colHight[1]+Hight+self.minimumLineSpacing;// width=1;// } int width=0; if (i<3) { colHight[i] = colHight[i]+Hight+self.minimumLineSpacing; width = i; } else if ((colHight[0]<colHight[1]&&colHight[0]<colHight[2])||(colHight[0]<colHight[2]&&colHight[0]<colHight[1])) { //将新的item高度加入到短的一列 colHight[0] = colHight[0]+Hight+self.minimumLineSpacing; width=0; } else if ((colHight[1]<colHight[0]&&colHight[1]<colHight[2])||(colHight[1]<colHight[2]&&colHight[1]<colHight[0])) { colHight[1] = colHight[1]+Hight+self.minimumLineSpacing; width=1; } else if ((colHight[2]<colHight[1]&&colHight[2]<colHight[0])||(colHight[2]<colHight[0]&&colHight[2]<colHight[1])) { colHight[2] = colHight[2]+Hight+self.minimumLineSpacing; width=2; } //设置item的位置 attributes.frame = CGRectMake(self.sectionInset.left+(self.minimumInteritemSpacing+WIDTH)*width, colHight[width]-Hight-self.minimumLineSpacing, WIDTH, Hight); [_attArray addObject:attributes]; } // 设置itemSize来确保滑动范围的正确 这里是通过将所有的item高度平均化,计算出来的(以最高的列位标准)// if (colHight[0]>colHight[1]) {// self.itemSize = CGSizeMake(WIDTH, (colHight[0]-self.sectionInset.top)*2/_itemcount-self.minimumLineSpacing);// }else{// self.itemSize = CGSizeMake(WIDTH, (colHight[1]-self.sectionInset.top)*2/_itemcount-self.minimumLineSpacing);// }// if (colHight[0]<colHight[1]<colHight[2]||colHight[0]<colHight[2]<colHight[1]) { self.itemSize = CGSizeMake(WIDTH, (colHight[0]-self.sectionInset.top)*2/_itemcount-self.minimumLineSpacing); } else if (colHight[1]<colHight[2]<colHight[0]||colHight[1]<colHight[0]<colHight[2]) { self.itemSize = CGSizeMake(WIDTH, (colHight[1]-self.sectionInset.top)*2/_itemcount-self.minimumLineSpacing); } else{ self.itemSize = CGSizeMake(WIDTH, (colHight[2]-self.sectionInset.top)*2/_itemcount-self.minimumLineSpacing); } }//-(UICollectionViewLayoutAttributes * )layoutAttributesForItemAtIndexPath:(NSIndexPath *)indexPath//{// UICollectionViewLayoutAttributes * attributes = [UICollectionViewLayoutAttributes layoutAttributesForCellWithIndexPath:indexPath];// // attributes.frame = CGRectMake(10, 10, (self.collectionView.frame.size.width-40)/3,100);// // return attributes;//}// 返回设置了属性的数组- (nullable NSArray<__kindof UICollectionViewLayoutAttributes *> *)layoutAttributesForElementsInRect:(CGRect)rect{ return _attArray;}// return an array layout attributes instances for all the views in the given rect@end |
上面是整个.m 文件。 .h 文件里面也就只有 itemcount 这一个属性了,这个属性其实在你控制器当中你刷新完数据之后就传过来。让它重新布局就OK了!挺简单的对吧。。


【推荐】国内首个AI IDE,深度理解中文开发场景,立即下载体验Trae
【推荐】编程新体验,更懂你的AI,立即体验豆包MarsCode编程助手
【推荐】抖音旗下AI助手豆包,你的智能百科全书,全免费不限次数
【推荐】轻量又高性能的 SSH 工具 IShell:AI 加持,快人一步
· go语言实现终端里的倒计时
· 如何编写易于单元测试的代码
· 10年+ .NET Coder 心语,封装的思维:从隐藏、稳定开始理解其本质意义
· .NET Core 中如何实现缓存的预热?
· 从 HTTP 原因短语缺失研究 HTTP/2 和 HTTP/3 的设计差异
· 分享一个免费、快速、无限量使用的满血 DeepSeek R1 模型,支持深度思考和联网搜索!
· 基于 Docker 搭建 FRP 内网穿透开源项目(很简单哒)
· ollama系列01:轻松3步本地部署deepseek,普通电脑可用
· 按钮权限的设计及实现
· 25岁的心里话