
解析SwiftUI布局细节(三)地图的基本操作
前言
前面的几篇文章总结了怎样用 SwiftUI 搭建基本框架时候的一些注意点(和这篇文章在相同的分类里面,有需要了可以点进去看看),这篇文章要总结的东西是用地图数据处理结合来说的,通过这篇文章我们能总结到的点有下面几点:
1、SwiftUI怎样使用UIKit的控件
2、网络请求到的数据我们怎样刷新页面(模拟)
3、顺便总结下系统地图的一些基本使用(定位、地图显示、自定义大头针等等)
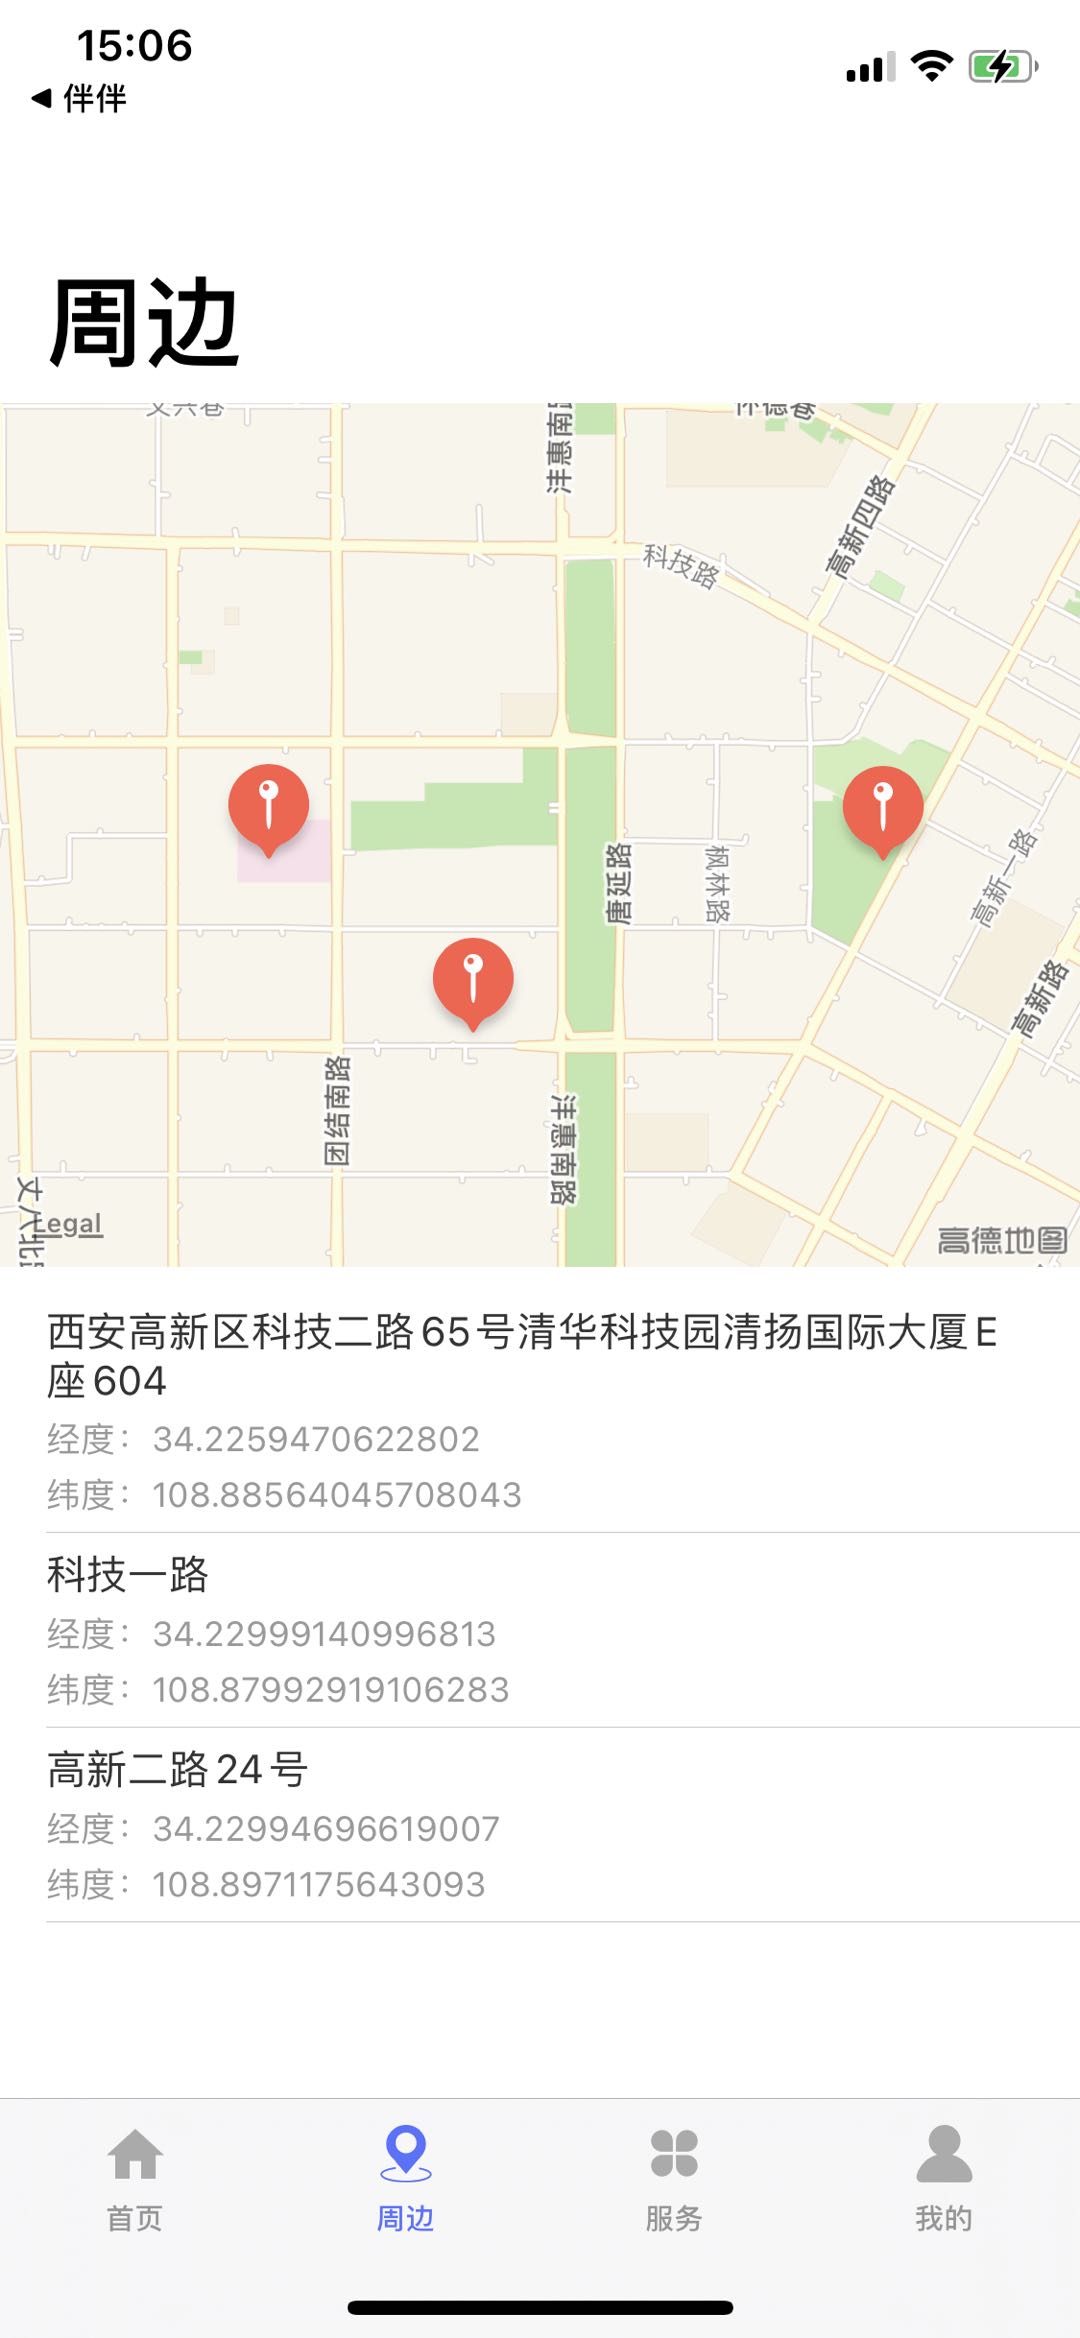
(点击地图位置会获取经纬度,反地理编译得到具体的位置信息,显示在列表中)
SwiftUI怎样使用UIKit的控件
我们来总结一下,SwiftUI怎么使用UIKit的控件,中间的连接就是 UIViewRepresentable,UIViewRepresentable 是一个协议。我们结合他的源码来具体看看它的内容:
1 2 3 4 5 6 7 8 9 10 11 12 13 14 15 16 17 18 19 20 21 22 23 24 25 26 27 28 29 30 31 32 33 34 35 36 37 38 39 40 41 42 43 44 45 46 47 | @available(iOS 13.0, tvOS 13.0, *)@available(macOS, unavailable)@available(watchOS, unavailable)public protocol UIViewRepresentable : View where Self.Body == Never { /// The type of view to present. associatedtype UIViewType : UIView /// Creates the view object and configures its initial state. /// /// You must implement this method and use it to create your view object. /// Configure the view using your app's current data and contents of the /// `context` parameter. The system calls this method only once, when it /// creates your view for the first time. For all subsequent updates, the /// system calls the ``UIViewRepresentable/updateUIView(_:context:)`` /// method. /// /// - Parameter context: A context structure containing information about /// the current state of the system. /// /// - Returns: Your UIKit view configured with the provided information. func makeUIView(context: Self.Context) -> Self.UIViewType /// Updates the state of the specified view with new information from /// SwiftUI. /// /// When the state of your app changes, SwiftUI updates the portions of your /// interface affected by those changes. SwiftUI calls this method for any /// changes affecting the corresponding UIKit view. Use this method to /// update the configuration of your view to match the new state information /// provided in the `context` parameter. /// /// - Parameters: /// - uiView: Your custom view object. /// - context: A context structure containing information about the current /// state of the system. func updateUIView(_ uiView: Self.UIViewType, context: Self.Context) static func dismantleUIView(_ uiView: Self.UIViewType, coordinator: Self.Coordinator) /// A type to coordinate with the view. associatedtype Coordinator = Void func makeCoordinator() -> Self.Coordinator typealias Context = UIViewRepresentableContext<Self>} |
上面的代码可以分析出 UIViewRepresentable 是一个协议,它也是遵守了 View 这个协议的,条件就是内容不能为空,它有一个关联类型 (associatedtype UIViewType : UIView) , 看看源码你知道这个 UIViewType 是个关联类型之后也明白后面中使用的一些问题( 还是得理解不能去记它的用法 ),里面的下面两个方法是我们使用的:
1 2 3 | func makeUIView(context: Self.Context) -> Self.UIViewTypefunc updateUIView(_ uiView: Self.UIViewType, context: Self.Context) |
按照我的理解,第一个方法就像一个初始化方法,返回的就是你SwiftUI想用的UIKit的控件对象。
第二个方法是我们用来更新UIKit控件的方法
理解前面加我们提的关联类型,那我们在第一个方法返回的对象类型就是你要使用的UIKit的类型,第二个方法更新的View也就是我们UIKit的控件。在我们的Demo中就是 MKMapView 。
接下来还有一点,我们既然点击地图之后需要给我们点击的位置添加一个大头针并且去获取这个点的经纬度,那我们首先第一步就是必须得给地图添加一个单击手势,具体的我们怎么做呢?首先有一点,在SwiftUI中我们创建的View都是Struct类型,但手势的事件是#selector(),本质上还是OC的东西,所以在事件前面都是带有@Obic的修饰符的,但你要是Struct类型肯定是行不通的,那怎么办呢?其实 UIViewRepresentable 已经帮我们把这步预留好了,就是下面的这个关联类型:
1 2 | /// A type to coordinate with the view.associatedtype Coordinator = Void |
具体的返回就是在下面方法,大家具体的看看这个方法给的简介说明,就明白了:
1 2 3 4 5 6 7 8 9 10 11 12 13 14 15 16 17 | /// Creates the custom instance that you use to communicate changes from/// your view to other parts of your SwiftUI interface.////// Implement this method if changes to your view might affect other parts/// of your app. In your implementation, create a custom Swift instance that/// can communicate with other parts of your interface. For example, you/// might provide an instance that binds its variables to SwiftUI/// properties, causing the two to remain synchronized. If your view doesn't/// interact with other parts of your app, providing a coordinator is/// unnecessary.////// SwiftUI calls this method before calling the/// ``UIViewRepresentable/makeUIView(context:)`` method. The system provides/// your coordinator either directly or as part of a context structure when/// calling the other methods of your representable instance.func makeCoordinator() -> Self.Coordinator |
再具体点的使用我们这里不详细说明了,大家直接看Demo中的代码,我们添加完点击事件之后要做的就是一个点击坐标的转换了,你获取到你点击的地图的Point,你就需要通过MKMapView的点击职位转换经纬度的方法去获取点击位置的经纬度信息,下面这个方法:
1 | open func convert(_ point: CGPoint, toCoordinateFrom view: UIView?) -> CLLocationCoordinate2D |
获取到点击位置的经纬度,就可以继续往下看了,下面会说明把点击的这个位置添加到数据源之后怎样去更新地图上面的信息。
网络请求到的数据我们怎样刷新页面(模拟)
关于刷新数据这个是比较简单的,用到的就是我们前面提的绑定数据的模式,这点真和Rx挺像的,你创建了一个列表,然后给列表绑定了一个数组数据源,等你网络请求到数据之后,你需要处理的就是去改变这个数据源的数据,它就能去刷新它绑定的UI。
在前面第一小节我们提到了地图获取到点击的经纬度之后怎样更新地图上面的信息,其实用的也是这点,绑定数据刷新!我们在初始化AroundMapView的时候给它绑定了 userLocationArray 这个数据,具体的就没必要细说了,看代码能理解这部分的东西!
其实在我们使用UIKit的时候如许多的复用问题我们基本上都是通过写数据再Model里面去解决的,SwiftUI 也不例外。我们来看看我们 List 绑定部分的代码:
1 2 3 4 5 | /// 地址ListList(aroundViewModel.userLocationArray, id: \.self){ model in /// List 里面的具体View内容}.listStyle(PlainListStyle()) |
我们给List绑定的是 AroundViewModel 的 userLocationArray 数组,那这个数组我们又是怎样定义的呢?
1 2 | /// @Published var userLocationArray:Array<UserLocation> = Array() |
我们使用的是 @Published 关键字,如果你用 @ObservedObject 来修饰一个对象 (Demo中用的是 @EnvironmentObject ),那么那个对象必须要实现 ObservableObject 协议( AroundViewModel 实现了 ObservableObject 协议 ),然后用 @Published 修饰对象里属性,表示这个属性是需要被 SwiftUI 监听,这句话就能帮我们理解它的用法。
那接下来我们只需要关心这个数据源的增删就可以了。就像我们在定位成功之后添加数据一样,代码如下:
1 2 3 4 5 6 7 8 9 10 11 12 13 14 15 16 17 18 19 20 | init() { /// 开始定位 userLocation { (plackMark) in /// mkmapView监听了这个属性的,这里改变之后是会刷新地图内容的 /// 在AroundMapView里面我们以这个点为地图中心点 self.userLocationCoordinate = plackMark.location!.coordinate print("aroundLocationIndex-1:",aroundLocationIndex) let locationModel = UserLocation(id: aroundLocationIndex, latitude: plackMark.location?.coordinate.latitude ?? 0.000000, longitude: plackMark.location?.coordinate.longitude ?? 0.000000, location: plackMark.thoroughfare ?? "获取位置出错啦~") self.userLocationArray.append(locationModel) print("aroundLocationIndex-1:",self.userLocationArray) /// 加1 aroundLocationIndex += 1 }} |
通过上面的解析应该了解了请求到数据之后我们怎样去刷新UI的问题。
地图使用
我们结合SwiftUI总结一下地图的使用,这部分的代码去Demo看比较有效果,地图我们使用 CoreLocation 框架,在这个 Demo 中我们使用到的关于 CoreLocation 的东西主要有下面几点:
1、CLLocationManager & CLLocationManagerDelegate(定位)
2、CLGeocoder (地理编码和反地理编码)
3、CLPlacemark、CLLocation、CLLocationCoordinate2D (几个位置类)和 MKAnnotationView (大头针)
我们先来看看 CLLocationManager & CLLocationManagerDelegate
1 2 3 4 5 6 7 8 9 10 11 12 13 14 15 16 17 18 | /// managerlazy var locationManager: CLLocationManager = { let locationManager = CLLocationManager() locationManager.delegate = self /// 导航级别 /* kCLLocationAccuracyBestForNavigation /// 适合导航 kCLLocationAccuracyBest /// 这个是比较推荐的综合来讲,我记得百度也是推荐 kCLLocationAccuracyNearestTenMeters /// 10m kCLLocationAccuracyHundredMeters /// 100m kCLLocationAccuracyKilometer /// 1000m kCLLocationAccuracyThreeKilometers /// 3000m */ locationManager.desiredAccuracy = kCLLocationAccuracyBest /// 隔多少米定位一次 locationManager.distanceFilter = 10 return locationManager<br>}() |
上面我们定义了一个 CLLocationManager,加下来就是开始定位了,在开始定位之前我们要做的一件事就肯定是判断用户位置信息有没有开启,具体的是否开启权限判断和判断后的回调方法代码如下所示,代码注释写的很详细,我们这里也不做累赘。
判断有没有开始获取位置权限:
1 2 3 4 5 6 7 8 9 10 11 12 13 14 15 16 | /// 先判断用户定位是否可用 默认是不启动定位的if CLLocationManager.locationServicesEnabled() { /// userLocationManager.startUpdatingLocation() /// 单次获取用户位置 locationManager.requestLocation()}else{ /// plist添加 NSLocationWhenInUseUsageDescription NSLocationAlwaysUsageDescription /// 提个小的知识点,以前我们写这个内容的时候都比较随意,但现在按照苹果的审核要求 /// 你必须得明确说明他们的使用意图,不然会影响审核的,不能随便写个需要访问您的位置 /// 请求使用位置 前后台都获取 locationManager.requestAlwaysAuthorization() /// 请求使用位置 前台都获取 /// userLocationManager.requestWhenInUseAuthorization()} |
获取权限之后的回调方法以及各种状态的判断代码如下:
1 2 3 4 5 6 7 8 9 10 11 12 13 14 15 16 17 18 19 20 21 22 23 | /// 用户授权回调/// - Parameter manager: manager description/// open > public > interal > fileprivate > privatefunc locationManagerDidChangeAuthorization(_ manager: CLLocationManager) { /// CLAuthorizationStatus switch manager.authorizationStatus { case .notDetermined: print("用户没有决定") case .authorizedWhenInUse: print("使用App时候允许") case .authorizedAlways: print("用户始终允许") case.denied: print("定位关闭或者对此APP授权为never") /// 这种情况下你可以判断是定位关闭还是拒绝 /// 根据locationServicesEnabled方法 case .restricted: print("访问受限") @unknown default: print("不确定的类型") }<br>} |
当定位权限打开之后我们就开始了获取位置,单次获取具体位置的方法调用上面代码有,就是 requestLocation() 方法,接下来就是成功和失败的方法处理了,下面两个方法:
1 2 3 4 5 6 7 8 9 10 11 12 13 14 15 16 17 18 19 20 21 22 23 24 25 26 27 28 29 30 31 32 33 34 | /// 获取更新到的用户位置/// - Parameters:/// - manager: manager description/// - locations: locations descriptionfunc locationManager(_ manager: CLLocationManager, didUpdateLocations locations: [CLLocation]) { print("纬度:" + String(locations.first?.coordinate.latitude ?? 0)) print("经度:" + String(locations.first?.coordinate.longitude ?? 0)) print("海拔:" + String(locations.first?.altitude ?? 0)) print("航向:" + String(locations.first?.course ?? 0)) print("速度:" + String(locations.first?.speed ?? 0)) /* 纬度34.227653802098665 经度108.88102549186357 海拔410.17602920532227 航向-1.0 速度-1.0 */ /// 反编码得到具体的位置信息 guard let coordinate = locations.first else { return } reverseGeocodeLocation(location: coordinate )} /// 获取失败回调/// - Parameters:/// - manager: manager description/// - error: error descriptionfunc locationManager(_ manager: CLLocationManager, didFailWithError error: Error) { print("定位Error:" + error.localizedDescription) guard let locationFail = self.locationFail else{return} locationFail(error.localizedDescription)} |
这样我们就拿到你的具体位置信息,回到给你的就是一个元素是 CLLocation 类型的数组,我们在Demo中只取了First,你拿到的是经纬度,你要想获取这个经纬度的具体位置信息就得经过反地理编码,拿到某某市区某某街道某某位置的信息,在CoreLocation中做地理编码和反地理编码的就是 CLGeocoder 这个类,它的 reverseGeocodeLocation 就是反地理编码方法, 地理拜纳姆的方法就是 geocodeAddressString 。具体的我们看看Demo中的方法:
地理编码方法:(具体位置信息 -> 经纬度)
1 2 3 4 5 6 7 8 9 10 | /// 地理编码/// - Parameter addressString: addressString descriptionprivate func geocodeUserAddress(addressString:String) { locationGeocoder.geocodeAddressString(addressString){(placeMark, error) in print("地理编码纬度:",placeMark?.first?.location?.coordinate.latitude ?? "") print("地理编码经度:",placeMark?.first?.location?.coordinate.longitude ?? "") }} |
反地理编码方法:( 经纬度 -> 具体位置信息 )
1 2 3 4 5 6 7 8 9 10 11 12 13 14 15 16 17 18 19 20 21 22 23 24 25 26 27 28 29 30 31 | /// 反地理编码定位得到的位置信息/// - Parameter location: location descriptionprivate func reverseGeocodeLocation(location:CLLocation){ locationGeocoder.reverseGeocodeLocation(location){(placemark, error) in /// city, eg. Cupertino print("反地理编码-locality:" + (placemark?.first?.locality ?? "")) /// eg. Lake Tahoe print("反地理编码-inlandWater:" + (placemark?.first?.inlandWater ?? "")) /// neighborhood, common name, eg. Mission District print("反地理编码-subLocality:" + (placemark?.first?.subLocality ?? "")) /// eg. CA print("反地理编码-administrativeArea:" + (placemark?.first?.administrativeArea ?? "")) /// eg. Santa Clara print("反地理编码-subAdministrativeArea:" + (placemark?.first?.subAdministrativeArea ?? "")) /// eg. Pacific Ocean print("反地理编码-ocean:" + (placemark?.first?.ocean ?? "")) /// eg. Golden Gate Park print("反地理编码-areasOfInterest:",(placemark?.first?.areasOfInterest ?? [""])) /// 具体街道信息 print("反地理编码-thoroughfare:",(placemark?.first?.thoroughfare ?? "")) /// 回调得到的位置信息 guard let locationPlacemark = placemark?.first else{return} guard let locationSuccess = self.locationSuccess else{return} locationSuccess(locationPlacemark) /// 地理编码位置,看能不能得到正确经纬度 self.geocodeUserAddress(addressString: (placemark?.first?.thoroughfare ?? "")) }} |
最后我们梳理一下关于大头针的几个类,我们在项目中使用的是 MKPointAnnotation
MKPointAnnotation 继承与 MKShape 遵守了 MKAnnotation 协议 , MKAnnotation 就是底层的协议了,像它里面的title,image这些属性我们就不提了,大家可以点进去看看源码。
MKMapView 有个 MKMapViewDelegate 代理方法,它具体的方法可以点进这个协议去看,里面有个方法是
1 | - (nullable MKAnnotationView *)mapView:(MKMapView *)mapView viewForAnnotation:(id <MKAnnotation>)annotation; |
它返回的是一个 MKAnnotationView ,这个方法也为每个 大头针 MKAnnotation 提供了一个自定义的View,也就是我们自定义大头针的位置。这样地图基本的东西我们也就说的差不多了,最后要提的一点是获取到位置的经纬度类型,我们经常使用的百度、高德等的地图它们定位得到的经纬度坐标类型是不一样的,它们之间的联系我们再梳理一下。
什么是国测局坐标、百度坐标、WGS84坐标 ?三种坐标系说明如下:
* WGS84:表示GPS获取的坐标;
** GCJ02:是由中国国家测绘局制订的地理信息系统的坐标系统。由WGS84坐标系经加密后的坐标系。
*** BD09:为百度坐标系,在GCJ02坐标系基础上再次加密。其中bd09ll表示百度经纬度坐标,bd09mc表示百度墨卡托米制坐标;百度地图SDK在国内(包括港澳台)使用的是BD09坐标;在海外地区,统一使用WGS84坐标。
参考文章:


【推荐】国内首个AI IDE,深度理解中文开发场景,立即下载体验Trae
【推荐】编程新体验,更懂你的AI,立即体验豆包MarsCode编程助手
【推荐】抖音旗下AI助手豆包,你的智能百科全书,全免费不限次数
【推荐】轻量又高性能的 SSH 工具 IShell:AI 加持,快人一步
· go语言实现终端里的倒计时
· 如何编写易于单元测试的代码
· 10年+ .NET Coder 心语,封装的思维:从隐藏、稳定开始理解其本质意义
· .NET Core 中如何实现缓存的预热?
· 从 HTTP 原因短语缺失研究 HTTP/2 和 HTTP/3 的设计差异
· 分享一个免费、快速、无限量使用的满血 DeepSeek R1 模型,支持深度思考和联网搜索!
· 基于 Docker 搭建 FRP 内网穿透开源项目(很简单哒)
· ollama系列01:轻松3步本地部署deepseek,普通电脑可用
· 按钮权限的设计及实现
· 25岁的心里话