DevOps之Jenkins、gitlab、git
Jenkins
Jenkins本身是不具备任何功能的,Jenkins中所有的功能全部来自于插件。
1、为什么使用Jenkins
dev		开发环境
test	测试环境
pre		预发布环境
master	生成环境
2、Jenkins + GitLab
Jenkins 负责部署
GitLab  负责存放代码
3、Jenkins安装
1、yum
2、rpm

# Jenkins 是使用 Java 开发的 所以必须有java
[root@localhost ~]# yum install java-1.8.0-openjdk* -y

[root@localhost ~]# yum install jenkins-2.249.1-1.1.noarch.rpm

#启动
systemctl start jenkins
#查看端口号
netstat -nutlp


#获取密码
cat /var/lib/jenkins/secrets/initialAdminPassword

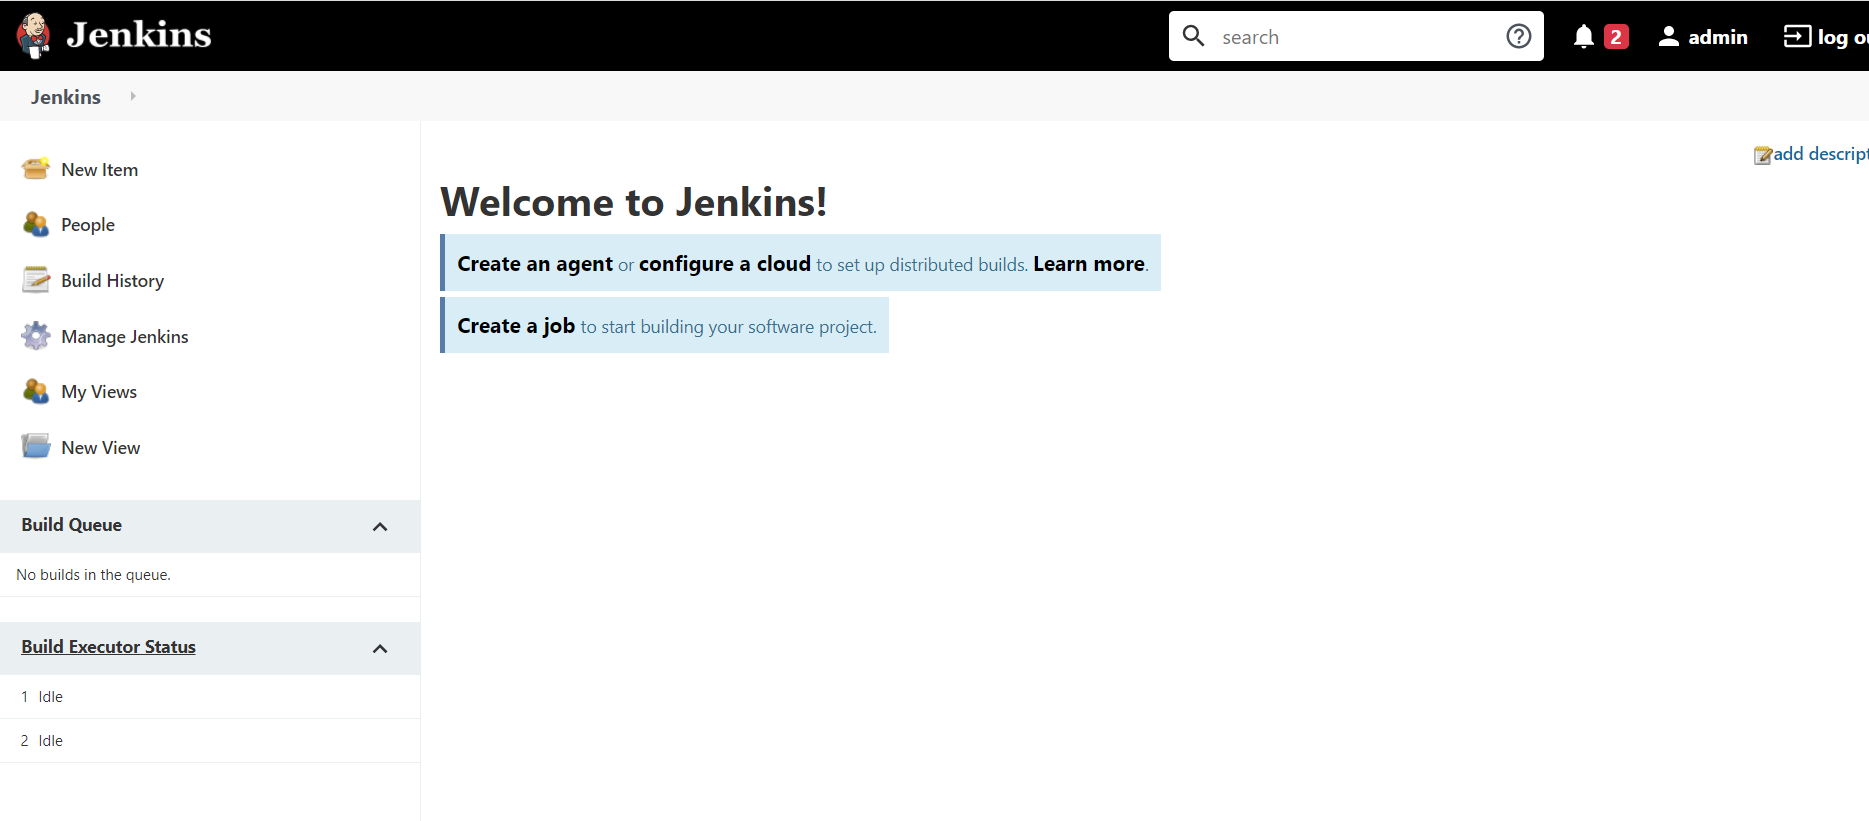
#登录之后界面如下
4、安装Jenkins插件
[root@localhost ~]# mv plugins.tar.gz /var/lib/jenkins/plugins/

[root@localhost plugins]# cd /var/lib/jenkins/plugins/

[root@jenkins plugins]# tar -xf plugins.tar.gz
[root@localhost plugins]# systemctl restart jenkins

#站点升级 改成国内的
https://mirrors.tuna.tsinghua.edu.cn/jenkins/updates/update-center.json


[root@localhost updates]# cd /var/lib/jenkins/updates

#default.json  换源
[root@localhost updates]# sed -i 's/https:\/\/updates.jenkins.io\/download/https:\/\/mirrors.tuna.tsinghua.edu.cn\/jenkins/g' default.json
[root@localhost updates]# sed -i 's/http:\/\/www.google.com/https:\/\/www.baidu.com/g' default.json

#重启
systemctl restart jenkins
5、部署GitLab
代码管理    git     gitlab

常用的代码管理工具:GitHub、Gitee、GitLab

1、安装依赖
yum -y install policycoreutils openssh-server openssh-clients postfix

2、关闭防火墙,关闭selinux
systemctl disable firewalld

3、下载Gitlab安装包
[root@localhost ~]# wget https://mirrors.tuna.tsinghua.edu.cn/gitlab-ce/yum/el7/gitlab-ce-13.9.7-ce.0.el7.x86_64.rpm

4、安装gitlab
[root@localhost ~]# yum install gitlab-ce-13.9.7-ce.0.el7.x86_64.rpm -y

5、配置
[root@localhost ~]# vim /etc/gitlab/gitlab.rb
external_url 'http://192.168.11.223'
nginx['listen_port'] = 80

# 刷新配置(默认启动)
[root@sean ~]# gitlab-ctl reconfigure
# 启动
[root@sean ~]# gitlab-ctl start
# 停止
[root@sean ~]# gitlab-ctl stop
# 重启
[root@sean ~]# gitlab-ctl restart

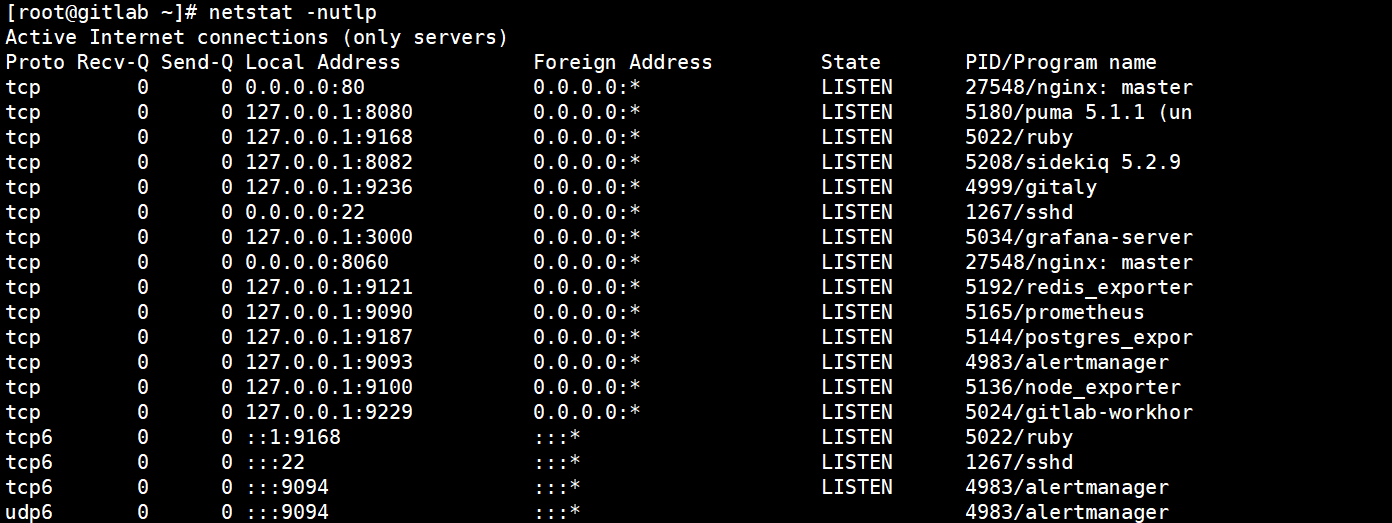
#查看开启了多少个端口
netstat -nutlp

#查看开启了多少个服务
gitlab-ctl status
6、Git
6.1.Git初始化简介

	git 管理缓存区代码,缓存区代码可以更改,暂存区代码不可以更改,也就是说修改代码需要修改缓存区代码,然后再提交到暂存区, 暂存区提交到远程需要
	因为多个人开发项目,提交自己写的代码或者公共代码修改,就有了分支的概念,一个分支就是一个缓存区+暂存区 ,自己修改自己的缓存区和暂存区,提交到远程仓库 ,git自动合并到一起

git相关命令
	#初始化仓库
		git init #当前目录
	#提交内容至缓存区
		git add
	#提交至暂存区
		git commit
		会生成一个git log id (全局唯一,唯一标识)
	#提交至远程仓库
		git push
	# 分支
		git checkout


1、初始化仓库
[root@localhost ~]# mkdir python
[root@localhost ~]# cd python/
[root@localhost python]# git init
Initialized empty Git repository in /root/python/.git/
#有.get文件 即为初始化成功
[root@localhost python]# ll -a
total 0
drwxr-xr-x. 3 root root  18 Jan 12 11:41 .
dr-xr-x---. 5 root root 221 Jan 12 11:41 ..
drwxr-xr-x. 7 root root 119 Jan 12 11:41 .git


2、创建文件并加入缓存区
#index里写一句print('HelloDiJia')
[root@localhost python]# vim index.py
[root@localhost python]# ll
total 4
-rw-r--r--. 1 root root 21 Jan 12 11:42 index.py
#加入缓存区
[root@localhost python]# git add index.py

#在创建一个py文件
[root@gitlab python]# vim demo.py
#查看缓存区
[root@localhost python]# git status
# On branch master
#
# Initial commit
#
# Changes to be committed:
#   (use "git rm --cached <file>..." to unstage)
#  加入缓存区的文件
#	new file:   index.py
#
# Untracked files:
#   (use "git add <file>..." to include in what will be committed)
# #未加入缓存区的文件
#	demo.py
# 注意修改完文件 也需要再次add 加入缓存区
#也就是说修改完就要add一下


3、提交至暂存区
git commit -m 'init'
如果报下面这个错
to set your account's default identity.
Omit --global to set the identity only in this repository.

fatal: unable to auto-detect email address (got 'root@gitlab.(none)')
#执行这句话
git config --global user.name "Administrator"
git config --global user.email "admin@example.com"

4、提交至远程

# 创建仓库
# 添加用户名和邮箱
git config --global user.name "Administrator"
git config --global user.email "admin@example.com"

# 关联远程仓库
git remote add origin http://192.168.11.223/root/python.git

# 提交至远程仓库
#push 提交
#origin 远程
#master 分支
git push origin master
#提交要输入用户名和密码 root  adminadmin
6.2、免密上传
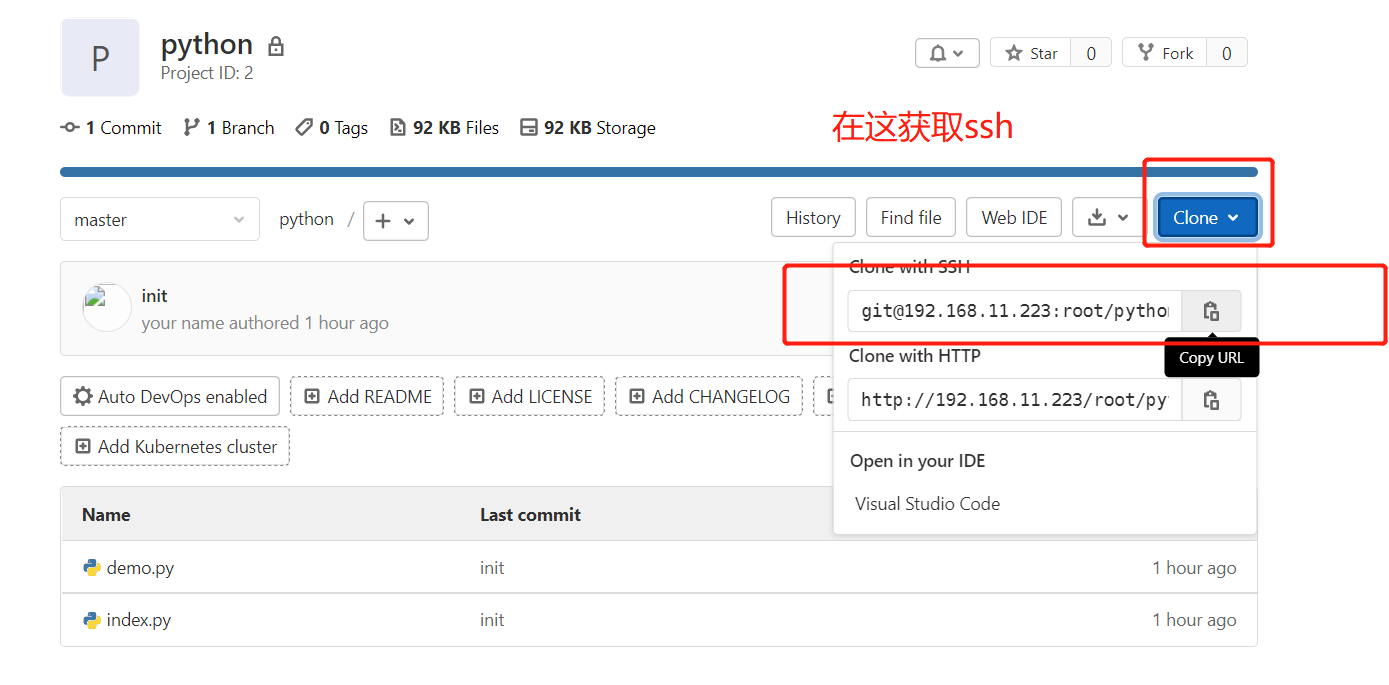
免密登录

# 管理SSH连接 文件里面 新创建的
[root@localhost python]# vim .git/config

[core]
        repositoryformatversion = 0
        filemode = true
        bare = false
        logallrefupdates = true
[remote "origin"]   #这和下面内容都删掉
        url = git@192.168.11.223:root/python.git
        fetch = +refs/heads/*:refs/remotes/origin/*


[root@localhost python]# git remote add origin git@192.168.11.223:root/python.git

#生成公钥
[root@localhost python]# ssh-keygen

#查看公钥
[root@localhost python]#cat ~/.ssh/id_rsa.pub

# 将ssh 公钥上传至gitlab
6.3、分支
# 查看本地分支
[root@localhost python]# git branch
* master

# *所在的位置就是当前所在的分支


# 查看远程分支
[root@localhost python]# git branch -a
* master
  remotes/origin/master

# 创建分支
[root@localhost python]# git checkout -b test


# 将本地新创建的分支提交至远程
[root@localhost python]# git push origin test

# 切换分支 和创建一样  加-b就是创建  不加就是切换
[root@localhost python]# git checkout master
6.4、Git Tag
git tag是一个特殊的分支,这个分支只允许创建和删除不允许修改。 这个tag一旦提交 里面代码不会变,只能删除 一般不在本地创建

#命令行打标签
[root@localhost python]# git tag -a stable-v1 -m '简介'
[root@localhost python]# git tag
stable-v1
7、Gitlab的使用
7.1、创建用户及用户组
1.Guest:可以创建issue、发表评论,不能读写版本库
2.Reporter:可以克隆代码,不能提交,QA、PM 可以赋予这个权限
3.Developer:可以克隆代码、开发、提交、push,普通开发可以赋予这个权限
4.Maintainer:可以创建项目、添加tag、保护分支、添加项目成员、编辑项目,核心开发可以赋予这个 权限
5.Owner:可以设置项目访问权限 - Visibility Level、删除项目、迁移项目、管理组成员,开发组组 长可以赋予这个权限
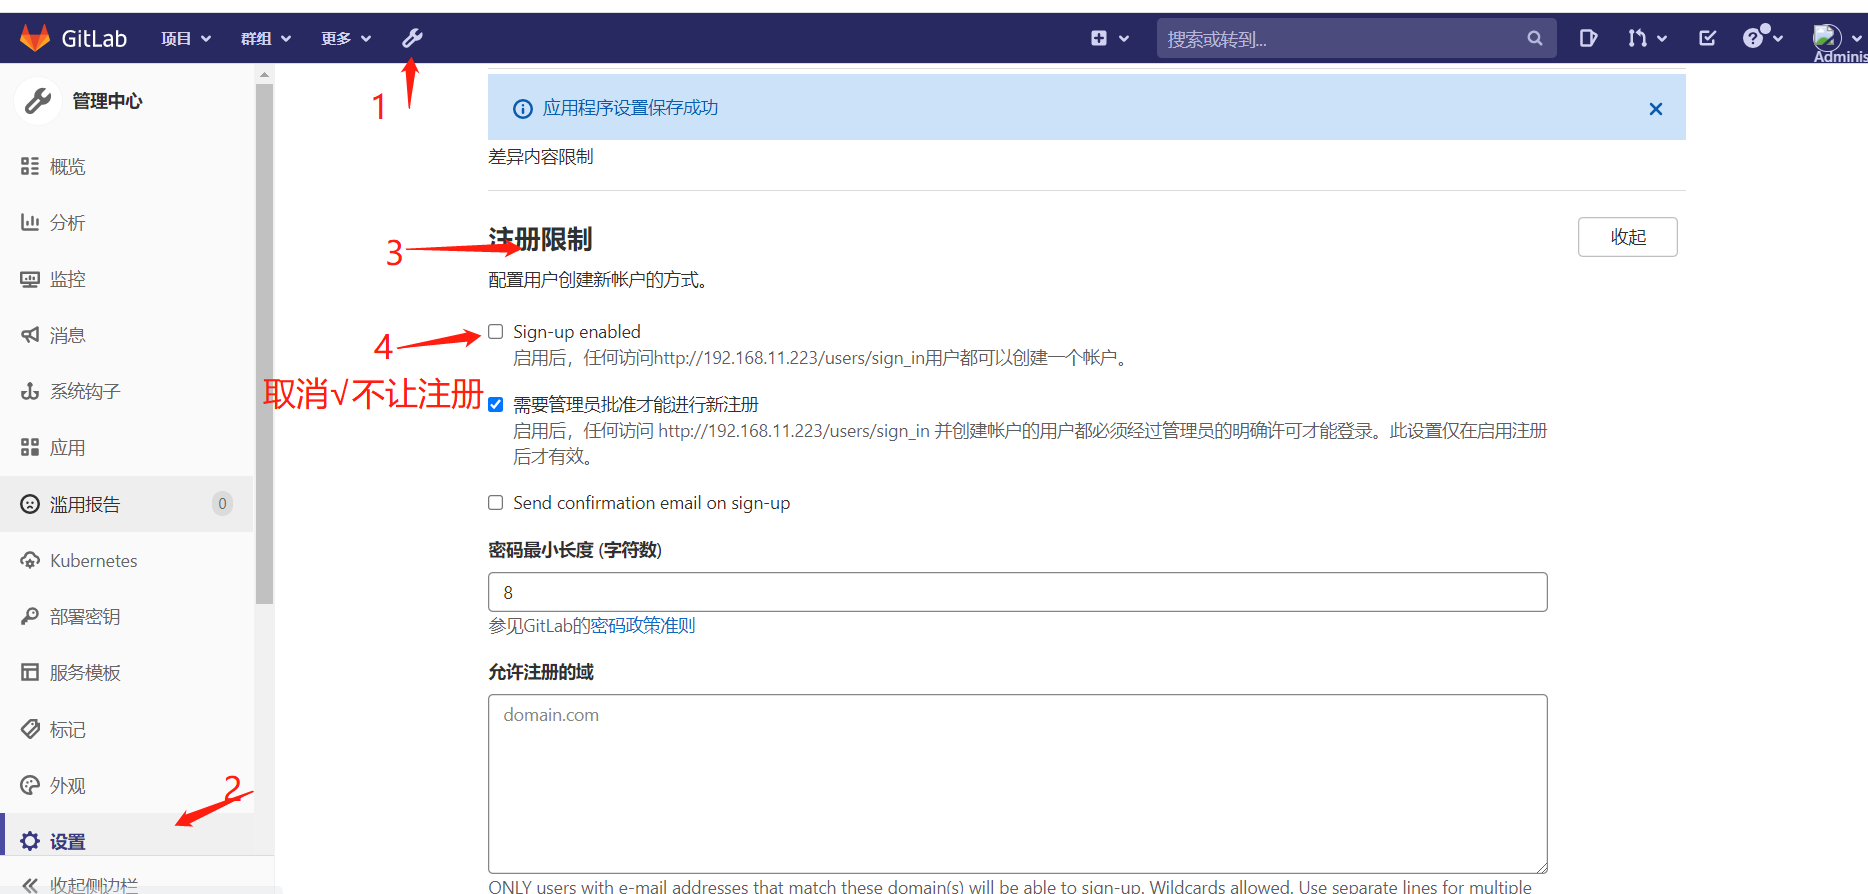
7.2注册限制
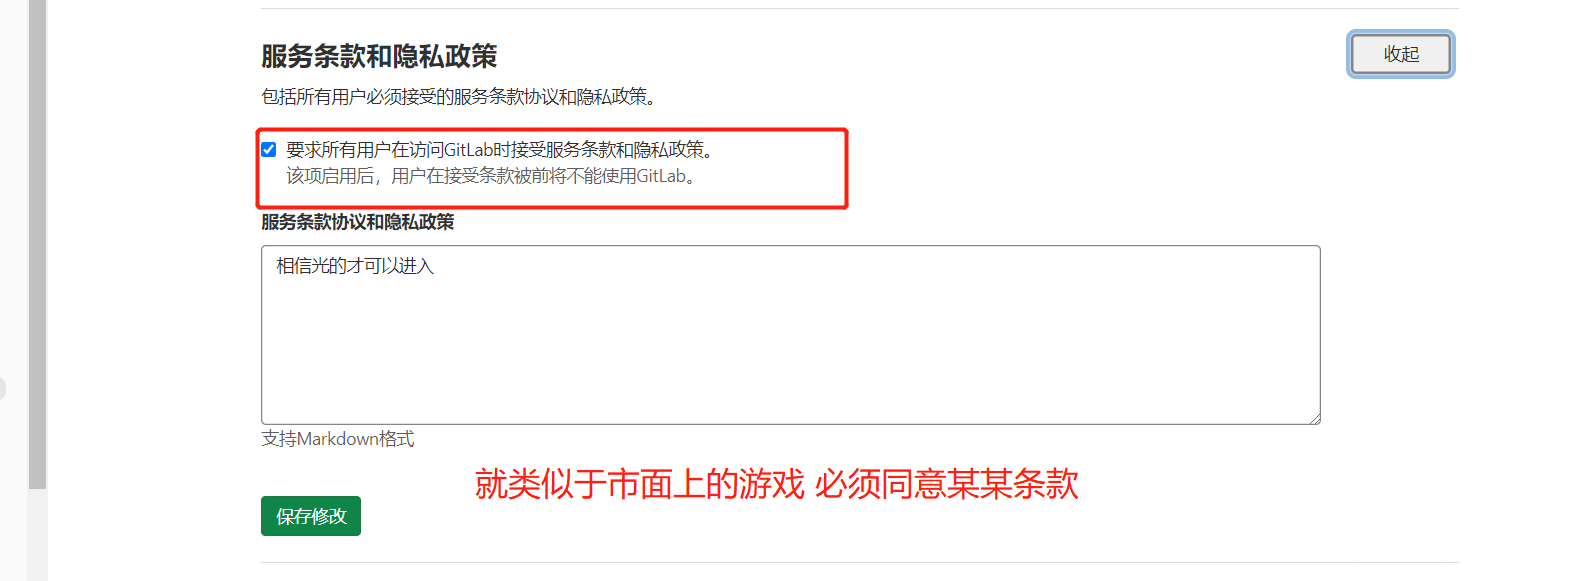
7.3服务条款和隐私协议
