
作者:@张扶摇
本文为作者原创,转载请注明出处:https://www.cnblogs.com/zhangshengdong/p/12524870.html
目录
【简说Python WEB】Jinja2模板
目前环境的代码树
抽离出来的Html模板
渲染模板
条件语句
循环语句
系统环境:Ubuntu 18.04.1 LTS
Python使用的是虚拟环境:virutalenv
Python的版本:Python 3.6.9
【简说Python WEB】Jinja2模板
早期的开发,前端代码和后端代码都是混合在一起的。例如:在早期的java web时期,html和css的一些前端元素,和后端的jsp代码都混在一起。使得代码难以维护。
现在,提倡前后端代码的分离,而Flask中的Jinja2模板用于代码分离,其中的变量通过真实值替换。
目前环境的代码树
(zsdpy1) zsd@zsd-virtual-machine:~/Zflask/chapter3/app$ tree
.
├── hello.py
└── templates
   └── index.html
抽离出来的Html模板
其中templates/index.html是我抽离出来的html。如下:
<html>
    <head>
        <title>{{ title }}-zsdblog</title>
    </head>
    <body>
        <h1>您好, {{ user.username }},欢迎来到我的博客!</h1>
    </body>
</html>
其中title和user.username是要传入的变量。
渲染模板
from flask import render_template
from flask import Flask

app = Flask(__name__)

@app.route('/')
@app.route('/index')
def index():
    user = {'username': '东瑜'}
    return render_template('index.html', title='Home', user=user)

if __name__ == '__main__':
        app.run(host='0.0.0.0', port=9000)
执行语句:
(zsdpy1) zsd@zsd-virtual-machine:~/Zflask/chapter3/app$ python hello.py
 * Serving Flask app "hello" (lazy loading)
 * Environment: production
   WARNING: This is a development server. Do not use it in a production deployment.
   Use a production WSGI server instead.
 * Debug mode: off
 * Running on http://0.0.0.0:9000/ (Press CTRL+C to quit)
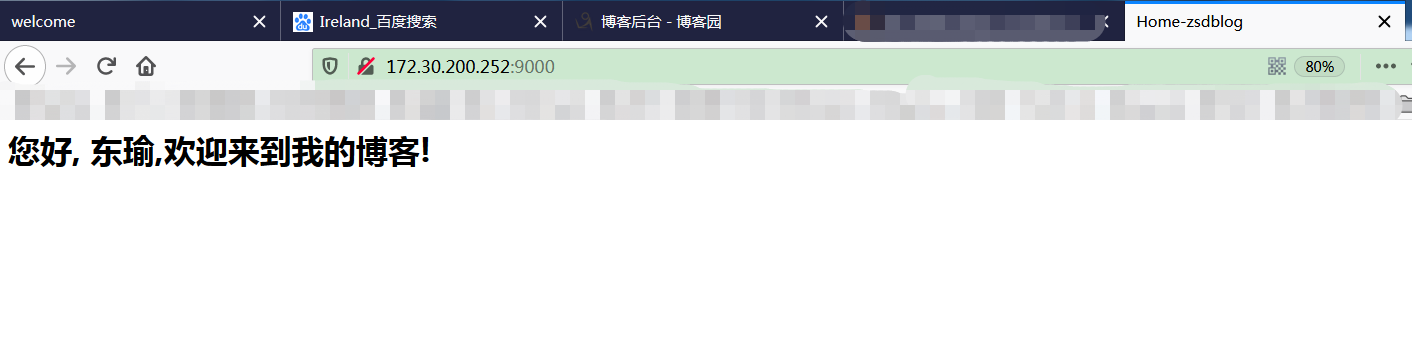
渲染效果:
条件语句
Jinja2也提供条件判断,和if语句类似。
templates/index_condition.html模板如下:
<html>
    <head>
        <title>{{ title }}-zsdblog</title>
    </head>
    <body>
        {% if user %}
        <h1>您好, {{ user.username }},欢迎来到我的博客!</h1>
        {% else %}
        <h1>您好, 游客,欢迎来到我的博客!</h1>
        {% endif %}
    </body>
</html>
其中,程序的含义:
代表如果有user,就告知谁来了我的博客。如果没有user,就代表游客。
hello_condition.py代码如下:
from flask import render_template
from flask import Flask

app = Flask(__name__)

@app.route('/')
@app.route('/index')
def index():
#    user = {'username': '东瑜'}
    return render_template('index_condition.html', title='Home')

if __name__ == '__main__':
        app.run(host='0.0.0.0', port=9000)
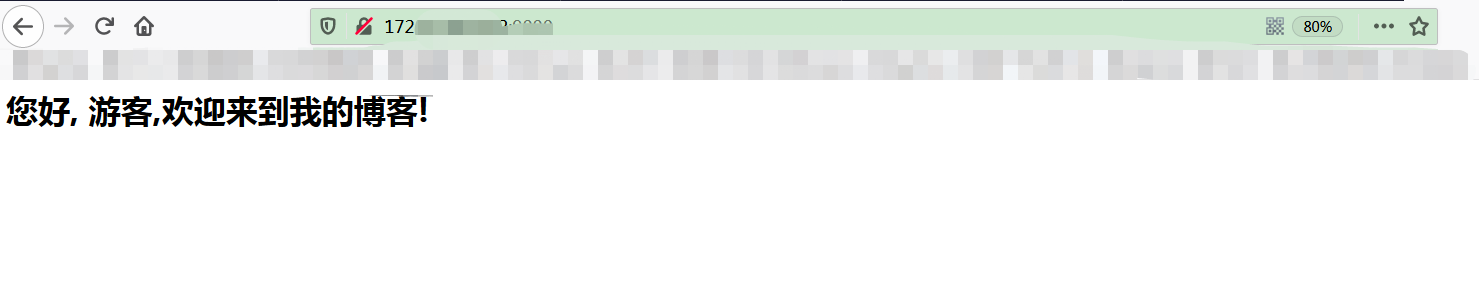
可以看到,我注释了user对象,并且render_template参数的时候,也没有传user的变量。所以演示效果如下:
循环语句
相对于基础语法的for循环。
templates/index_loop.html模板语句如下:
<html>
    <head>
        <title>{{ title }}-zsdblog</title>
    </head>
    <body>
        {% if user %}
        <h1>您好, {{ user.username }},欢迎来到我的博客!</h1>
        {% else %}
        <h1>您好, 游客,欢迎来到我的博客!</h1>
        {% endif %}
                {% for post in posts %}
        <div><p>{{ post.author.username }} 说: <b>{{ post.body }}</b></p></div>
        {% endfor %}
    </body>
</html>
web应用的代码如下:
from flask import render_template
from flask import Flask

app = Flask(__name__)

@app.route('/')
@app.route('/index')
def index():
    user = {'username': '东瑜'}
    posts = [
        {
            'author': {'username': '小明'},
            'body': '北京的天气好好呀'
        },
        {
            'author': {'username': '小黄'},
            'body': '我今天很开心!'
        }
    ]
    return render_template('index_loop.html', title='Home', user=user, posts=posts)

if __name__ == '__main__':
        app.run(host='0.0.0.0', port=9000)
演示效果如下:

感谢您的阅读,如果您觉得阅读本文对您有帮助,请点一下“推荐”按钮。本文欢迎各位转载,但是转载文章之后必须在文章页面中给出作者和原文连接。
分类:
Python


【推荐】国内首个AI IDE,深度理解中文开发场景,立即下载体验Trae
【推荐】编程新体验,更懂你的AI,立即体验豆包MarsCode编程助手
【推荐】抖音旗下AI助手豆包,你的智能百科全书,全免费不限次数
【推荐】轻量又高性能的 SSH 工具 IShell:AI 加持,快人一步
· .NET Core 中如何实现缓存的预热?
· 从 HTTP 原因短语缺失研究 HTTP/2 和 HTTP/3 的设计差异
· AI与.NET技术实操系列:向量存储与相似性搜索在 .NET 中的实现
· 基于Microsoft.Extensions.AI核心库实现RAG应用
· Linux系列:如何用heaptrack跟踪.NET程序的非托管内存泄露
· TypeScript + Deepseek 打造卜卦网站:技术与玄学的结合
· Manus的开源复刻OpenManus初探
· 三行代码完成国际化适配,妙~啊~
· .NET Core 中如何实现缓存的预热?
· 如何调用 DeepSeek 的自然语言处理 API 接口并集成到在线客服系统