
使用webpy创建一个简单的restful风格的webservice应用
下载:wget http://webpy.org/static/web.py-0.38.tar.gz
解压并进入web.py-0.38文件夹
安装:easy_install web.py
这是一个如何使用python快速构建简单restful风格webservice的应用教程。
1.分析rest路由规则
rest风格的服务通常使用web.py来创建服务器端脚本,一般情况下包含两个url路径:
一个是为了查询所有用户,一个是为了查询单个用户。
例如下面的url:
http://localhost:8080/users
http://localhost:8080/users/{id}
2.搭建web.py环境
首先你应该安装web.py模块到你的python环境下。如果你之前没有的话请执行下面的脚本。
sudo easy_install web.py
3.提供数据源
下面是一个提供数据的XML文件
user_data.xml
1 2 3 4 5 6 7 8 9 | <users> <user id="1" name="Rocky" age="38"/> <user id="2" name="Steve" age="50"/> <user id="3" name="Melinda" age="38"/></users> |
4.提供服务器端程序
代码清单一:提供一个简单rest服务的python代码
rest.py
1 2 3 4 5 6 7 8 9 10 11 12 13 14 15 16 17 18 19 20 21 22 23 24 25 26 27 28 29 30 31 32 33 34 | #!/usr/bin/env python# -*- coding: utf-8 -*-# @Date : 2014-08-04 14:03:19# @Author : pinghailinfeng (pinghailinfeng79@gmail.com)# @Link : http://my.oschina.net/dlpinghailinfeng# @Version : $Id$import webimport xml.etree.ElementTree as ETtree = ET.parse('users.xml')root = tree.getroot()urls=( '/users','list_users', '/users/(.*)','get_user')app = web.application(urls,globals())class list_users: def GET(self): output = 'users:['; for child in root: print 'child',child.tag,child.attrib output +=str(child.attrib)+',' output += ']'; return outputclass get_user: def GET(self,user): for child in root: if child.attrib['id']==user: return str(child.attrib)if __name__ == '__main__': app.run() |
5.运行脚本
接下来运行这个脚本
./rest.py
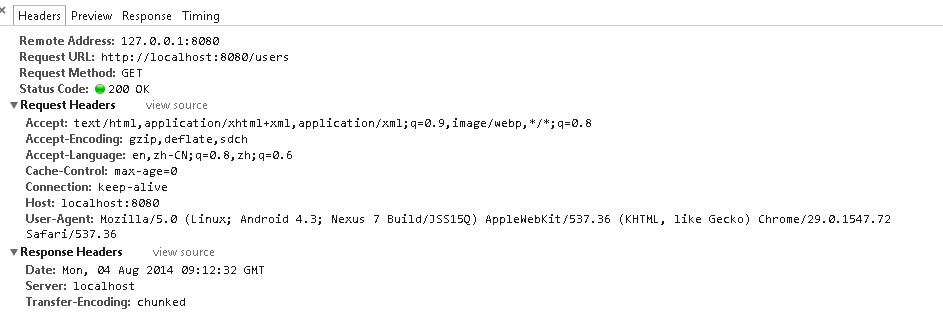
6.访问url
默认是在8080端口提供可以访问的service服务。这个API服务返回的是json数据,你可以使用下面任意一个URL路径访问,例如:
http://localhost:8080/users
http://localhost:8080/users/1
http://localhost:8080/users/2
http://localhost:8080/users/3
7.结果

至此,一个简单的restful风格的webservice应用建立完毕。
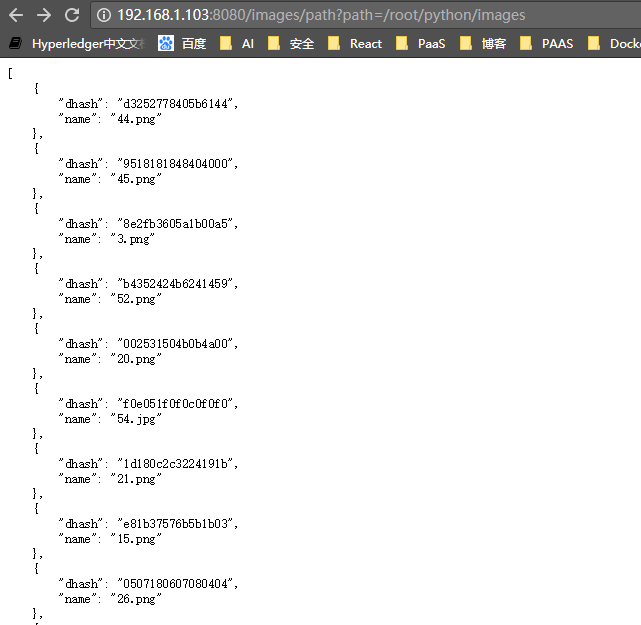
我的接口:
1 2 3 4 5 6 7 8 9 10 11 12 13 14 15 16 17 18 19 20 21 22 23 24 25 26 27 28 29 30 31 32 33 34 35 36 37 38 39 40 41 42 43 | #!/usr/bin/env python# -*- coding: utf-8 -*-# @Date : 2018-01-04# @Author : zhangmingchengimport webfrom PIL import Imageimport imagehashimport globimport jsonimport os,sysurls=( '/images/getImagesDhash','get_imagesdhash', '/images/getImageDhash','get_imagedhash',)app = web.application(urls,globals())class Dhash(object): def __init__(self, name, dhash): self.name = name self.dhash = dhashclass get_imagesdhash: def GET(self): path = web.input().path dhashs = [] for imagePath in glob.glob(path + "/*.*"): image = Image.open(imagePath) h = str(imagehash.dhash(image)) filename = imagePath[imagePath.rfind("/") + 1:] dhash = Dhash(filename,h) dhashs.append(dhash) return json.dumps(dhashs, default=lambda o: o.__dict__, sort_keys=True, indent=4)class get_imagedhash: def GET(self): path = web.input().path image = Image.open(path) h = str(imagehash.dhash(image)) return hif __name__ == '__main__': app.run()~ |


【推荐】国内首个AI IDE,深度理解中文开发场景,立即下载体验Trae
【推荐】编程新体验,更懂你的AI,立即体验豆包MarsCode编程助手
【推荐】抖音旗下AI助手豆包,你的智能百科全书,全免费不限次数
【推荐】轻量又高性能的 SSH 工具 IShell:AI 加持,快人一步
· .NET Core 中如何实现缓存的预热?
· 从 HTTP 原因短语缺失研究 HTTP/2 和 HTTP/3 的设计差异
· AI与.NET技术实操系列:向量存储与相似性搜索在 .NET 中的实现
· 基于Microsoft.Extensions.AI核心库实现RAG应用
· Linux系列:如何用heaptrack跟踪.NET程序的非托管内存泄露
· TypeScript + Deepseek 打造卜卦网站:技术与玄学的结合
· 阿里巴巴 QwQ-32B真的超越了 DeepSeek R-1吗?
· 【译】Visual Studio 中新的强大生产力特性
· 张高兴的大模型开发实战:(一)使用 Selenium 进行网页爬虫
· 【设计模式】告别冗长if-else语句:使用策略模式优化代码结构
2017-01-04 Linux最常用命令的小总结