Jenkins automate workflow
Now we will build an automate flow from code compiling to product delivery.
The essential tools using here are:
- GitHub (or other VCS)
- Jenkins
- Docker
- A web app for demo (use Ruby here)
1. Project
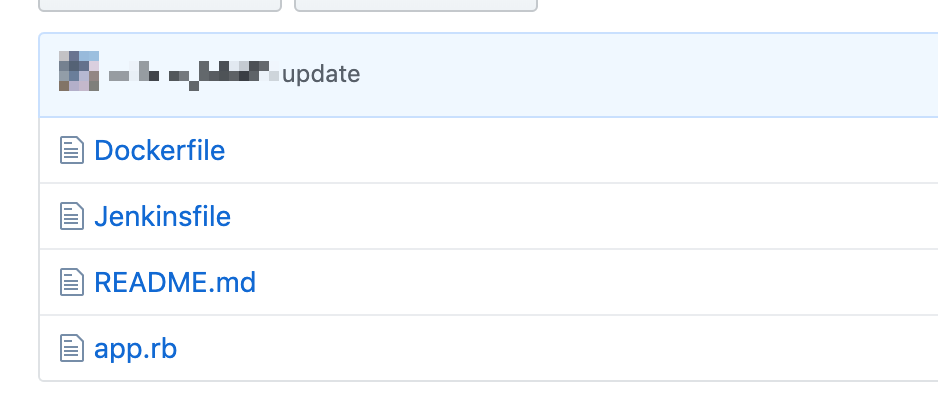
这个项目基本只有三个文件,分别是 Dockerfile 用于打包镜像,Jenkinsfile 用于Jenkins 执行自动测试、编译等构建工作,还有 app.rb 是一个 web 项目,用来模拟真实环境中的 web 开发项目,下面我将介绍具体步骤。
2. Create GitHub webhooks
我们首先需要创建这个 Git 项目,并 push 到 GitHub 上,在项目的设置界面添加 Webhooks
通过 Webhook 可以在你向 github 仓库推送代码时,通过 HTTP 请求向任意的 web server 发送通知信息,在这里我们用它来通知 Jenkins。
这里的 Payload URL 就是接受请求的 Jenkins 地址,但这个地址稍微有些复杂,你会在下一节中看到这个 URL 的具体格式。
3. Config the jenkins
我们使用 Docker 容器技术来搭建一个 Jenkins 服务,通过 docker 安装 Jenkins 非常容易,如果你使用 mac 或者 linux,只需要一条命令:
docker run \
  -u root \
  --rm \
  -d \
  -p 8080:8080 \
  -p 50000:50000 \
  -v jenkins-data:/var/jenkins_home \
  -v /var/run/docker.sock:/var/run/docker.sock \
  jenkinsci/blueocean
如果你在安装 Jenkins 遇到了问题,你可以查看 Jenkins 官方文档 https://jenkins.io/doc/book/installing/
在浏览器中打开 http://localhost:8080/
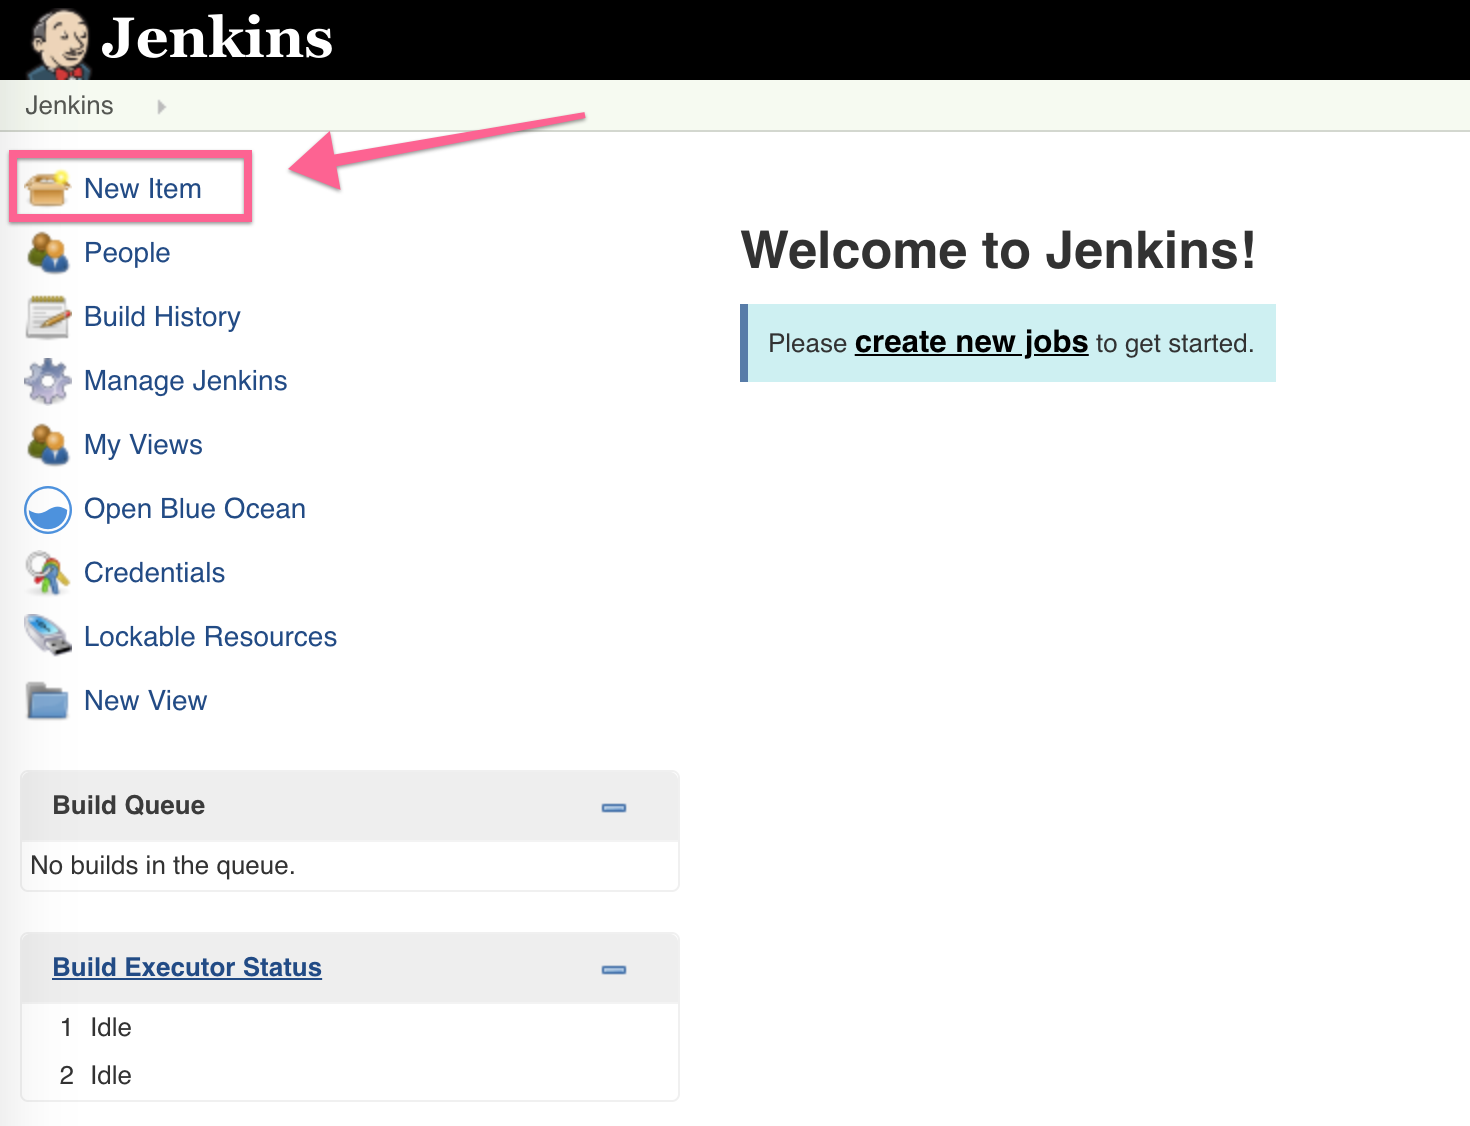
通过左边的 New Item 按钮创建你的第一个 Jenkins 项目吧!
在配置页面有很多不同类型可供选择,在这里我们选择 Pipline 按下面的 OK 进入下一步。
在项目的配置页面,我们首先设定通过外部脚本(trigger builds remotely)触发 Jenkins 的 pipline 脚本。Authentication token 可以随便填入一串随机字符串,输入框下面的注释就是上面 GitHub webhook 需要用到的 URL。
具体来说, GitHub webhook 中的 payload URL 应该是这样的格式:http://<jenkins_username>:<jenkins_api_token>@<jenkins_server:port>/job/<jenkins_item_name>/build?token=<authentication_token>
<jenkins_api_token> 需要你在 user 的 configure 界面自行创建,如下图所示:
Jenkins pipline 是一种领域特定语言, 我们用它来自动创建 docker 镜像,pipline 也可以被放进项目中,通过 Git 进行版本控制,所以在这里我们从 GitHub 上拉取 pipline 脚本。这里的 Script Path 就是 pipline 脚本的名字,如果路径错误 Jenkins 是无法找到正确的脚本的。
我使用的 pipline 脚本比较简单,只是执行一些 shell 语句,
其中区分成 build 和 post 两个阶段:
pipeline {
    agent any
    stages {
        stage('build') {
            steps {
                sh 'rm -rf just_test/'
                sh 'git clone --depth=1 https://github.com/xxx/just_test'
                sh 'cd just_test'
                sh "docker build -t just_test/v${env.BUILD_ID} . "
            }
        }
        stage('post') {
            steps {
                sh 'docker stop $(docker ps -a -q --filter="name=justtest")'
                sh "docker run -p 4567:4567 --rm --name=justtest -d just_test/v${env.BUILD_ID}"
            }
        }
    }
}
简单解释一下这个 pipline 脚本,在 Jenkins 创建的工作目录中,克隆 github 项目,进入项目目录,调用 docker build 打包新的 docker 镜像,docker build 会调用项目中的 Dockerfile 来创建 docker 镜像。然后是停止旧的 App 容器,并将刚才打包好的镜像启动。
4. Dockerfile
使用 Dockerfile 来打包镜像,代码如下:
# Use an official Ruby runtime as a parent image
FROM ruby

# Set the working directory to /app
WORKDIR /usr/src/app

# 将当前目录拷贝至 docker container 中的当前目录
COPY . .

# 运行 sh 命令(安装 ruby 软件包)
RUN gem install sinatra

EXPOSE 4567

# 启动 ruby 服务器
CMD ["ruby", "app.rb"]

 浙公网安备 33010602011771号