张高兴的 Xamarin.Android 学习笔记:(三)活动生命周期
本文将直接解释我写的一个示例。示例目的在于展示 Android 活动在 Xamarin 中的用法。如果有朋友对基础知识不太了解建议先学 Android 。
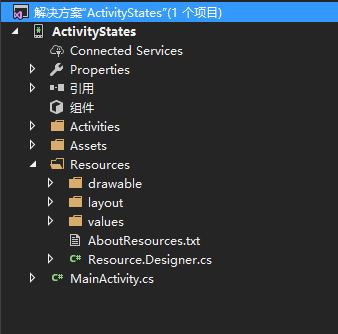
新建一个 Xamarin.Android 项目 ActivityStates。在项目中新建文件夹 Activities 用来存放活动。项目结构如下
(GitHub : https://github.com/ZhangGaoxing/xamarin-android-demo/tree/master/ActivityStates)
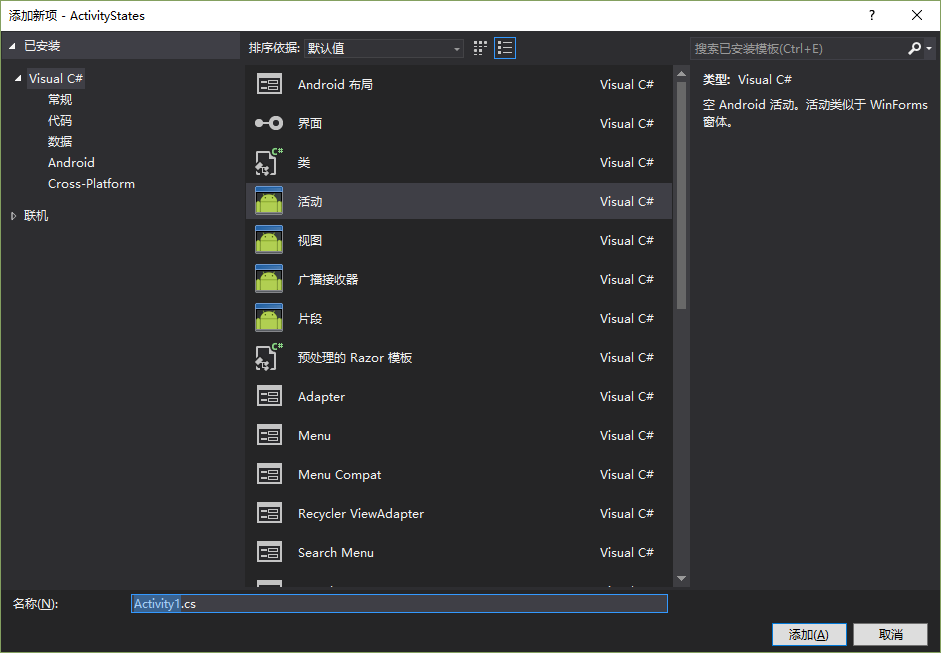
在 Activities 文件夹中新建两个活动 DialogActivity 和 NormalActivity(右击 Activities —— 添加 —— 新建项 —— 活动)
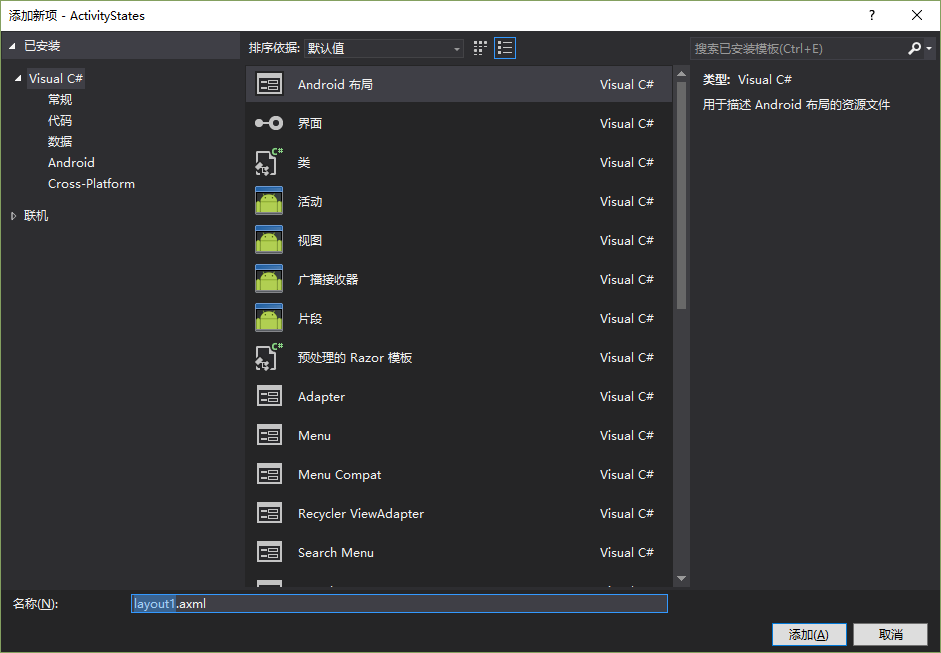
在 Resources 下的 layout 文件夹中新建两个与之相对应的布局 DialogLayout.axml 和 NormalLayout.axml(右击 layout —— 添加 —— 新建项 —— Android 布局)
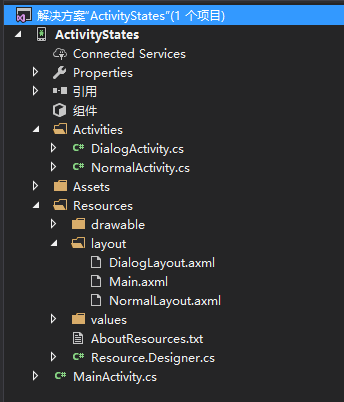
完成后项目结构如下图所示
说完活动、布局的新建,接下来开始编辑代码,新建的活动和布局的代码很简单
NormalActivity.cs
using Android.App;
using Android.Content;
using Android.OS;
using Android.Runtime;
using Android.Views;
using Android.Widget;

namespace ActivityStates.Activities
{
    [Activity(Label = "NormalActivity")]
    public class NormalActivity : Activity
    {
        protected override void OnCreate(Bundle savedInstanceState)
        {
            base.OnCreate(savedInstanceState);

            SetContentView(Resource.Layout.NormalLayout);
        }
    }
}
对应的 NormalLayout.axml
<LinearLayout xmlns:android="http://schemas.android.com/apk/res/android"
    android:orientation="vertical"
    android:layout_width="match_parent"
    android:layout_height="match_parent"
    android:minWidth="25px"
    android:minHeight="25px">
    <TextView
        android:text="This is a Normal Layout"
        android:layout_width="match_parent"
        android:layout_height="wrap_content"
        android:id="@+id/textView1" />
</LinearLayout>
下面要说说 DialogActivity.cs 。由于我们需要把当前的活动主题改为 Dialog 形式,按照一般的 Android 项目,我们应该编辑 AndroidManifest.xml 文件,但在 Xamarin 项目中采用 C# 中的特性(Attribute)来进行配置。详细说明可以按 F12 查看代码。

所以在配置活动主题时我们需要把活动特性修改为以下代码:[Activity(Label = "DialogActivity", Theme ="@android:style/Theme.Dialog")]
DialogActivity.cs
using Android.App;
using Android.Content;
using Android.OS;
using Android.Runtime;
using Android.Views;
using Android.Widget;

namespace ActivityStates.Activities
{
    [Activity(Label = "DialogActivity", Theme ="@android:style/Theme.Dialog")]
    public class DialogActivity : Activity
    {
        protected override void OnCreate(Bundle savedInstanceState)
        {
            base.OnCreate(savedInstanceState);

            SetContentView(Resource.Layout.DialogLayout);
        }
    }
}
DialogLayout.axml
<LinearLayout xmlns:android="http://schemas.android.com/apk/res/android"
    android:orientation="vertical"
    android:layout_width="match_parent"
    android:layout_height="match_parent"
    android:minWidth="25px"
    android:minHeight="25px">
    <TextView
        android:text="This is a Dialog Layout"
        android:layout_width="match_parent"
        android:layout_height="wrap_content"
        android:id="@+id/textView1" />
</LinearLayout>
下面来说明一下主活动和主布局。在主布局中我们需要两个 Button 用来跳转到上面两个新建的活动,和一个 TextView 用来输出 Log。
Main.axml
<LinearLayout xmlns:android="http://schemas.android.com/apk/res/android"
    android:orientation="vertical"
    android:layout_width="match_parent"
    android:layout_height="match_parent">
    <Button
        android:text="Dialog Layout"
        android:layout_width="match_parent"
        android:layout_height="wrap_content"
        android:id="@+id/btnDialog" />
    <Button
        android:text="Normal Layout"
        android:layout_width="match_parent"
        android:layout_height="wrap_content"
        android:id="@+id/btnNormal" />
    <TextView
        android:gravity="center"
        android:layout_width="match_parent"
        android:layout_height="wrap_content"
        android:id="@+id/txtLog" />
</LinearLayout>
而在主活动中我们需要重写活动生命周期的7个方法,在 OnDestroy() 方法中,由于活动已经销毁,向 TextView 中输出完全没有意义,所以采用 Toast 通知的方法来输出。
MainActivity.cs
using Android.App;
using Android.Widget;
using Android.OS;
using Android.Content;

namespace ActivityStates
{
    [Activity(Label = "ActivityStates", MainLauncher = true, Icon = "@drawable/icon")]
    public class MainActivity : Activity
    {
        TextView txtLog;        // 用于显示信息

        protected override void OnCreate(Bundle bundle)
        {
            base.OnCreate(bundle);
            SetContentView (Resource.Layout.Main);
            // 获取控件
            Button btnDialog = FindViewById<Button>(Resource.Id.btnDialog);
            Button btnNormal = FindViewById<Button>(Resource.Id.btnNormal);
            txtLog = FindViewById<TextView>(Resource.Id.txtLog);
            // 输出信息
            txtLog.Text += "OnCreate()\n";

            btnDialog.Click += (sender, e) =>
            {
                Intent dialog = new Intent(this, typeof(Activities.DialogActivity));
                StartActivity(dialog);
            };

            btnNormal.Click += (sender, e) =>
            {
                Intent normal = new Intent(this, typeof(Activities.NormalActivity));
                StartActivity(normal);
            };
        }

        protected override void OnStart()
        {
            base.OnStart();
            txtLog.Text += "OnCreate()\n";
        }

        protected override void OnResume()
        {
            base.OnResume();
            txtLog.Text += "OnResume()\n";
        }

        protected override void OnPause()
        {
            base.OnPause();
            txtLog.Text += "OnPause()\n";
        }

        protected override void OnStop()
        {
            base.OnStop();
            txtLog.Text += "OnStop()\n";
        }

        protected override void OnRestart()
        {
            base.OnRestart();
            txtLog.Text += "OnRestart()\n";
        }

        protected override void OnDestroy()
        {
            base.OnDestroy();
            Toast.MakeText(this, "OnDestroy()", ToastLength.Short).Show();
        }
    }
}
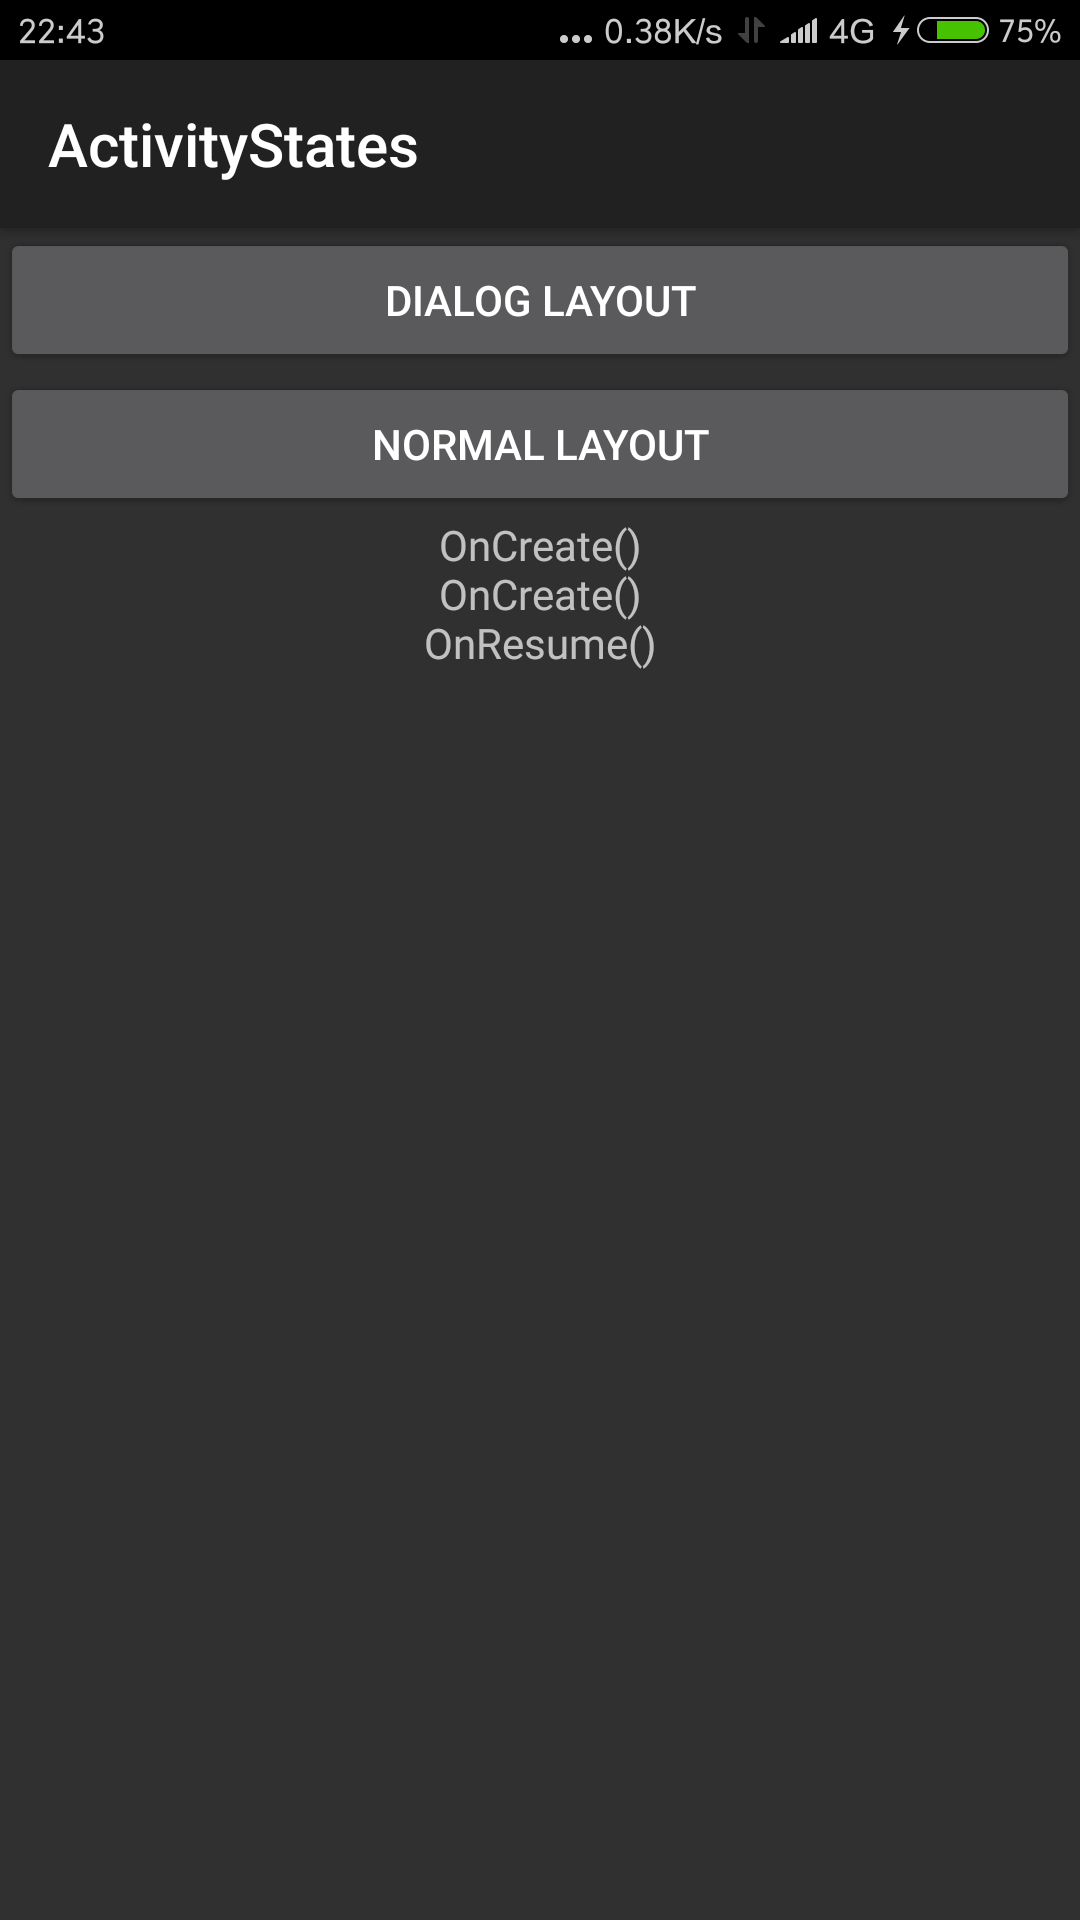
运行图

 浙公网安备 33010602011771号