@Apache配置ssl证书(https)

1.安装apache服务
实际生产中CA证书,一般是向一些专业认证的国际机构来进行申请的专业证书;
测试环境,使用假证书,我们模拟使用OpenSSL生成的证书,来实现Apache的安全加密通讯,这与实际生产中是基本一样
#下载安装apache
[root@server ~]# yum install httpd -y
#启动apache服务
[root@server ~]# systemctl start httpd
[root@server ~]# systemctl enable httpd
#查看服务状态
[root@server ~]# netstat -lntp |grep http
tcp6 0 0 :::80 :::* LISTEN 933/httpd
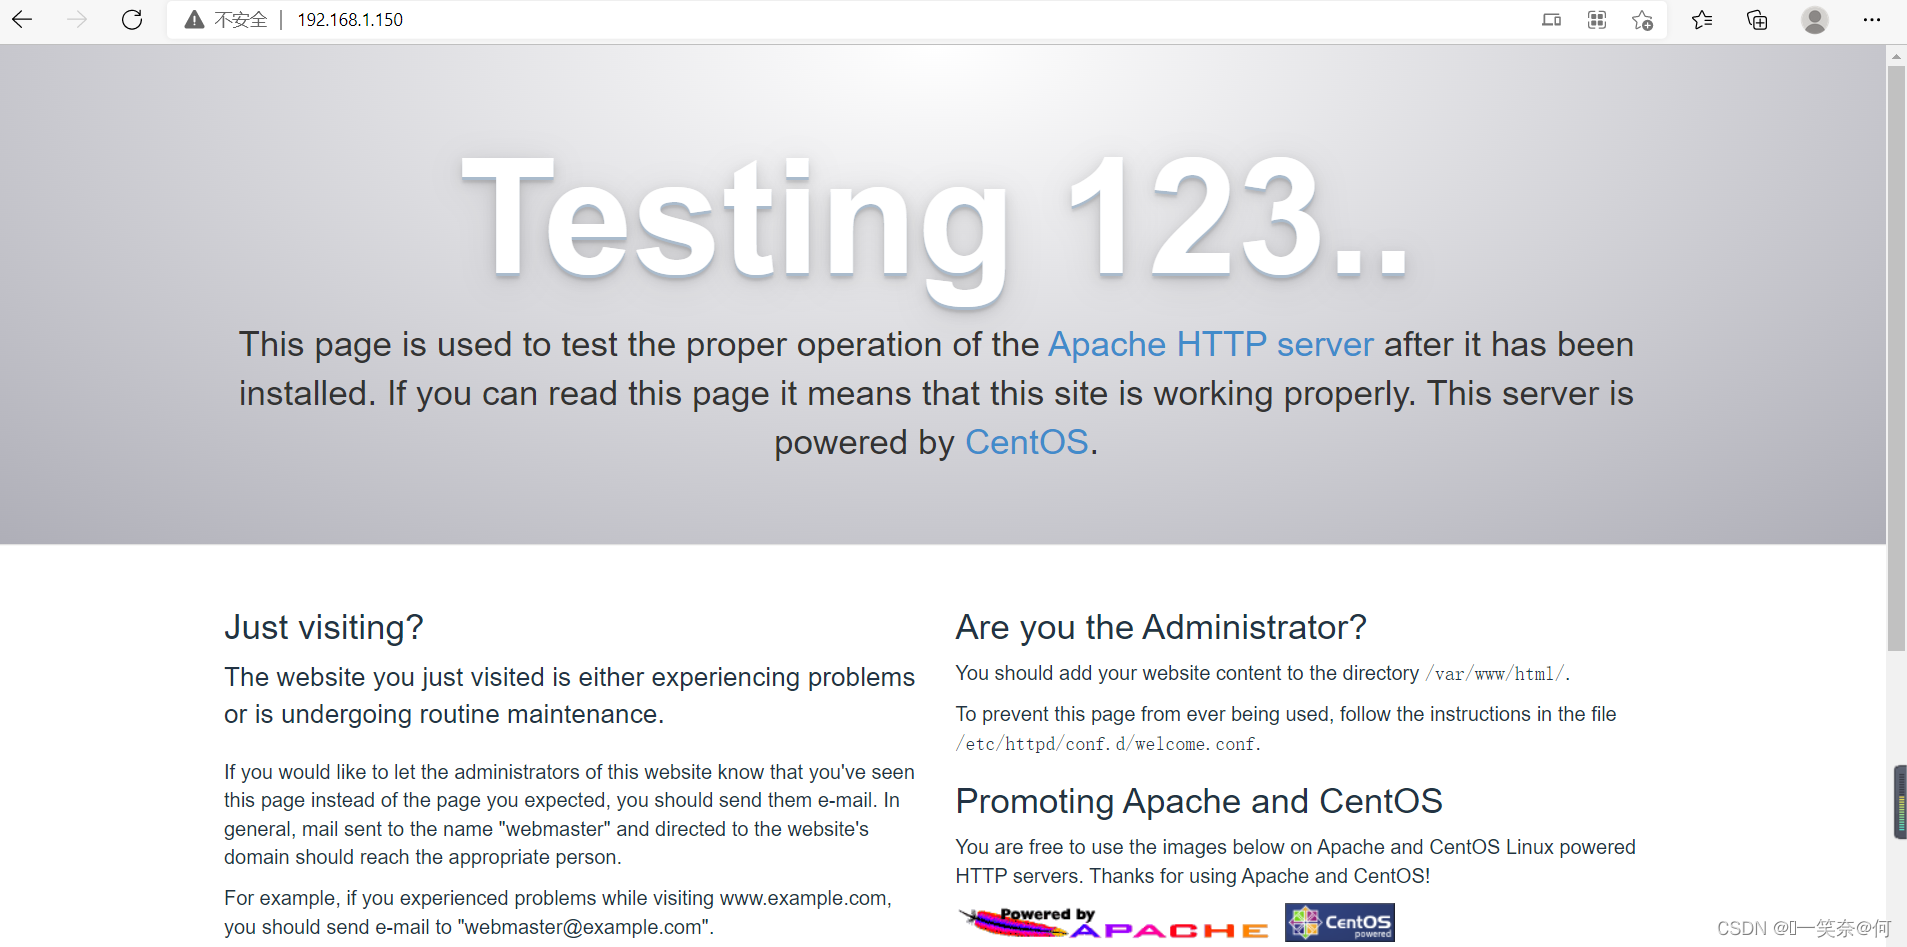
#web访问
浏览器访问:http://192.168.1.150/
2.apache web配置
#配置web页面(apache默认web路径)
[root@server ~]# cat /var/www/html/index.html
This is the test


#查看apache默认web路径配置
[root@server ~]# grep 'DocumentRoot' /etc/httpd/conf/httpd.conf
# DocumentRoot: The directory out of which you will serve your
DocumentRoot "/var/www/html"
    # access content that does not live under the DocumentRoot.


#重启apache服务
[root@server ~]# systemctl restart httpd


#web访问(如下图所示)
浏览器访问:http://192.168.1.150/

3.证书安装
#ssl证书模块安装
[root@server ~]# yum install mod_ssl -y


#查看安装的mod_ssl
[root@server ~]# rpm -qa mod_ssl
mod_ssl-2.4.6-97.el7.centos.5.x86_64


#创建证书存放目录(自定义)
[root@server ~]# mkdir /etc/httpd/ssl
[root@server ~]# ll /etc/httpd/
总用量 0
drwxr-xr-x 2 root root  37 5月  12 15:59 conf
drwxr-xr-x 2 root root 117 5月  12 15:57 conf.d
drwxr-xr-x 2 root root 165 5月  12 15:57 conf.modules.d
lrwxrwxrwx 1 root root  19 4月   4 20:48 logs -> ../../var/log/httpd
lrwxrwxrwx 1 root root  29 4月   4 20:48 modules -> ../../usr/lib64/httpd/modules
lrwxrwxrwx 1 root root  10 4月   4 20:48 run -> /run/httpd
drwxr-xr-x 2 root root   6 5月  12 16:02 ssl
4.证书生成
#安装假证书工具
[root@server ~]# yum install openssl


#证书生成介绍
  #秘钥生成
openssl genrsa -idea -out server.key 2048
  #证书生成
openssl req -days 36500 -x509 -sha256 -nodes -newkey rsa:2048 -keyout server.key -out server.crt

# req  --> 用于创建新的证书
# new  --> 表示创建的是新证书
# x509 --> 表示定义证书的格式为标准格式
# key  --> 表示调用的私钥文件信息
# out  --> 表示输出证书文件信息
# days --> 表示证书的有效期


#证书生成
[root@server ~]# openssl genrsa -idea -out server.key 2048
Generating RSA private key, 2048 bit long modulus
.........................+++
.............+++
e is 65537 (0x10001)
Enter pass phrase for server.key:              #输入服务器的密码短语.key:2022
Verifying - Enter pass phrase for server.key:  #验证输入服务器.key的密码:2022


[root@server ~]# openssl req -days 36500 -x509 -sha256 -nodes -newkey rsa:2048 -keyout server.key -out server.crt
Generating a 2048 bit RSA private key
.......................................................+++
.........+++
writing new private key to 'server.key'
-----
You are about to be asked to enter information that will be incorporated
into your certificate request.
What you are about to enter is what is called a Distinguished Name or a DN.
There are quite a few fields but you can leave some blank
For some fields there will be a default value,
If you enter '.', the field will be left blank.
-----
Country Name (2 letter code) [XX]:china                          #国家名称
string is too long, it needs to be less than  2 bytes long
Country Name (2 letter code) [XX]:zg                             #国家名称
State or Province Name (full name) []:shanghai                   #州或省名称
Locality Name (eg, city) [Default City]:shanghaizeny             #地点名称(例如,城市)
Organization Name (eg, company) [Default Company Ltd]:zeny       #组织名称(例如,公司)
Organizational Unit Name (eg, section) []:zeny                   #组织单位名称(例如,部分
Common Name (eg, your name or your server's hostname) []:qqmail  #公用名(例如,您的姓名或服务器的主机名)
Email Address []:zeny@qq.com                                     #电子邮件地址


#证书文件
[root@server ~]# ll |grep server
-rw-r--r--  1 root root  1411 5月  12 16:18 server.crt
-rw-r--r--  1 root root  1704 5月  12 16:18 server.key


#将证书放到ssl文件中
[root@server ~]# mv server.* /etc/httpd/ssl/
[root@server ~]# ll /etc/httpd/ssl/
总用量 8
-rw-r--r-- 1 root root 1411 5月  12 16:22 server.crt
-rw-r--r-- 1 root root 1704 5月  12 16:22 server.key
在这里插入代码片
5.证书配置
#配置apache ssl证书(安装 mod_ssl模块,会自动生成apache的配置文件)
#更改以下配置即可
DocumentRoot "/var/www/html"    #web文件路径

ServerName 添加域名:443          #改为自己的域名,可以不用配置

SSLEngine on  #启用SSL功能

SSLCertificateFile   /etc/httpd/ssl/www.***.cn.crt        #填写证书文件路径

SSLCertificateKeyFile   /etc/httpd/ssl/www.***.cn.key     #填写私钥文件路径

SSLCertificateChainFile   /etc/httpd/ssl/root_bundle.crt   #填写证书链文件路径


#整体配置文件
[root@server ~]# egrep '^[^#]' /etc/httpd/conf.d/ssl.conf
Listen 443 https
SSLPassPhraseDialog exec:/usr/libexec/httpd-ssl-pass-dialog
SSLSessionCache         shmcb:/run/httpd/sslcache(512000)
SSLSessionCacheTimeout  300
SSLRandomSeed startup file:/dev/urandom  256
SSLRandomSeed connect builtin
SSLCryptoDevice builtin
<VirtualHost _default_:443>
DocumentRoot "/var/www/html"
ErrorLog logs/ssl_error_log
TransferLog logs/ssl_access_log
LogLevel warn
SSLEngine on
SSLProtocol all -SSLv2 -SSLv3
SSLCipherSuite HIGH:3DES:!aNULL:!MD5:!SEED:!IDEA
SSLCertificateFile /etc/httpd/ssl/server.crt
SSLCertificateKeyFile /etc/httpd/ssl/server.key
<Files ~ "\.(cgi|shtml|phtml|php3?)$">
    SSLOptions +StdEnvVars
</Files>
<Directory "/var/www/cgi-bin">
    SSLOptions +StdEnvVars
</Directory>
BrowserMatch "MSIE [2-5]" \
         nokeepalive ssl-unclean-shutdown \
         downgrade-1.0 force-response-1.0
CustomLog logs/ssl_request_log \
          "%t %h %{SSL_PROTOCOL}x %{SSL_CIPHER}x \"%r\" %b"
</VirtualHost>


#重启apache服务
[root@server ~]# systemctl restart httpd


#web访问,到此就完成了证书配置(如下图所示)
浏览器访问:https://192.168.1.150/


本文来自博客园,作者:ଲ小何才露煎煎饺,转载请注明原文链接:https://www.cnblogs.com/zeny/p/16268932.html

 浙公网安备 33010602011771号