
Vue2系列(lqz)——6-Vue-cli、7-Vue插件、8-Vue第三方框架之ElementUi
6 Vue-CLI 项目搭建
1 单文件组件
https://cn.vuejs.org/v2/guide/single-file-components.html#ad
2 Vue-CLI 项目搭建
2.1 环境搭建
- 安装node

官网下载安装包,傻瓜式安装:https://nodejs.org/zh-cn/

- 安装cnpm

npm install -g cnpm --registry=https://registry.npm.taobao.org

- 安装脚手架

cnpm install -g @vue/cli


- 清空缓存处理

npm cache clean --force
2.2 项目的创建
创建项目
vue create 项目名
// 要提前进入目标目录(项目应该创建在哪个目录下)
// 选择自定义方式创建项目,选取Router, Vuex插件
//标准eslint,自动修复(ESlint+Standard config--》lint on save+Lint and fix on commit)
vue ui 使用图形界面创建项目
启动/停止项目
npm run serve / ctrl+c
// 要提前进入项目根目录
打包项目
npm run build
// 要在项目根目录下进行打包操作
package.json中
"scripts": {
    "serve": "vue-cli-service serve",  # 运行项目
    "build": "vue-cli-service build",  # 编译项目成html,css,js
    "lint": "vue-cli-service lint"     # 代码格式化
},
2.3 认识项目
项目目录
dist: 打包的项目目录(打包后会生成)
node_modules: 项目依赖(删掉,不上传git,使用npm install重新安装)
public: 共用资源
	--favicon.ico
	--index.html:项目入口页面,单页面
src: 项目目标,书写代码的地方
	-- assets:资源
	-- components:组件
	-- views:视图组件
	-- App.vue:根组件
	-- main.js: 入口js
	-- router.js: 路由文件
	-- store.js: 状态库文件
vue.config.js: 项目配置文件(没有可以自己新建)
package.json:项目配置依赖(等同于python项目的reqirement.txt)
配置文件:vue.config.js
//https://cli.vuejs.org/zh/config/ 配置参考
module.exports={
	devServer: {
		port: 8888
	}
}
// 修改端口,选做
main.js 整个项目入口文件
//es6 模块导入规范,等同于python导包
//commonJs的导入规范:var Vue=require('vue')
import Vue from 'vue'
import App from './App.vue'  //根组件
import router from './router'
import store from './store'

Vue.config.productionTip = false

new Vue({
  router,
  store,
  render: h => h(App)
}).$mount('#app')


/*
new Vue({
	el:'#app' //原来是用el:'#app',现在是new出Vue对象,挂载到#app上---》.$mount('#app')
  render: h => h(App) //原来是在页面上div中写样式,现在组件化开发 把根组件(import App from './App.vue'),通过render渲染上,渲染组件的方式
}).$mount('#app')
*/
vue文件
<template>
    <!-- 模板区域 -->
</template>
<script>
    // 逻辑代码区域
    // 该语法和script绑定出现
  	//export default-->es6的默认导出(导出一个对象),模拟commonJS的导出方式制定的
    export default {

    }
</script>
<style scoped>
    /* 样式区域 */
    /* scoped表示这里的样式只适用于组件内部, scoped与style绑定出现 */
</style>
定义组件
#1 新建xx.vue
components-->HelloWorld.vue
#2 引入使用
<script>
	# es6的引入import from
  import HelloWorld from '@/components/HelloWorld.vue'
  import Vue from 'vue'
  Vue.component('HelloWorld',HelloWorld) # 全局组件
  export default {
     components: { # 局部组件
   		 HelloWorld:HelloWorld
  		},

}
</script>
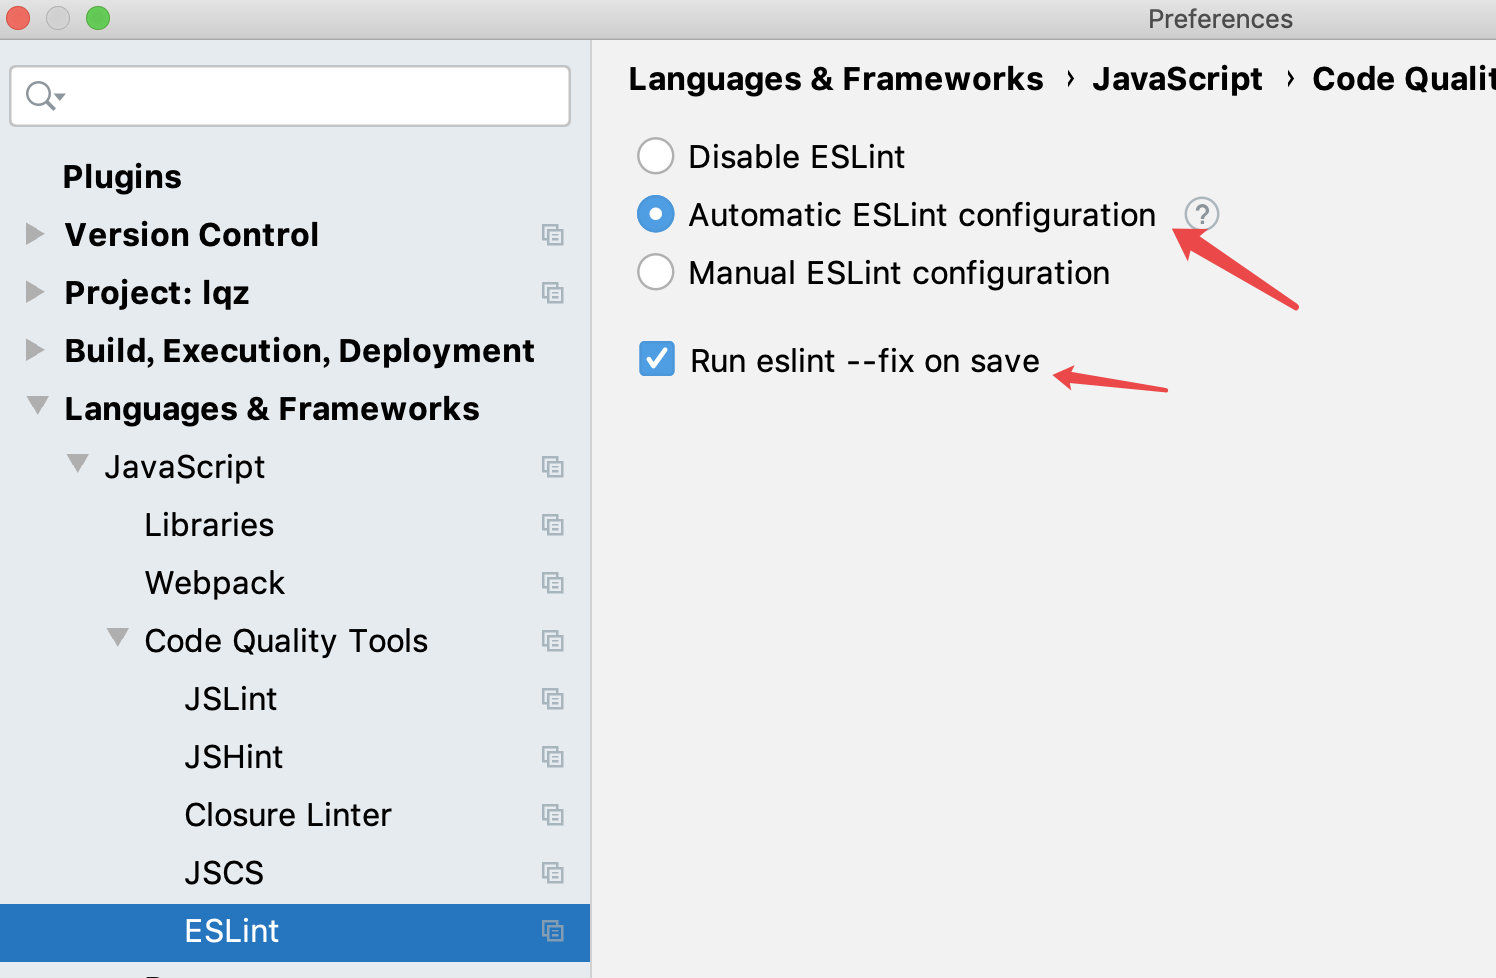
ESLint
ESLint 是一个开源的 JavaScript 代码检查工具,由 Nicholas C. Zakas 于2013年6月创建。代码检查是一种静态的分析,常用于寻找有问题的模式或者代码,并且不依赖于具体的编码风格。对大多数编程语言来说都会有代码检查,一般来说编译程序会内置检查工具。

JavaScript 是一个动态的弱类型语言,在开发中比较容易出错。因为没有编译程序,为了寻找 JavaScript 代码错误通常需要在执行过程中不断调试。像 ESLint 这样的可以让程序员在编码的过程中发现问题而不是在执行的过程中。

ESLint 的初衷是为了让程序员可以创建自己的检测规则。ESLint 的所有规则都被设计成可插入的。ESLint 的默认规则与其他的插件并没有什么区别,规则本身和测试可以依赖于同样的模式。为了便于人们使用,ESLint 内置了一些规则,当然,你可以在使用过程中自定义规则。

ESLint 使用 Node.js 编写,这样既可以有一个快速的运行环境的同时也便于安装
js语法规范性检查,类似于PEP8规范
官网
https://eslint.bootcss.com/docs/about/
1、使用vue-cli:
在vue-cli在init初始化时会询问是否需要添加ESLint,确认之后在创建的项目中就会出现.eslintignore和.eslintrc.js两个文件。
.eslintignore类似Git的.gitignore用来忽略一些文件不使用ESLint检查。 .eslintrc.js是ESLint配置文件,用来设置插件、自定义规则、解析器等配置。
执行:npm run lint 会自动修复代码
2、配置ESLint:
Vue的项目配置eslint还是很简单的。它属于依赖插件中的一种,可以像安装其他插件一样在命令行用npm install eslint -g安装,也可以修改package.json文件去更新项目的依赖包,重新跑一遍npm install就可以了。 eslint常用的依赖有很多,我贴出我用的一些。在package.jsonde 的dependencies或者devDependencies中添加下列属性即可:
"babel-eslint": "^7.1.1",
"eslint-config-standard": "^6.2.1",
"eslint-friendly-formatter": "^2.0.7",
"eslint-loader": "^1.6.1",
"eslint-plugin-html": "^2.0.0",
"eslint-plugin-promise": "^3.4.0",
"eslint-plugin-standard": "^2.0.1",
但是有可能项目没有生成 eslintrc.js,码友可以去网上搜eslintrc.js然后放在项目根目录下即可。
3 vue项目中关闭ESLint
时候会被ESLint的报错阻止程序的运行,这时候我们就想关闭这个ESLint了。在vue项目中关闭ESLint方法:
4 配置示例
在package.json中通过eslintConfig配置,示例:
"eslintConfig": {
    "root": true,
    "env": {
      "node": true
    },
    "extends": [
      "plugin:vue/essential",
      "@vue/standard"
    ],
    "rules": {
      "eol-last": [0],
      "semi": [2, "always"], // 强制语句分号结尾
      "indent": [2, 4], // 强制缩进4 spaces
      "no-new": [0], // 不允许new一个实例后不赋值或不比较
      "no-debugger": [0], // 不允许出现debugger语句
      "camelcase": [0, {"properties": "never"}] // 关闭驼峰命名规则
    },
    "parserOptions": {
      "parser": "babel-eslint"
    }
 },
 "eslintIgnore": [
    "dist/*",
    "node_modules/*",
    "build/*",
    "*.md"
 ],
7-Vue插件
项目功能插件
1、vue-router
{
    path: '/',
    name: 'home',
    // 路由的重定向
    redirect: '/home'
}

{
    // 一级路由, 在根组件中被渲染, 替换根组件的<router-view/>标签
    path: '/one-view',
    name: 'one',
    component: () => import('./views/OneView.vue')
}

{
    // 多级路由, 在根组件中被渲染, 替换根组件的<router-view/>标签
    path: '/one-view/one-detail',
    component: () => import('./views/OneDetail.vue'),
    // 子路由, 在所属路由指向的组件中被渲染, 替换该组件(OneDetail)的<router-view/>标签
    children: [{
        path: 'show',
        component: () => import('./components/OneShow.vue')
    }]
}
<!-- router-link渲染为a标签 -->
<router-link to="/">Home</router-link> |
<router-link to="/about">About</router-link> |
<router-link :to="{name: 'one'}">One</router-link> |

<!-- 为路由渲染的组件占位 -->
<router-view />
a.router-link-exact-active {
    color: #42b983;
}
// router的逻辑转跳
this.$router.push('/one-view')

// router采用history方式访问上一级
this.$router.go(-1)
2、vuex
// 在任何一个组件中,均可以通过this.$store.state.msg访问msg的数据
// state永远只能拥有一种状态值
state: {
    msg: "状态管理器"
},
// 让state拥有多个状态值
mutations: {
    // 在一个一个组件中,均可以通过this.$store.commit('setMsg', new_msg)来修改state中的msg
    setMsg(state, new_msg) {
        state.msg = new_msg
    }
},
// 让mutations拥有多个状态值
actions: {

}
3、vue-cookies
// 安装cookie的命令
// npm install vue-cookies --save
// 为项目配置全局vue-cookie
import VueCookies from 'vue-cookies'
// 将插件设置给Vue原型,作为全局的属性,在任何地方都可以通过this.$cookie进行访问
Vue.prototype.$cookies = VueCookies
// 持久化存储val的值到cookie中
this.$cookies.set('val', this.val, 300)
// 获取cookie中val字段值
this.$cookies.get('val')
// 删除cookie键值对
this.$cookies.remove('val')
4、axios
import axios from 'axios' # 安装的模块不用加相对路径

axios.get().then()
// 安装 axios(ajax)的命令
// npm install axios--save
// 为项目配置全局axios
import Axios from 'axios'
Vue.prototype.$ajax = Axios
let _this = this
this.$ajax({
    method: 'post',
    url: 'http://127.0.0.1:5000/loginAction',
    params: {
        usr: this.usr,
        ps: this.ps
    }
}).then(function(res) {
    // this代表的是回调then这个方法的调用者(axios插件),也就是发生了this的重指向
    // 要更新页面的title变量,title属于vue实例
    // res为回调的对象,该对象的data属性就是后台返回的数据
    _this.title = res.data
}).catch(function(err) {
    window.console.log(err)
})
# 用pycharm启动该文件模拟后台
from flask import Flask, request, render_template
from flask_cors import CORS
app = Flask(__name__)
CORS(app, supports_credentials=True)

@app.route('/')
def index():
    return "<h1>主页</h1>"

@app.route('/loginAction', methods=['GET', 'POST'])
def test_action():
    # print(request.args)
    # print(request.form)
    # print(request.values)
    usr = request.args['usr']
    ps = request.args['ps']
    if usr != 'abc' or ps != '123':
        return 'login failed'
    return 'login success'


if __name__ == '__main__':
    app.run()
5、跨域问题解决
# http://www.mei.com/silo/women 响应头中Access-Control-Allow-Origin: * 允许所有的域访问
# 以猫眼电影为例 :https://m.maoyan.com/#movie

# devServer.proxy
# https://cli.vuejs.org/zh/config/#devserver-proxy
vue.config.js
module.exports = {
  devServer: {
    proxy: {
      '/ajax': {
        target: 'https://m.maoyan.com/',
        changeOrigin: true
      }
    }
  }
}
组件中
import axios from 'axios'
mounted () {
  axios.get('ajax/moreClassicList?sortId=1&showType=3').then(res => {
    console.log(res.data)
  })
}
8-Vue第三方框架之ElementUi
1 使用第三方插件
https://github.com/vuejs/awesome-vue#components–libraries
集合了来自社区贡献的数以千计的插件和库。
2 使用第三方UI框架
饿了么UED团队推出的vue 前端框架:
PC框架:
(element UI , iview)
element UI 官网:http://element.eleme.io/
element UI github:https://github.com/ElemeFE/element
移动端框架:
(mint UI)
mint UI官网:https://mint-ui.github.io/docs/
mint UI github:https://github.com/ElemeFE/mint-ui
本文来自博客园,作者:喝茶看狗叫,转载请注明原文链接:https://www.cnblogs.com/zdwzdwzdw/p/17487836.html


【推荐】国内首个AI IDE,深度理解中文开发场景,立即下载体验Trae
【推荐】编程新体验,更懂你的AI,立即体验豆包MarsCode编程助手
【推荐】抖音旗下AI助手豆包,你的智能百科全书,全免费不限次数
【推荐】轻量又高性能的 SSH 工具 IShell:AI 加持,快人一步
· TypeScript + Deepseek 打造卜卦网站:技术与玄学的结合
· 阿里巴巴 QwQ-32B真的超越了 DeepSeek R-1吗?
· 如何调用 DeepSeek 的自然语言处理 API 接口并集成到在线客服系统
· 【译】Visual Studio 中新的强大生产力特性
· 2025年我用 Compose 写了一个 Todo App