C#Csharp演示代码编译
第一部分:基础程序
Csharp演示代码编译
一、新建一个txt文件直接修改后缀

二、写一个基础代码
"hello.cs"和所有代码一样,首先需要一个函数入口:
using System; namespace MySpace { class Program { static void Main(string[] args) { Console.WriteLine("hello w"); Console.ReadKey(); } } }
三、C#编译器
编译C#代码需要一个编译器,最基本C#编译器即是这个csc.exe。

双击打开这个执行文件是不行的,我们需要使用dot窗口结合需要被编译的代码去使用才行。
指令如下:
按顺序输入分别为“编译器”+“编译文件路径”+“关键字/out”+“编译输出路径”
(注意转义字符需要+/)

最后双击打开你的程序即可,完美运行

第二部分:visual studio
学习C#的时候我们使用一些集成工具,初次打开需要勾选下载一些组件

创建一个WPF窗口

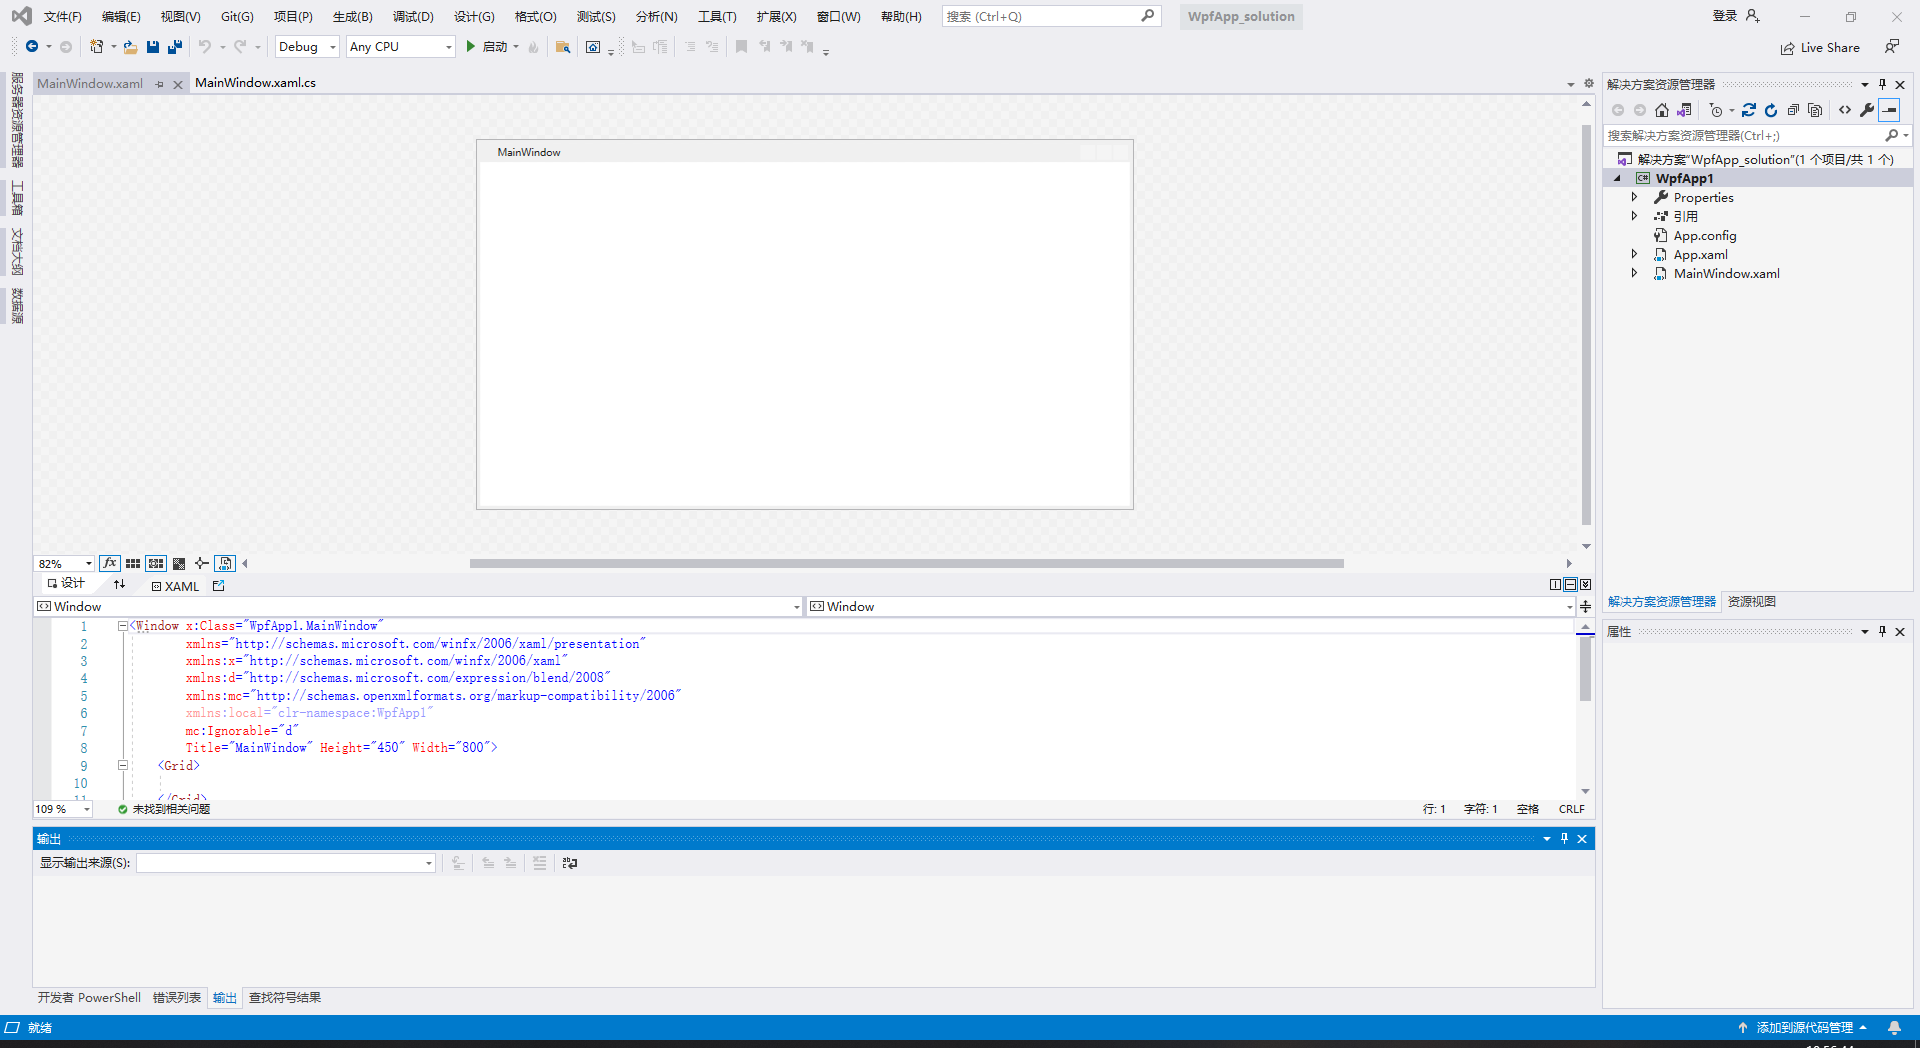
此时我们可以观察我们的文件目录,其中的“WpfApp_solution.sln”文件指向的是“WpfApp1.csproj”,通过这个文件完成了我们的项目是由什么格式打开。

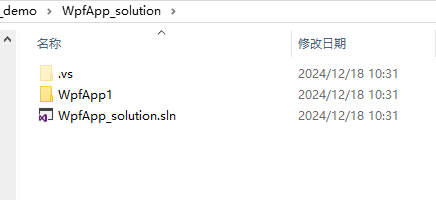
(划重点)回到我们的基础界面,可以看到右边的资源管理器中只有一个MainWindow.xaml,当项目运行是固定是由APP.xaml去控制主要打开窗口的。
第三部分:XAML基本布局
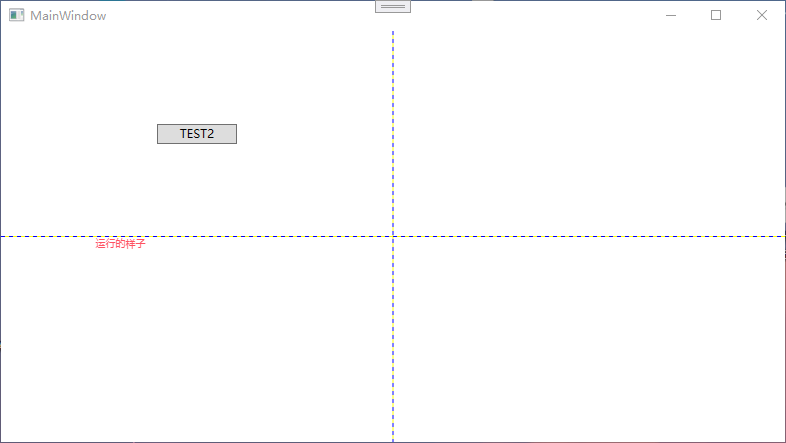
WPF使用的页面和网页制作有异曲同工之妙,也是需要分割一层层的盒子去套起来(示例)
<Window x:Class="WpfApp1.MainWindow" xmlns="http://schemas.microsoft.com/winfx/2006/xaml/presentation" xmlns:x="http://schemas.microsoft.com/winfx/2006/xaml" xmlns:d="http://schemas.microsoft.com/expression/blend/2008" xmlns:mc="http://schemas.openxmlformats.org/markup-compatibility/2006" mc:Ignorable="d" Title="MainWindow" Height="450" Width="800"> <Grid ShowGridLines="True"><!--定义分割线--> <Grid.RowDefinitions> <RowDefinition></RowDefinition><!--上下分割线--> <RowDefinition></RowDefinition> </Grid.RowDefinitions> <Button Height="20" Width="80" Content="TEST1" /> <Button Grid.Row="1" Grid.Column="1" Content="TEST2" /> <Grid.ColumnDefinitions> <ColumnDefinition></ColumnDefinition><!--左右分割线--> <ColumnDefinition></ColumnDefinition> </Grid.ColumnDefinitions> </Grid> </Window>
全局样式设置方法
<Window x:Class="WpfApp1.MainWindow" xmlns="http://schemas.microsoft.com/winfx/2006/xaml/presentation" xmlns:x="http://schemas.microsoft.com/winfx/2006/xaml" xmlns:d="http://schemas.microsoft.com/expression/blend/2008" xmlns:mc="http://schemas.openxmlformats.org/markup-compatibility/2006" mc:Ignorable="d" Title="MainWindow" Height="450" Width="800"> <Window.Resources><!--全局样式--> <Style TargetType="Button"> <Setter Property="Background" Value="Red"/> <Setter Property="FontSize" Value="25"/> </Style> </Window.Resources> <Grid ShowGridLines="True"><!--定义分割线--> <Grid.RowDefinitions> <RowDefinition></RowDefinition><!--上下分割线--> <RowDefinition></RowDefinition> </Grid.RowDefinitions> <Button Height="20" Width="80" Content="TEST1" /> <Button Grid.Row="1" Grid.Column="1" Content="TEST2" /> <Grid.ColumnDefinitions> <ColumnDefinition></ColumnDefinition><!--左右分割线--> <ColumnDefinition></ColumnDefinition> </Grid.ColumnDefinitions> </Grid> </Window>

第三部分:XAML基本布局二
颜色静态资源使用方法如下:
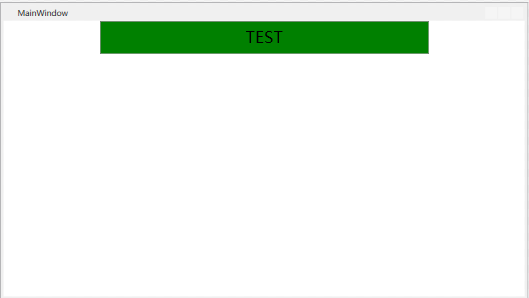
<Window x:Class="WpfApp1.MainWindow" xmlns="http://schemas.microsoft.com/winfx/2006/xaml/presentation" xmlns:x="http://schemas.microsoft.com/winfx/2006/xaml" xmlns:d="http://schemas.microsoft.com/expression/blend/2008" xmlns:mc="http://schemas.openxmlformats.org/markup-compatibility/2006" mc:Ignorable="d" Title="MainWindow" Height="450" Width="800"> <Window.Resources><!--全局样式--> <Style x:Key="LoginStyle" TargetType="Button"> <Setter Property="Background" Value="Green"/> <Setter Property="FontSize" Value="25"/> <Setter Property="Height" Value="50"/> <Setter Property="Width" Value="500"/> </Style> </Window.Resources> <StackPanel> <Button Style="{StaticResource LoginStyle}" Content="TEST" /> </StackPanel> </Window>


【推荐】国内首个AI IDE,深度理解中文开发场景,立即下载体验Trae
【推荐】编程新体验,更懂你的AI,立即体验豆包MarsCode编程助手
【推荐】抖音旗下AI助手豆包,你的智能百科全书,全免费不限次数
【推荐】轻量又高性能的 SSH 工具 IShell:AI 加持,快人一步
· TypeScript + Deepseek 打造卜卦网站:技术与玄学的结合
· 阿里巴巴 QwQ-32B真的超越了 DeepSeek R-1吗?
· 如何调用 DeepSeek 的自然语言处理 API 接口并集成到在线客服系统
· 【译】Visual Studio 中新的强大生产力特性
· 2025年我用 Compose 写了一个 Todo App