使用sequelize对数据库进行增删改查
由于本人对于命令比较执着,所以基本都是在命令下操作的,喜欢使用命令的可以使用Cmder,需要安装、配置的可以参考这篇文章:
https://www.cnblogs.com/ziyoublog/p/10416684.html
首先我们需要在自己的文件夹下运行一下cmd
npm init -y
(-y)的主要目的是跳过配置一系列的package.json
其次我们需要安装两个sequelize和mysql2
yarn add sequelize mysql2 -S
或者
npm install sequelize mysql2 -S
接下来我们需要在根目录下新建一个js文件
// index.js
const Sequelize = require('sequelize')
const sequelize = new Sequelize(
    'testseq', // 数据库名
    'root', // 用户名
    'root', // 密码
    {
        'dialect': 'mysql', // 数据库使用mysql
        'host': 'localhost', // 数据库服务器ip
        'port': 3306, // 数据库服务器端口
        'define': {
            'underscored': true
        }
    }
)
上述操作是为了连接数据库的,可以通过以下代码验证:
// 测试数据库是否连接成功
sequelize
    .authenticate()
    .then(res => {
        console.log('Connection Success!')
    })
    .catch(err => {
        console.log('Connection Error')
    })

证明连接成功!
建立一个模板:
// 模板sequelize.define('表名', {}, {})
const User = sequelize.define(
    'first', {
        id: {
            field: 'id', // 字段名
            primaryKey: true,
            type: Sequelize.INTEGER, // 类型
            allowNull: false // 是否允许为空
        },
        name: {
            field: 'name',
            primaryKey: true,
            type: Sequelize.STRING
        },
        password: {
            field: 'password',
            primaryKey: true,
            type: Sequelize.STRING,
            allowNull: false
        }
    }, {
        tableName: 'first',
        timestamps: false,
        freezeTableName: true
    }
)
首先我们来实现往数据库添加数据:
// 往数据库添加单条数据
User.create({
    id: 1,
    name: 'test1',
    password: '123456'
})

你就可以看到sql语句,接下来看看数据库有没有数据:
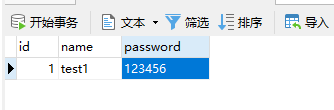
证明插入成功
其次就是改操作:
// 修改往数据库数据(通过id去修改name或者password)
User.update({
    'name': 'test2'
}, {
    'where': { 'id': 1 }
})
sql语句:

数据库:
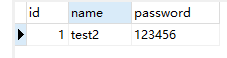
name成功由test1变成了test2,证明成功!
查所有操作:
// 查询所有
User.findAll().then((res) => {
    console.log(res)
})

查单个操作:
// 查询单条
User.findOne({
    'where': {
        'id': 1
    }
}).then(res => {
    console.log(res)
})
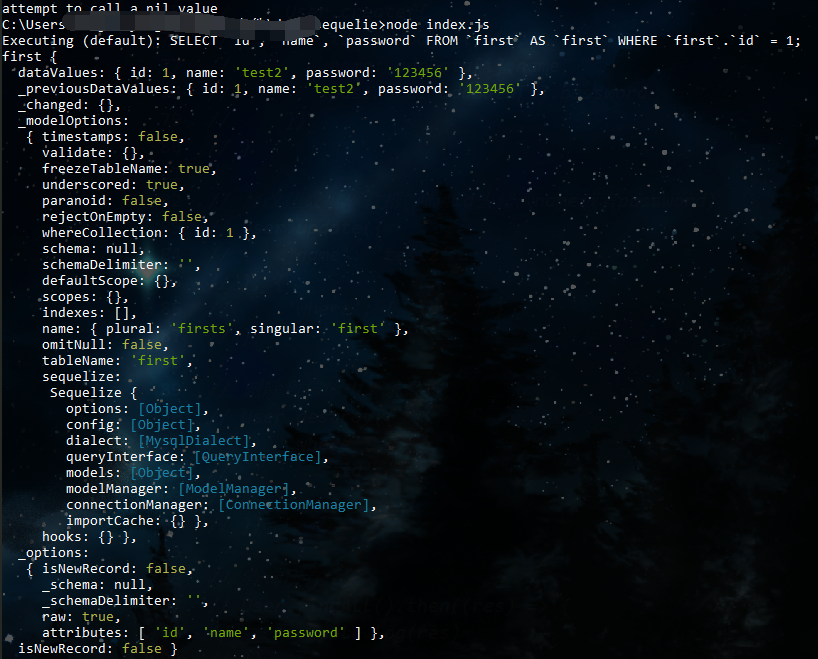
由于就只有一条数据,所以查出来的结果是一样的, 但是查询单个findOne、全部findAll。
接下来就是删除操作了:
// 删除数据库中某条数据
User.destroy({
    'where': {
        'id': 1
    }
})

数据库:

已经顺利删除了。
以上操作需要在已经建立数据表的情况下。
完整代码:
const Sequelize = require('sequelize')
const sequelize = new Sequelize(
    'testseq', // 数据库名
    'root', // 用户名
    'root', // 密码
    {
        'dialect': 'mysql', // 数据库使用mysql
        'host': 'localhost', // 数据库服务器ip
        'port': 3306, // 数据库服务器端口
        'define': {
            'underscored': true
        }
    }
)

// 测试数据库是否连接成功
// sequelize
//     .authenticate()
//     .then(res => {
//         console.log('Connection Success!')
//     })
//     .catch(err => {
//         console.log('Connection Error')
//     })

// 模板sequelize.define('表名', {}, {})
const User = sequelize.define(
    'first', {
        id: {
            field: 'id',
            primaryKey: true,
            type: Sequelize.INTEGER,
            allowNull: false
        },
        name: {
            field: 'name',
            primaryKey: true,
            type: Sequelize.STRING,
            allowNull: false
        },
        password: {
            field: 'password',
            primaryKey: true,
            type: Sequelize.STRING,
            allowNull: false
        }
    }, {
        tableName: 'first',
        timestamps: false,
        freezeTableName: true
    }
)

// 往数据库添加单条数据
User.create({
    id: 1,
    name: 'test1',
    password: '123456'
})

// // 往数据库添加数据多条数据   遍历
// const addData = [{
//         id: 5,
//         name: 'yang5',
//         password: '123456'
//     },
//     {
//         id: 6,
//         name: 'yang6',
//         password: '123456'
//     }
// ]

// for (let i = 0; i < addData.length; i++) {
//     User.create({
//         id: addData[i].id,
//         name: addData[i].name,
//         password: addData[i].password
//     })
// }

// 修改往数据库数据(通过id去修改name或者password)
// User.update({
//     'name': 'test2'
// }, {
//     'where': { 'id': 1 }
// })

// 删除数据库中某条数据
// User.destroy({
//     'where': {
//         'id': 1
//     }
// })

// 查询所有
User.findAll().then((res) => {
    console.log(res)
})

// 查询单条
User.findOne({
    'where': {
        'id': 1
    }
}).then(res => {
    console.log(res)
})
希望大佬看到有不对的地方,提出博主予以改正!

 浙公网安备 33010602011771号