Springboot集成swagger
一、导入swagger所需maven依赖包
        <!---swagger-ui-->
        <dependency>
            <groupId>io.springfox</groupId>
            <artifactId>springfox-swagger2</artifactId>
            <version>2.6.1</version>
        </dependency>

        <dependency>
            <groupId>io.springfox</groupId>
            <artifactId>springfox-swagger-ui</artifactId>
            <version>2.6.1</version>
        </dependency>
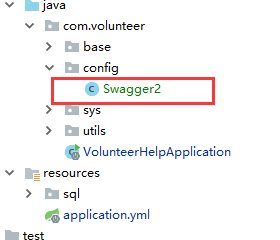
二、wagger配置类
如图
@Configuration
public class Swagger2 {
    @Bean
    public Docket createRestApi() {
        return new Docket(DocumentationType.SWAGGER_2)
                .apiInfo(apiInfo())
                .select()
                .apis(RequestHandlerSelectors.basePackage("com.volunteer.sys.controller"))
                .paths(PathSelectors.any())
                .build();
    }

    private ApiInfo apiInfo() {
        return new ApiInfoBuilder()
                .title("springboot利用swagger构建api文档")
                .description("简单优雅的restfun风格,http://blog.csdn.net/saytime")
                .termsOfServiceUrl("http://blog.csdn.net/saytime")
                .version("1.0")
                .build();
    }
}
特别要注意的是里面配置了api文件也就是controller包的路径,不然生成的文档扫描不到接口。
三、Application.class 加上注解@EnableSwagger2 表示开启Swagger
@Controller
@SpringBootApplication
@EnableSwagger2
@MapperScan(basePackages = "com.volunteer.sys.dao")
public class VolunteerHelpApplication {

    @RequestMapping("/")
    @ResponseBody
    String home() {
        return "Hello World!";
    }

    public static void main(String[] args) {
        SpringApplication.run(VolunteerHelpApplication.class, args);
    }

}
四、在浏览器打开http://localhost:8080/swagger-ui.html#/
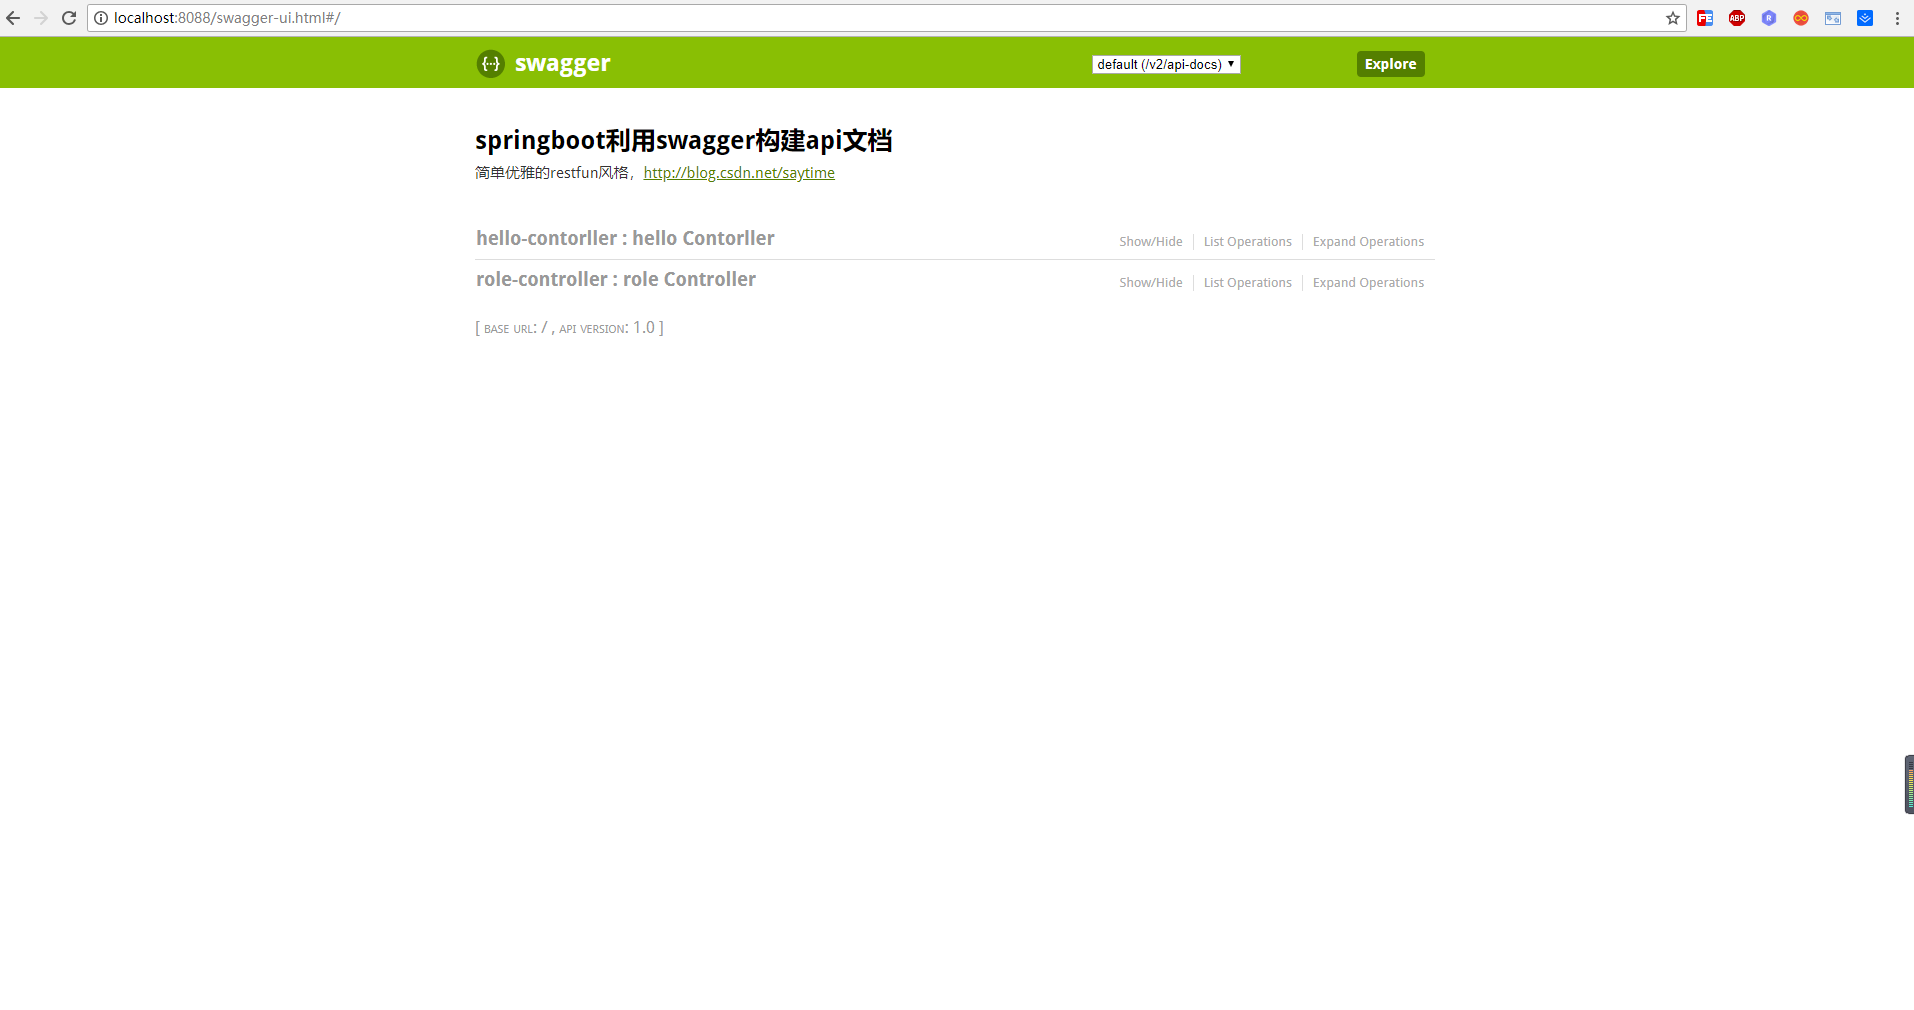
结束


 浙公网安备 33010602011771号