自动化kolla-ansible部署ubuntu20.04+openstack-victoria之镜像制作ubuntu16.04-16
自动化kolla-ansible部署ubuntu20.04+openstack-victoria之镜像制作ubuntu16.04-16
欢迎加QQ群:1026880196 进行交流学习
制作OpenStack Ubuntu16.04 64位镜像
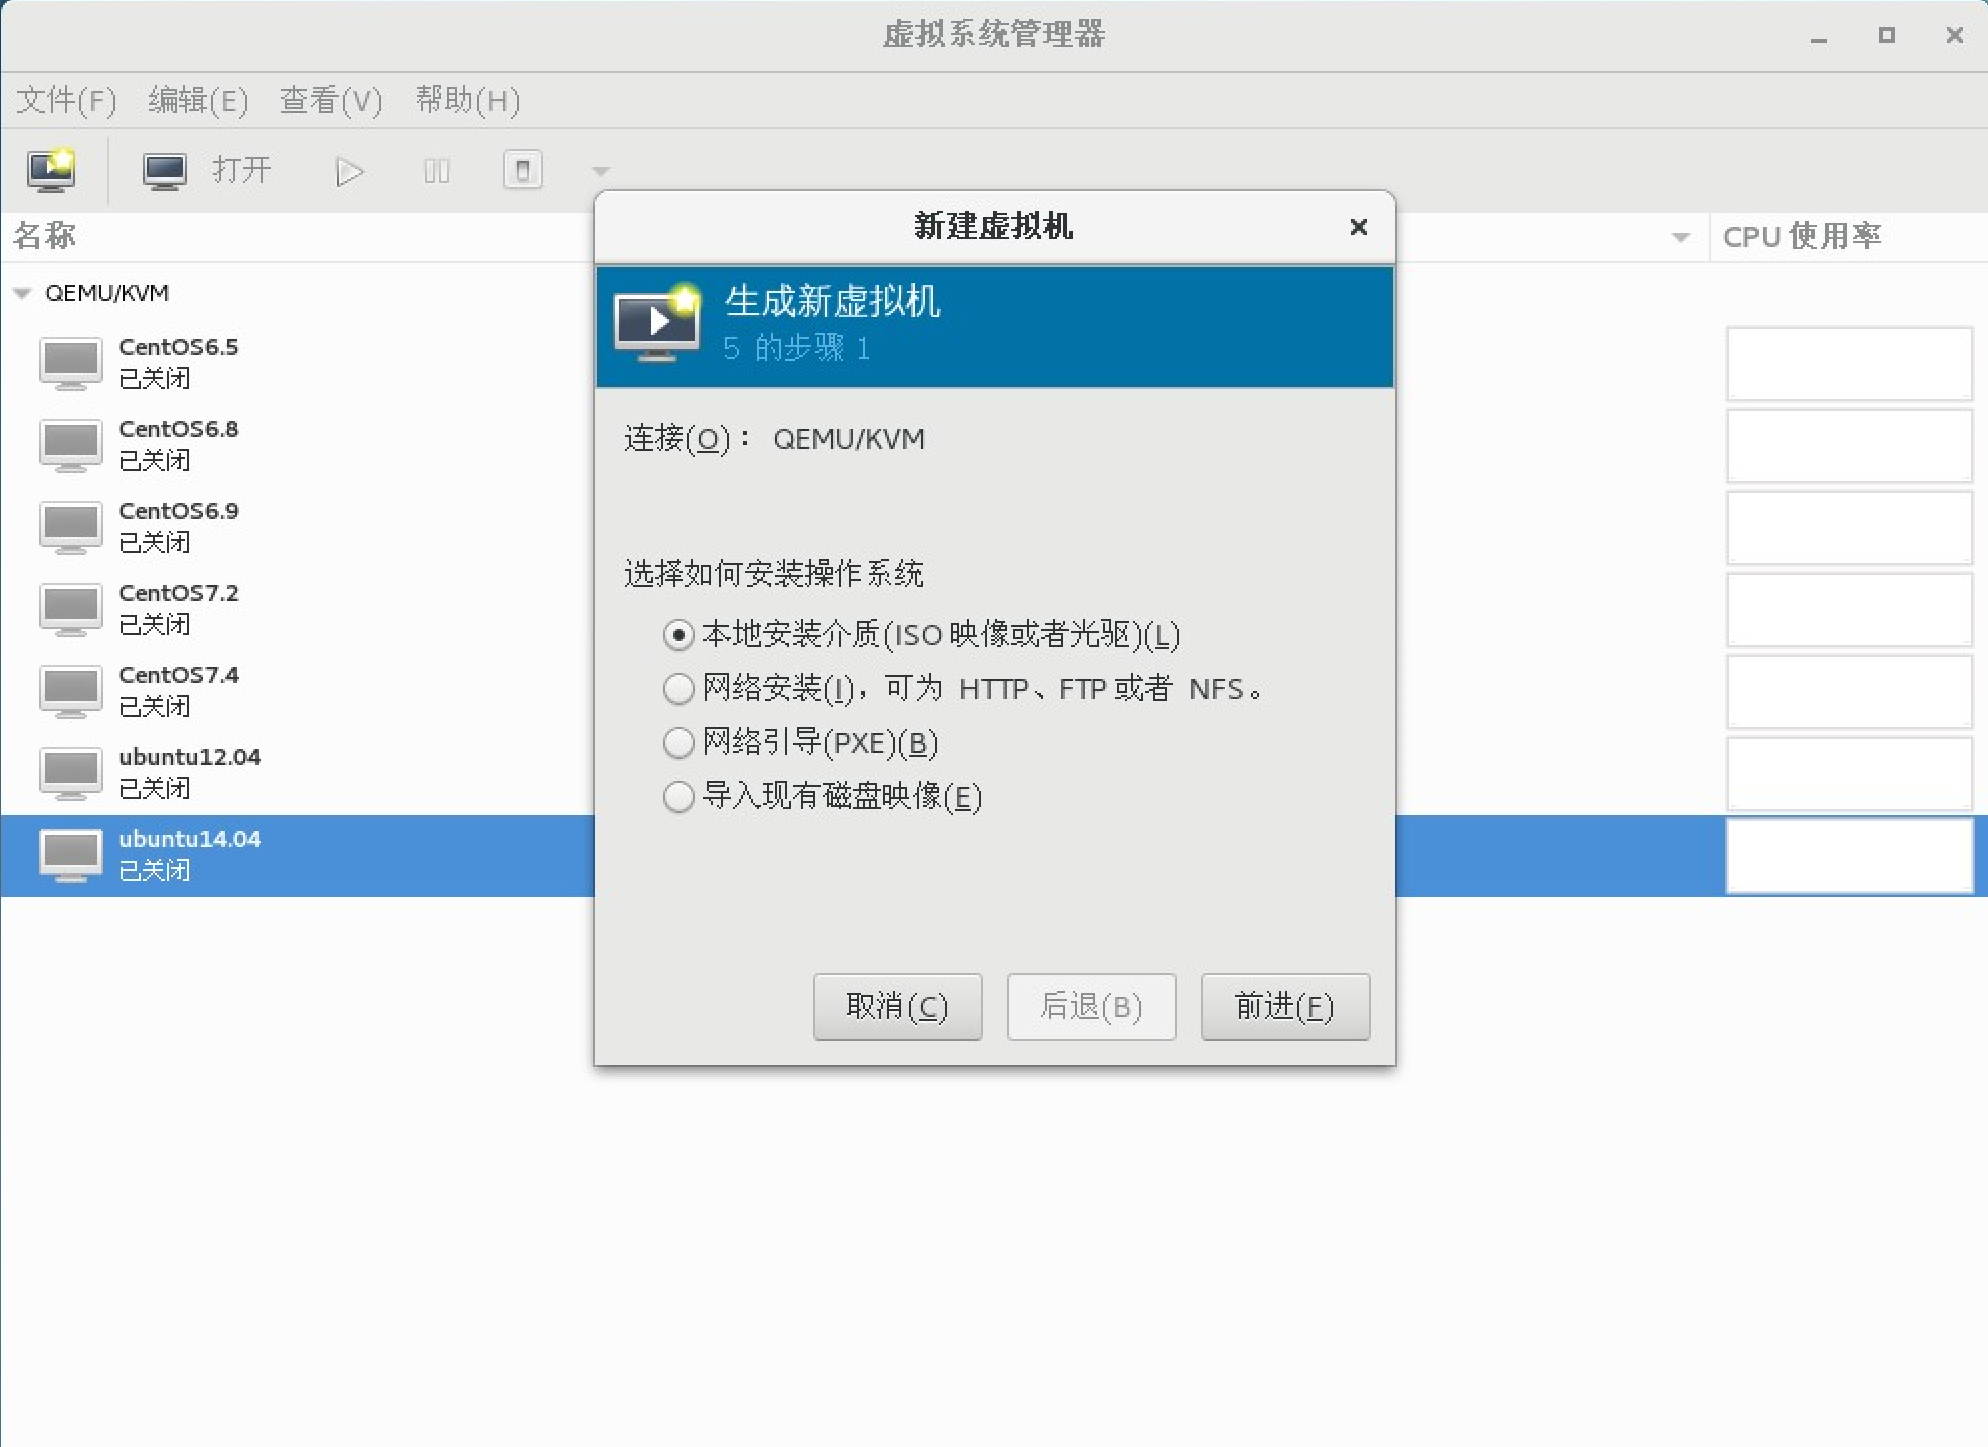
1. 打开虚拟系统管理器
位置:应用程序->系统工具->虚拟系统管理器
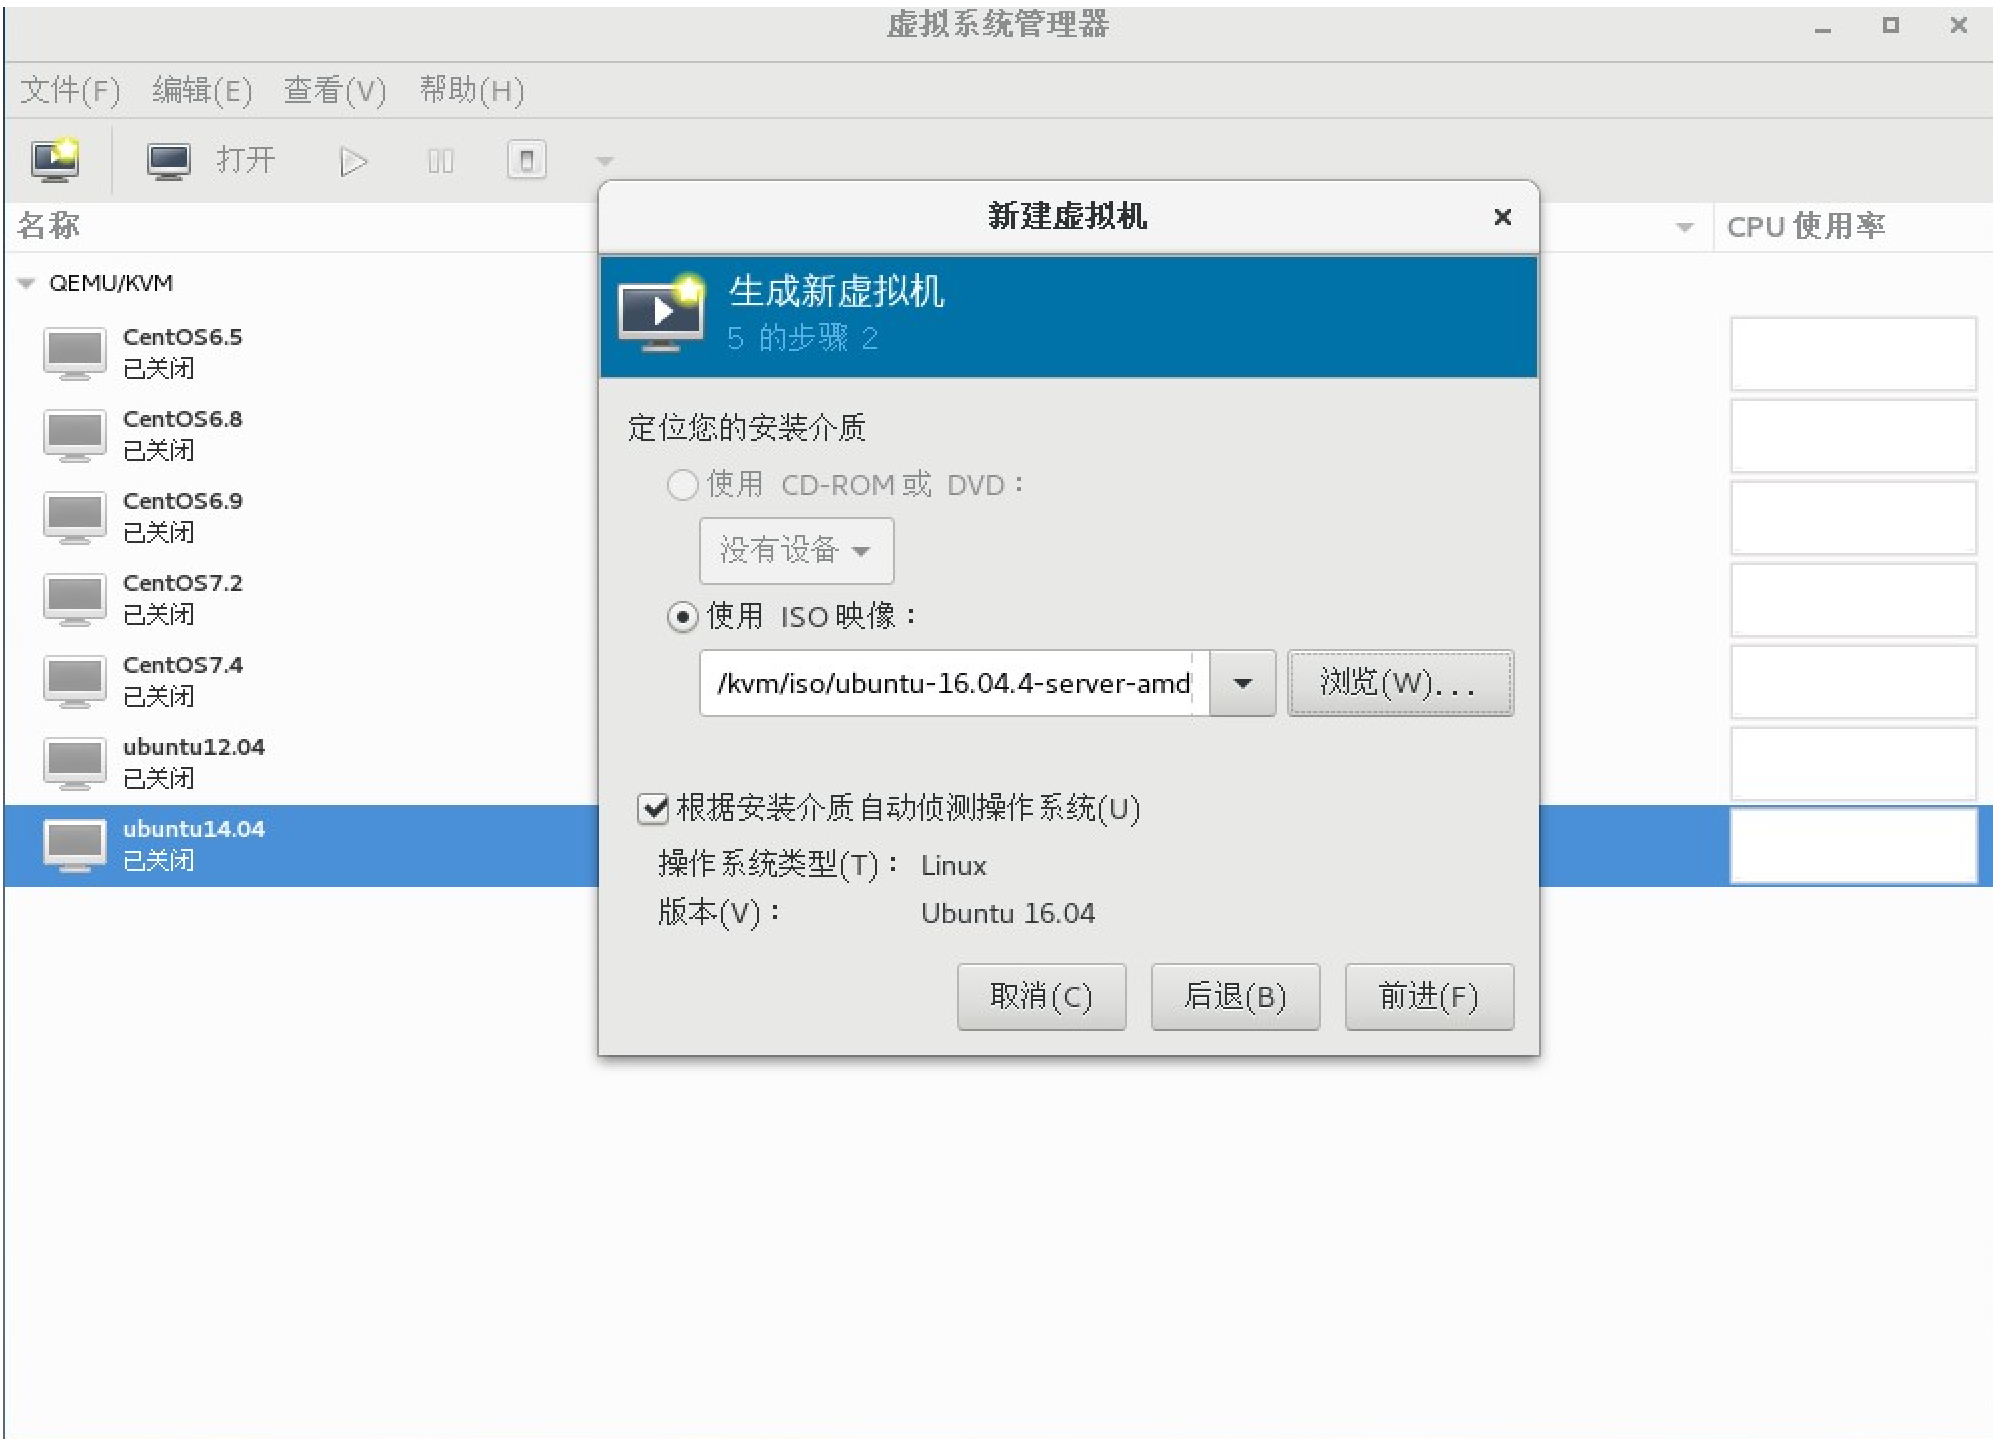
2. 选择iso镜像
3. 选择默认即可
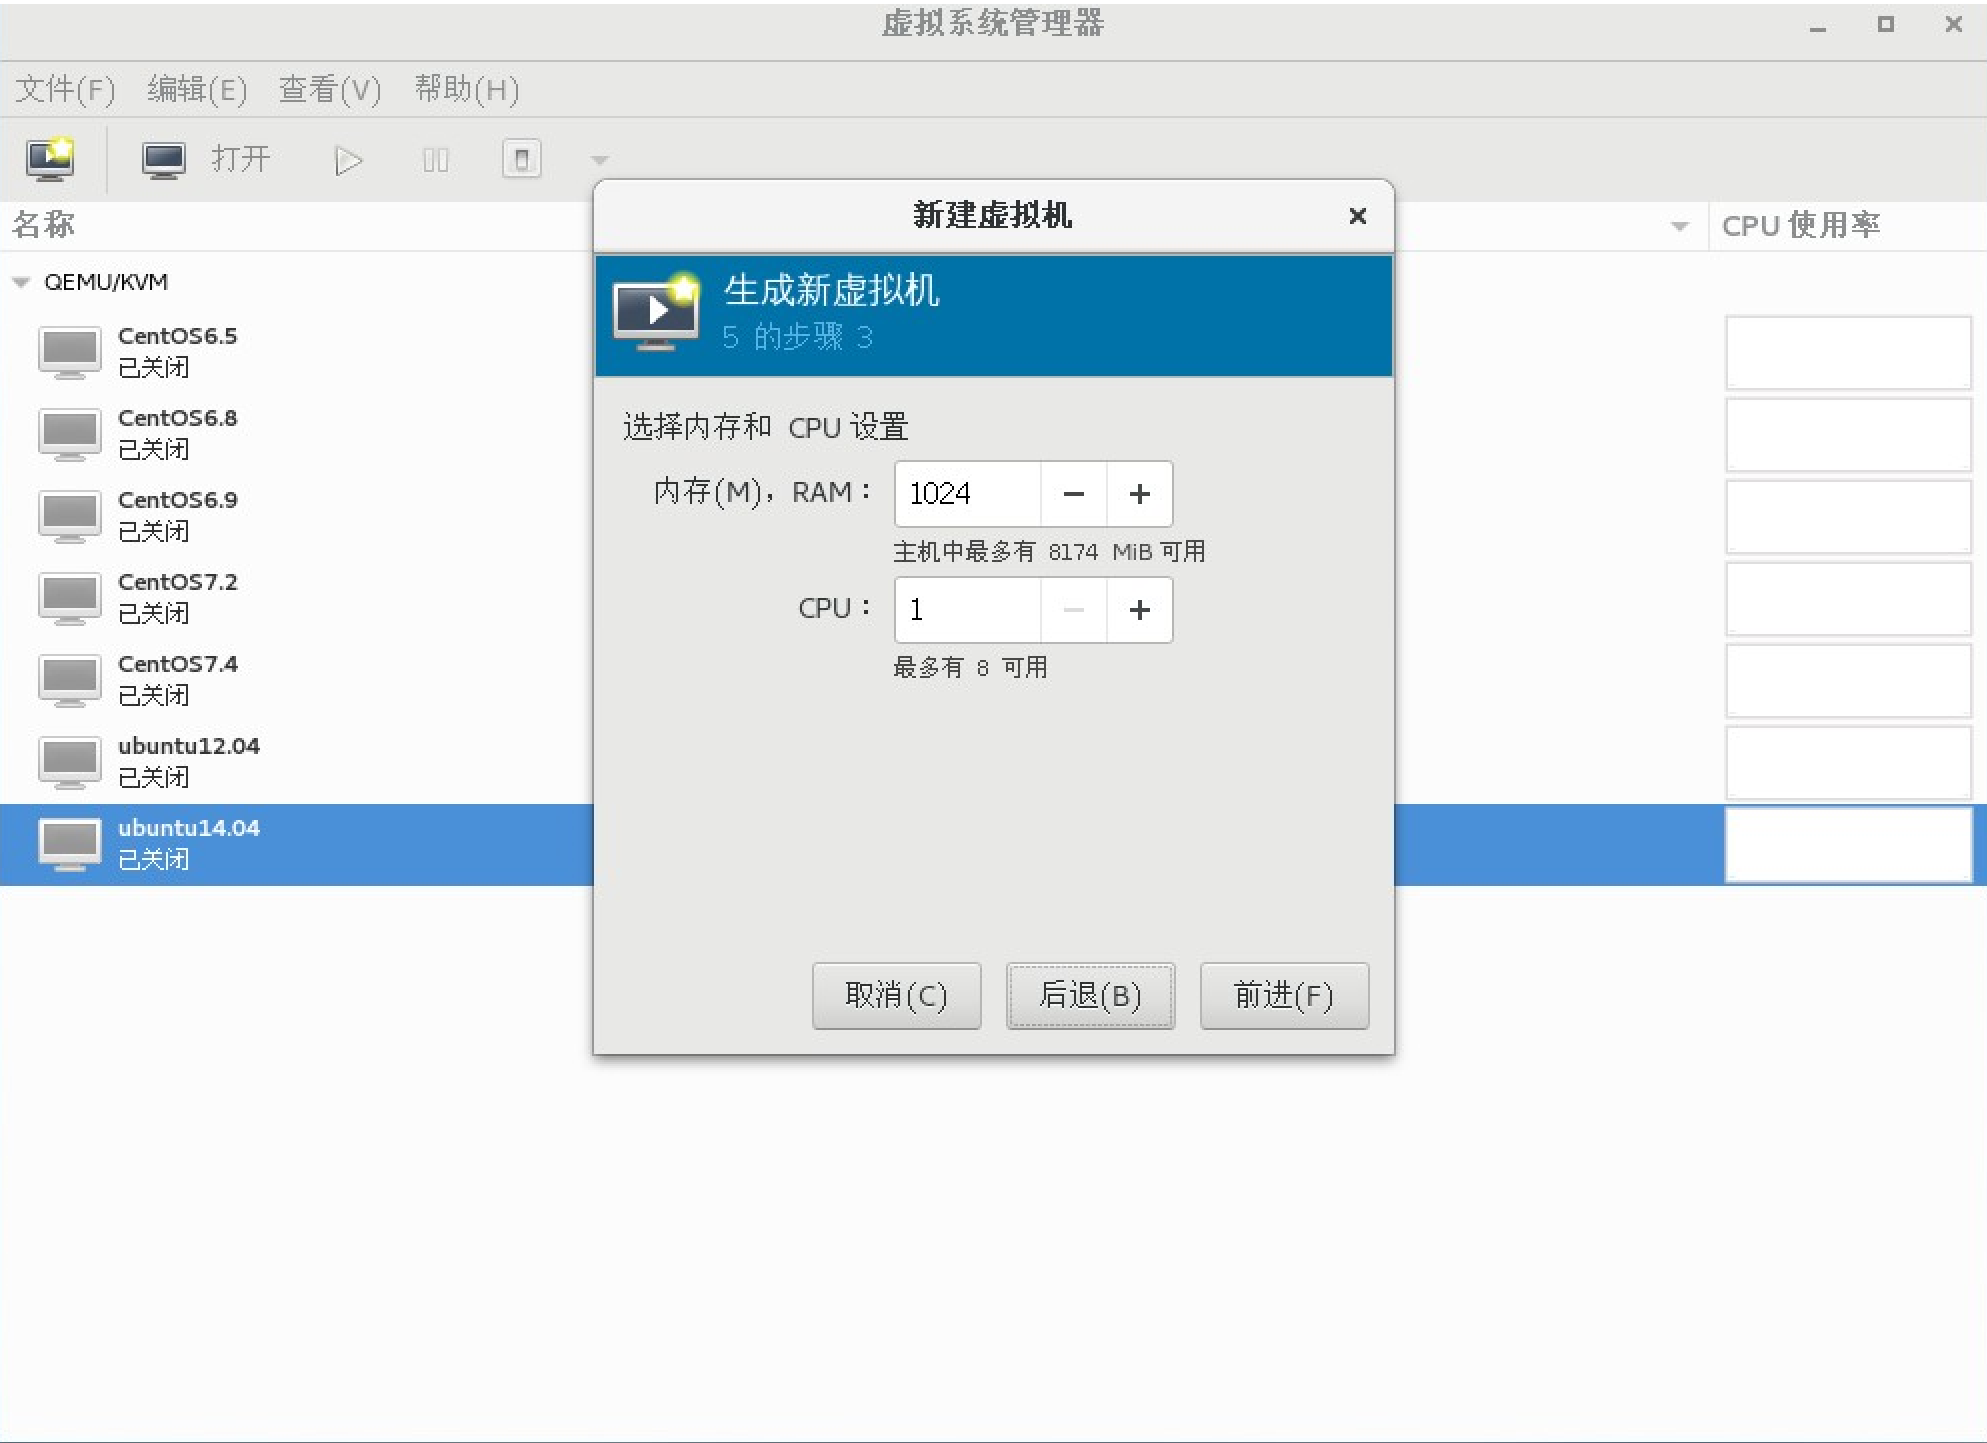
4. 分配2G就够了 (#欢迎加QQ群:1026880196 进行交流学习)

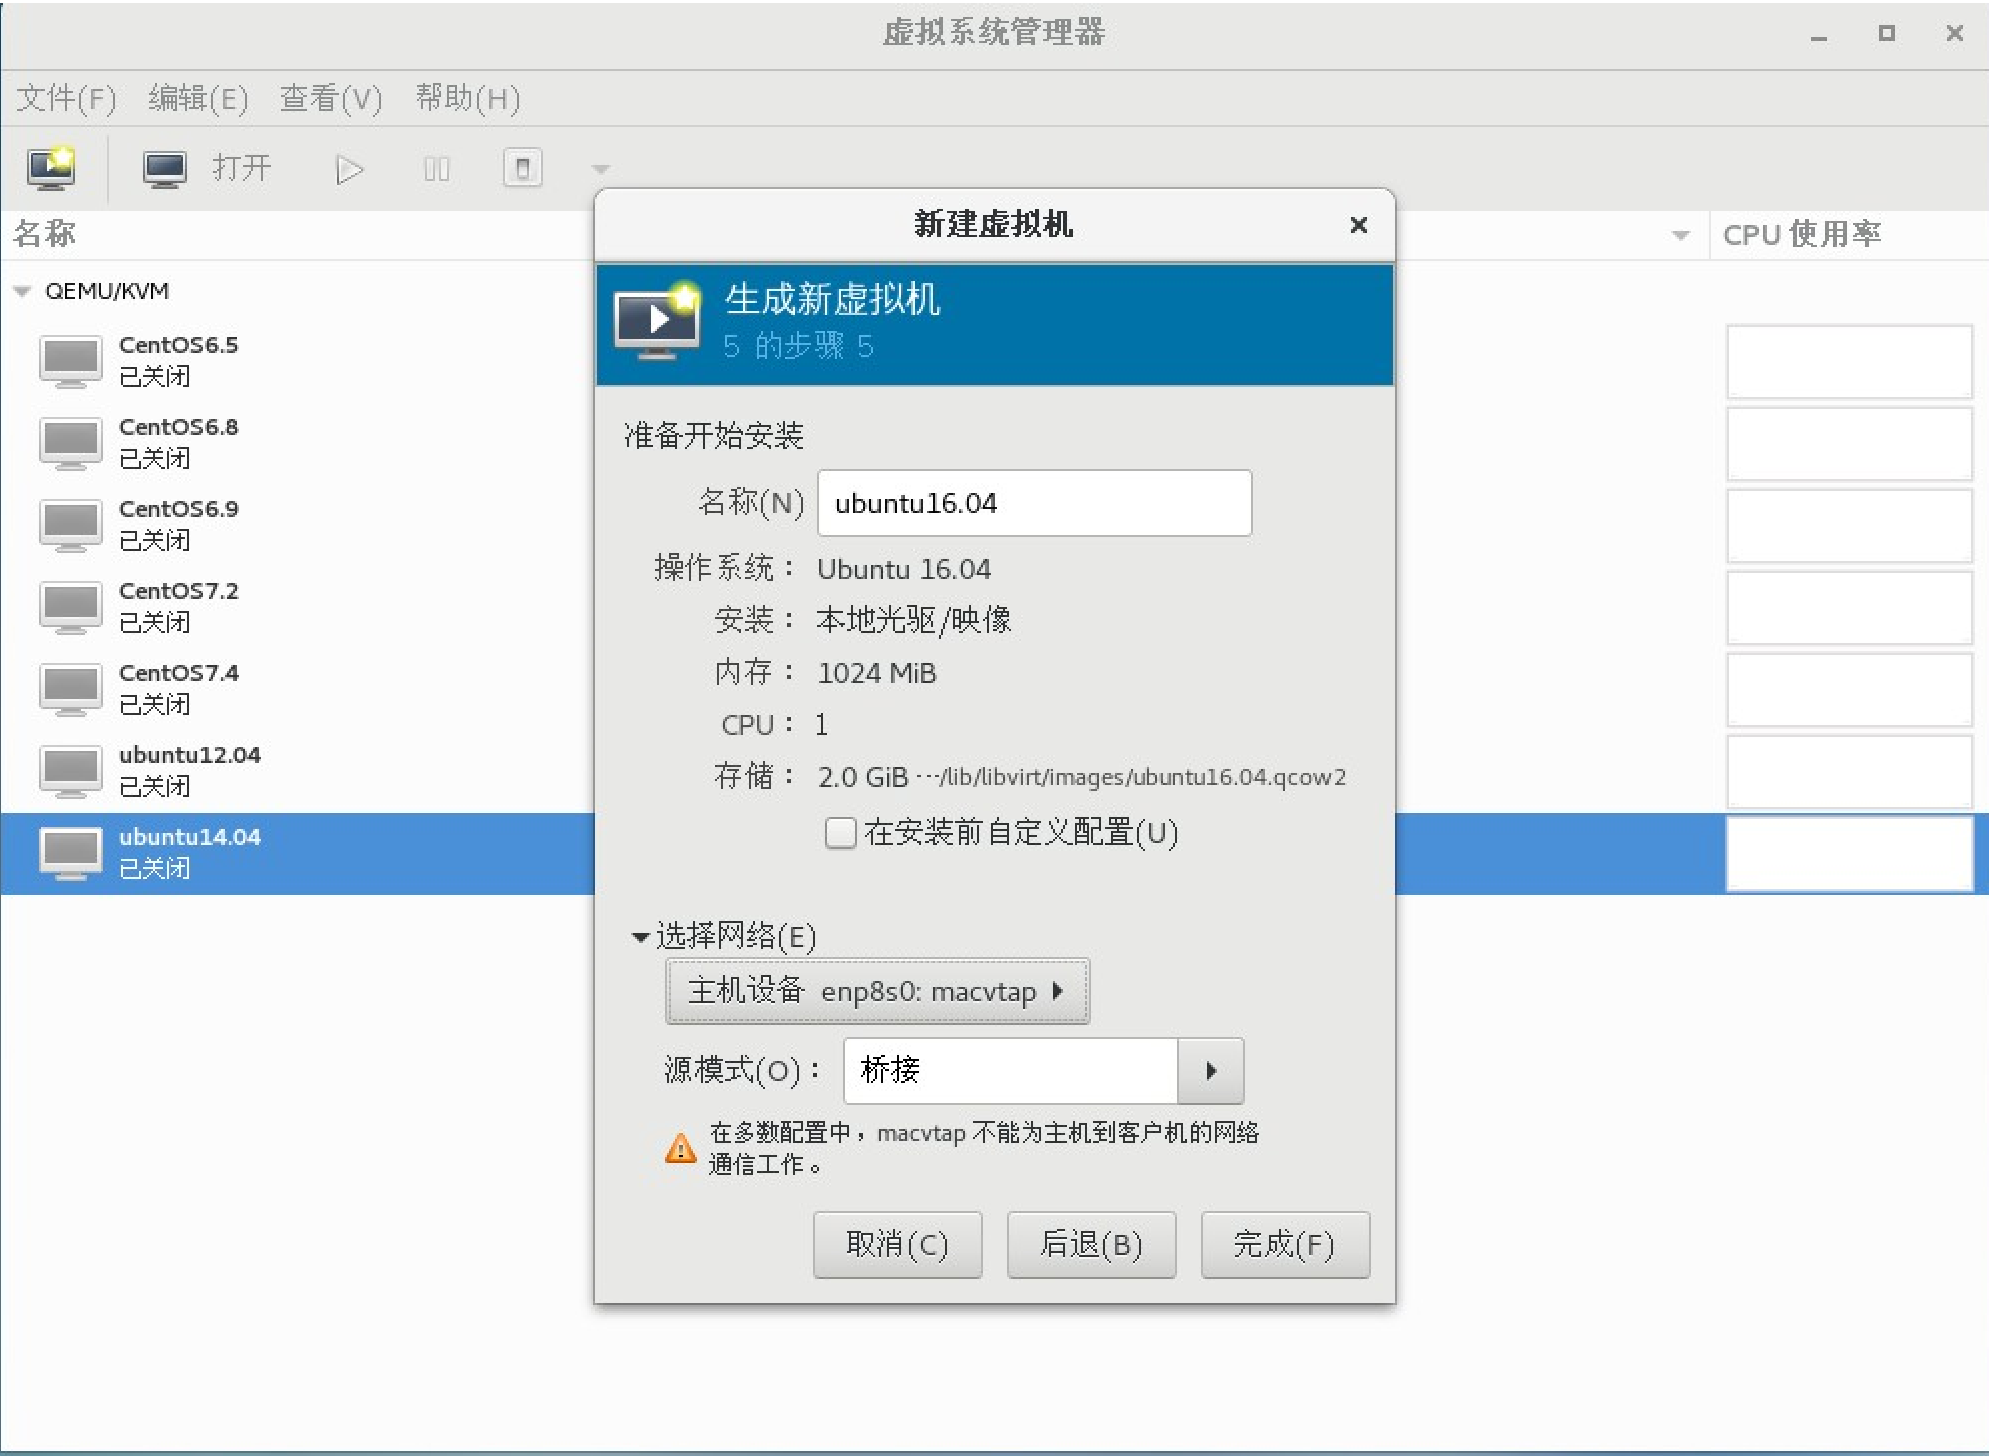
5. 选择你要桥接的外网
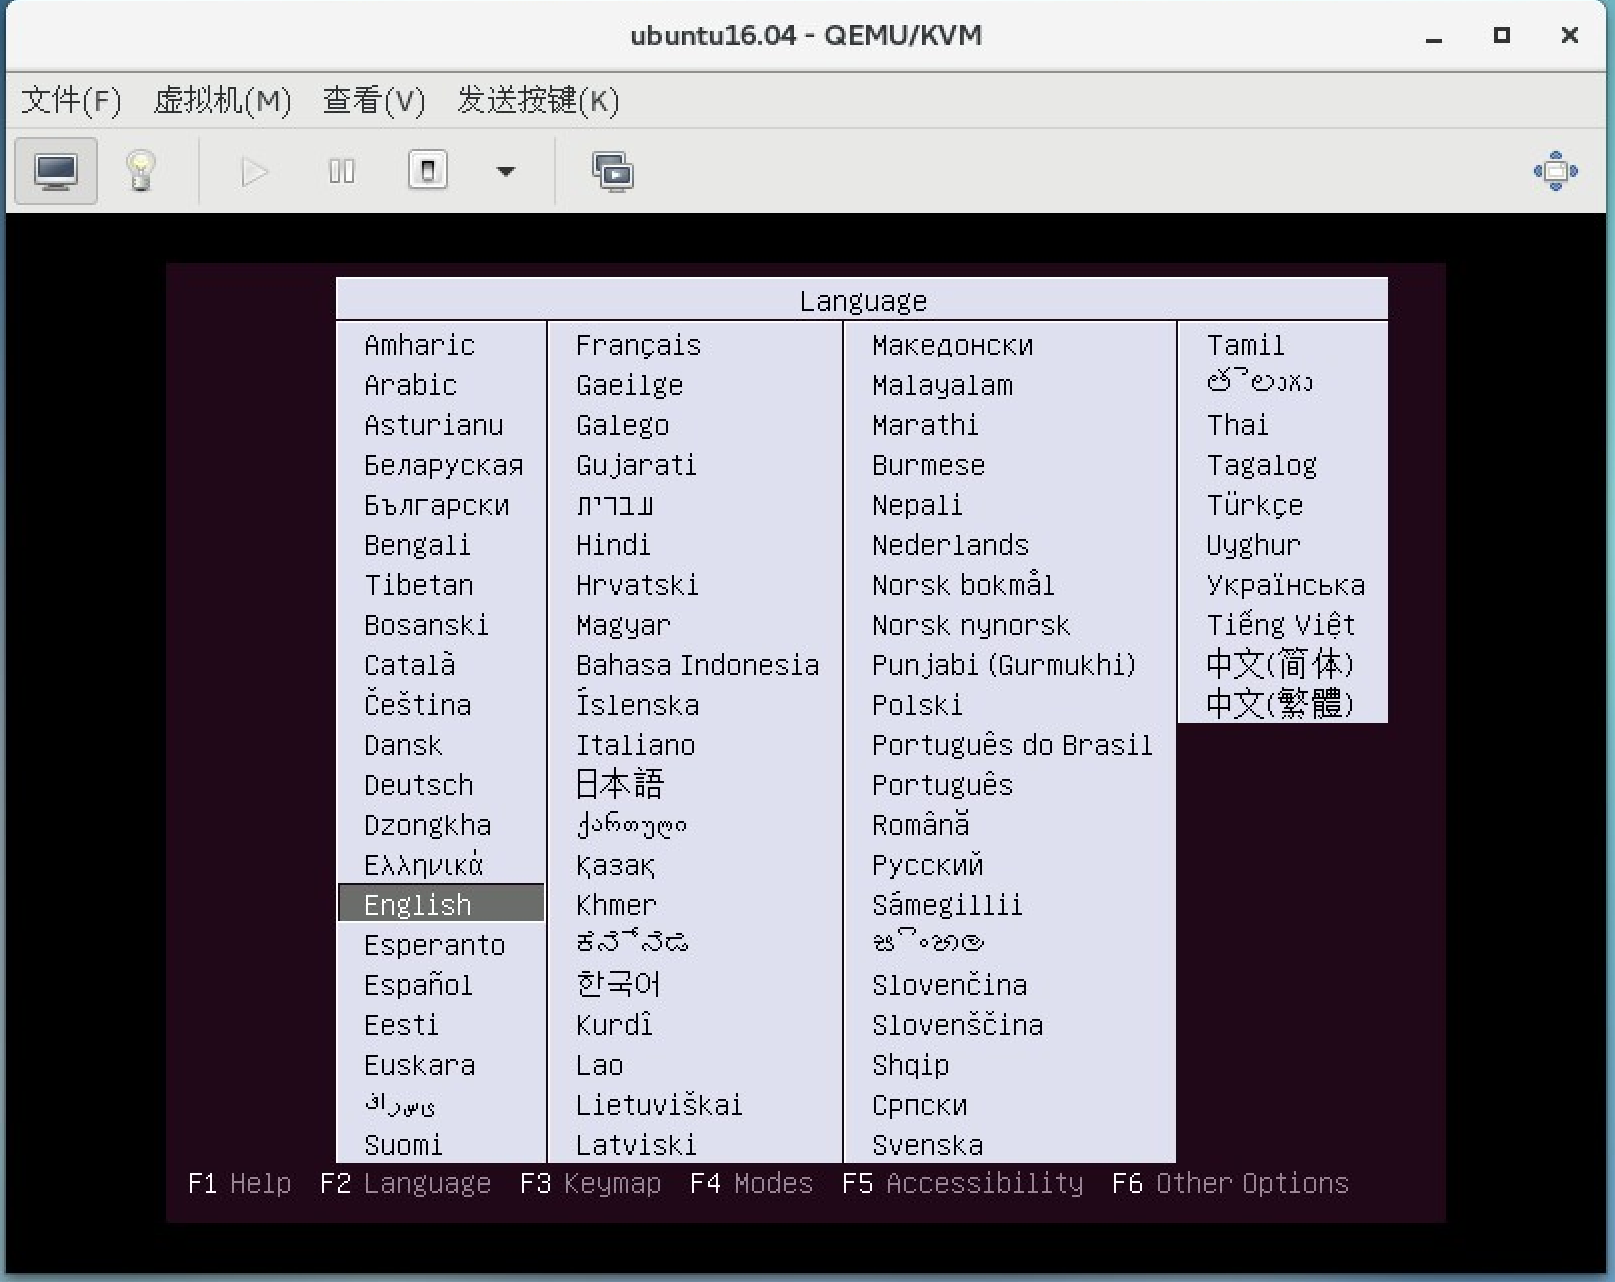
6. 选择English
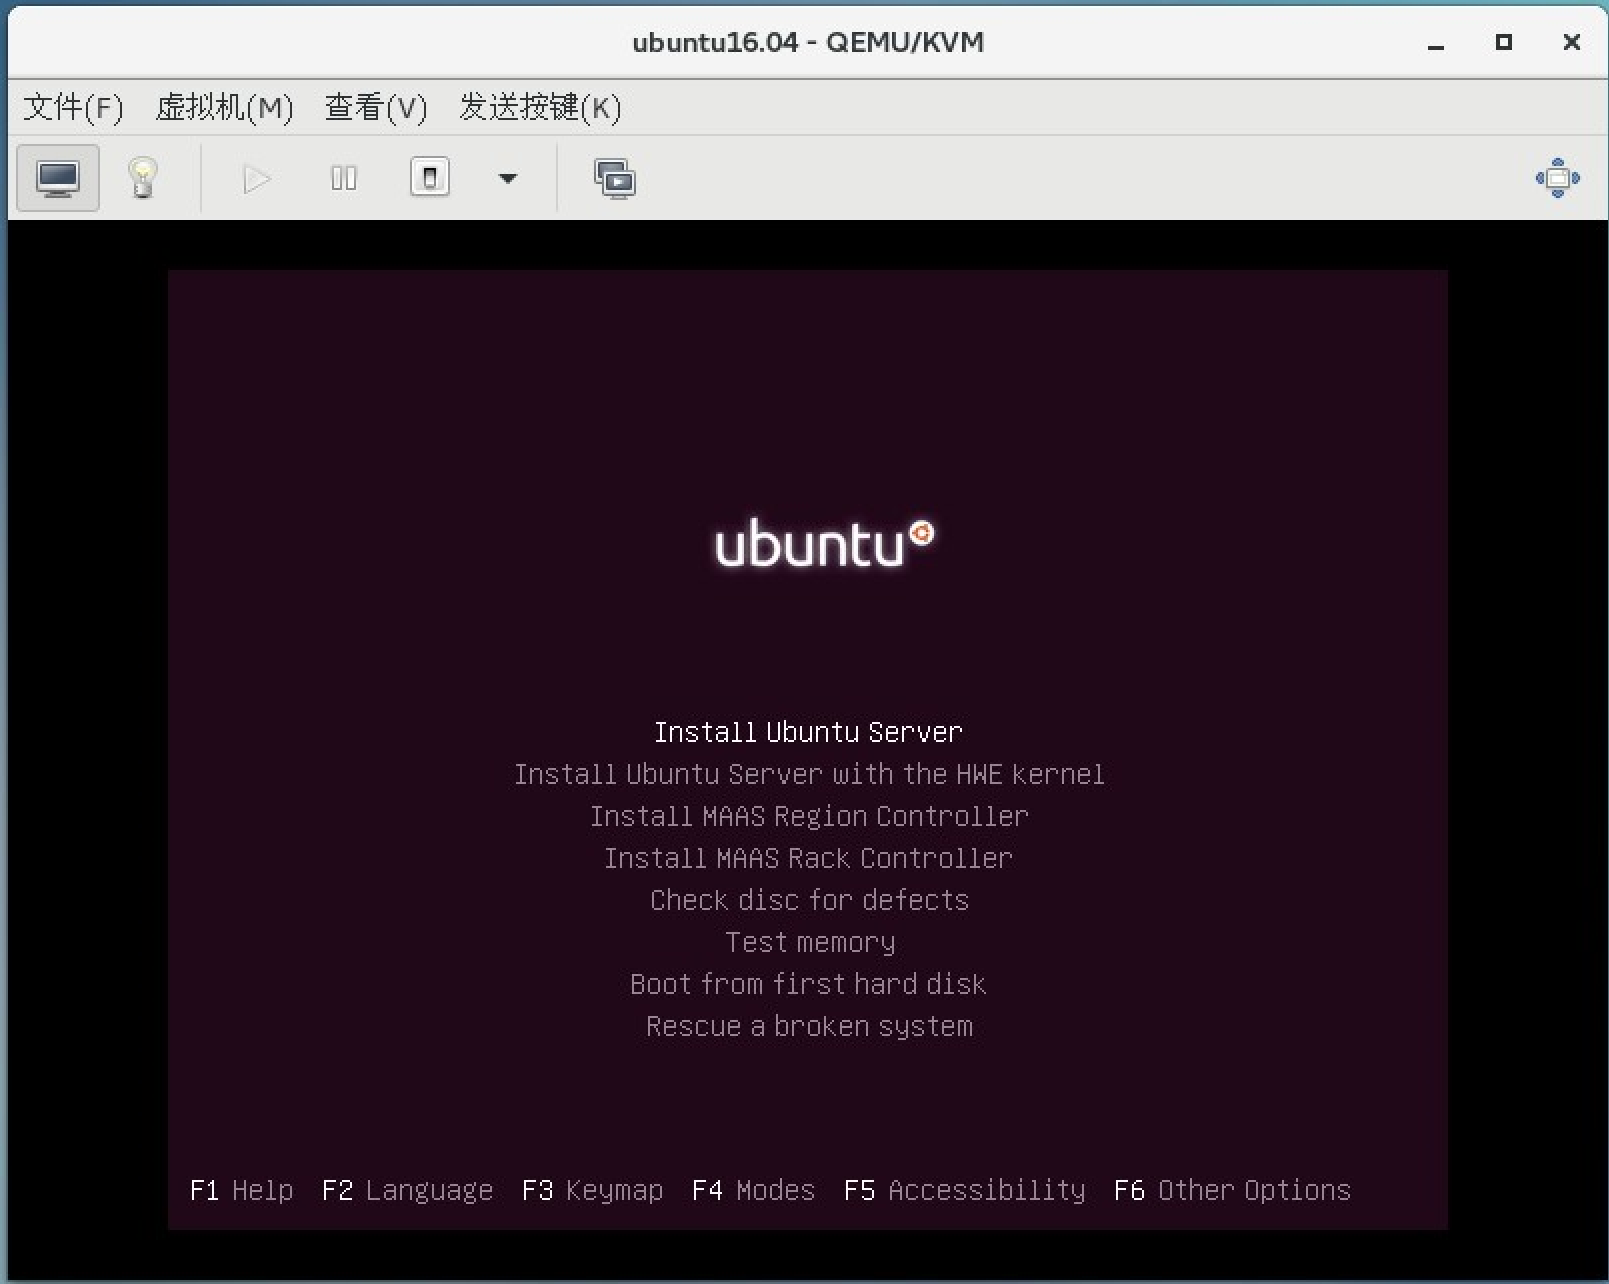
7. 选择安装
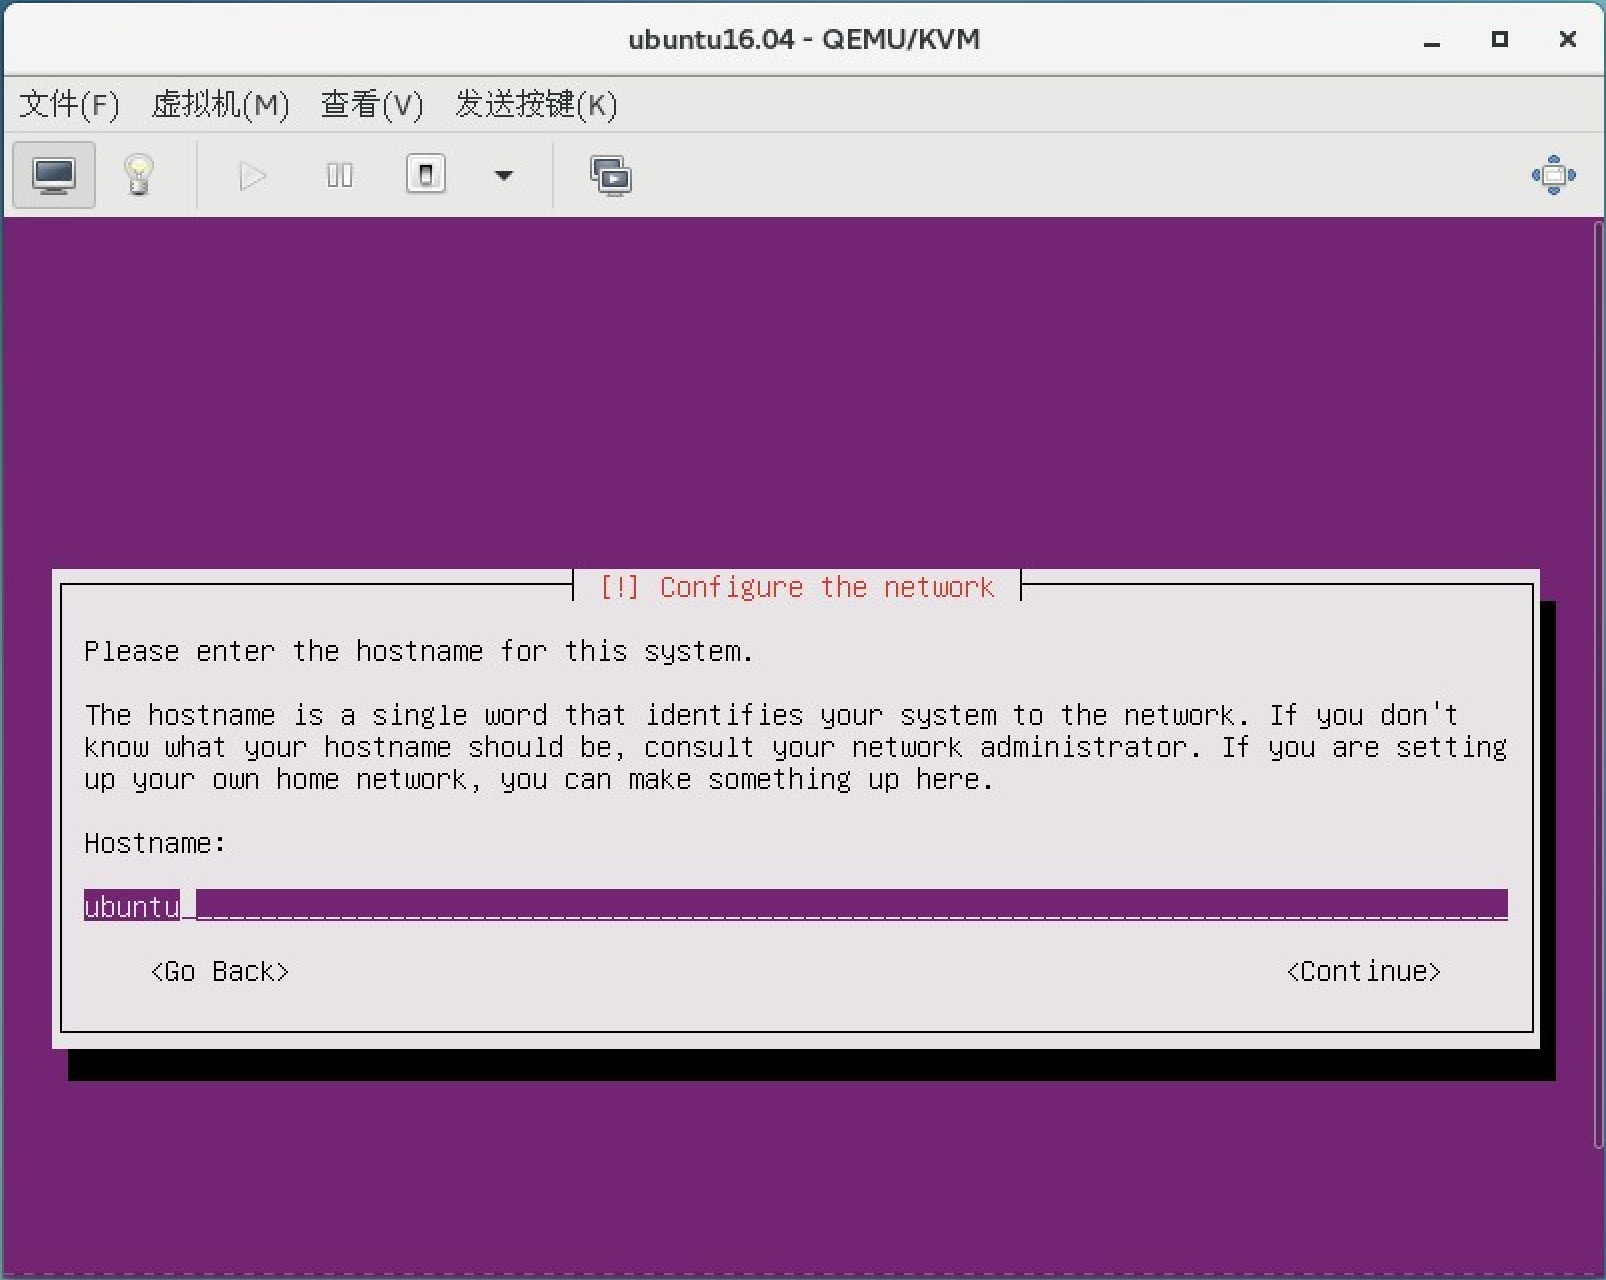
8. 一直回车即可然后进入如下界面 把hostname改成ubuntu
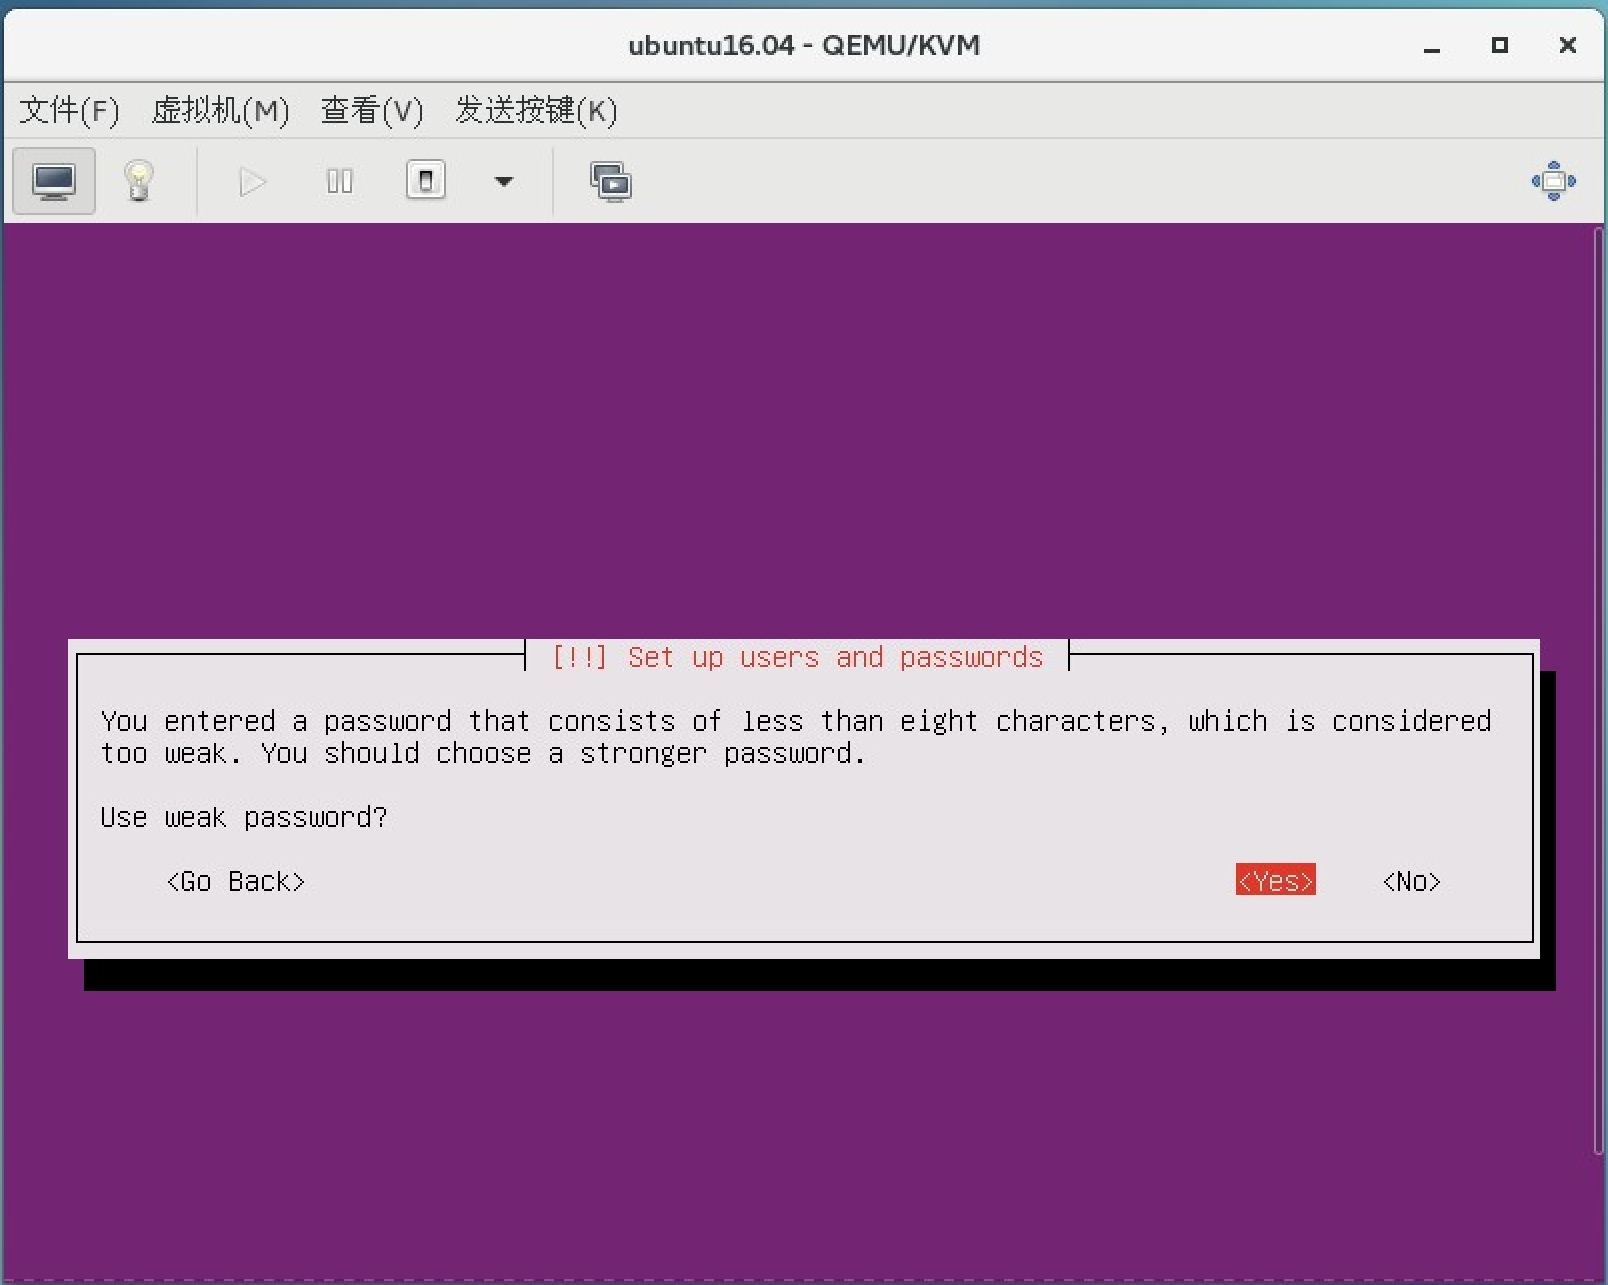
9. 设置为ubuntu 密码设置为123456

10. 选择yes (#欢迎加QQ群:1026880196 进行交流学习)
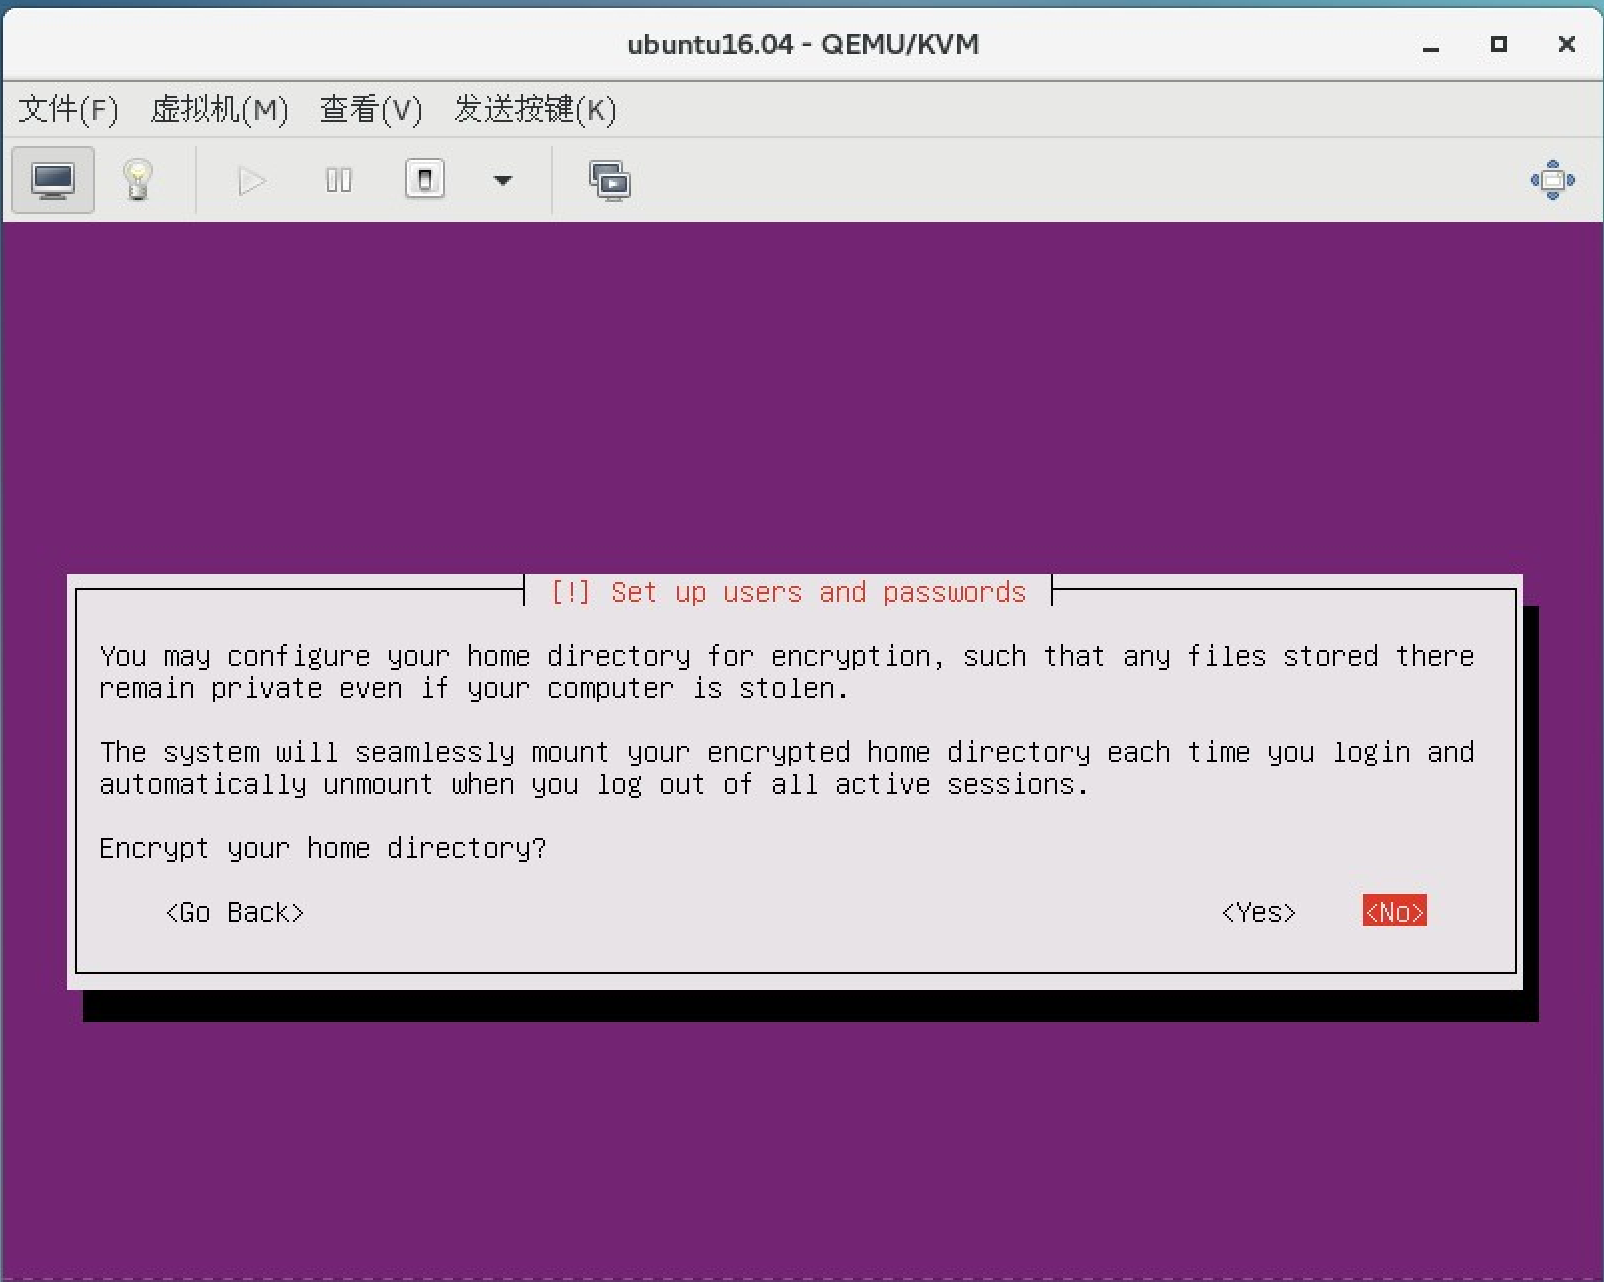
11. 选择no
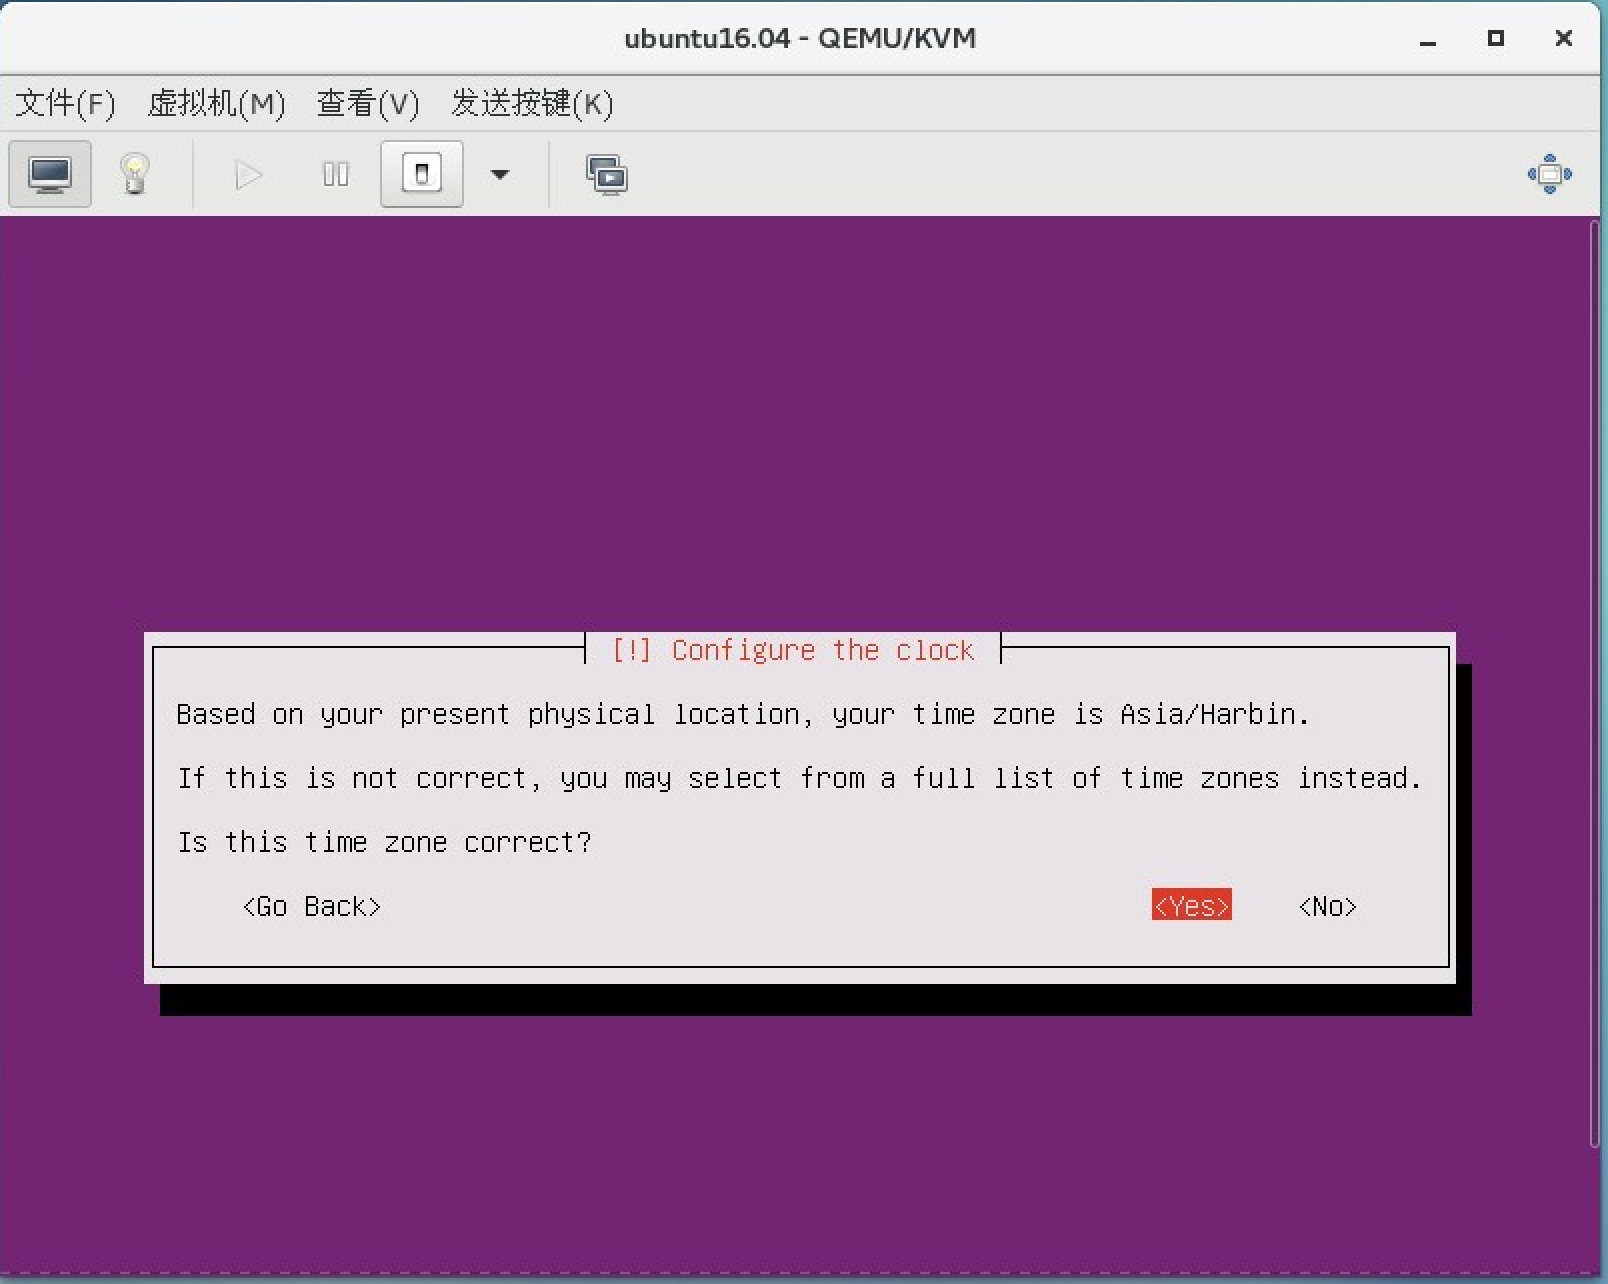
12. 选择yes
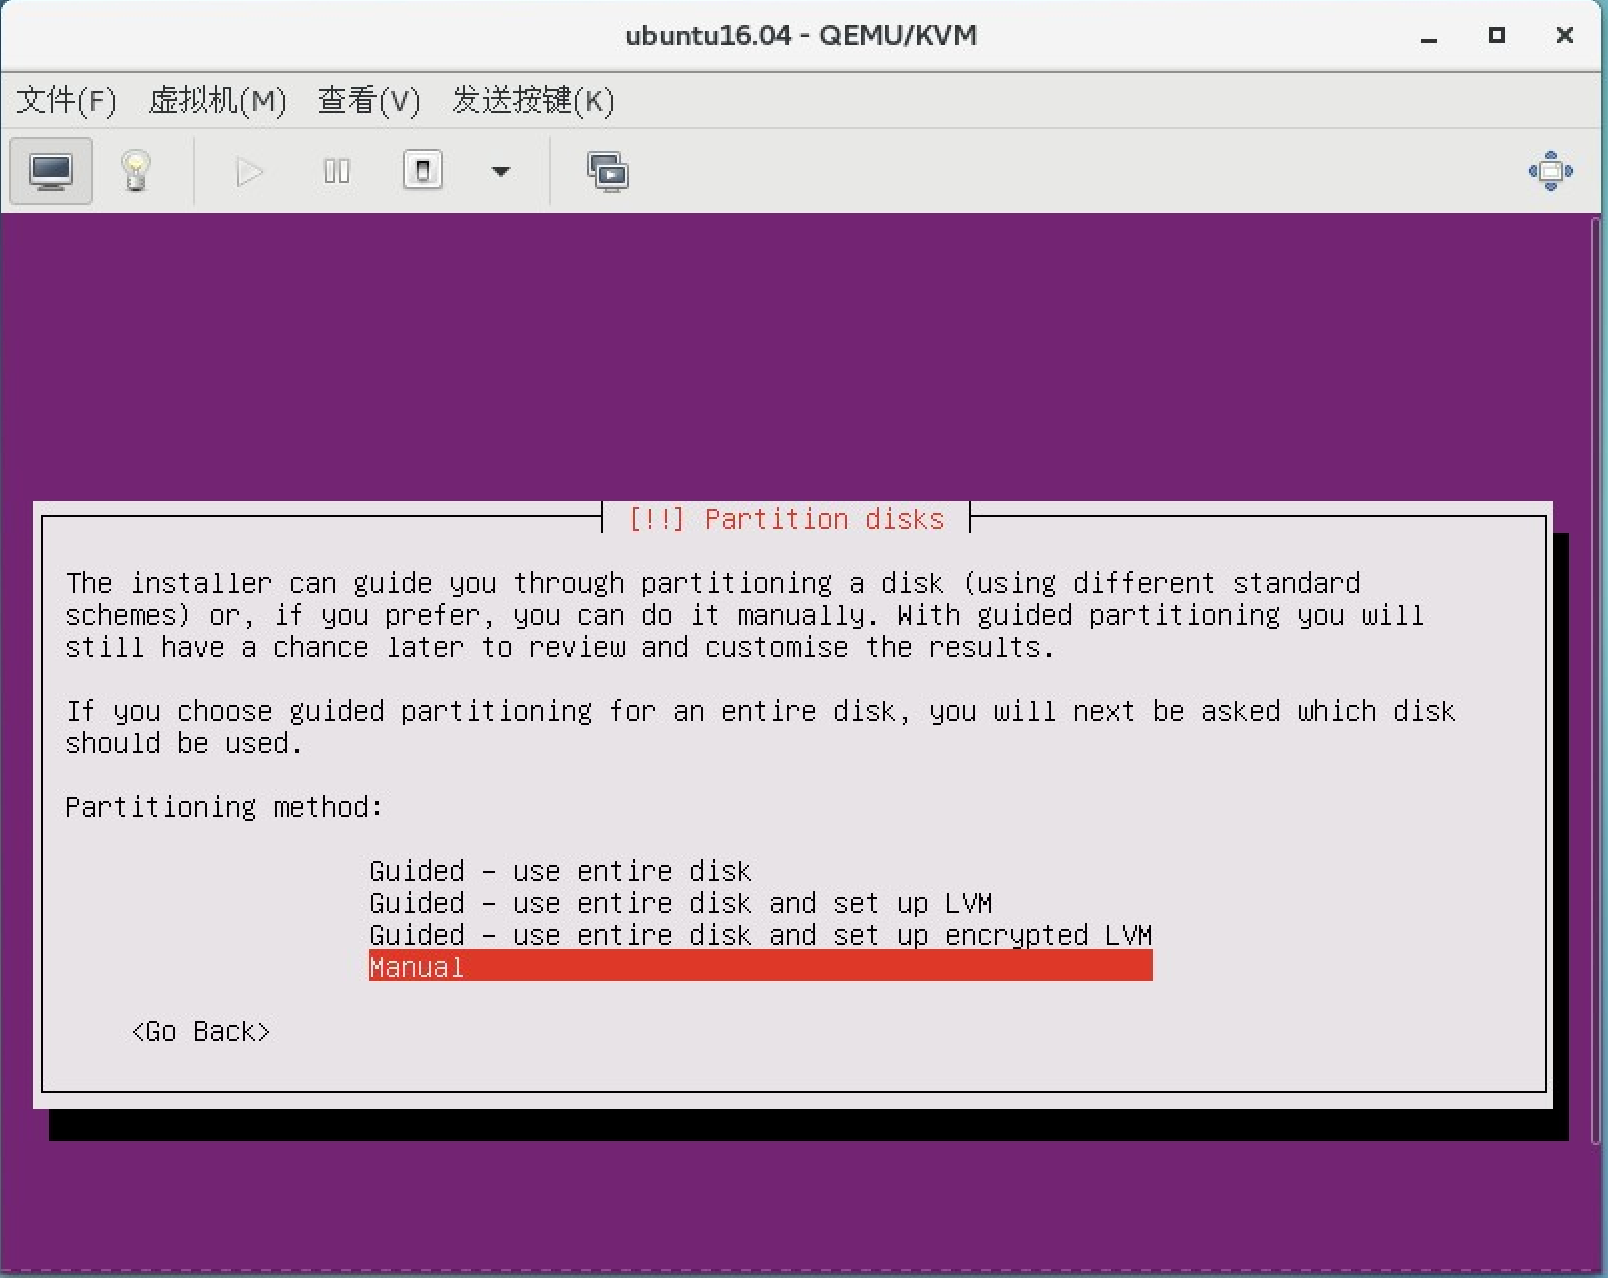
13. 选择标准分区
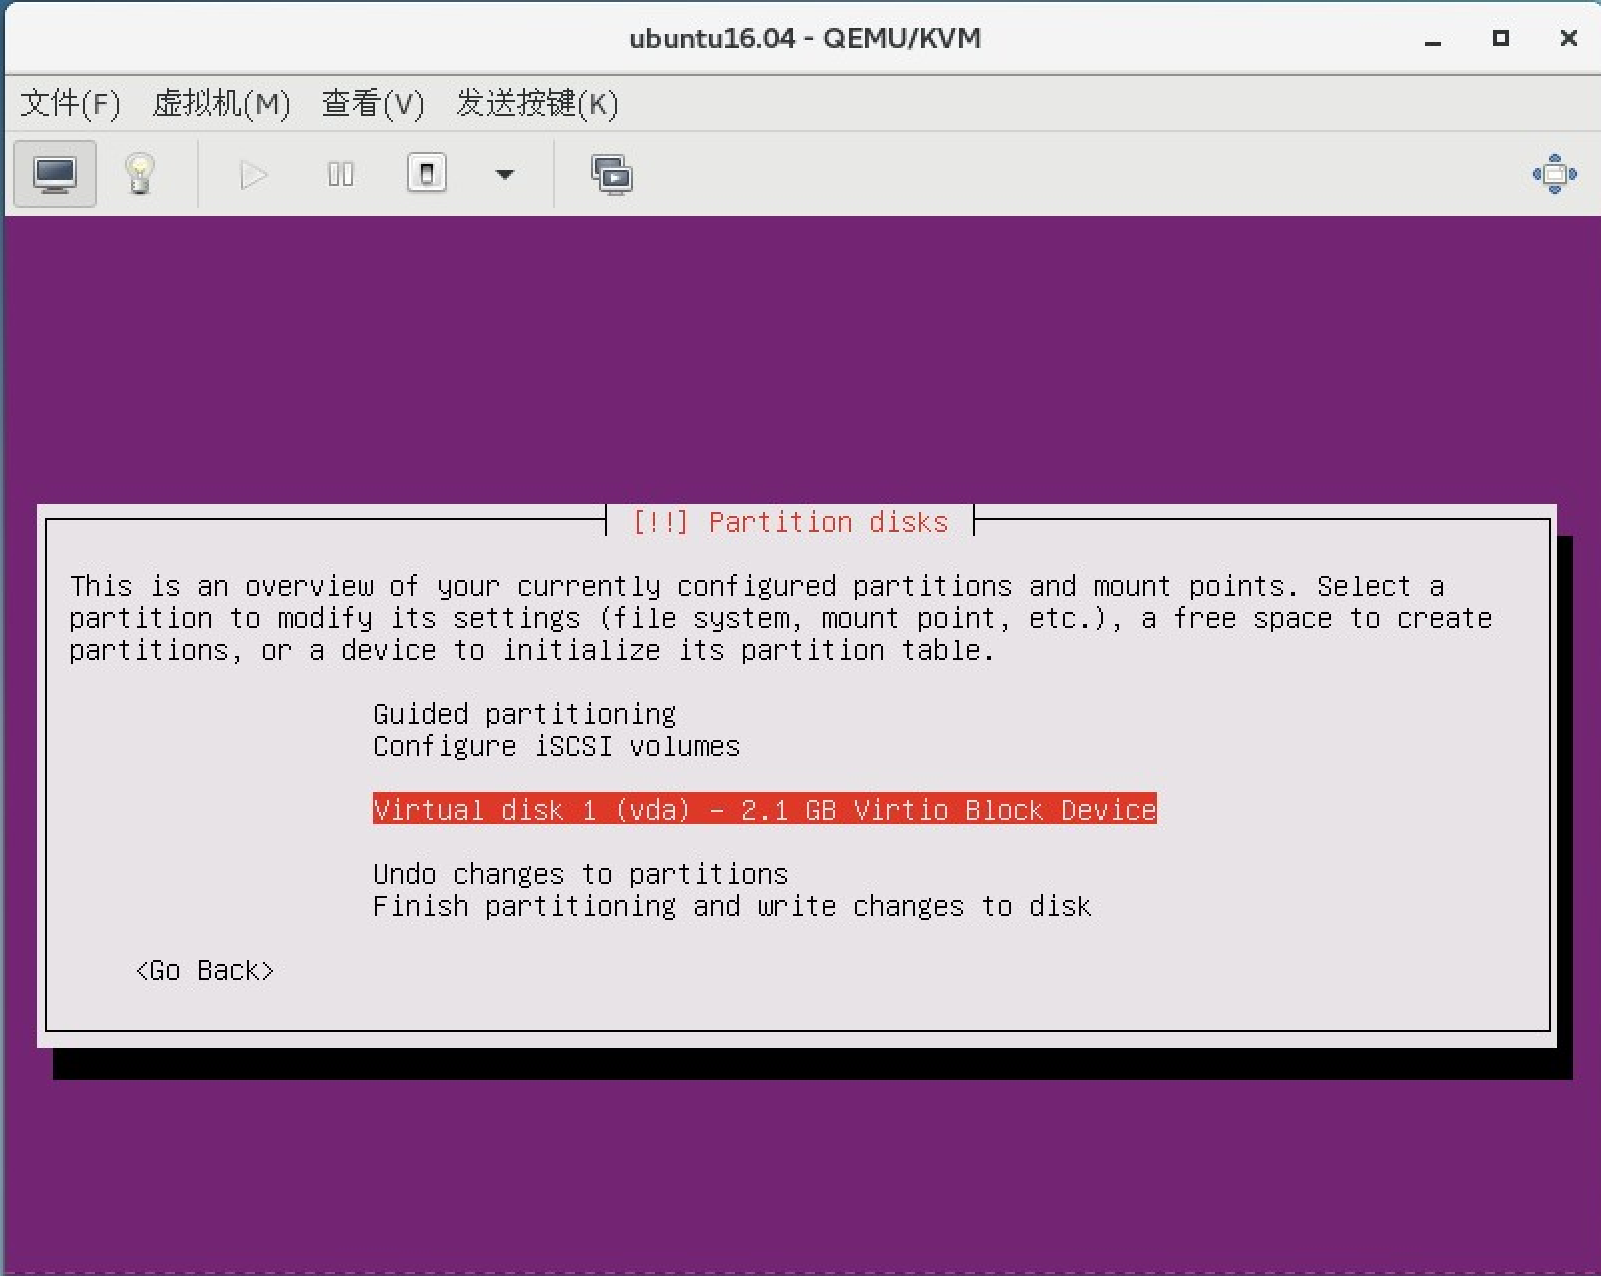
14. 选择你要分区的硬盘
15. 选择yes

16. 选择盘符
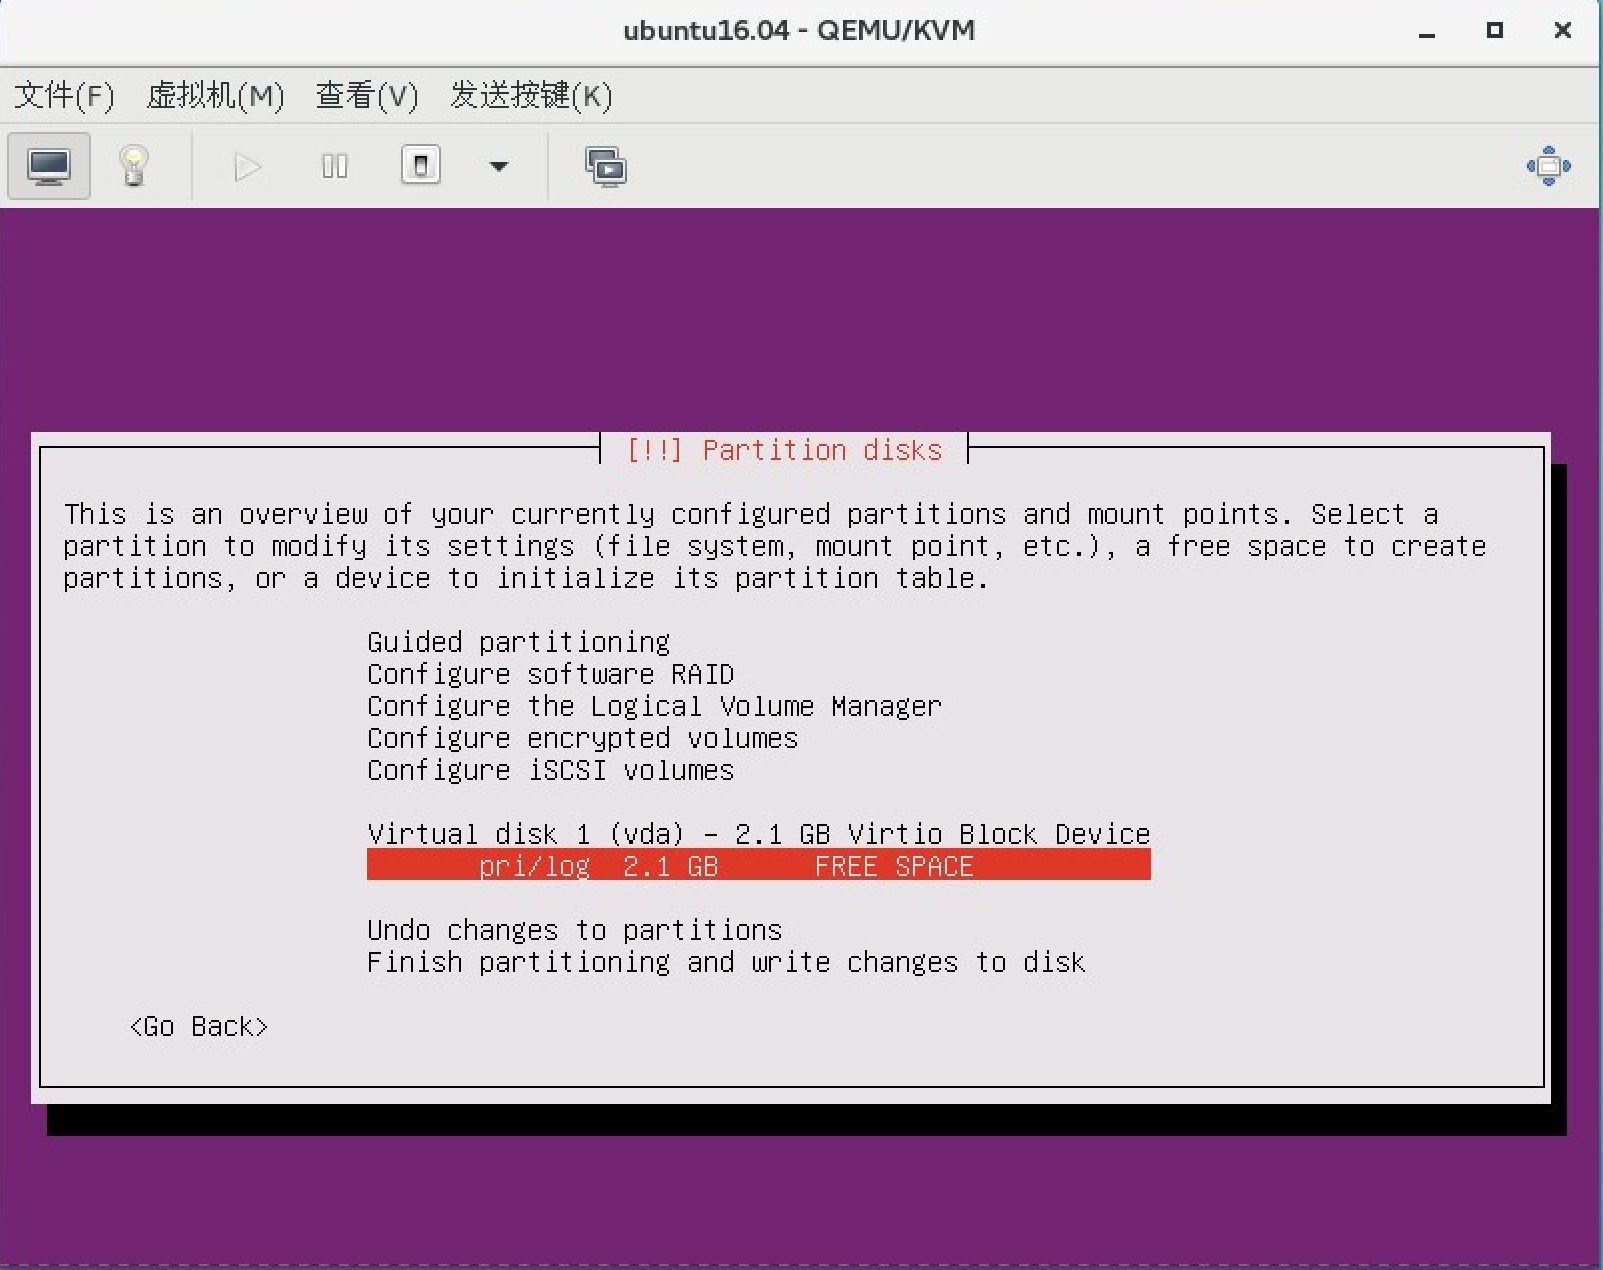
17. 创建
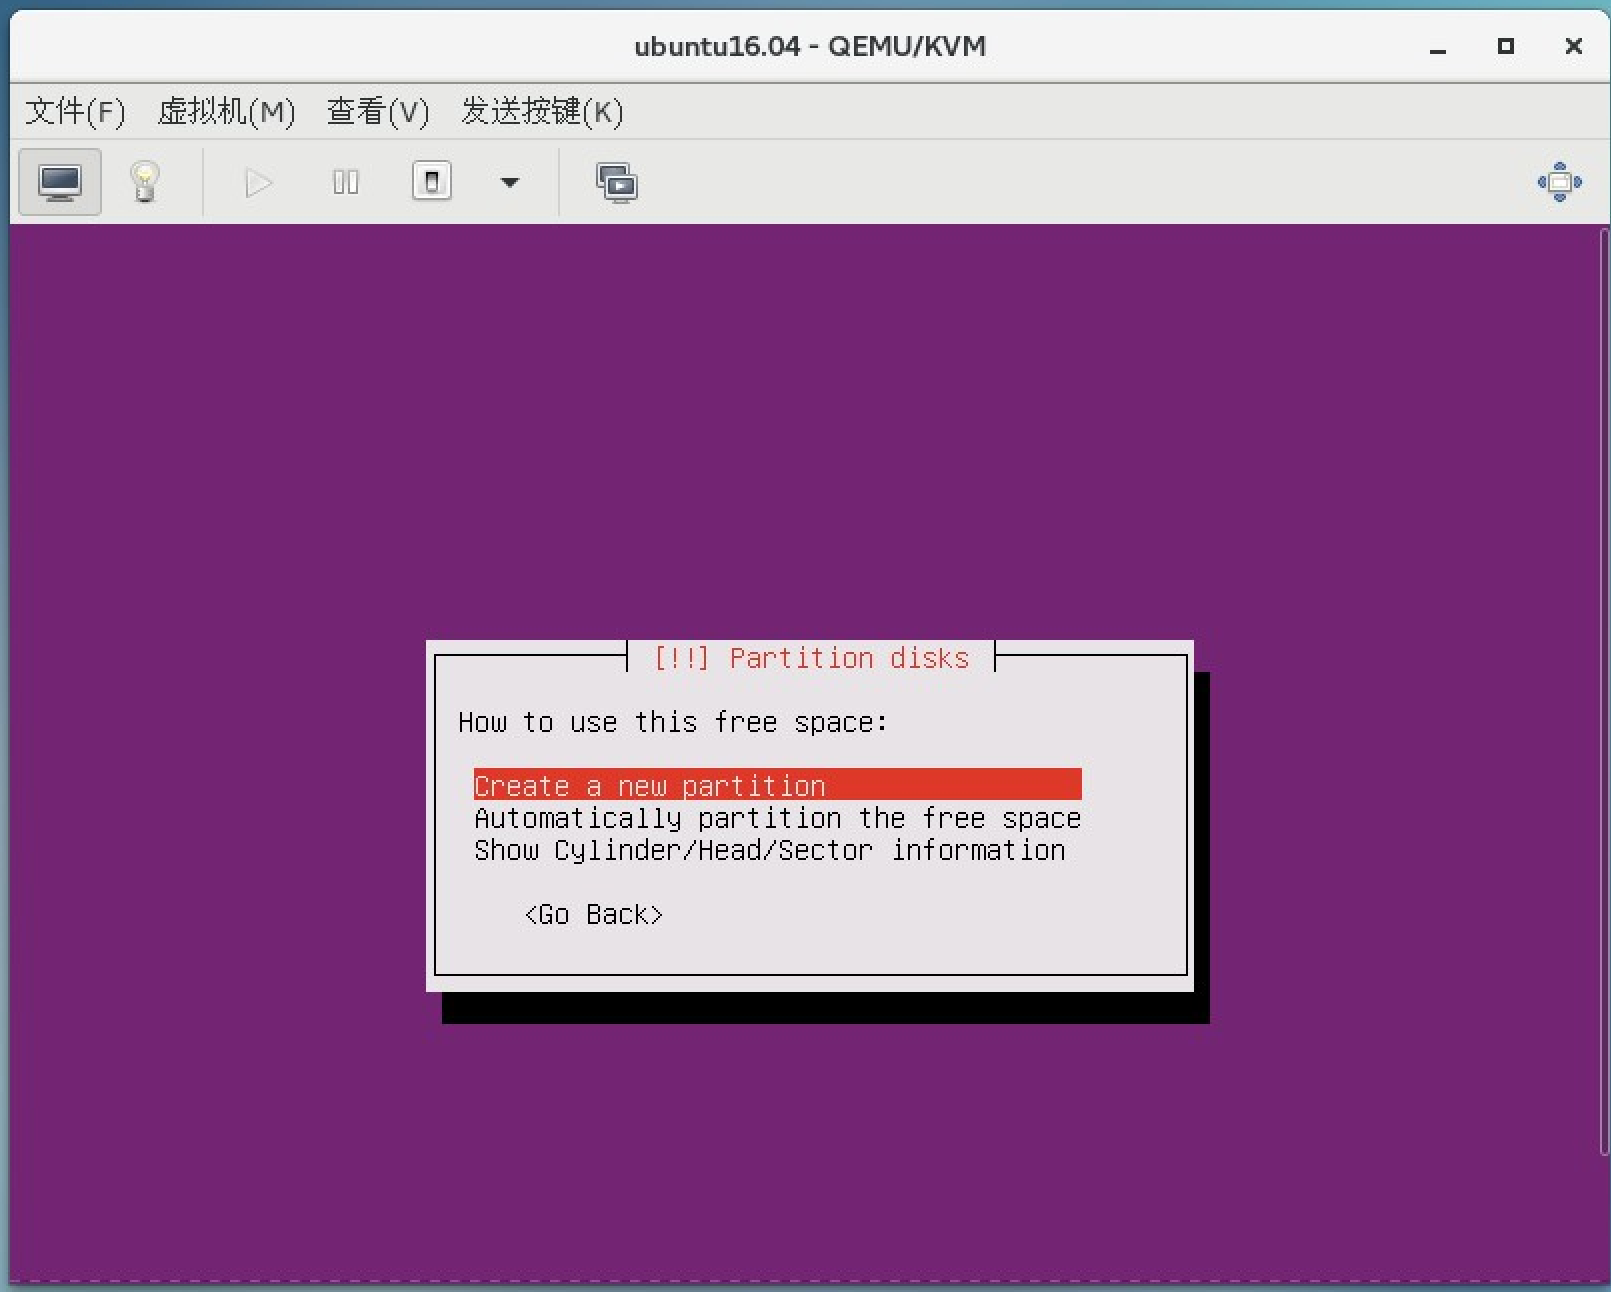
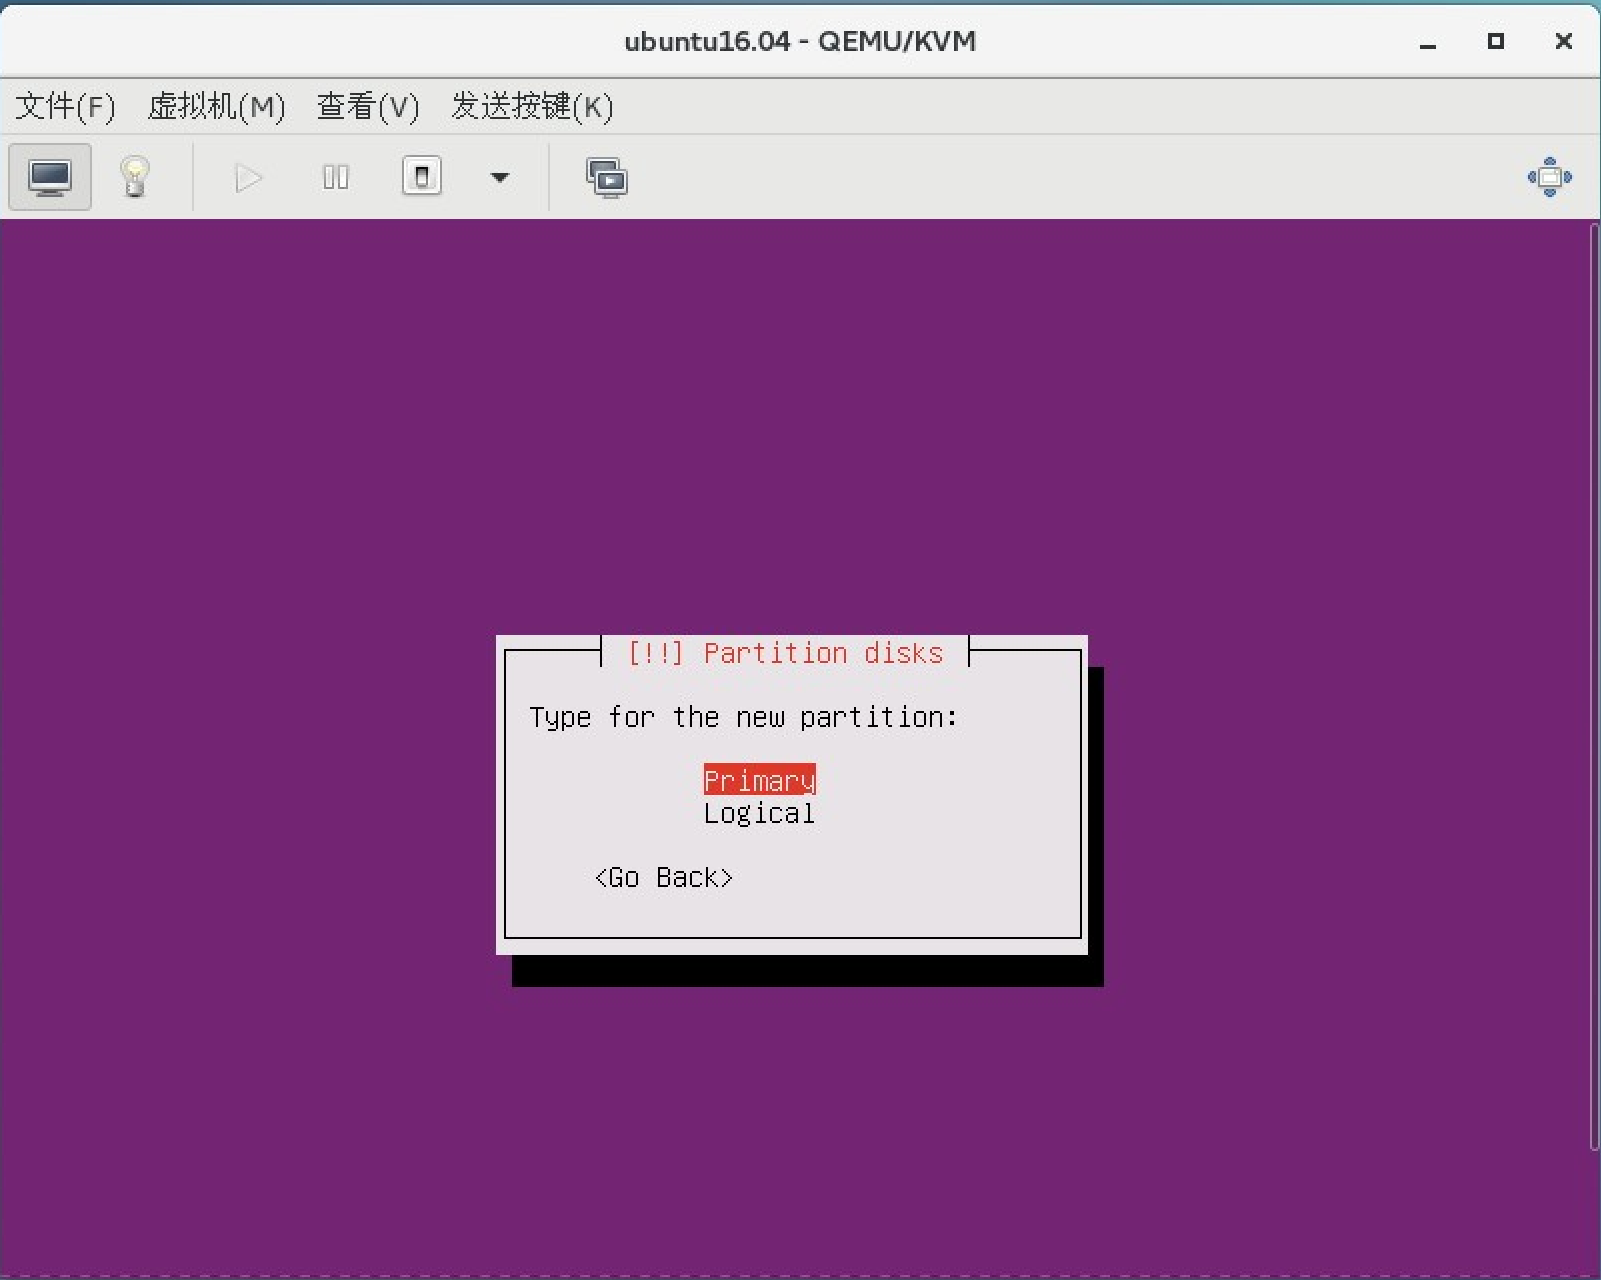
18. 继续默认选择创建分区
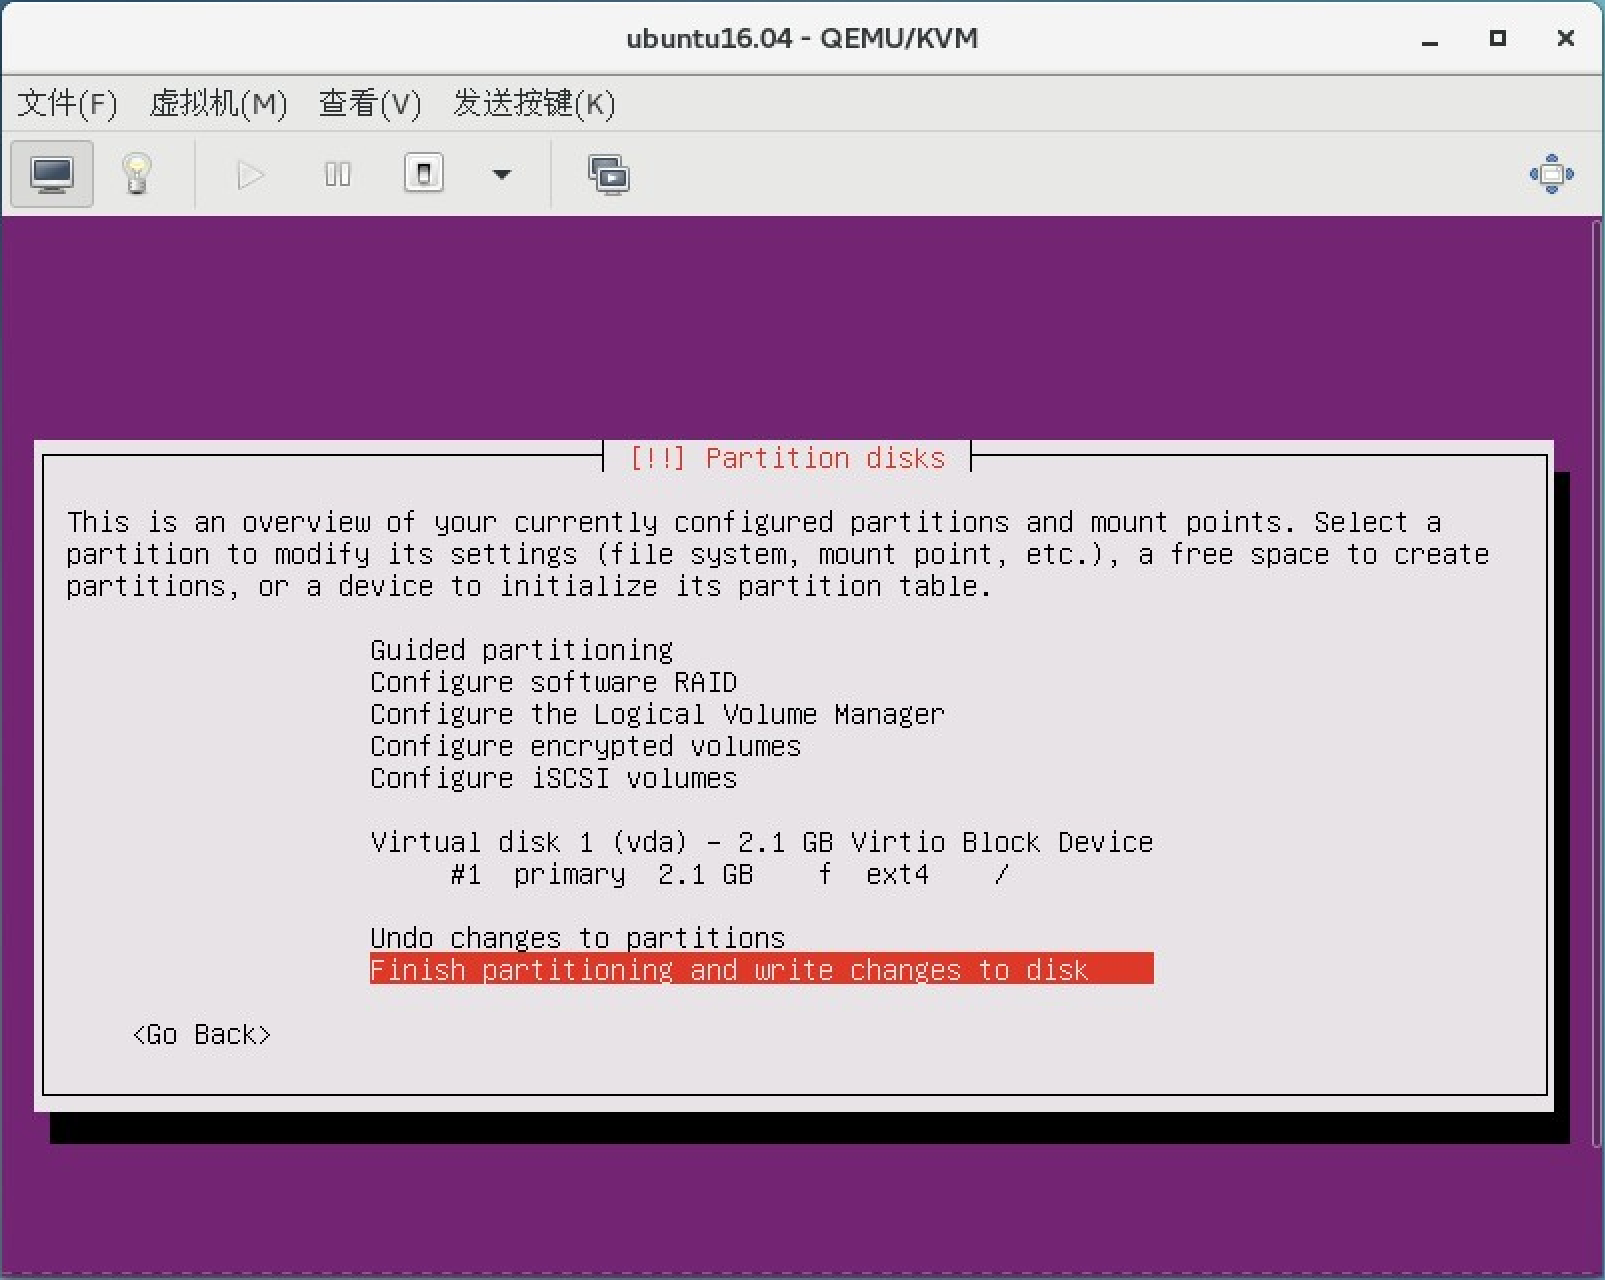
19. 默认创建/根分区 选择ext4 #不需要分配swap 和boot分区
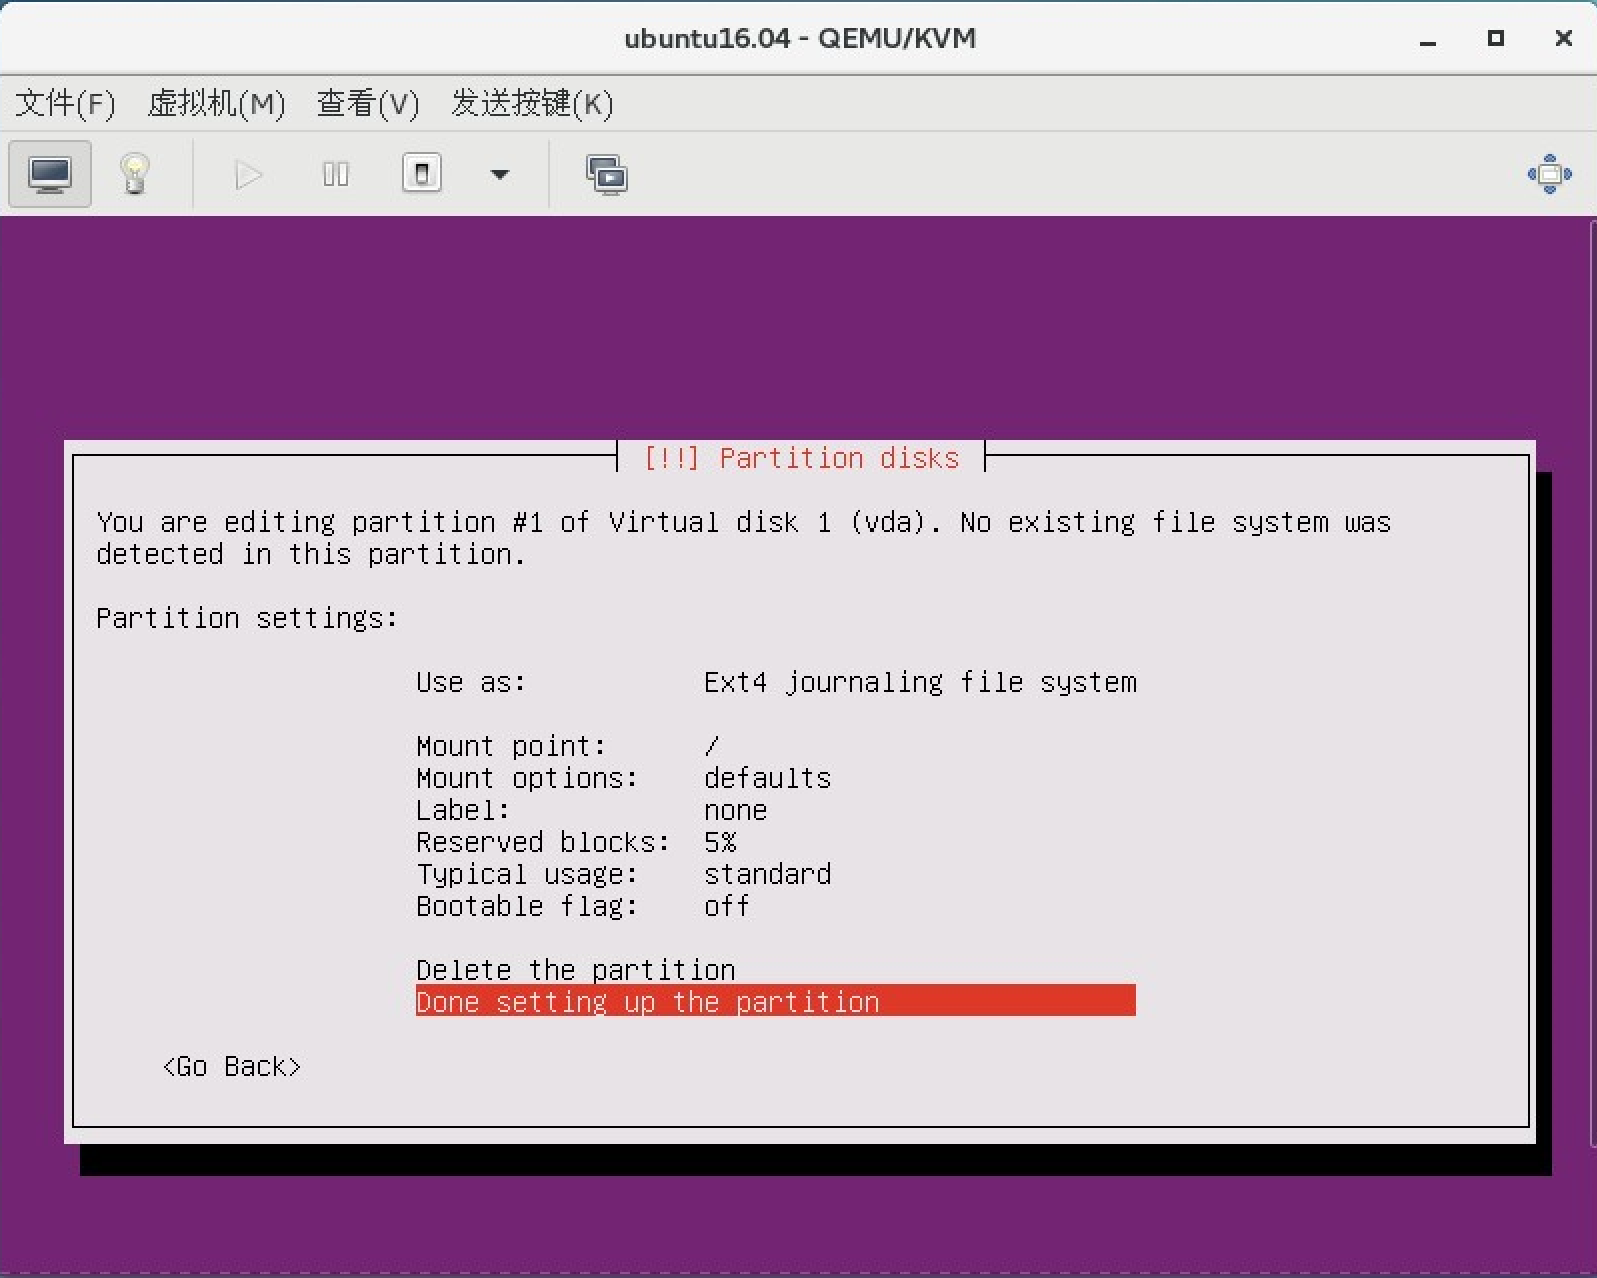
20. 选择完成创建
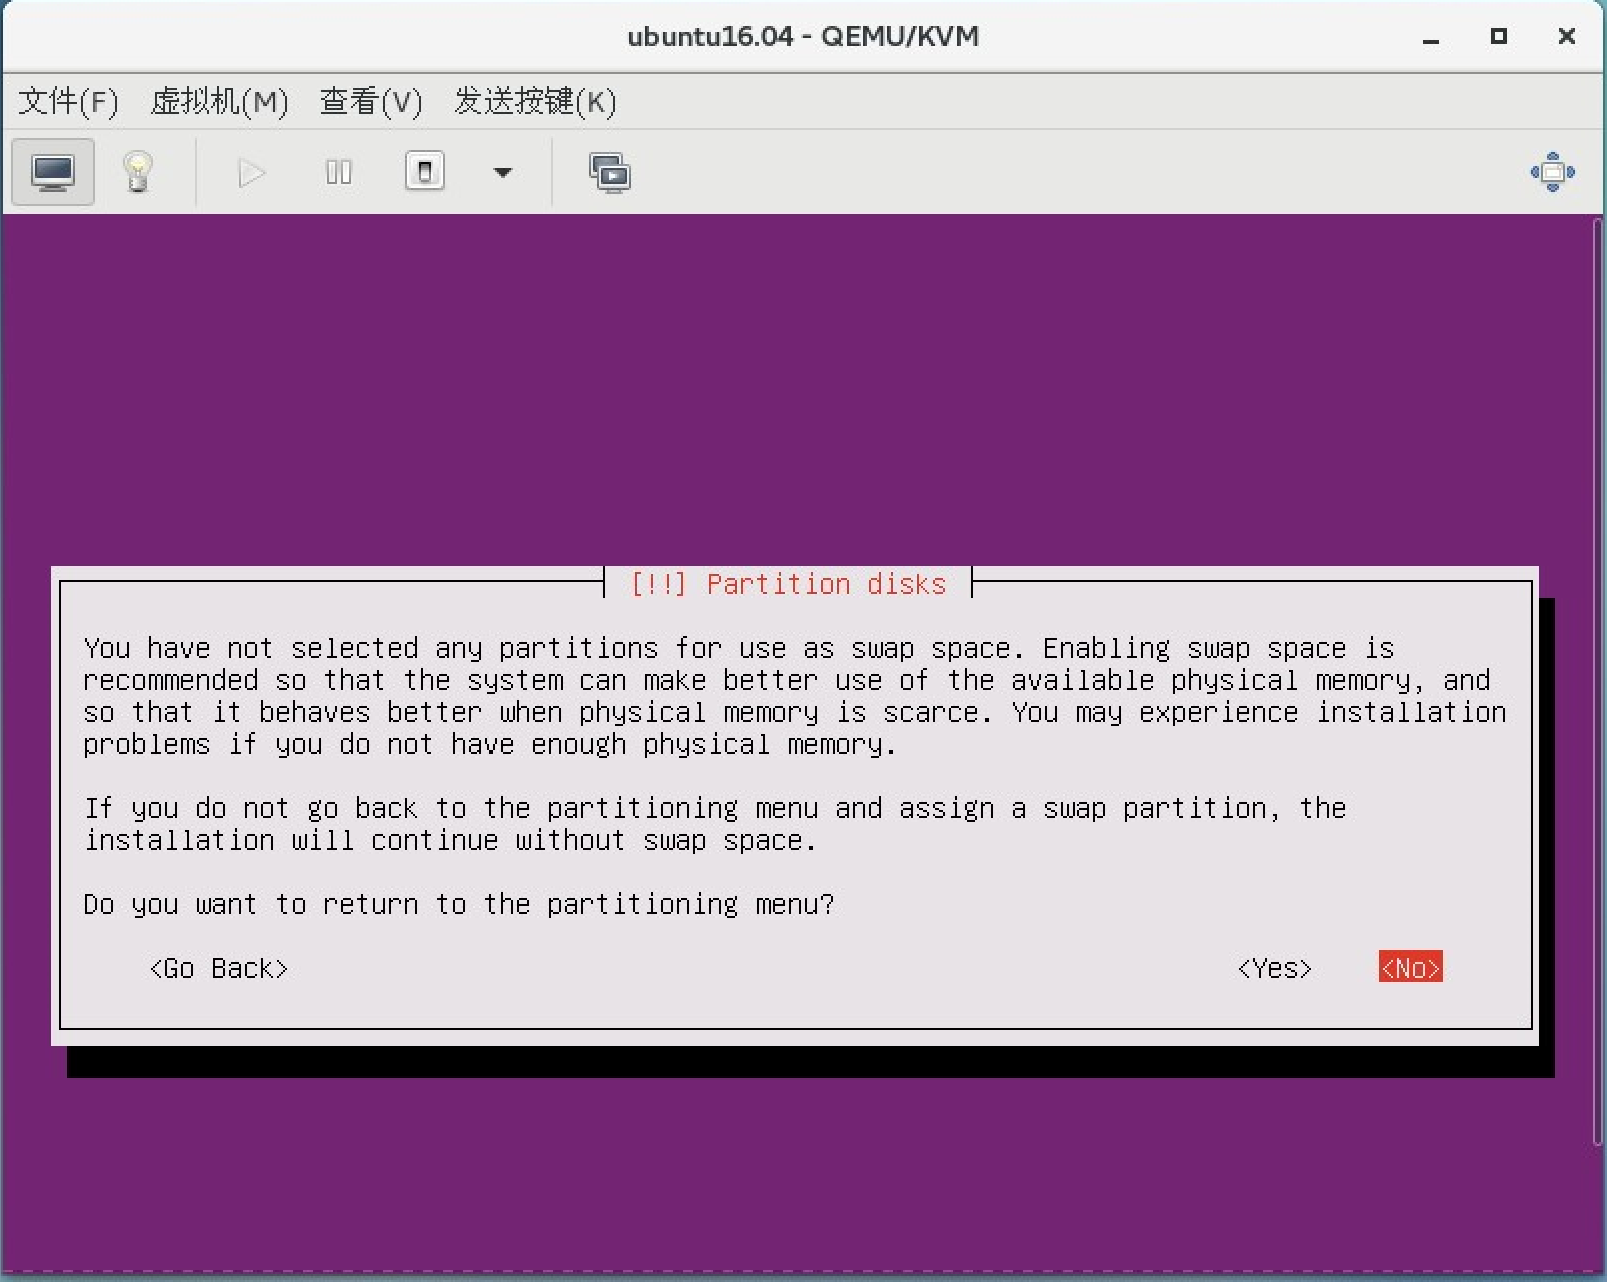
21. 选择no
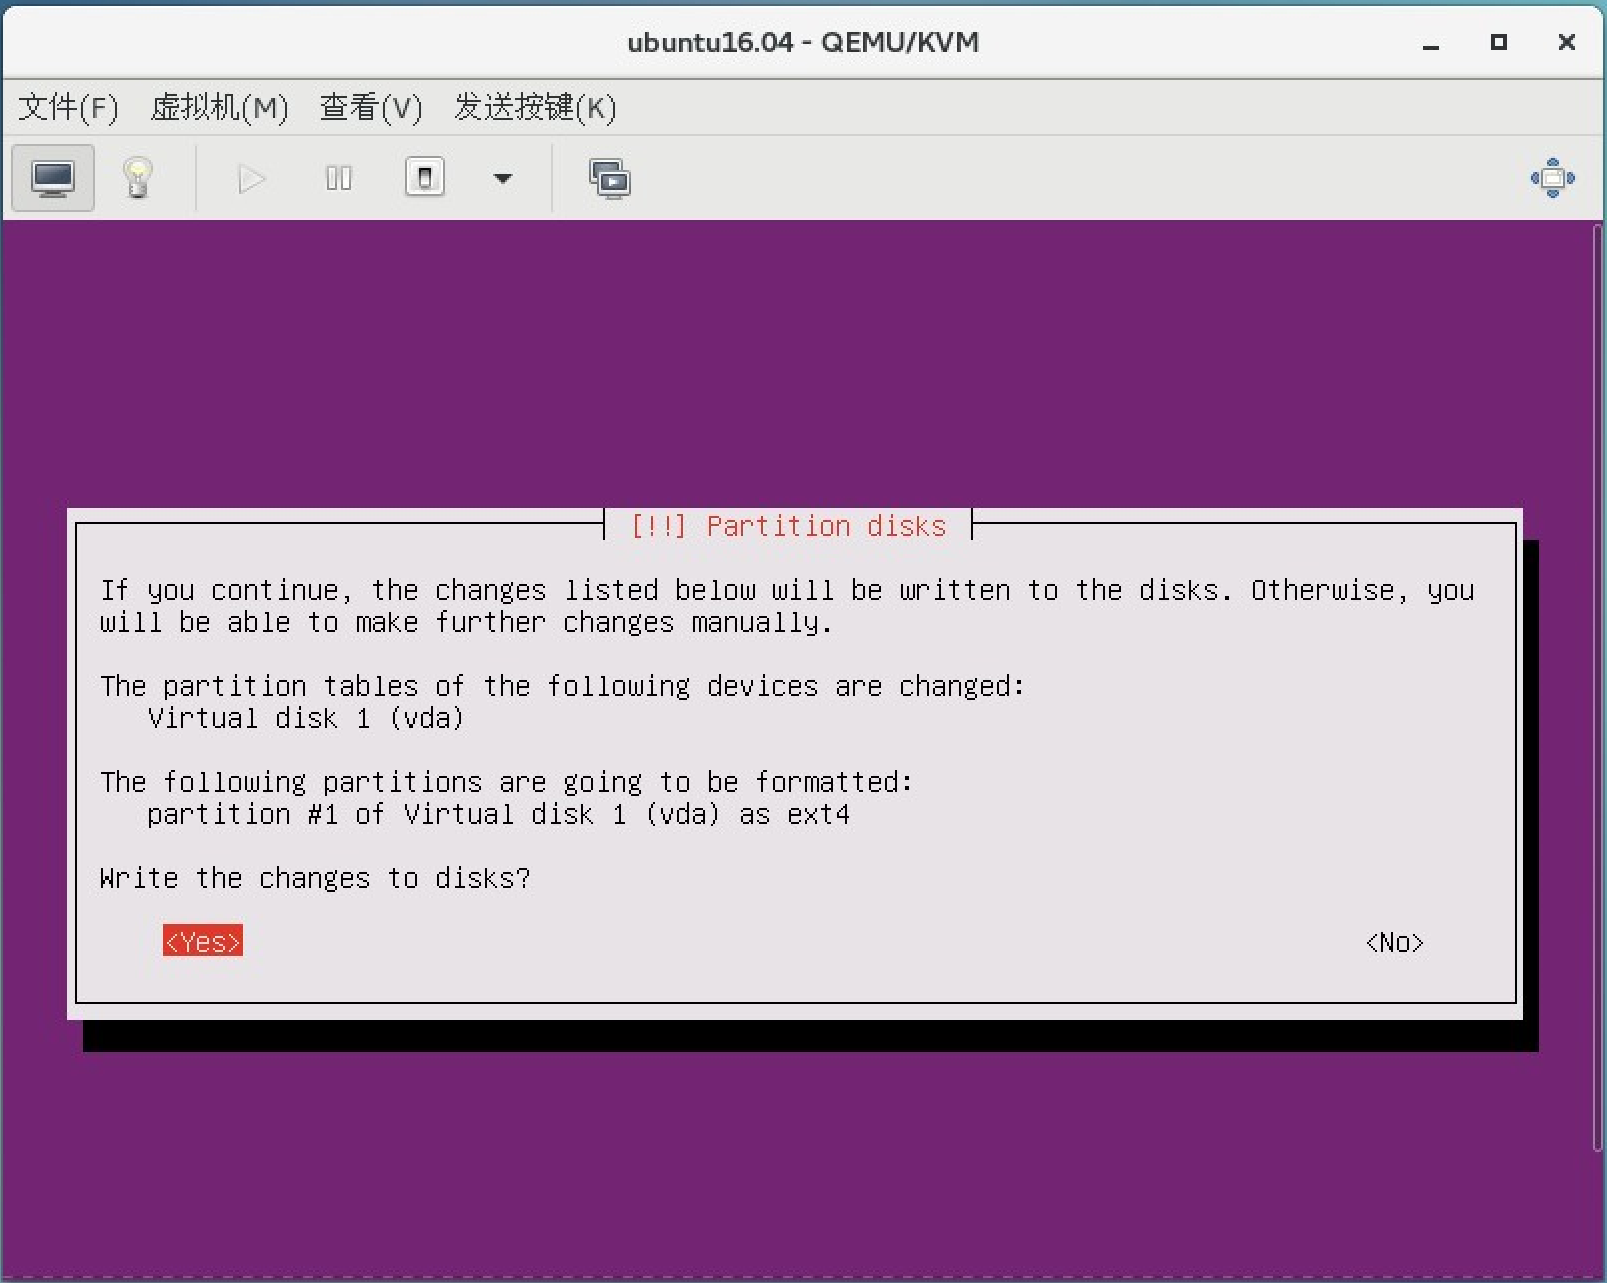
22. 选择yes
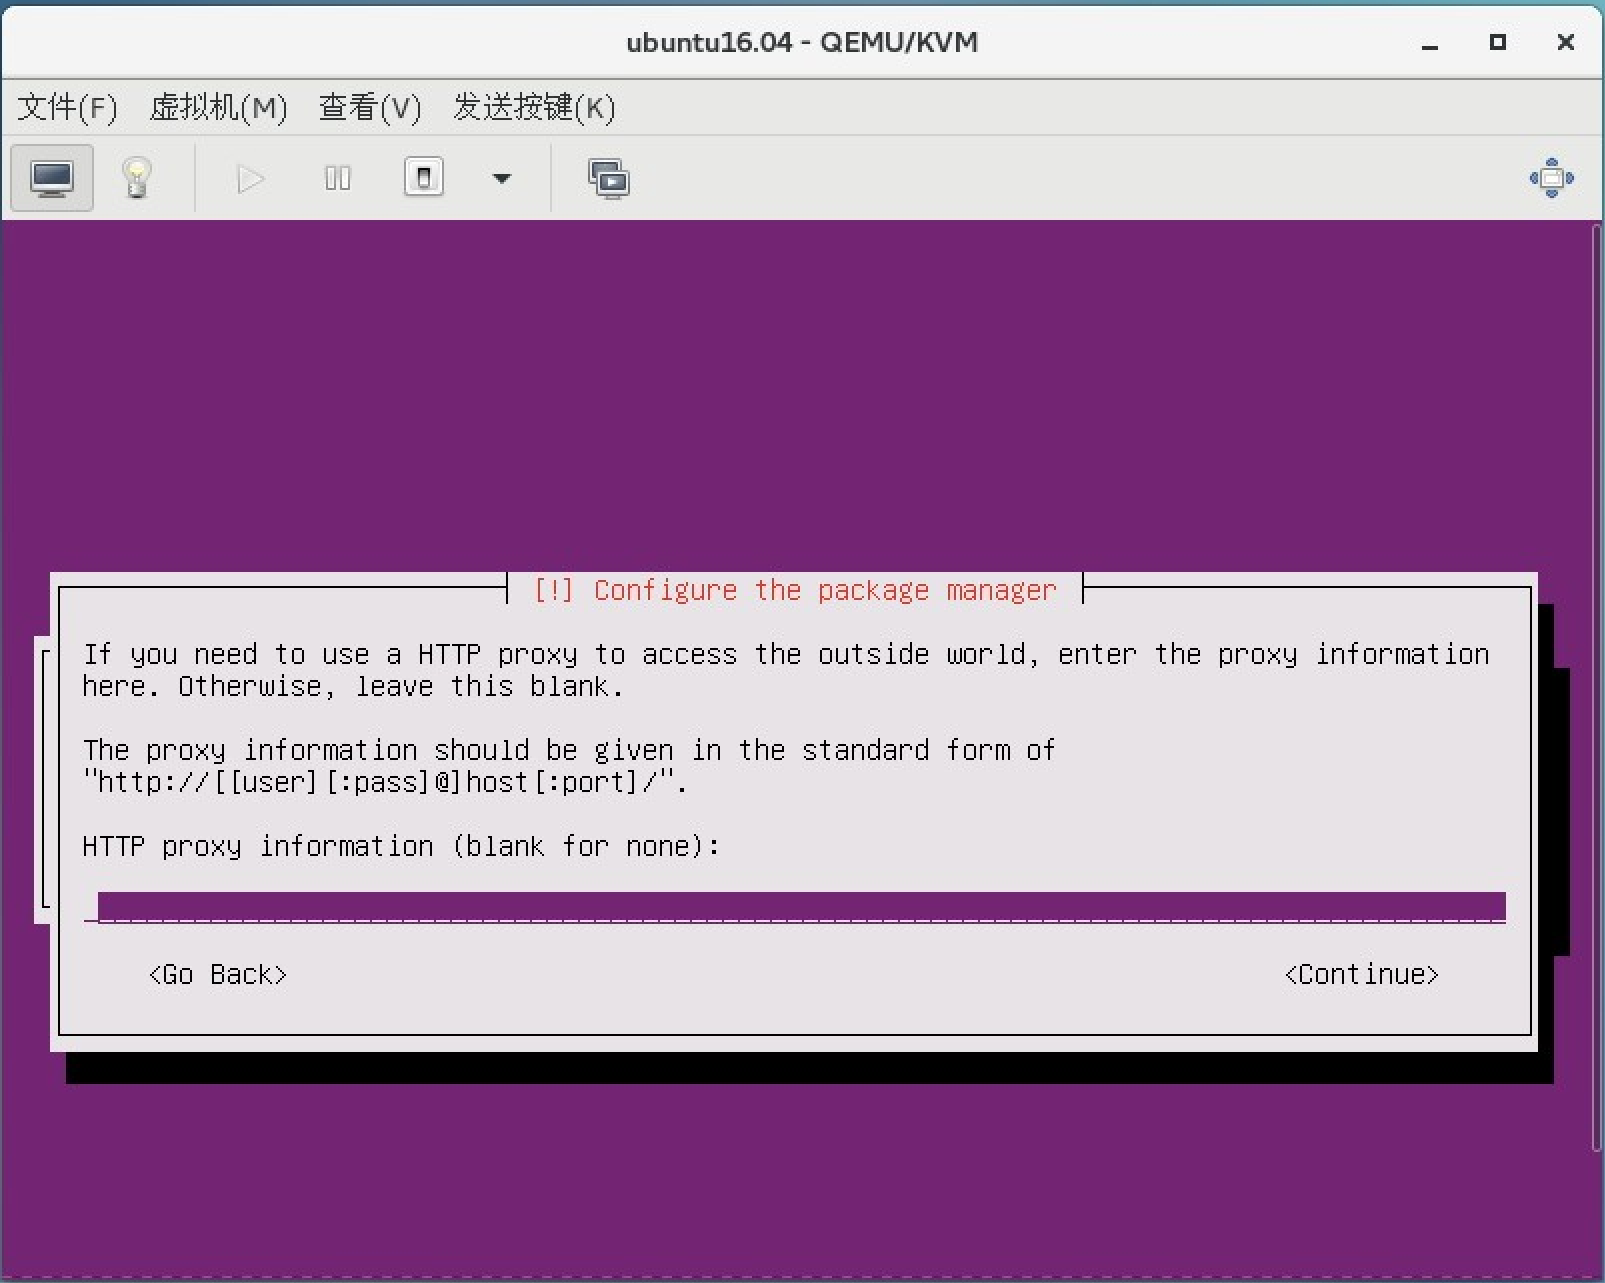
23. 默认不填写代理 选择继续
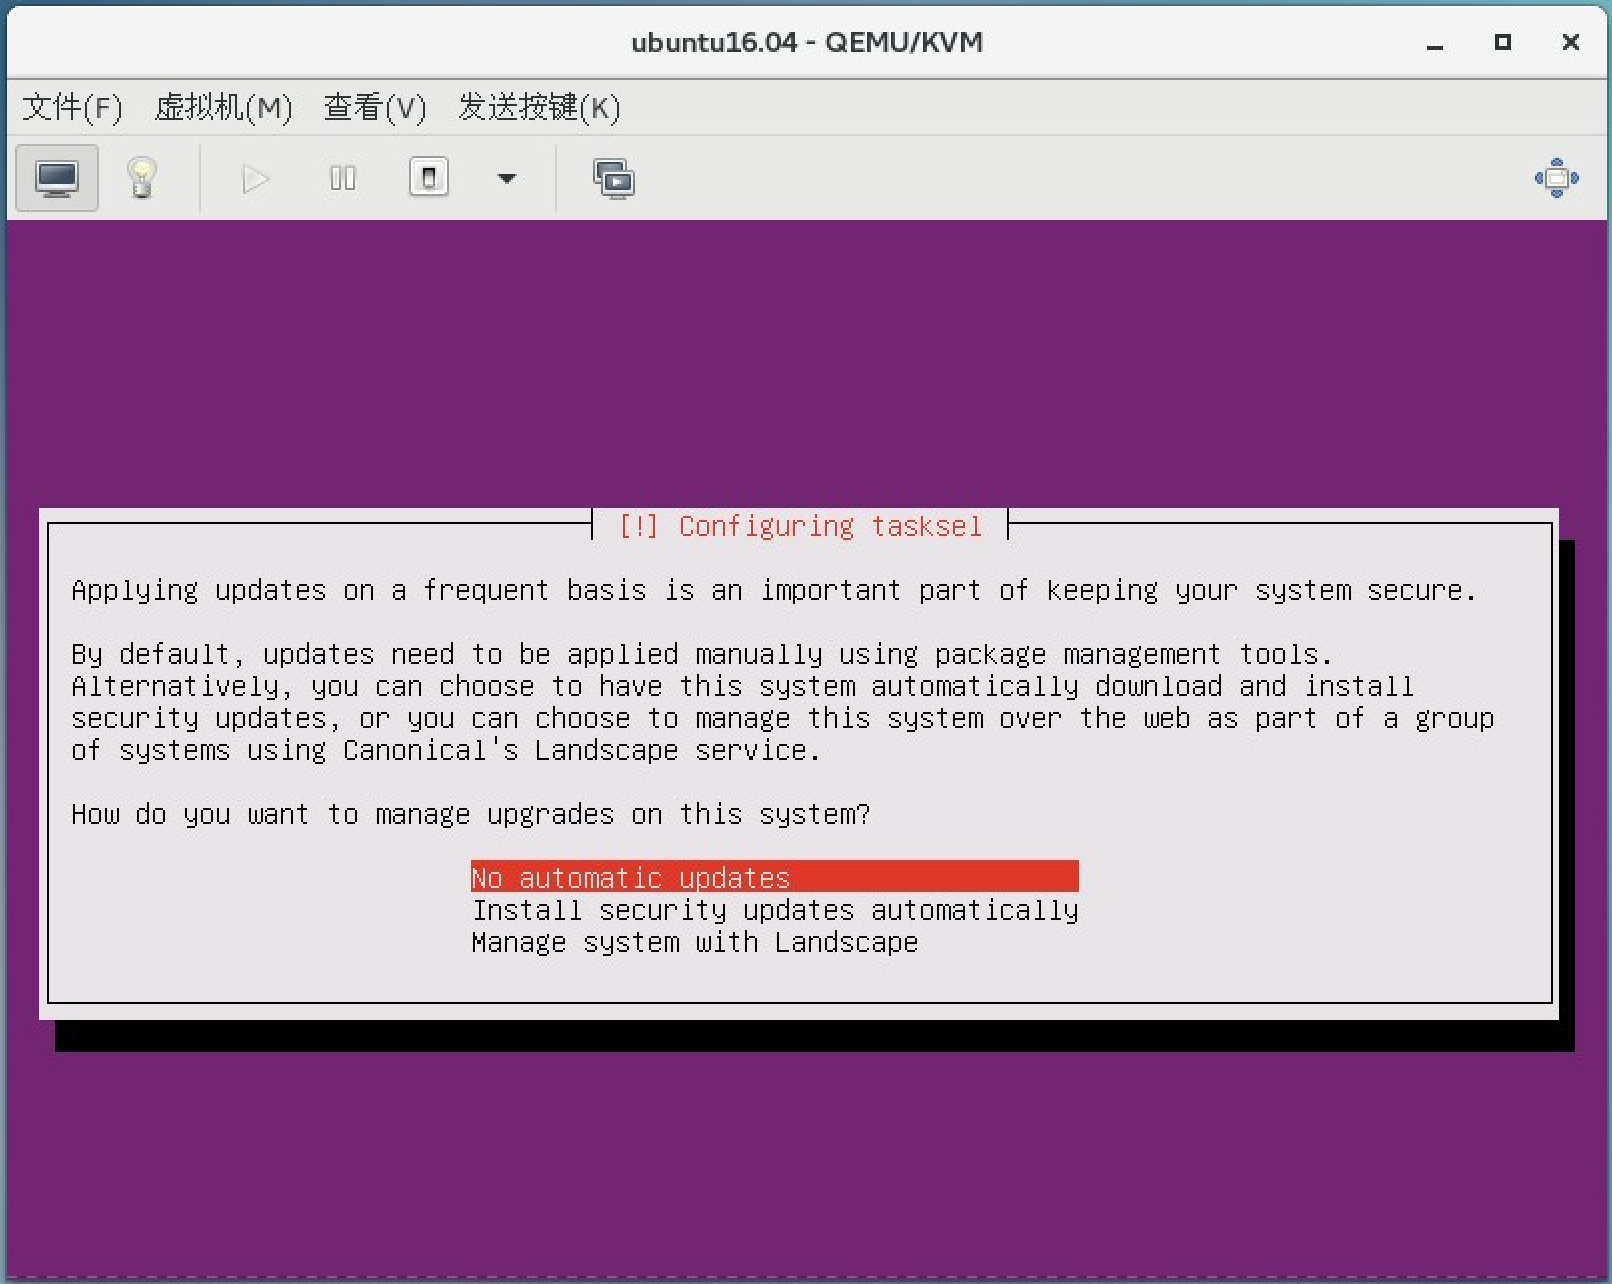
24. 选择不更新
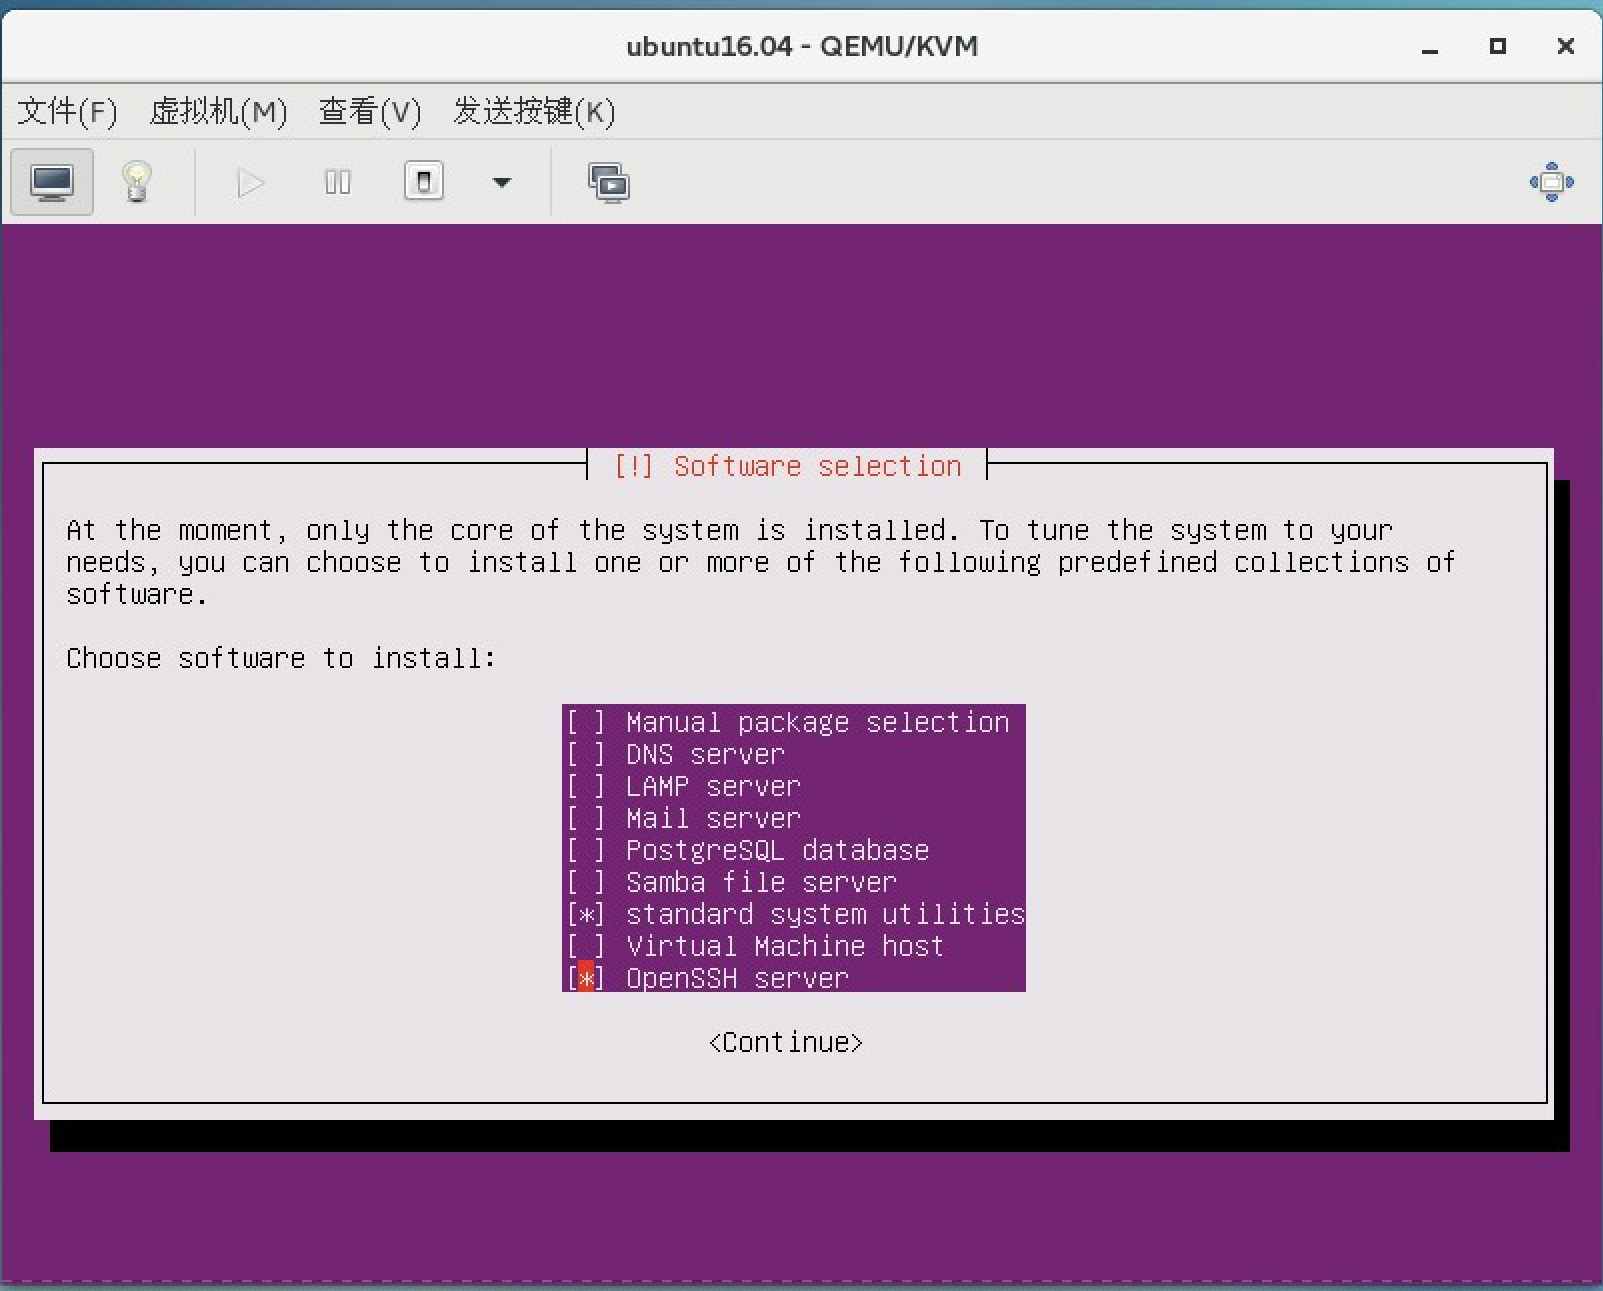
25. 选择安装openssh server服务 支持ssh 远程
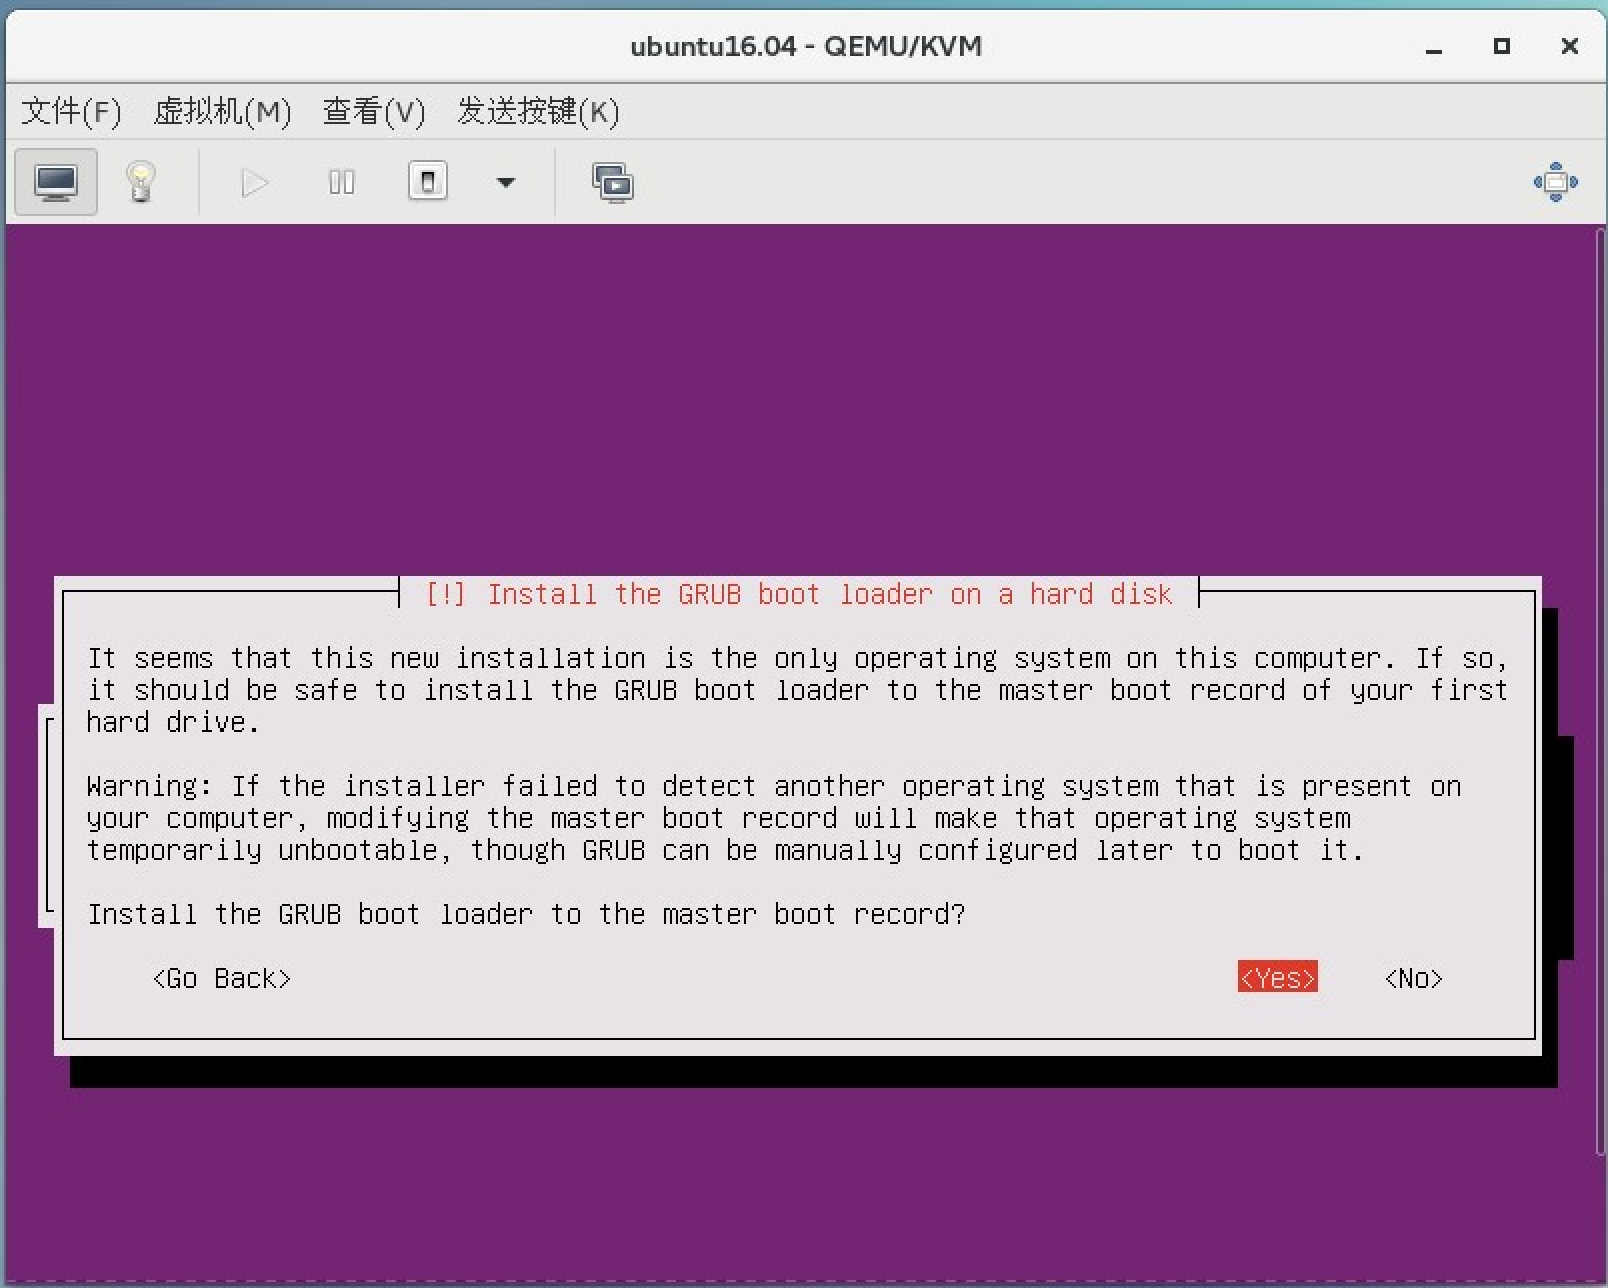
26. 选择yes
27. 选择ubuntu账号登录密码是123456
28. 修改root密码
sudo passwd root

切换su root
29. 运行root远程登录
vim /etc/ssh/sshd_conf
修改:PermitRootLogin without-password 为
PermitRootLogin yes
service ssh  restart
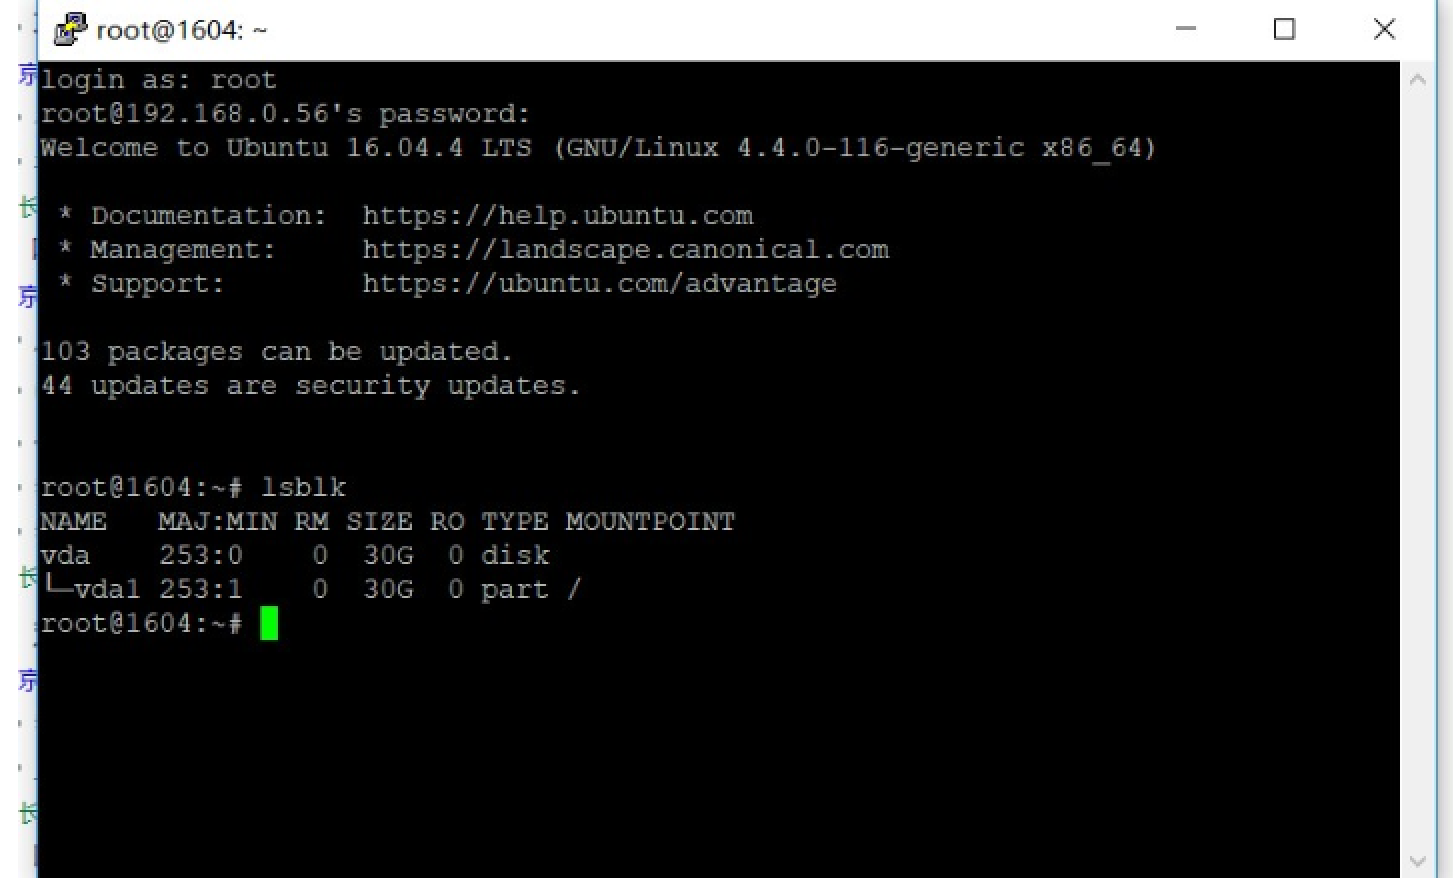
30. 查看 ip 远程ssh登录
ip a 用putty登录
31. 退出ubuntu用户
kvm端退出ubuntu登录 exit exit
32. 删除ubuntu用户
userdel -r ubuntu
#vim /etc/passwd
删除ubuntu 信息
33. 配置阿里更新源
sudo cp /etc/apt/sources.list /etc/apt/sources.list.bak
#备份
sudo vim /etc/apt/sources.list #修改
全部删除 添加如下:
#deb包
deb http://mirrors.aliyun.com/ubuntu/ xenial main restricted universe multiverse
deb http://mirrors.aliyun.com/ubuntu/ xenial-security main restricted universe multiverse
deb http://mirrors.aliyun.com/ubuntu/ xenial-updates main restricted universe multiverse
deb http://mirrors.aliyun.com/ubuntu/ xenial-backports main restricted universe multiverse
##测试版源
deb http://mirrors.aliyun.com/ubuntu/ xenial-proposed main restricted universe multiverse
# 源码
deb-src http://mirrors.aliyun.com/ubuntu/ xenial main restricted universe multiverse
deb-src http://mirrors.aliyun.com/ubuntu/ xenial-security main restricted universe multiverse
deb-src http://mirrors.aliyun.com/ubuntu/ xenial-updates main restricted universe multiverse
deb-src http://mirrors.aliyun.com/ubuntu/ xenial-backports main restricted universe multiverse
##测试版源
deb-src http://mirrors.aliyun.com/ubuntu/ xenial-proposed main restricted universe multiverse
34. 更新列表
apt-get update
-----------------------------------------------------------------------------------------------------------------
#如要用于其他版本,把
xenial 换成版本代号就好:
ubuntu18.04 - bionic
ubuntu16.04 - xenial
ubuntu15.10 - willy
ubuntu14.04 -
trusty
ubuntu12.04 - precise
#如果是:12.04版本 请用网易源 比较快
deb http://mirrors.163.com/ubuntu/ precise main universe
restricted multiverse
deb-src http://mirrors.163.com/ubuntu/ precise main universe
restricted multiverse
deb http://mirrors.163.com/ubuntu/ precise-security
universe main multiverse restricted
deb-src http://mirrors.163.com/ubuntu/ precise-security
universe main multiverse restricted
deb http://mirrors.163.com/ubuntu/ precise-updates universe
main multiverse restricted
deb http://mirrors.163.com/ubuntu/ precise-proposed
universe main multiverse restricted
deb-src http://mirrors.163.com/ubuntu/ precise-proposed
universe main multiverse restricted
deb http://mirrors.163.com/ubuntu/ precise-backports
universe main multiverse restricted
deb-src http://mirrors.163.com/ubuntu/ precise-backports
universe main multiverse restricted
deb-src http://mirrors.163.com/ubuntu/ precise-updates universe
main multiverse restricted
-----------------------------------------------------------------------------------------------------------------
35. 修改时区
tzselect
选择4 9 1 1
36.关闭防火墙和selinux
systemctl disable ufw && systemctl disable iptables
37. 安装常用工具
apt install qemu-guest-agent openssh-server bash-completion ntpdate sysstat sudo vim ntp -y
38. 安装cloud-init
apt install cloud-init cloud-initramfs-growroot -y
39. 配置 配置一下:vim /etc/cloud/cloud.cfg 允许root用户登录
disable_root : false
40. 修改配置文件vim /etc/cloud/cloud.cfg ,在cloud_init_modules 下面增加:
-
resolv-conf
41. 然后,查看一下iptables:
root@ubuntu:~# iptables -L
[sudo] password for
trait:
Chain INPUT (policy ACCEPT)
target prot opt
source destination
Chain FORWARD (policy ACCEPT)
target prot opt source
destination
Chain OUTPUT (policy ACCEPT)
target prot opt source
destination
如果不是这样:rm -rf /etc/udev/rules.d/*.rules 删除规则文件。
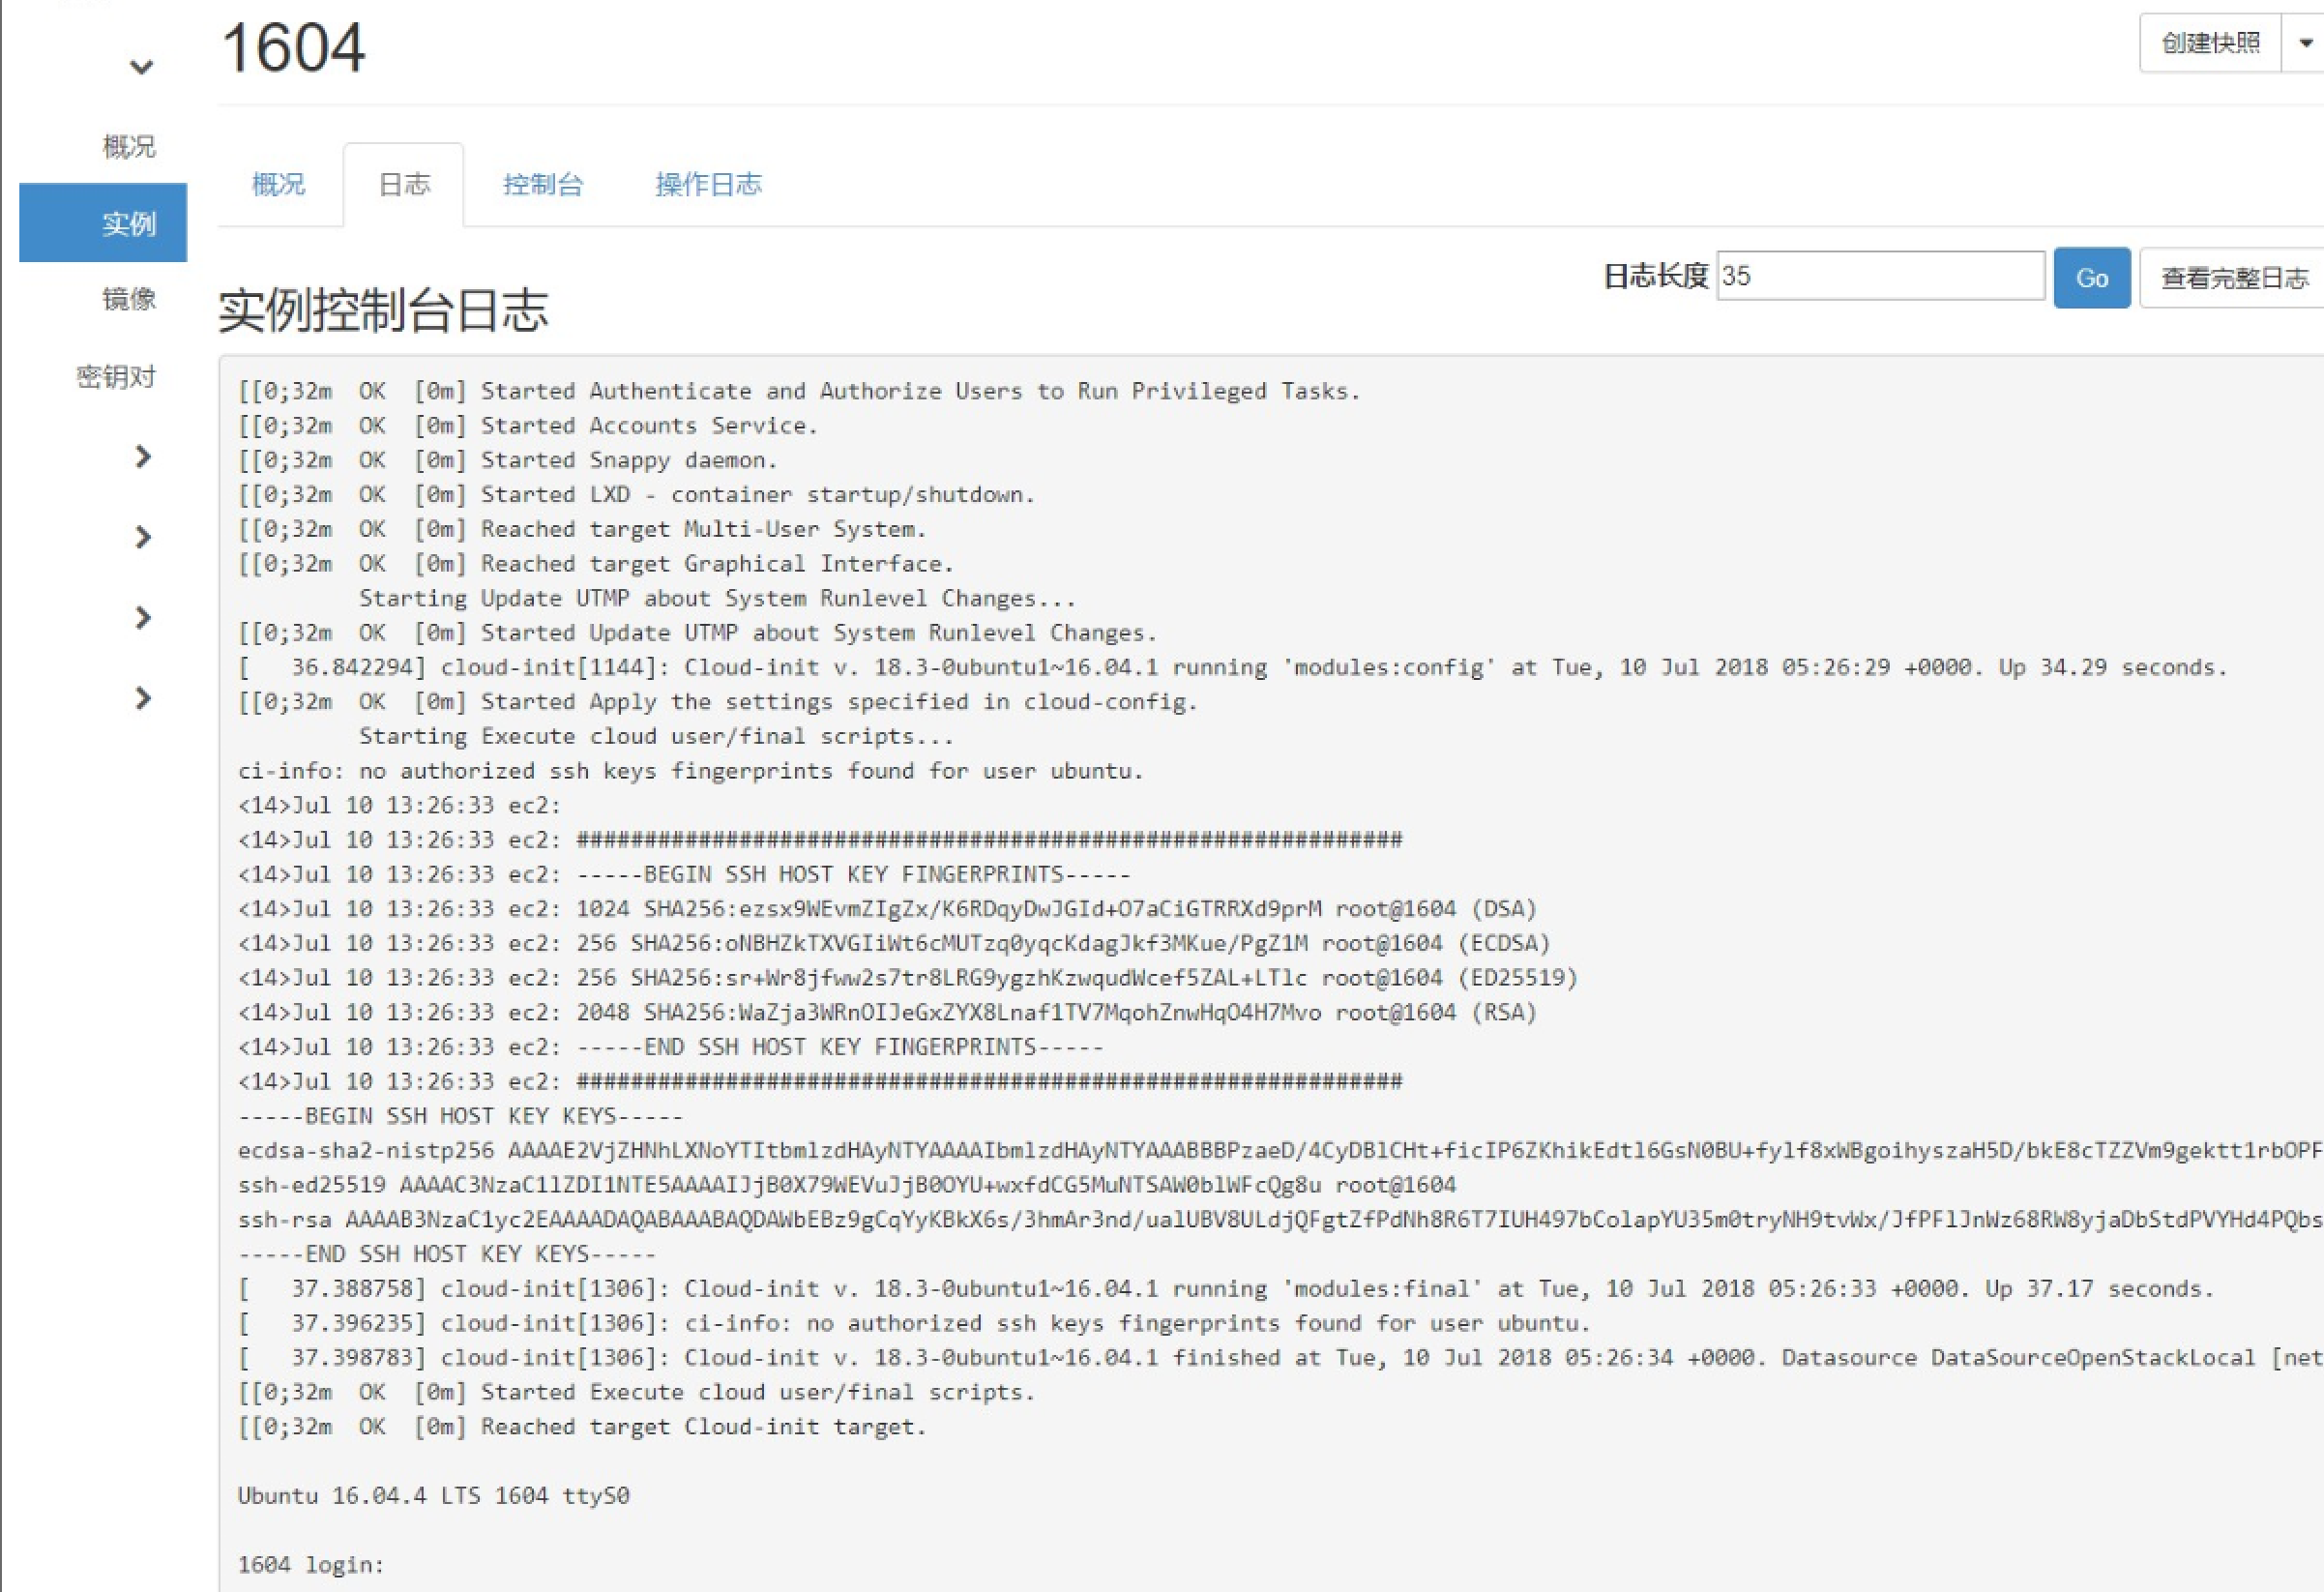
42. 让实例启动带日志
修改允许启动时console访问输出
vim /etc/default/grub
GRUB_TIMEOUT=1
GRUB_CMDLINE_LINUX="console=ttyS0,115200n8"
运行update-grub命令更新
43. 清理历史记录和日志文件
apt clean all
history -c
44. 关机
poweroff
#kvm 下操作
45. 查看kvm所有虚拟机
virsh list --all
46. 执行清理任务
virt-sysprep -d Ubuntu_Server_16.04.6_LTS_64bit
47. 压缩镜像
cd kvm/img/
virt-sparsify --compress /var/lib/libvirt/images/Ubuntu_Server_16.04.6_LTS_64bit.qcow2 Ubuntu_Server_16.04.6_LTS_64bit.qcow2
48. 拷贝镜像到controller1上 #123456
cd
scp -p kvm/img/Ubuntu_Server_16.04.6_LTS_64bit.qcow2 192.168.1.50:/root
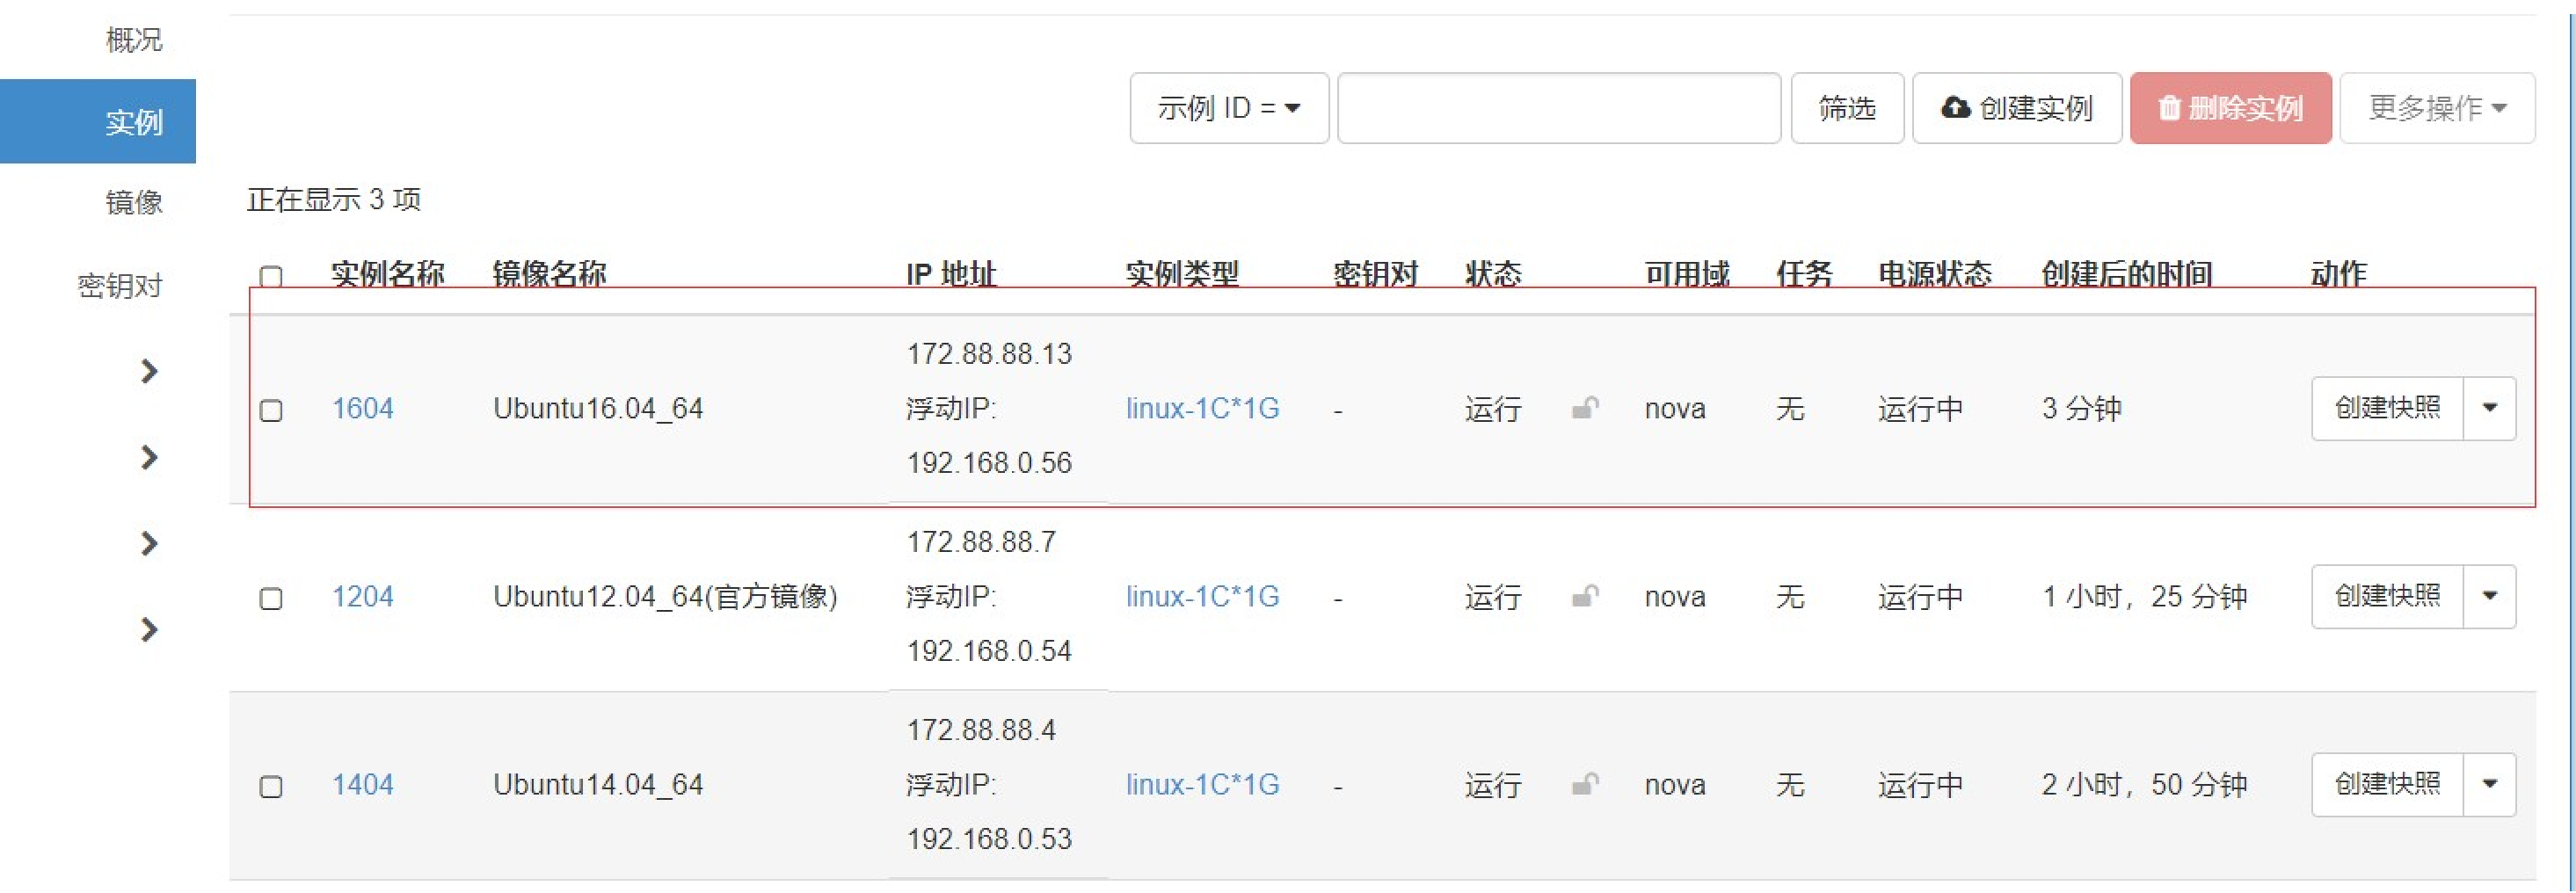
49. 验证

 浙公网安备 33010602011771号