

.NET入门相关学习
关于.NET连接Mysql:
目前还存在问题:这个教程是关于导出数据库表所有内容的,如何添加删改数据这个教程没写。回头有空补上。
两个开发工具:
MySQL workbench:
①新建数据库连接:
行为:主页下半部分MysqlConnect点击加号,出现窗口即可编辑
要点:连接名、主机名、端口、用户、密码
②新建数据库和表:
行为:
  创建数据库连接口主页MysqlConnect下会出现卡片,点击进入
  点击上方菜单栏的带加号的桶图标;
  创建数据库后,左边Navigator下侧点击Schemas找到创建好的数据库
  点其下一级Tables鼠标右键create schema建表
要点:
    数据库名、表名
VisualStudio2022:
1、新建ASP.NET Core MVC项目(ASP.NET Core MVC Web应用(模型-视图-控制器))
2、在项目下appsetting.json中如下代码:“
"Logging": {
    "LogLevel": {
      "Default": "Information",
      "Microsoft.AspNetCore": "Warning"
    }
  },
”之前,添加连接字符串:
"ConnectionStrings": {
    "MysqlConnection": "Data Source=主机名或者域名;Database=数据库名;User ID=用户名;Password=密码;pooling=true;port=端口号;sslmode=none;CharSet=utf8;"
  },
//中文字自行替换
最终显示为:


 1 {
 2     "ConnectionStrings": {
 3         "MysqlConnection": "Data Source=localhost;Database=csharp_demo;User ID=root;Password=161618;pooling=true;port=3306;sslmode=none;CharSet=utf8;"
 4     },
 5     "Logging": {
 6         "LogLevel": {
 7             "Default": "Information",
 8             "Microsoft.AspNetCore": "Warning"
 9         }
10     },
11     "AllowedHosts": "*"
12 }
3、在项目下Program.cs中开头添加:
using Microsoft.EntityFrameworkCore;
using MySQL_Connect_Demo.Data;
添加完后,在原本就有的语句:“
var builder = WebApplication.CreateBuilder(args);
builder.Services.AddControllersWithViews();
”之后添加以下:
builder.Services.AddDbContext<StudentContext>(options =>
  options.UseMySql(builder.Configuration.GetConnectionString("MysqlConnection"), new MySqlServerVersion(new Version())));
用于注册数据库上下文服务。
- StudentContext字段报错不用管,后面还会写文件;
- UseMysql等字段(错误提示是否缺少引用的)有两种解决方案:
(1)菜单栏-“工具”-“Nuget包管理器”-“管理解决方案的Nuget程序包”-“浏览”:
之后在搜索栏中搜索到结果,点击所需包,在右侧选中当前项目,添加。
(2)鼠标悬停在错误字段上等待提示,出现提示后点击最下方寻求解决方案直接由系统导入包(不确定会不会导错,但是我这么做没导错包。)
最终显示为:
 1 using Microsoft.EntityFrameworkCore;
 2 using MySQL_Connect_Demo.Data;
 3
 4 var builder = WebApplication.CreateBuilder(args);
 5
 6 builder.Services.AddControllersWithViews();
 7 builder.Services.AddDbContext<StudentContext>(options =>
 8   options.UseMySql(builder.Configuration.GetConnectionString("MysqlConnection"), new MySqlServerVersion(new Version())));
 9
10 var app = builder.Build();
11
12 // Configure the HTTP request pipeline.
13 if (!app.Environment.IsDevelopment())
14 {
15     app.UseExceptionHandler("/Home/Error");
16     // The default HSTS value is 30 days. You may want to change this for production scenarios, see https://aka.ms/aspnetcore-hsts.
17     app.UseHsts();
18 }
19
20 app.UseHttpsRedirection();
21 app.UseStaticFiles();
22
23 app.UseRouting();
24
25 app.UseAuthorization();
26
27 app.MapControllerRoute(
28     name: "default",
29     pattern: "{controller=Home}/{action=Index}/{id?}");
30
31 app.Run();
3、工程项目下的Models文件夹右键选择:添加-类,注意改名称并记住,最好和数据库建表一致并开头大写,容易记。
using System.ComponentModel.DataAnnotations;
namespace 项目名.Models
{
    public class 类名
    {
        [Key]
        public int Id { get; set; }
        public string Name { get; set; } = String.Empty;
        public string Age { get; set; }
    }
    //Id为关键字
    //可能会弹属性不能为空的警告,可以不管,也可以在后面加=xxx.Empty
}
4、工程项目,右键-添加-文件夹,命名为Data,右键Data添加类:类名Context.cs
using Microsoft.EntityFrameworkCore;
using 项目名.Models;
//中文字自行替换
namespace 项目名.Data {
    public class 类名Context : DbContext {
        public 类名Context(DbContextOptions<类名Context> options) : base(options){}
        public DbSet<类名> 类名s { get; set; }
        //定义一个集合,名称可以是类名+'s',也可以自己取一个但要记住。
        protected override void OnModelCreating(ModelBuilder modelBuilder){
            modelBuilder.Entity<类名>().ToTable("所建表的表名");
        }
        //据说是用于对数据库表单的映射
    }
}
5、在项目下Controllers中右键添加类:类名Controller.cs
using Microsoft.AspNetCore.Mvc;
using Microsoft.EntityFrameworkCore;
using 项目名.Data;

namespace 项目名.Controllers{
    public class 类名Controller : Controller{
        private readonly 类名Context _context;
        public 类名Controller(类名Context context){
            _context = context;
        }
        public async Task<IActionResult> Index(){
            return View(await _context.类名s.ToListAsync());
        }
    }
}
6、在项目下Views右键添加文件夹,文件夹命可设置为类名,右键文件夹添加视图(空):Index.cshtml
 1 @model IEnumerable<项目名.Models.类名>
 2
 3 @{
 4     ViewData["Title"] = "Index";
 5 }
 6
 7 <h2>Index</h2>
 8
 9 <p>
10     <a asp-action="Create">Create New</a>
11     @*此处暂无跳转功能*@
12 </p>
13 <table class="table">
14     <thead>
15     @*表头设置*@
16         <tr>
17                 <th>
18                     @Html.DisplayNameFor(model => model.Id)
19                 </th>
20                 <th>
21                     @Html.DisplayNameFor(model => model.Name)
22                 </th>
23                 <th>
24                     @Html.DisplayNameFor(model => model.Age)
25                 </th>
26             <th></th>
27         </tr>
28     </thead>
29     <tbody>
30 @foreach (var item in Model) {
31     @*表单显示*@
32         <tr>
33             <td>
34                 @Html.DisplayFor(modelItem => item.Id)
35             </td>
36             <td>
37                 @Html.DisplayFor(modelItem => item.Name)
38             </td>
39             <td>
40                 @Html.DisplayFor(modelItem => item.Age)
41             </td>
42             <td>
43                 <a asp-action="Edit" asp-route-id="@item.Id">Edit</a> |
44                 <a asp-action="Details" asp-route-id="@item.Id">Details</a> |
45                 <a asp-action="Delete" asp-route-id="@item.Id">Delete</a>
46             </td>
47     @*以上三个td暂无跳转功能*@
48         </tr>
49 }
50     </tbody>
51 </table>
主要需要以下几行:
@model IEnumerable<项目名.Models.类名>
<table class="table">
@*表头*@
    <thead>
        <tr>
            <th>@Html.DisplayNameFor(model => model.属性名)</th>
            <th>......</th>......
        </tr>
    </thead>
@*表单*@
    <tbody>
        @foreach (var item in Model){
            <tr>
                <td>@Html.DisplayFor(modelItem => item.属性名)</td>
                <td>......</td>......
            </tr>
        }
    </tbody>
</table>
7、到此为止,ctrl+F5仍然看不到页面,因此要在主页设置一个入口进入数据查看界面,或者直接设置这个界面为主页。
设置前运行界面为
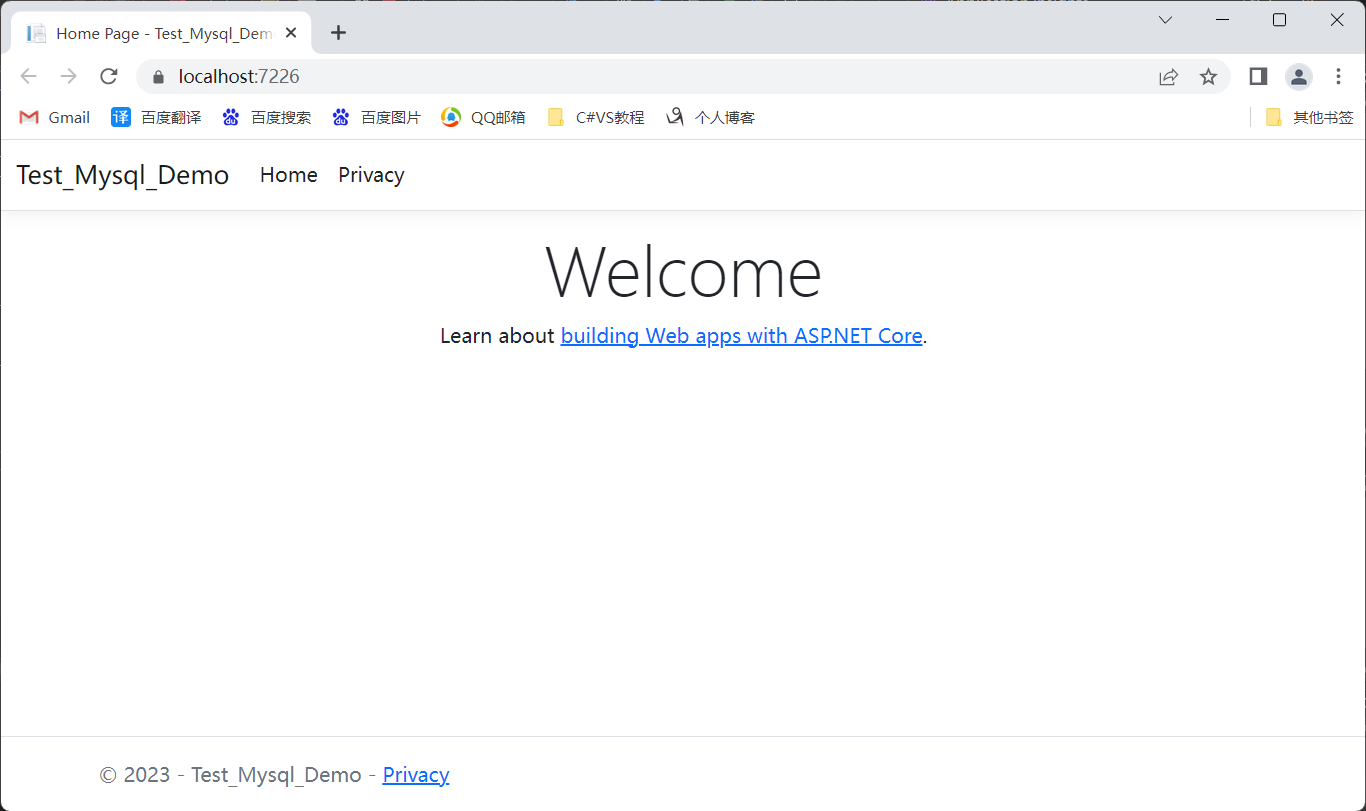
设置后界面为
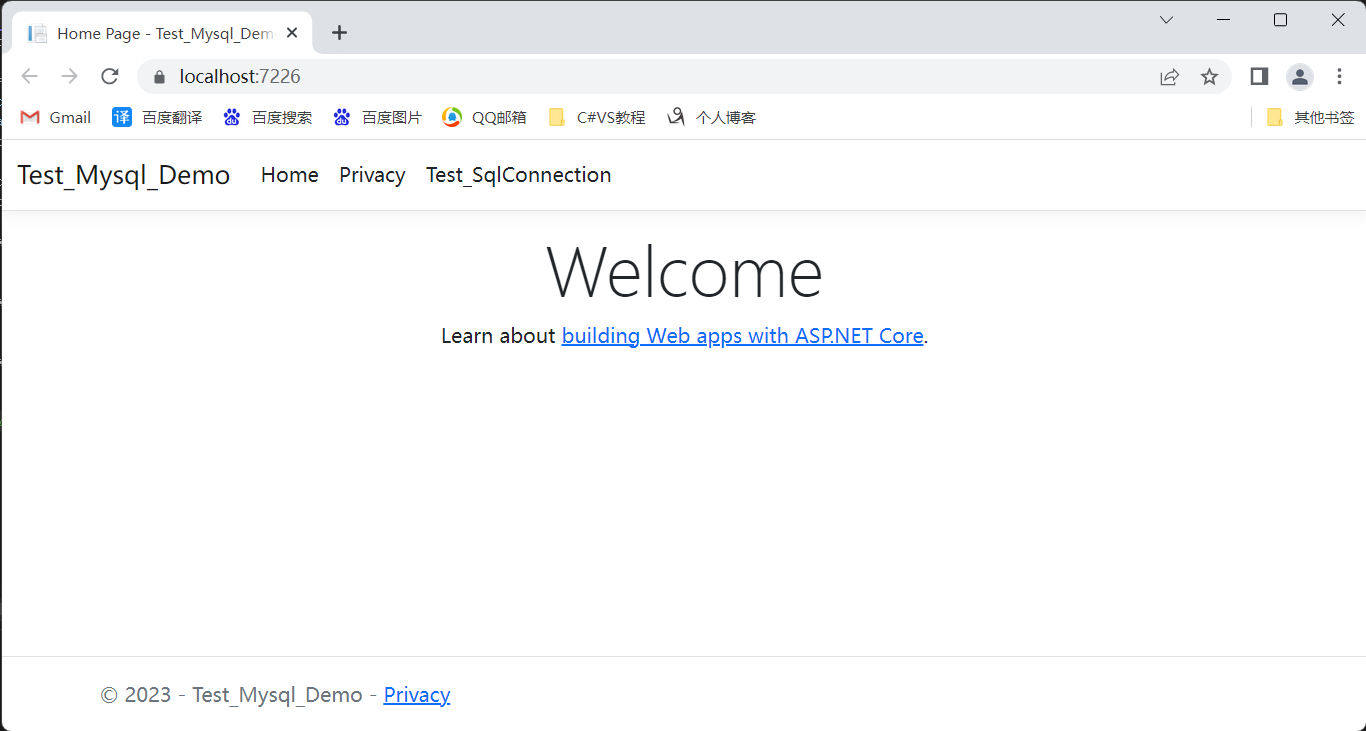
在主页菜单栏设置入口的步骤:
在项目下Shared文件夹下_Layout.cshtml中,以下代码之后:
<li class="nav-item">
    <a class="nav-link text-dark" asp-area="" asp-controller="Home" asp-action="Index">Home</a>
</li>
<li class="nav-item">
    <a class="nav-link text-dark" asp-area="" asp-controller="Home" asp-action="Privacy">Privacy</a>
</li>
插入代码:
<li class="nav-item">
    <a class="nav-link text-dark" asp-area="" asp-controller="类名" asp-action="Index">菜单栏自取标题名</a>
</li>
整个文件改后如下所示:
1 <!DOCTYPE html> 2 <html lang="en"> 3 <head> 4 <meta charset="utf-8" /> 5 <meta name="viewport" content="width=device-width, initial-scale=1.0" /> 6 <title>@ViewData["Title"] - Test_Mysql_Demo</title> 7 <link rel="stylesheet" href="~/lib/bootstrap/dist/css/bootstrap.min.css" /> 8 <link rel="stylesheet" href="~/css/site.css" asp-append-version="true" /> 9 <link rel="stylesheet" href="~/Test_Mysql_Demo.styles.css" asp-append-version="true" /> 10 </head> 11 <body> 12 <header> 13 <nav class="navbar navbar-expand-sm navbar-toggleable-sm navbar-light bg-white border-bottom box-shadow mb-3"> 14 <div class="container-fluid"> 15 <a class="navbar-brand" asp-area="" asp-controller="Home" asp-action="Index">Test_Mysql_Demo</a> 16 <button class="navbar-toggler" type="button" data-bs-toggle="collapse" data-bs-target=".navbar-collapse" aria-controls="navbarSupportedContent" 17 aria-expanded="false" aria-label="Toggle navigation"> 18 <span class="navbar-toggler-icon"></span> 19 </button> 20 <div class="navbar-collapse collapse d-sm-inline-flex justify-content-between"> 21 <ul class="navbar-nav flex-grow-1"> 22 <li class="nav-item"> 23 <a class="nav-link text-dark" asp-area="" asp-controller="Home" asp-action="Index">Home</a> 24 </li> 25 <li class="nav-item"> 26 <a class="nav-link text-dark" asp-area="" asp-controller="Home" asp-action="Privacy">Privacy</a> 27 </li> 28 <li class="nav-item"> 29 <a class="nav-link text-dark" asp-area="" asp-controller="Student" asp-action="Index">Test_SqlConnection</a> 30 </li> 31 <li class="nav-item"> 32 <a class="nav-link text-dark" asp-area="" asp-controller="Student" asp-action="Login">Test_Login_page</a> 33 </li> 34 @*另外加了个Test_Login_page标题,点击也是跳转到Index界面*@ 35 </ul> 36 </div> 37 </div> 38 </nav> 39 </header> 40 <div class="container"> 41 <main role="main" class="pb-3"> 42 @RenderBody() 43 </main> 44 </div> 45 46 <footer class="border-top footer text-muted"> 47 <div class="container"> 48 © 2023 - Test_Mysql_Demo - <a asp-area="" asp-controller="Home" asp-action="Privacy">Privacy</a> 49 </div> 50 </footer> 51 <script src="~/lib/jquery/dist/jquery.min.js"></script> 52 <script src="~/lib/bootstrap/dist/js/bootstrap.bundle.min.js"></script> 53 <script src="~/js/site.js" asp-append-version="true"></script> 54 @await RenderSectionAsync("Scripts", required: false) 55 </body> 56 </html>
最终运行结果和教程一致:

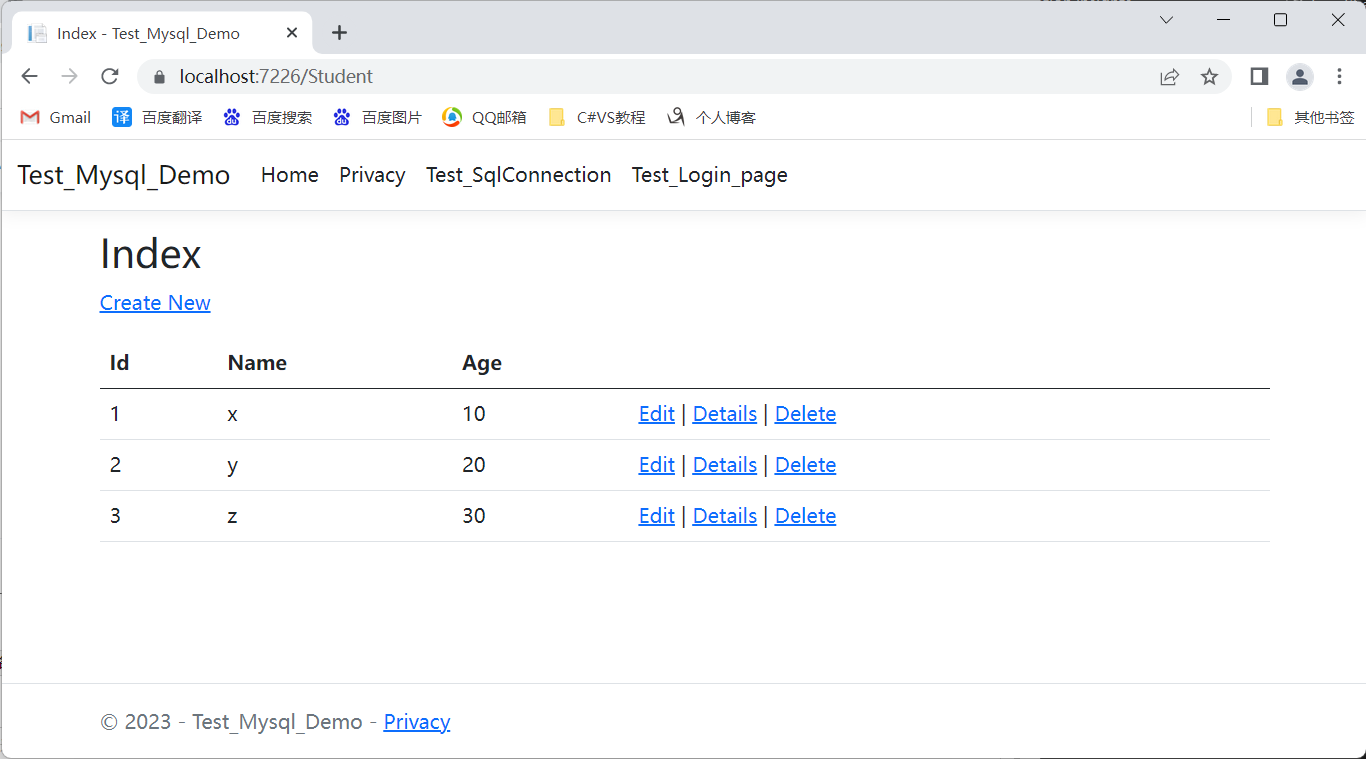
原教程连接:https://blog.csdn.net/qq_44887733/article/details/126317701
关于Mysql的安装:本人直接在官网下下载安装向导,由向导指示安装。和网上大部分教程的不同处在于文件my.ini是隐藏状态的,必须要显示隐藏文件同时地址栏url输入%ProgramData%,然后进入MYSQL Server 版本号目录下才能看到。还有一个问题是Mysql汉化不成功,Edit-preference-Appearance设置Simplified Chinese重启也没用。因为向导直接安装最新版,网上汉化包不兼容,英文版将就。


【推荐】国内首个AI IDE,深度理解中文开发场景,立即下载体验Trae
【推荐】编程新体验,更懂你的AI,立即体验豆包MarsCode编程助手
【推荐】抖音旗下AI助手豆包,你的智能百科全书,全免费不限次数
【推荐】轻量又高性能的 SSH 工具 IShell:AI 加持,快人一步
· 无需6万激活码!GitHub神秘组织3小时极速复刻Manus,手把手教你使用OpenManus搭建本
· Manus爆火,是硬核还是营销?
· 终于写完轮子一部分:tcp代理 了,记录一下
· 别再用vector<bool>了!Google高级工程师:这可能是STL最大的设计失误
· 单元测试从入门到精通