Linux安装mysql8 (rpm格式安装)
关闭MySQL服务
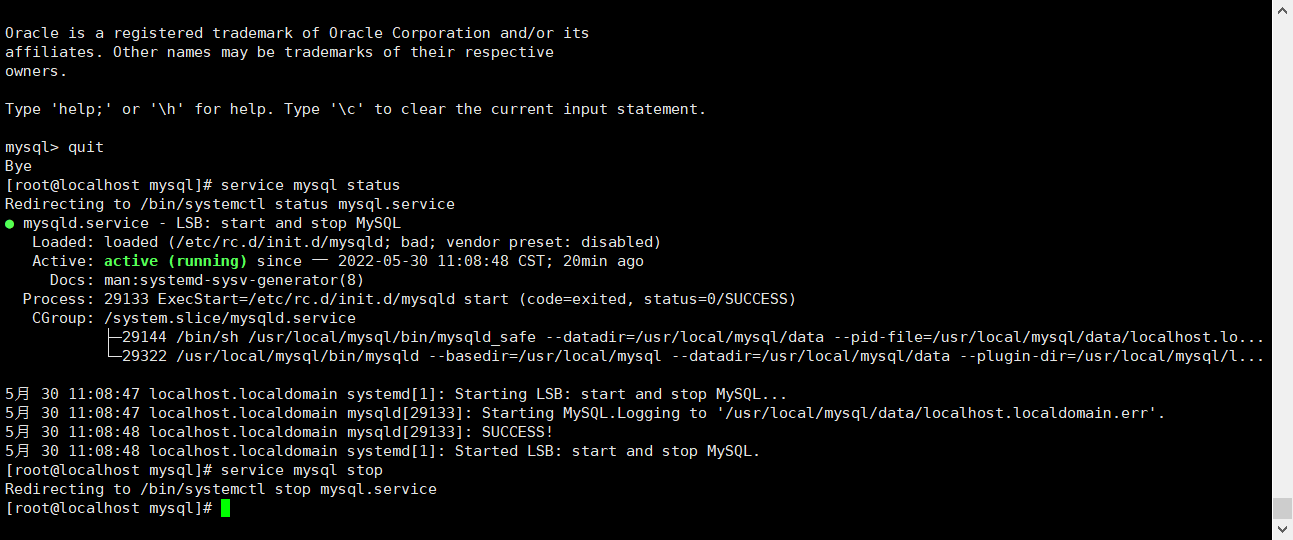
查看MySQL服务运行状态:
service mysql status
停止MySQL服务:
service mysql stop
然后删除mysql
之前写过教程
https://www.cnblogs.com/yylmzxc/p/16282782.html
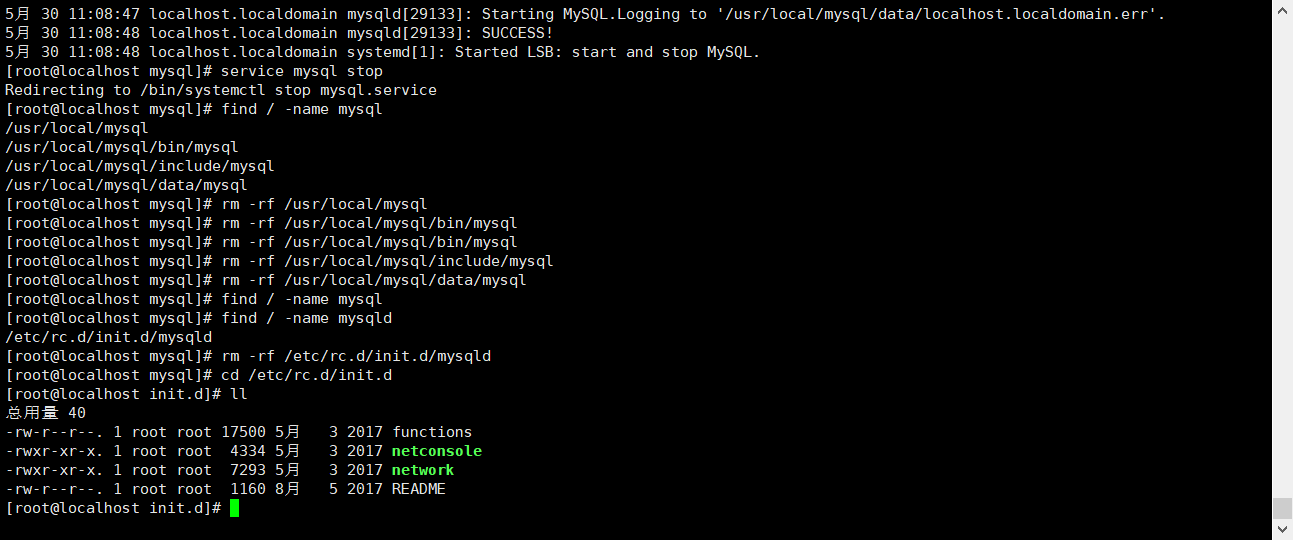
删除my.cnf
看看有没有相关文件

最后验证MySQL是否删除完成
rpm -qa | grep -i mysql
准备开始安装吧
1. 一条龙依赖
yum install zip
yum install unzip
yum install vim
yum install gcc
yum install net-tools
yum install lsof
开放指定端口:
firewall-cmd --zone=public --add-port=21/tcp –permanent
firewall-cmd --zone=public --add-port=3306/tcp –permanent
firewall-cmd --zone=public --add-port=8080/tcp –permanent
firewall-cmd --zone=public --add-port=3306/tcp --permanent;
firewall-cmd --reload;
firewall-cmd --list-ports;
重启防火墙:firewall-cmd –reload
下载:
当然也可以用wget下载
下载指定版本
指令: cd /qiyun
yum install wget
wget https://dev.mysql.com/get/mysql80-community-release-el7-1.noarch.rpm
ls
上传MySQL文件, mysql80-community-release-el7-5.noarch.rpm
安装这个版本
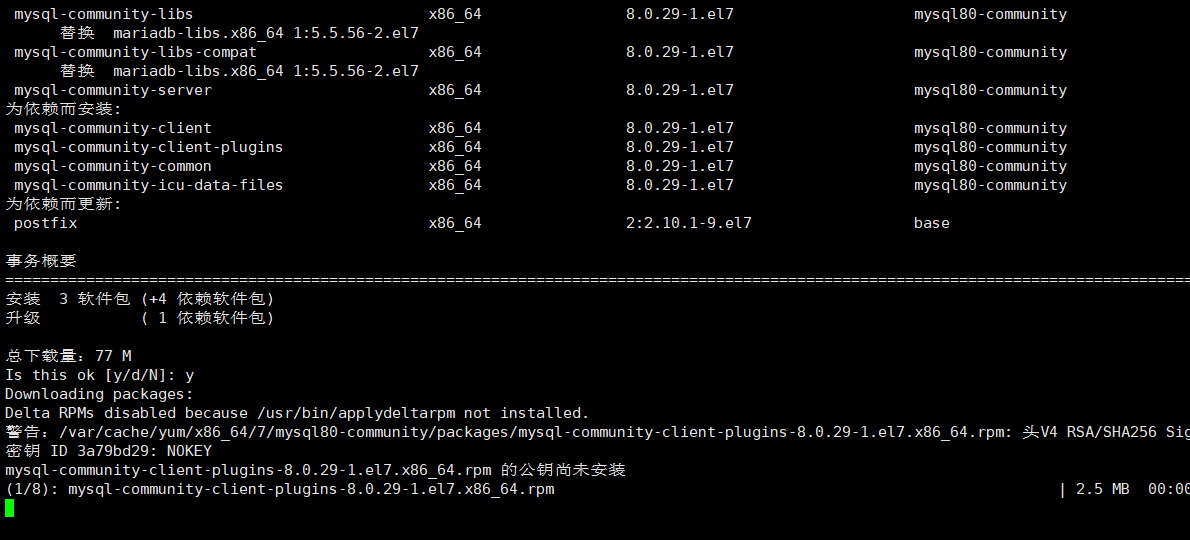
rpm -ivh xx版本

安装MySQL服务 :yum install mysql-server
改配置文件
vi /etc/my.cnf
将下面的内容添加到该文件中:
!!!把文件my.conf内的内容删除换成这个
!!这个地方出错也会bug
主要记住进入vi模式或者vim模式要点击一下i
这个地方也是坑
直接复制的话这个[mysqld]没了
然后就bug
在[mysqld]项中,
添加:lower_case_table_names=1
#不区分大小写
lower_case_table_names=1 (一定要在mysql服务启动前修改,启动后修改无效)
#忽略主从异常
slave-skip-errors=all
#忽略only_full_group_by异常
sql_mode='STRICT_TRANS_TABLES,NO_ZERO_IN_DATE,NO_ZERO_DATE,ERROR_FOR_DIVISION_BY_ZERO,NO_ENGINE_SUBSTITUTION'
配置文件:my.cnf
# For advice on how to change settings please see
# http://dev.mysql.com/doc/refman/8.0/en/server-configuration-defaults.html
[mysqld]
lower_case_table_names=1
#忽略主从异常
slave-skip-errors=all
#忽略only_full_group_by异常
sql_mode='STRICT_TRANS_TABLES,NO_ZERO_IN_DATE,NO_ZERO_DATE,ERROR_FOR_DIVISION_BY_ZERO,NO_ENGINE_SUBSTITUTION'
# Remove leading # and set to the amount of RAM for the most important data
# cache in MySQL. Start at 70% of total RAM for dedicated server, else 10%.
# innodb_buffer_pool_size = 128M
#
# Remove the leading "# " to disable binary logging
# Binary logging captures changes between backups and is enabled by
# default. It's default setting is log_bin=binlog
# disable_log_bin
#
# Remove leading # to set options mainly useful for reporting servers.
# The server defaults are faster for transactions and fast SELECTs.
# Adjust sizes as needed, experiment to find the optimal values.
# join_buffer_size = 128M
# sort_buffer_size = 2M
# read_rnd_buffer_size = 2M
#
# Remove leading # to revert to previous value for default_authentication_plugin,
# this will increase compatibility with older clients. For background, see:
# https://dev.mysql.com/doc/refman/8.0/en/server-system-variables.html#sysvar_default_authentication_plugin
# default-authentication-plugin=mysql_native_password
datadir=/var/lib/mysql
socket=/var/lib/mysql/mysql.sock
log-error=/var/log/mysqld.log
pid-file=/var/run/mysqld/mysqld.pid
然后esc退出
wq保存
!!!!换权限
chmod 644 my.conf
或者文件可能是
my.cnf
我的是cnf结尾
chmod 644 my.cnf
改成644 如果是777权限可能会bug
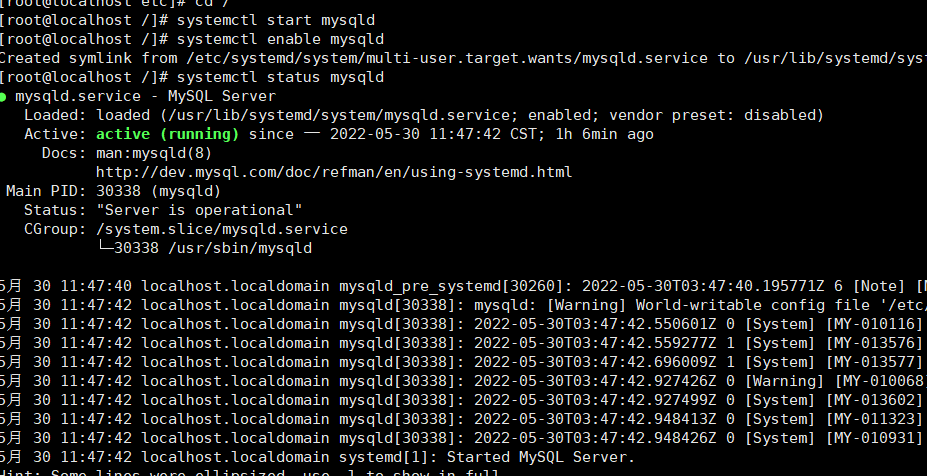
1.1. 启动MYSQL8
指令:
systemctl start mysqld
systemctl enable mysqld
systemctl status mysqld
1.2. 检查MYSQL状态
指令: ps -ef|grep mysql
ps -ef|grep mysqld

查看MYSQL8初始密码:
指令: vi /var/log/mysqld.log
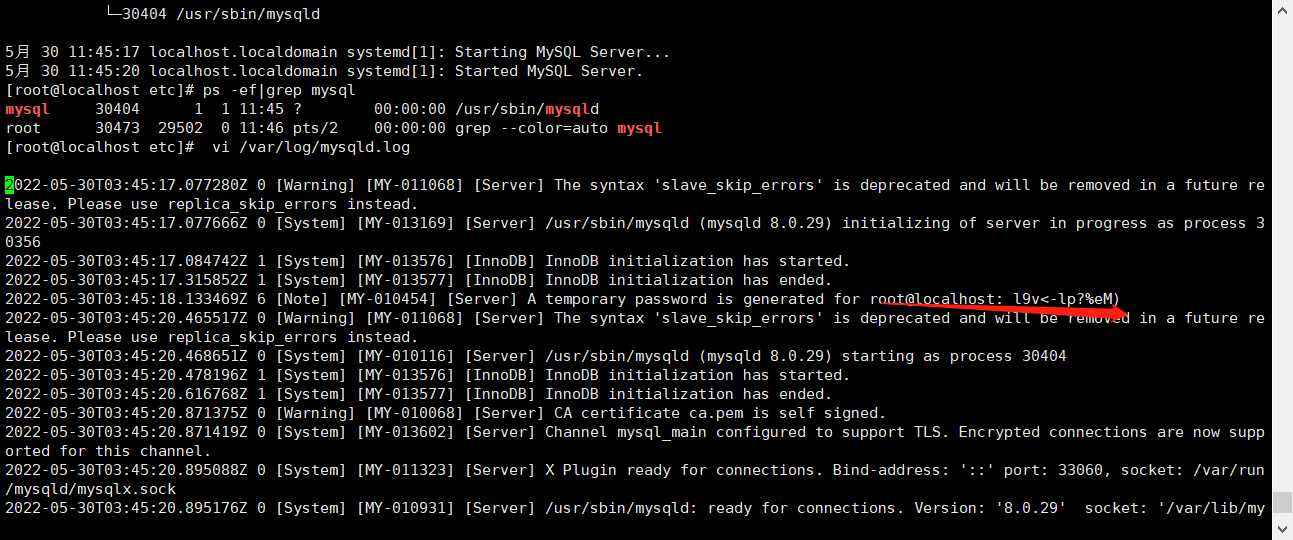
l9v<-lp?%eM)
启动mysql服务并修改密码
这个启动应该可以跳过
service mysql start


mysql -uroot -p密码
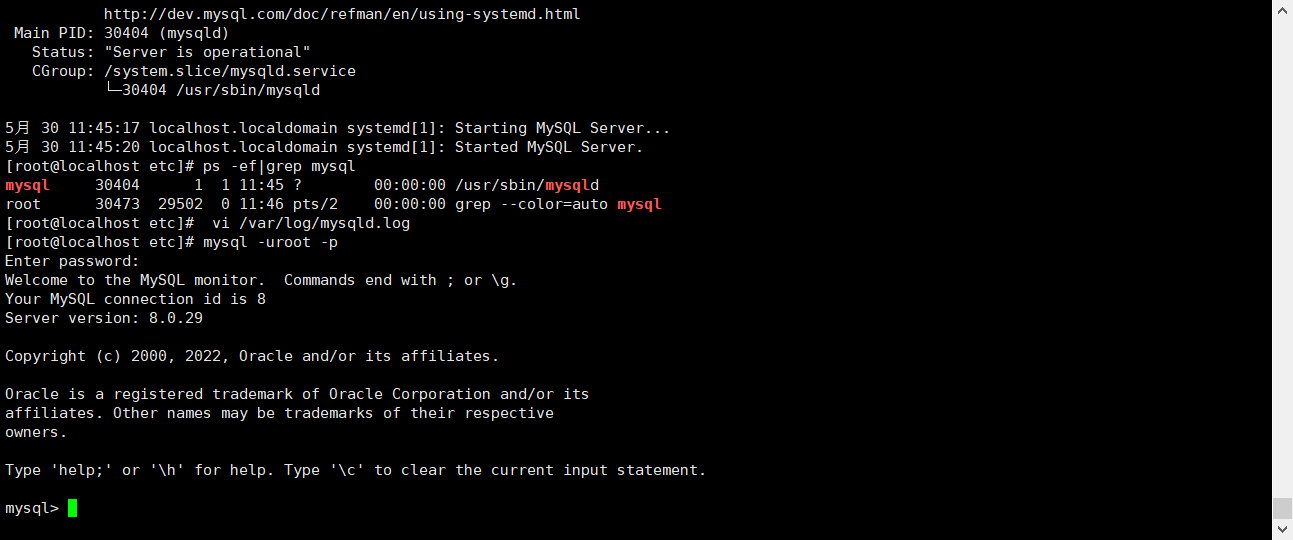
ok
连接navicat15
ALTER user 'root'@'localhost' IDENTIFIED BY '密码';
use mysql;
update user set host='%' where user='root' limit 1;
flush privileges;
退出,开启端口:
firewall-cmd --zone=public --add-port=3306/tcp --permanent;
firewall-cmd --reload;
firewall-cmd --list-ports;


 浙公网安备 33010602011771号