Java动态修改运行环境
1、pom.xml直接添加一下配置
    <profiles>
        <profile>
            <id>dev</id>
            <properties>
                <activatedProperties>dev</activatedProperties>
            </properties>
            <!-- 这里代表默认使用dev环境配置文件 -->
            <activation>
                <activeByDefault>true</activeByDefault>
            </activation>
        </profile>
        <profile>
            <id>test</id>
            <properties>
                <activatedProperties>test</activatedProperties>
            </properties>
        </profile>
        <profile>
            <id>prod</id>
            <properties>
                <activatedProperties>prod</activatedProperties>
            </properties>
        </profile>
    </profiles>
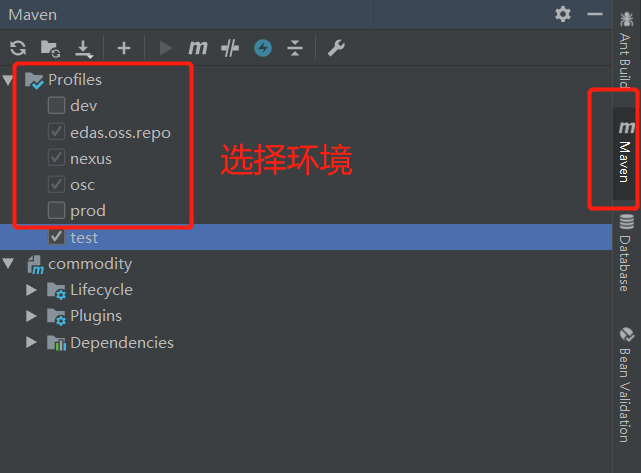
2、选择环境
3、在application.yml添加配置
#默认使用配置,@activatedProperties@为激活的配置
spring:
  profiles:
    active: @activatedProperties@

#公共配置与profiles选择无关
mybatis-plus:
  typeAliasesPackage: com.cn.commodity.entity
  mapperLocations: classpath:mapper/*.xml

logging:
  level:
    com.cn.commodity.dao : debug

---

#开发配置
spring:
  profiles: dev

  datasource:
    url: jdbc:mysql://localhost:3306/test?useUnicode=true&characterEncoding=utf-8&useSSL=true&serverTimezone=GMT%2B8
    #url: jdbc:mysql://localhost:3306/test
    username: root
    password: yang156122
    driver-class-name: com.mysql.jdbc.Driver
    # 使用druid数据源
    type: com.alibaba.druid.pool.DruidDataSource

#jasypt:
#  encryptor:
#    password: yangwj

---
#开发配置
spring:
  profiles: test

  datasource:
    url: jdbc:mysql://localhost:3306/test1?useUnicode=true&characterEncoding=utf-8&useSSL=true&serverTimezone=GMT%2B8
    #url: jdbc:mysql://localhost:3306/test
    username: root
    password: yang156122
    driver-class-name: com.mysql.jdbc.Driver
    # 使用druid数据源
    type: com.alibaba.druid.pool.DruidDataSource
4、在service或controller层,通过@Profile(value="{pro,test}"),控制不同环境访问不同的api
package com.cn.commodity.controller;

import com.cn.commodity.entity.User;
import org.springframework.boot.autoconfigure.EnableAutoConfiguration;
import org.springframework.context.annotation.Profile;
import org.springframework.web.bind.annotation.RequestMapping;
import org.springframework.web.bind.annotation.RestController;

@RestController
@EnableAutoConfiguration
@Profile("dev")
@RequestMapping("/testboot")
public class TestBootController {
    @RequestMapping("getuser")
    public User getUser() {
        User user = new User();
        user.setUserName("test");
        return user;
    }
}
本文来自博客园,作者:小白啊小白,Fighting,转载请注明原文链接:https://www.cnblogs.com/ywjfx/p/11245658.html

 浙公网安备 33010602011771号