

react-redux
react-redux是react中的一个常用组件,可以用于简化redux的流程。
项目准备
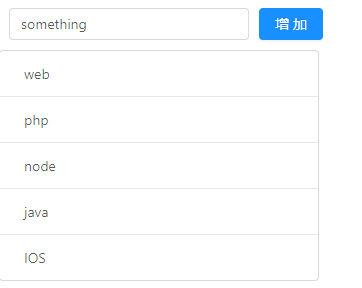
这里的前期项目准备和上一篇的redux里的项目准备是一样的,实现一个基本的TodoList的增删。
import React, { Component } from 'react';
import {Input,Button,List} from 'antd'


class TodoList extends Component {
    constructor(props){
        super(props)
        this.state = {
            inputValue:'something',
            list:['web','php','node','java','IOS']
        }
    }
    InputChange=(e)=>{
        this.setState({
            inputValue:e.target.value
        })
    }
    addItem=()=>{
        if(this.state.inputValue){
            this.setState({
                list:[...this.state.list,this.state.inputValue],
                inputValue:''
            })
        }
    }
    delItem(index){
        let arr=this.state.list;
        arr.splice(index,1);
        this.setState({
            list:arr
        })
    }
    render() {
        return (
            <div>
                <div style={{margin:'10px'}}>
                    <Input value={this.state.inputValue} onChange={this.InputChange} style={{width:'240px',marginRight:'10px'}}/>
                    <Button type="primary" onClick={this.addItem}>增加</Button>
                </div>
                <div style={{width:'320px'}}>
                    <List bordered dataSource={this.state.list}
                        renderItem={(item,index)=>(<List.Item onClick={this.delItem.bind(this,index)}>{item}</List.Item>)}
                    />
                </div>
            </div>
         );
    }
}
export default TodoList;
使用redux
这一步和前面的就有点差异了。
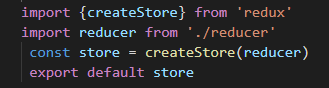
首先安装redux:npm install --save redux
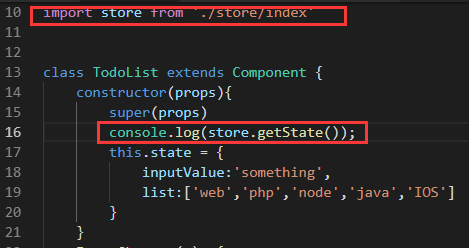
然后再src下新建store文件夹,并在store文件夹下新建index.js和reducer.js,并验证在TodoList.js是否能取到store里面的值。
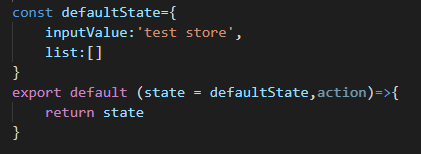
store-->reducer.js
store-->index.js
TodoList.js

React-redux中的Provider和connect
安装react-redux:npm install --save react-redux
Provider
<Provider>是一个提供器,React-redux的核心组件,只要使用了这个组件,组件里边的其它所有组件都可以使用store了。下面借助Provider来修改src文件夹下面的index.js文件。

connect
connect是一个连接器,有了这个连接器,就可以很容易的获取数据了。
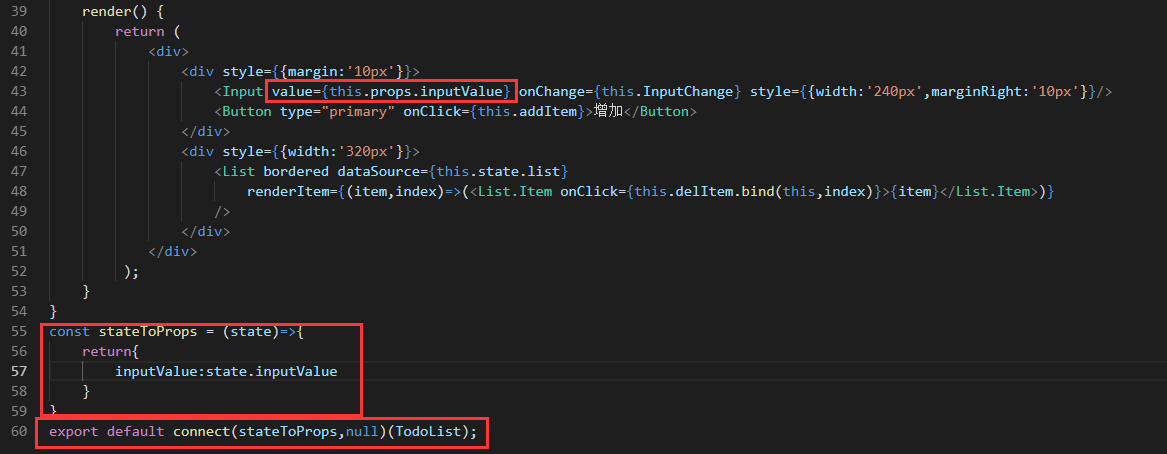
首先在TodoList.js中引入connect:

获取数据的映射
然后将原来的state映射成组件中的props属性,以inputValue为例:
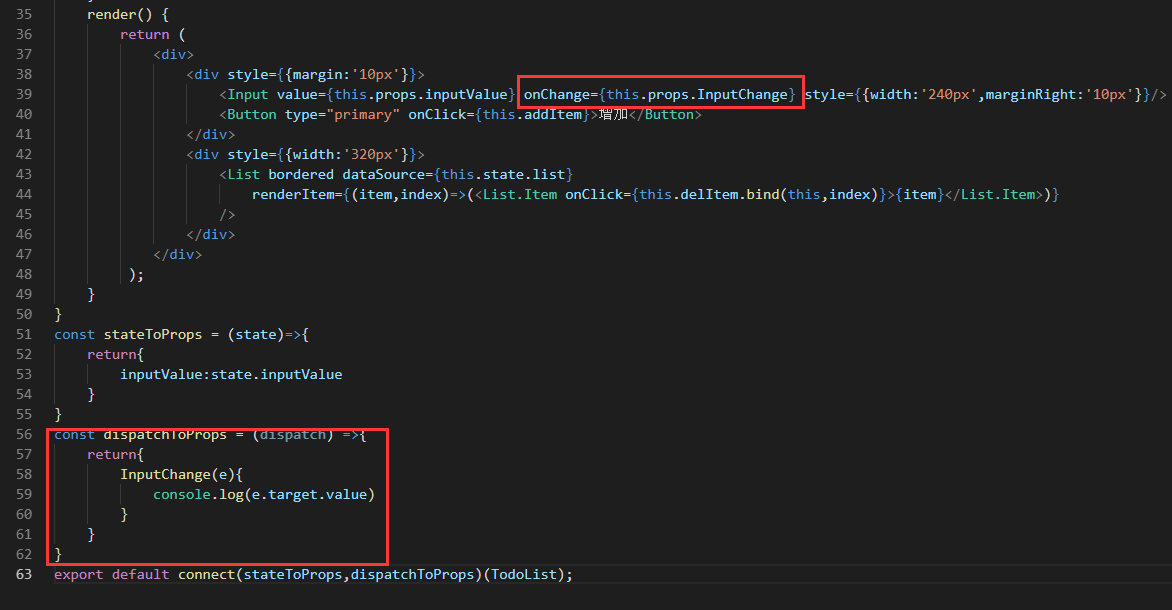
修改数据的映射
和获取数据一样,修改数据需要建立另外一个映射,这里以InputChange事件为例:
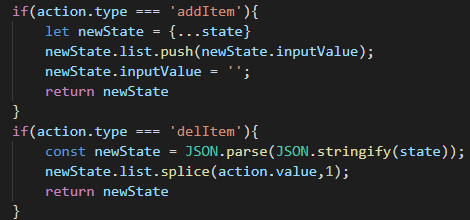
action派发
映射建立以后,需要将action派发到store中,然后再reducer.js里面编写对应的业务逻辑。


然后,在这个的基础上面建立添加和删除的映射:

这样就实现了简单的TodoList了。
TodoList.js
import React, { Component } from 'react';
import {Input,Button,List} from 'antd'
import store from './store/index'
import {connect} from 'react-redux'


class TodoList extends Component {
    constructor(props){
        super(props)
        this.state = store.getState();
    }
    render() {
        return (
            <div>
                <div style={{margin:'10px'}}>
                    <Input value={this.props.inputValue} onChange={this.props.InputChange} style={{width:'240px',marginRight:'10px'}}/>
                    <Button type="primary" onClick={this.props.addItem}>增加</Button>
                </div>
                <div style={{width:'320px'}}>
                    <List bordered dataSource={this.props.list}
                        renderItem={(item,index)=>(<List.Item onClick={()=>{this.props.delItem(index)}}>{item}</List.Item>)}
                    />
                </div>
            </div>
         );
    }
}
const stateToProps = (state)=>{
    console.log(state);
    return{
        inputValue:state.inputValue,
        list:state.list
    }
}
const dispatchToProps = (dispatch) =>{
    return{
        InputChange(e){
            let action={
                type:'changeInput',
                value:e.target.value
            }
            dispatch(action)
        },
        addItem(){
            let action ={
                type:'addItem'
            }
            dispatch(action)
        },
        delItem(index){
            let action={
                type:'delItem',
                value:index
            }
            dispatch(action)
        }
    }
}
export default connect(stateToProps,dispatchToProps)(TodoList);
reducer.js
const defaultState={
    inputValue:'something',
    list:['web','php','node','java','IOS']
}
export default (state = defaultState,action)=>{
    if(action.type === 'changeInput'){
        let newState = {...state}
        newState.inputValue = action.value
        return newState
    }
    if(action.type === 'addItem'){
        let newState = {...state}
        newState.list.push(newState.inputValue);
        newState.inputValue = '';
        return newState
    }
    if(action.type === 'delItem'){
        const newState = JSON.parse(JSON.stringify(state));
        newState.list.splice(action.value,1);
        return newState
    }
    return state
}
代码下载:点这里
备注:
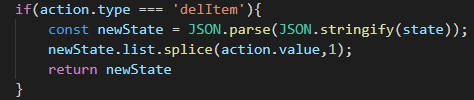
现在这里修改这里是这样写的,之前用es6的写法的时候,newState = {...state},点击列表项以后打印数据,会发现数据发生了变化,但是页面视图没有改变,换成上面的写法以后,就没有问题了,没想明白。。。。。
