Jupyter notbook 的 IBM Qiskit环境配置
资源准备:Anaconda3-2021.05-Windows-x86_64
链接:https://pan.baidu.com/s/17qzoruYTOYLURfTzTj5tUQ
提取码:yxh1
--来自百度网盘超级会员V1的分享
anaconda的Conda国内加速镜像源(国防科大镜像源)
为了加快conda下载速度,我们将下载通道改为国内源
还原原始通道
conda config --remove-key channels
添加国科大源
conda config --add channels https://mirrors.ustc.edu.cn/anaconda/pkgs/main/
conda config --add channels https://mirrors.ustc.edu.cn/anaconda/pkgs/free/
conda config --add channels https://mirrors.ustc.edu.cn/anaconda/cloud/conda-forge/
conda config --add channels https://mirrors.ustc.edu.cn/anaconda/cloud/msys2/
conda config --add channels https://mirrors.ustc.edu.cn/anaconda/cloud/bioconda/
conda config --add channels https://mirrors.ustc.edu.cn/anaconda/cloud/menpo/
conda config --add channels https://mirrors.ustc.edu.cn/anaconda/cloud/pytorch/
conda config --set show_channel_urls yes
验证通道是否更改
conda info
若显示channel URLs的链接为镜像源则成功
创建conda虚拟环境
如果这是第一次使用Qiskit,那么需要使用以下命令安装虚拟环境
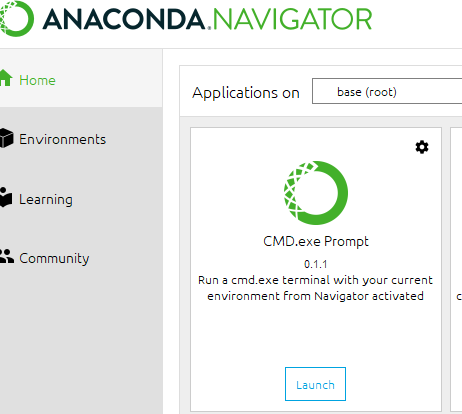
单击CMD.exe Prompt 0.1.1,打开命令行
创建虚拟环境
conda create -n env_name python=3.8
其中env_name为虚拟环境名,可以自定义
激活虚拟环境
conda activate env_name
安装qiskit包
为了提高下载速度,我们采取清华的镜像
pip install qiskit -i https://pypi.tuna.tsinghua.edu.cn/simple
安装jupyter notebook
pip install jupyter -i https://pypi.tuna.tsinghua.edu.cn/simple
启动jupyter notebook
jupyter notebook
网页打开后,即可新建文件进行qiskit编程实验
