elk之kibana
环境:
centos7
jdk8
参考:
https://www.elastic.co/guide/en/elasticsearch/reference/current/rpm.html
http://blog.csdn.net/wh211212/article/details/54015645
1. 将Elasticsearch公共GPG密钥导入rpm
rpm --import https://artifacts.elastic.co/GPG-KEY-elasticsearch
2.在/etc/yum.repos.d/目录中创建一个名为kibana.repo的文件
[root@guo elk]# touch /etc/yum.repos.d/kibana.repo
[root@guo elk]# cat >>touch /etc/yum.repos.d/kibana.repo<<!
> [kibana-5.x]
> name=Kibana repository for 5.x packages
> baseurl=https://artifacts.elastic.co/packages/5.x/yum
> gpgcheck=1
> gpgkey=https://artifacts.elastic.co/GPG-KEY-elasticsearch
> enabled=1
> autorefresh=1
> type=rpm-md
> !
3.kibana源创建完成之后,通过makecache查看源是否可用,然后通过yum安装kibana
yum makecache
yum install kibana -y
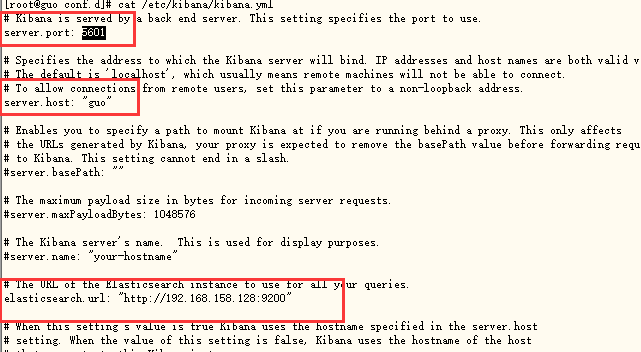
4.配置 kibana
Kibana默认从/etc/kibana/kibana.yml文件加载其配置。
参考:https://www.elastic.co/guide/en/kibana/current/settings.html
打开注释并修改为自己的域名
vi /etc/kibana/kibana.yml

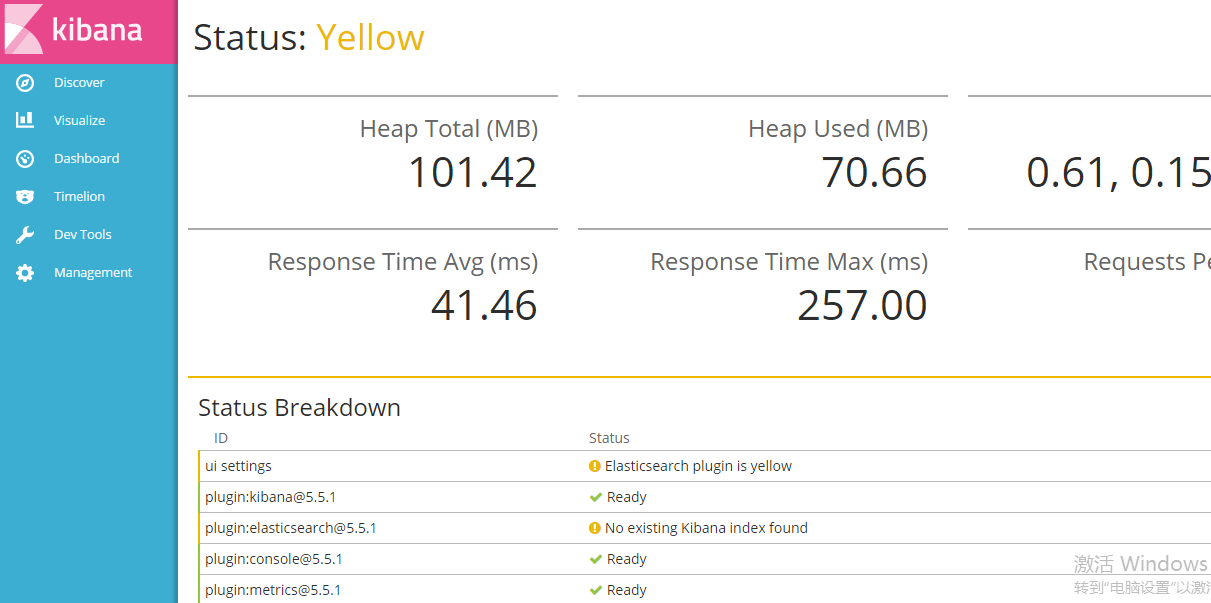
5.启动kibana
systemctl start kibana.service

6.安装 nginx
http://www.cnblogs.com/yun965861480/p/7278794.html
7.使用htpasswd创建一个名为“kibanaadmin”的管理员用户(可以使用其他名称),该用户可以访问Kibana Web界面:
htpasswd -c /etc/nginx/htpasswd.users kibanaadmin
8.关闭 SELinux
setsebool -P httpd_can_network_connect 1
9.配置 nginx
在/etc/nginx/conf.d 创建 kibana.conf
touch /etc/nginx/conf.d/kibana.conf
vi /etc/nginx/conf.d/kibana.conf
upstream kibana_server{
                server guo:5601;
        }

server {
    listen       80;
    server_name  guo;
    access_log  /var/log/nginx/kibana.aniu.co.access.log main;
    error_log   /var/log/nginx/kibana.aniu.co.access.log;
    auth_basic "Restricted Access";
    auth_basic_user_file /etc/nginx/htpasswd.users;
    location / {
        proxy_pass http://guo:5601;
        proxy_http_version 1.1;
        proxy_set_header Upgrade $http_upgrade;
        proxy_set_header Connection 'upgrade';
        proxy_set_header Host $host;
        proxy_cache_bypass $http_upgrade;
    }
}
10.重启nginx,访问
systemctl restart nginx.service
http://192.168.158.128/
ok


