WebGL进阶(1)生成酷炫三角形
1. 重点代码
      // 3. 添加物体 打造酷炫三角形
      for (let i = 0; i < 50; i++) {
        const geometry = new THREE.BufferGeometry()
        const positionArray = new Float32Array(9)

        // 每个三角形需要3个定点 每个顶点需要3个值
        for (let j = 0; j < 9; j++) {
          positionArray[j] = Math.random() * 10 - 5
        }
        geometry.setAttribute('position', new THREE.BufferAttribute(positionArray, 3))

        let color = new THREE.Color(Math.random(), Math.random(), Math.random())
        const material = new THREE.MeshBasicMaterial({color: color, transparent: true, opacity: 0.5})

        this.cube = new THREE.Mesh( geometry, material )
        this.scene.add( this.cube )
      }
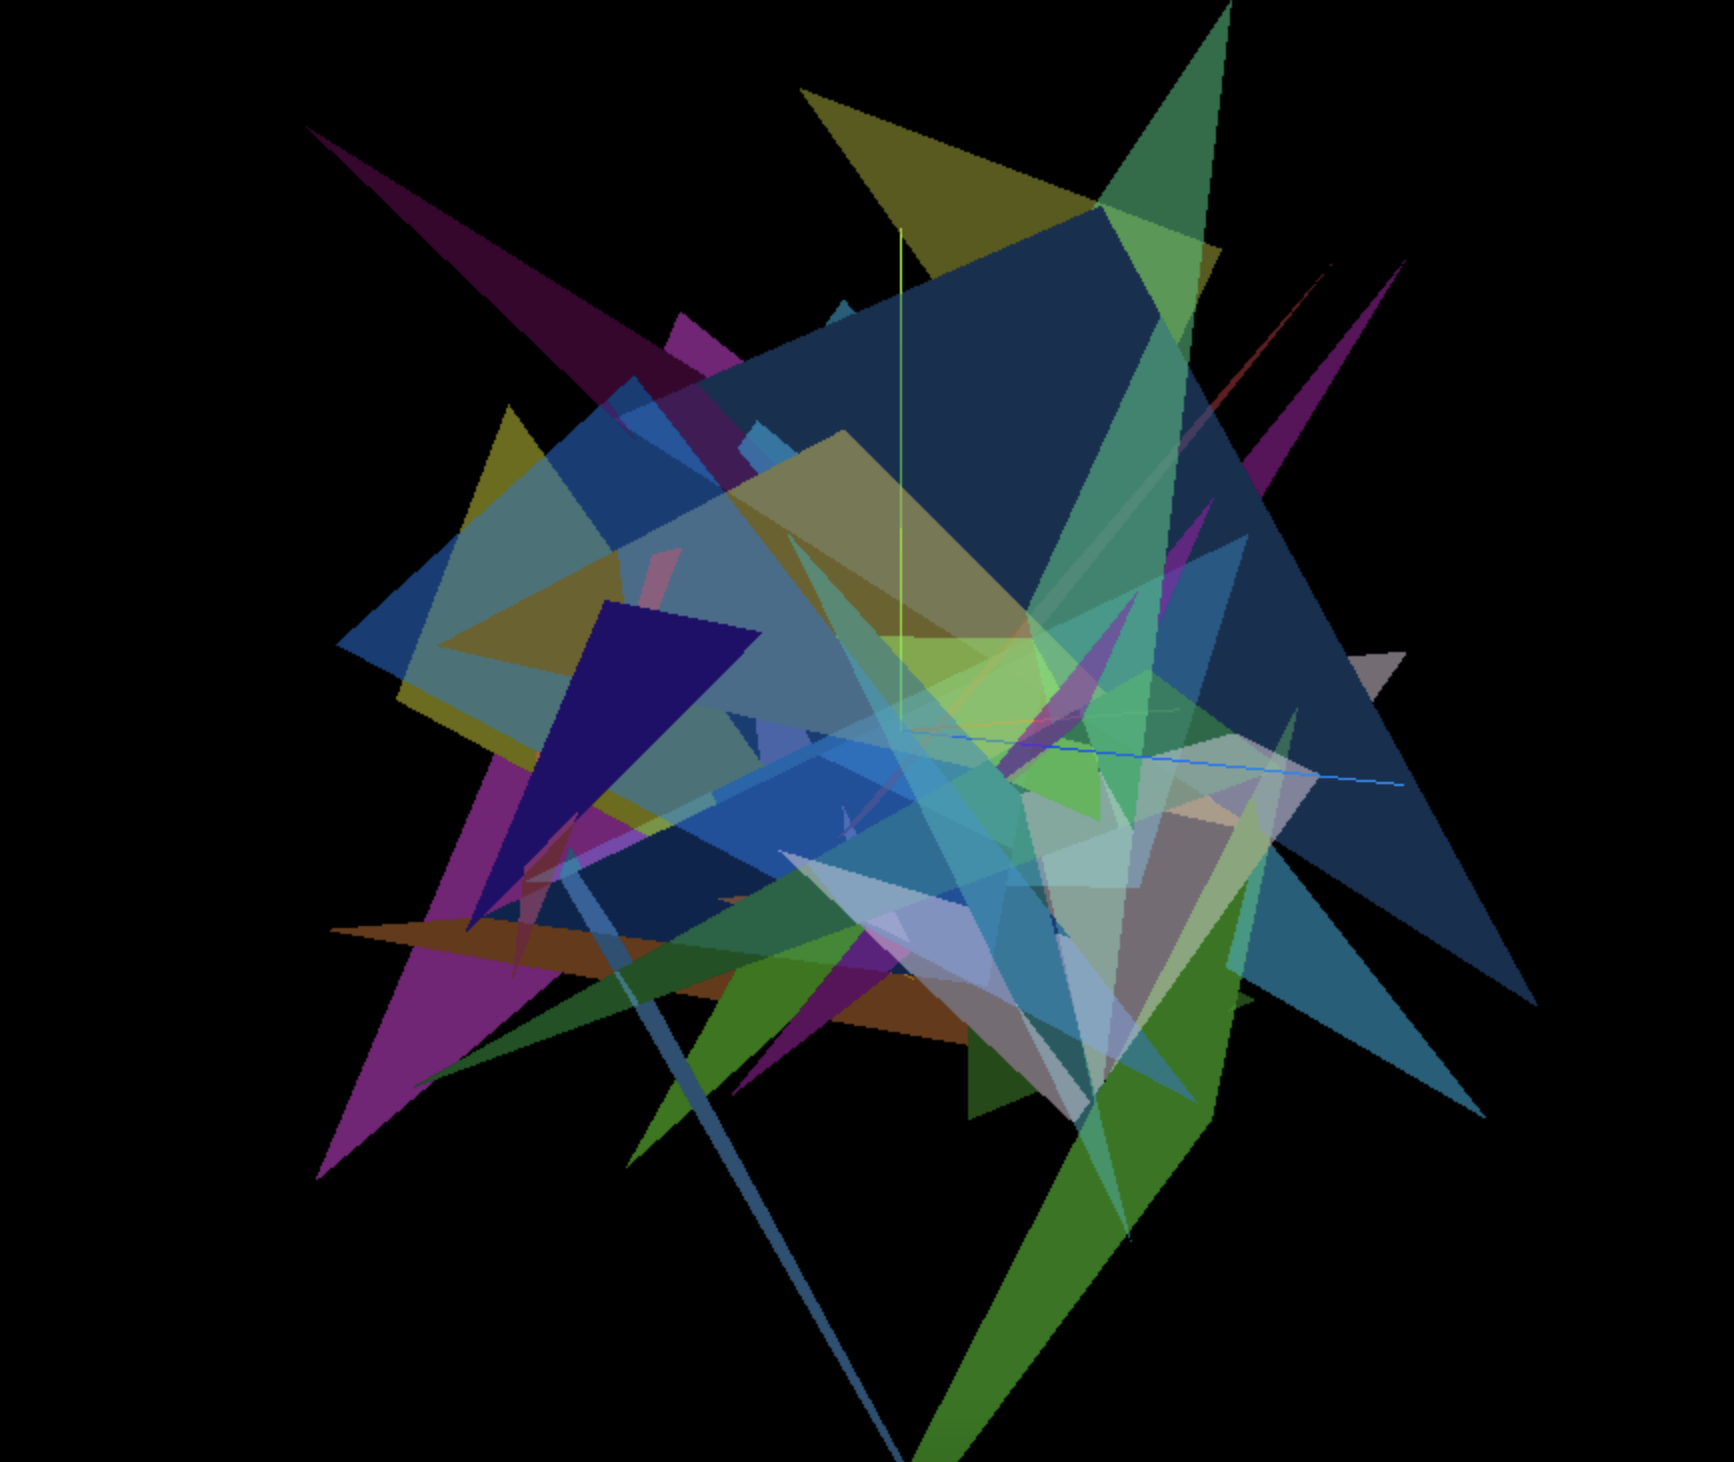
2. 效果
3. 全部代码
<template>
  <div class="home">
    <div id="threeContainer" class="threeContainer"></div>
  </div>
</template>

<script>
import * as THREE from 'three'
import { OrbitControls } from 'three/examples/jsm/controls/OrbitControls' // 导入轨道控制器
export default {
  name: 'Home',
  data () {
    return {
      scene: null,  //场景对象
      camera: null,  //相机对象
      cube: null, //物体
      controls: null, // 控制器
      renderer: null,  //渲染器对象
      clock: null, //跟踪时间
      gui: null
    }
  },
  mounted () {
    this.init()
  },
  methods: {
    init () {
      // 1. 创建场景
      this.scene = new THREE.Scene()

      // 2. 创建相机
      this.camera = new THREE.PerspectiveCamera( 75, window.innerWidth / window.innerHeight, 0.1, 1000 )
      this.camera.position.set( 0, 0, 10 ) // 设置相机位置
      this.scene.add(this.camera)

      // 3. 添加物体 打造酷炫三角形
      for (let i = 0; i < 50; i++) {
        const geometry = new THREE.BufferGeometry()
        const positionArray = new Float32Array(9)

        // 每个三角形需要3个定点 每个顶点需要3个值
        for (let j = 0; j < 9; j++) {
          positionArray[j] = Math.random() * 10 - 5
        }
        geometry.setAttribute('position', new THREE.BufferAttribute(positionArray, 3))

        let color = new THREE.Color(Math.random(), Math.random(), Math.random())
        const material = new THREE.MeshBasicMaterial({color: color, transparent: true, opacity: 0.5})

        this.cube = new THREE.Mesh( geometry, material )
        this.scene.add( this.cube )
      }

      // 4. 初始化渲染器
      this.renderer = new THREE.WebGLRenderer()
      // 设置渲染器的尺寸大小
      this.renderer.setSize( window.innerWidth, window.innerHeight )
      // 将webgl渲染的canvas内容添加到body中
      document.getElementById('threeContainer').appendChild( this.renderer.domElement )

      // 创建轨道控制器
      this.controls = new OrbitControls( this.camera, this.renderer.domElement )
      // 设置控制器阻尼,让控制器更真实
      this.controls.enableDamping = true

      // 添加坐标轴辅助器
      const axesHelper = new THREE.AxesHelper( 5 )
      this.scene.add( axesHelper )

      // 设置时钟
      this.clock = new THREE.Clock()

      // 渲染函数
      this.render()
      // 监听尺寸变化
      this.resize()
    },
    // 渲染函数
    render () {
      this.controls.update()
      this.renderer.render( this.scene, this.camera )
      // 渲染下一帧的时候就会调用render函数
      requestAnimationFrame( this.render )
    },
    // 监听尺寸变化,更新渲染页面
    resize () {
      window.addEventListener('resize', () => {
        // 更新摄像头
        this.camera.aspect = window.innerWidth / window.innerHeight
        // 更新摄像机的投影矩阵
        this.camera.updateProjectionMatrix()
        // 更新渲染器
        this.renderer.setSize( window.innerWidth, window.innerHeight )
        // 设置渲染器的像素比
        this.renderer.setPixelRatio(window.devicePixelRatio)
      })
    }
  }
}
</script>

 浙公网安备 33010602011771号