centos7 kvm安装使用
kvm简介
KVM 全称是 Kernel-Based Virtual Machine。也就是说 KVM 是基于 Linux 内核实现的。
KVM有一个内核模块叫 kvm.ko,只用于管理虚拟 CPU 和内存。
那 IO 的虚拟化,比如存储和网络设备由谁实现呢?
这个就交给 Linux 内核和Qemu来实现。
说白了,作为一个 Hypervisor,KVM 本身只关注虚拟机调度和内存管理这两个方面。IO 外设的任务交给 Linux 内核和 Qemu
kvm安装
查看cpu是否支持虚拟化
[root@localhost ~]# grep -E '(vmx|svm)' /proc/cpuinfo **
安装qemu-kvm(用户态管理工具),libvirt(命令行管理工具),virt-install(安装kvm工具),bridge-utils(桥接设备管理工具)
[root@localhost ~]# yum install -y qemu-kvm libvirt virt-install bridge-utils
确保加载kvm模块
[root@localhost ~]# lsmod |grep kvm
kvm_intel             174841  0
kvm                   578518  1 kvm_intel
irqbypass              13503  1 kvm
#如果没有加载,运行一下命令
[root@localhost ~]# modprobe kvm
[root@localhost ~]# modprobe kvm-intel
启动libvirtd服务
[root@localhost ~]# systemctl enable libvirtd
[root@localhost ~]# systemctl start  libvirtd
[root@localhost ~]# systemctl status  libvirtd
配置kvm桥接模式
[root@localhost ~]# cd /etc/sysconfig/network-scripts/
[root@localhost network-scripts]# cp ifcfg-ens32 ifcfg-br0
[root@localhost network-scripts]# vim ifcfg-br0
NAME=br0
DEVICE=br0
ONBOOT=yes
NETBOOT=yes
IPV6INIT=no
BOOTPROTO=static
NM_CONTROLLED=no
TYPE=Bridge
IPADDR=192.168.0.127
NETMASK=255.255.255.0
GATEWAY=192.168.0.1
DNS1=8.8.8.8

[root@localhost network-scripts]# vim ifcfg-ens32
NAME=ens32
DEVICE=ens32
BOOTPROTO=none
NM_CONTROLLED=no
ONBOOT=yes
BRIDGE=br0
查看网桥
[root@localhost ~]# brctl show
bridge name    bridge id        STP enabled    interfaces
br0        8000.000c29d1267b    no        ens32
virbr0        8000.52540063d8f4    yes        virbr0-nic
删除virbr0
[root@localhost ~]# brctl show
bridge name    bridge id        STP enabled    interfaces
br0        8000.000c29d1267b    no        ens32
virbr0        8000.52540063d8f4    yes        virbr0-nic
[root@localhost ~]# virsh net-list
 Name                 State      Autostart     Persistent
----------------------------------------------------------
 default              active     yes           yes

[root@localhost ~]# virsh net-destroy default
Network default destroyed

[root@localhost ~]# virsh net-undefine default
Network default has been undefined

[root@localhost ~]# systemctl restart libvirtd.service
[root@localhost ~]# brctl show
bridge name    bridge id        STP enabled    interfaces
br0        8000.000c29d1267b    no        ens32
使用virt-manager管理kvm
由于要用virt-manager图形化安装虚拟机,所以还需要安装桌面
[root@localhost ~]# yum grouplist
[root@localhost ~]# yum groupinstall "GNOME Desktop" -y
配置中文桌面
grep -E "^[ \t]*export[ \t]+LANG[ \t]*=" /etc/profile&& y="yes" || y="no"
if [[ "$y" = "yes" ]]; then
sed -r -i -e '/^[ \t]*export[ \t]+LANG[ \t]*=/c\export LANG="zh_CN.UTF-8"' /etc/profile
else
echo 'export LANG="zh_CN.UTF-8"' >>/etc/profile
fi
source /etc/profile
安装virt-manager
[root@localhost ~]# yum -y install virt-manager
xshell链接
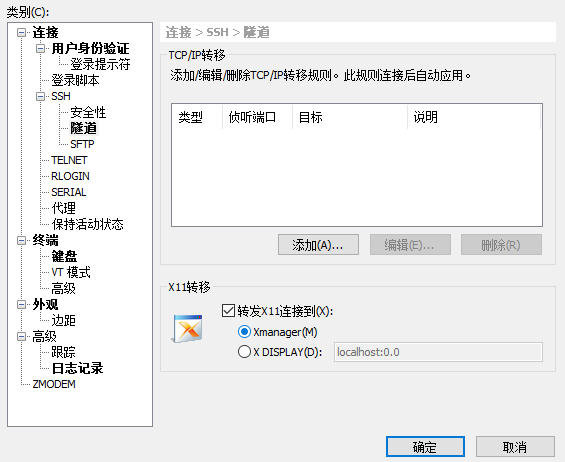
[root@localhost ~]# virt-manager
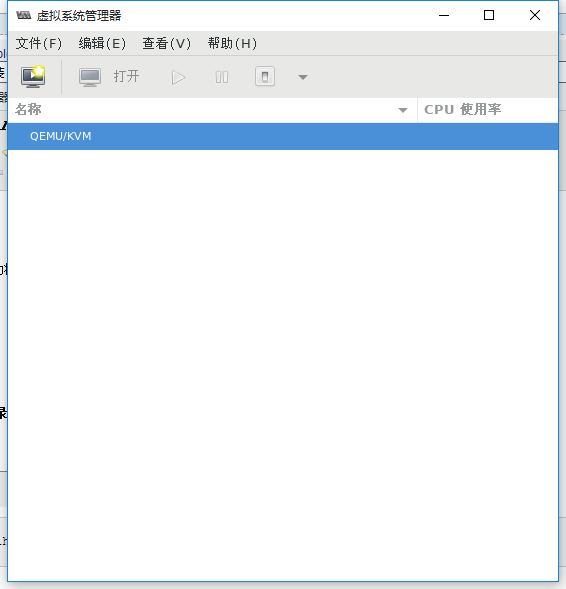
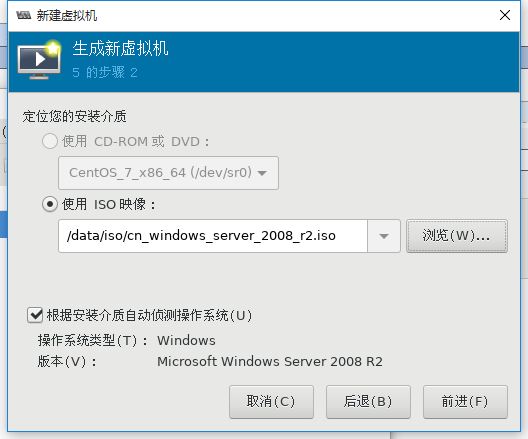
提前将ISO系统镜像存放到服务器的一个目录里,比如/data/iso
[root@localhost ~]# mkdir -p /data/{iso,kvmstorage}
[root@localhost ~]# cd /data/iso/
[root@localhost iso]# ll
总用量 4217748
-rw-r--r-- 1 root root  950009856 11月 22 15:24 CentOS-7-x86_64-Minimal-1804.iso
-rw-r--r-- 1 root root 3368962048 3月  23 2012 cn_windows_server_2008_r2.iso
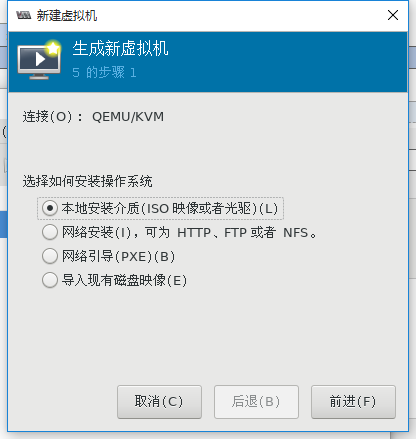
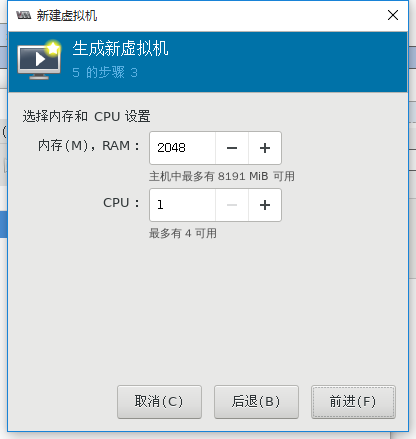
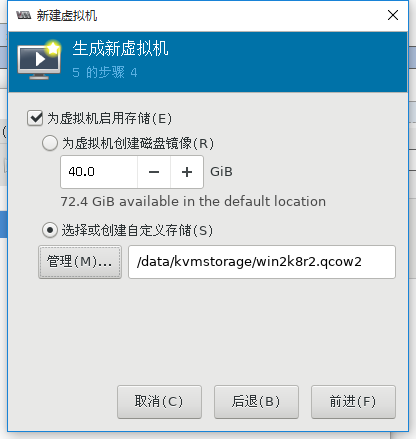
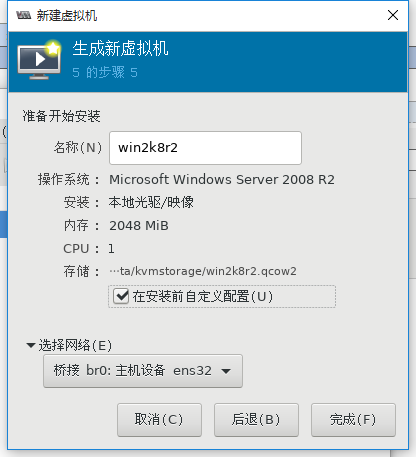
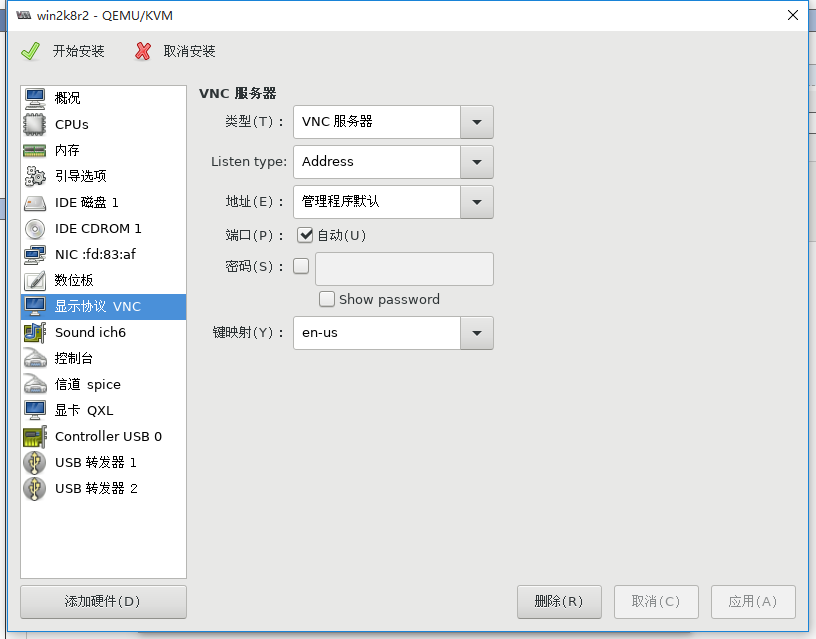
新建虚拟机

kvm常用命令
KVM虚拟机的管理主要是通过virsh命令对虚拟机进行管理
命令帮助
[root@localhost ~]# virsh --help
查看虚拟机状态
[root@localhost ~]# virsh list --all
 Id    名称                         状态
----------------------------------------------------
 4     win2k8r2                       running

关机
[root@localhost ~]# virsh shutdown win2k8r2

强制关闭电源
[root@localhost ~]# virsh destroy win2k8r2

通过配置文件创建虚拟机
[root@localhost ~]# virsh create /etc/libvirt/qemu/win2k8r2.xml

设置虚拟机开机自启
[root@localhost ~]# virsh autostart win2k8r2
[root@localhost ~]# ll /etc/libvirt/qemu/autostart/
总用量 0
lrwxrwxrwx 1 root root 30 1月  24 13:06 win2k8r2.xml -> /etc/libvirt/qemu/win2k8r2.xml

到处虚拟机配置文件
[root@localhost ~]# virsh dumpxml win2k8r2 > /etc/libvirt/qemu/win2k8r2_bak.xml

删除虚拟机(该命令只删除配置文件,并不删除磁盘文件)
[root@localhost ~]# virsh undefine win2k8r2

通过导出备份的配置文件恢复原KVM虚拟机的定义,并重新定义虚拟机。
[root@localhost ~]# mv /etc/libvirt/qemu/win2k8r2_bak.xml /etc/libvirt/qemu/win2k8r2.xml
[root@localhost ~]# virsh define /etc/libvirt/qemu/win2k8r2.xml

编辑配置文件
[root@localhost ~]# virsh edit win2k8r2

挂起
[root@localhost ~]# virsh suspend win2k8r2

恢复
[root@localhost ~]# virsh resume win2k8r2
其他命令
创建存储卷
[root@localhost ~]# qemu-img create -f qcow2 /data/kvmstorage/centos7.qcow2 20G
Formatting '/data/kvmstorage/centos7.qcow2', fmt=qcow2 size=21474836480 encryption=off cluster_size=65536 lazy_refcounts=off
[root@localhost ~]# ll //data/kvmstorage
总用量 7437168
-rw-r--r-- 1 root root      197120 1月  24 13:21 centos7.qcow2
-rw------- 1 qemu qemu 42956488704 1月  24 13:21 win2k8r2.qcow2
生成虚拟机
[root@localhost ~]# virt-install --virt-type kvm --name centos --ram 1024 \
  --disk /data/kvmstorage/centos7.qcow2,format=qcow2 \
  --network bridge=br0 \
  --graphics vnc,listen=0.0.0.0 --noautoconsole \
  --os-type=linux --os-variant=rhel7 \
  --location=/data/iso/CentOS-7-x86_64-Minimal-1804.iso

[root@localhost ~]# virsh list --all
 Id    名称                         状态
----------------------------------------------------
 5     win2k8r2                       running
 7     centos                         running


