
基本概念
实时文档存储,实时文档分析
1,文档型数据库 一条数据就是一篇文档,用json格式序列化
关系型数据库。 数据库 表 行 列
es 索引。 类型 文档 字段
2,lucene 对文档的读取依赖cpu 和 随机io
3, 分布式线程安全通过segment 的 乐观锁机制(版本号方式)
4,倒排索引和正排索引
倒排索引 :使用前缀索引 找到后缀索引位置,根据后缀索引找到倒排表位置,根据倒排表位置加载倒排表,利用跳表结构对多个文档列表合并
5,filter查询缓存
分桶和桶内压缩
6,master-slave 脑裂。过半选举
7,动态增加分片需要重建整个索引
8,数据分片,保障数据不丢失
9,数据写入
先写入translog,其会持久化到磁盘,保障数据不丢失。分同步和异步写入
refresh 将数据刷新到缓冲中
commit/flush 清理 translog 文件,将缓存数据写入磁盘
merge 会合并磁盘上的segment
删除和更新以来.del 文件 ,删除 不会当即删除,等merge 会真删除
三种方式查询es
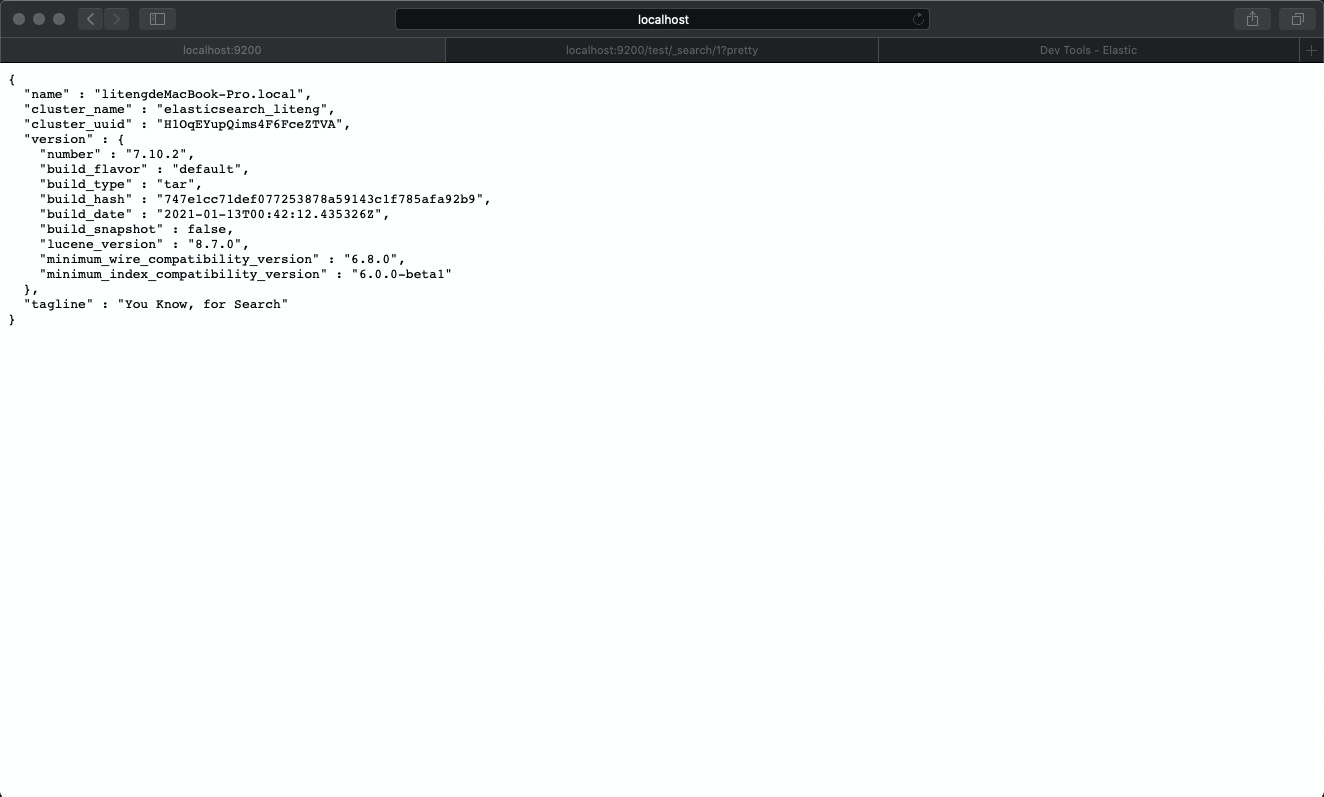
一:浏览器访问
http://localhost:9200/test/_search/1?pretty
二:终端访问
curl -H 'Content-Type:application/json' -i -XPUT http://localhost:9200/blog/article/1 -d '
{
"id": "1",
"title": "New version of Elasticsearch released!",
"content": "Version 1.0 released today!",
"priority": 10,
"tags": ["announce", "elasticsearch", "release"]
}
三:图形界面访问
以下为mac电脑体验
mac 必备 brew 安装(百度一下安装过程)
安装es
1,brew install elasticsearch
2,启动es
elasticsearch
3,验证访问
http://localhost:9200/
界面工具
1,brew install kibana
2,启动kibana
kibana
3,验证
http://localhosts:5601/
 1 GET _search
 2 {
 3   "query": {
 4     "match_all": {}
 5   }
 6 }
 7
 8 GET *
 9
10 GET /_cat/health?v
11
12 PUT /test
13
14 DELETE /test
15
16 PUT /test
17 {
18   "mappings": {
19
20       "properties":{
21         "title":{
22           "type":"keyword"
23         }
24       }
25     }
26
27 }
28
29 GET /test/_mapping
30
31 POST /test/_doc/1
32 {
33   "title":"123456"
34 }
35
36 GET /test/_doc/1
37
38
39 GET /test/_
40
41
42 PUT /test/_doc/1
43 {
44   "title":"hao"
45 }
46
47 PUT /test/_doc/_bulk
48 {"index":{}}
49 {"title":"12"}
50 {"index":{}}
51 {"title":"21"}
52
53 POST /test/_mget
54 {
55   "ids":["1"]
56 }
57
58 GET /_search
59
60
61 GET /_search
62 {
63   "query": {
64     "match": {
65       "title": "1"
66     }
67   }
68 }
69
70 GET /_search
71 {
72   "query": {
73     "match": {
74       "title": {
75         "query": "1",
76         "operator": "and"
77       }
78     }
79   }
80 }
81
82 GET /_search
83 {
84   "query": {
85     "match_all": {}
86   },
87   "sort": [
88     {
89       "title": {
90         "order": "desc"
91       }
92     }
93   ]
94 }
