
(七)electron-vue项目中使用rabbitmq
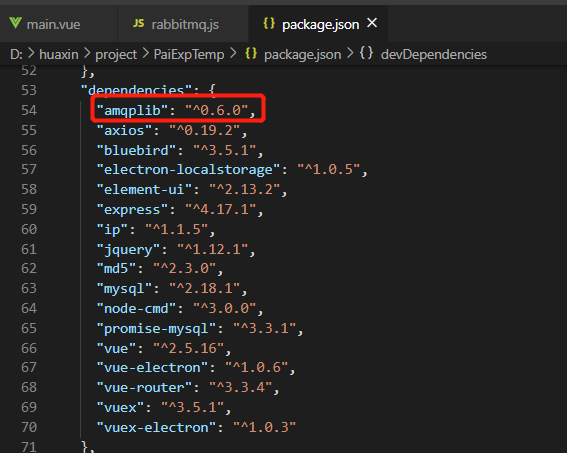
1.安装rabbitmq组件amqplib命令:npm install amqplib --save-dev
2.创建一个js文件放mq的代码rabbitmq.js(mq的交换器类型https://blog.csdn.net/u013938578/article/details/81606884)
 1 // 采用 promise 形式的API
 2 const amqp = require('amqplib');
 3
 4
 5 const serverConfig = {
 6   protocol: 'amqp',
 7   hostname: 'mq的ip',
 8   port: mq的端口号,
 9   username: 'mq的用户名',
10   password: 'mq的密码',
11 }
12 // 发送信息的方法
13 function sendQueueMsg(queue, params, callback) {
14     console.log(queue)//队列名
15     console.log(params)
16     amqp.connect(serverConfig).then(function(conn) {
17         return conn.createChannel().then(function(ch) {
18             var ex = 'mq的交换器名';
19             var ok = ch.assertExchange(ex, '交换器类型', {durable: true});
20                          // 交换器类型direct、fanout、topic、headers
21             return ok.then(function() {
22             ch.publish(ex, queue, Buffer.from(body内容), {
23                 headers: header内容
24             });
25             callback('发送成功!')
26             return ch.close();
27             });
28         }).finally(function() { conn.close(); });
29     }).catch(console.warn);
30 }
31 // 接收信息的方法
32 function receiveQueueMsg(queue, callback) {
33     var open = amqp.connect(serverConfig);
34     // Consumer
35     open.then(function (conn) {
36         return conn.createChannel();
37     }).then(function (ch) {
38         return ch.assertQueue(queue).then(function (ok) {
39             return ch.consume(queue, function (msg) {
40                 if (msg !== null) {
41                     callback(msg.content.toString(), msg.properties.headers)
42                     ch.ack(msg);
43                 }
44             });
45
46         });
47     }).catch(console.warn);
48 }
49 module.exports ={
50     sendQueueMsg,
51     receiveQueueMsg
52
53 }
54
3.在文件中引入写好的方法 import {sendQueueMsg, receiveQueueMsg} from '../../assets/rebbitemq/rabbitmq.js';
  sendQueueMsg(queue, {'body': body, 'header': header}, (msg) => {
                                //做代码处理
                            });
receiveQueueMsg(队列名,(返回的消息体, 返回的头部信息) => {
                    // 做代码处理

                })
4.rabbitmq连接上后一般不需要关闭,方便实时的接收mq返回的信息
5.amqplib的使用实例:https://github.com/rabbitmq/rabbitmq-tutorials/tree/master/javascript-nodejs

 浙公网安备 33010602011771号