
ssh
一、概念
SSL:Secure Socket Layer, is really TLS (Transport Layer Security) now — it’s just we still refer to it colloquially as SSL. . Using digital certificates and Public Key Infrastructure (PKI), SSL creates encrypted HTTPS connections between websites and their visitors. HTTPS is meant for the transmission of information and data; it encrypts everything that’s sent between the two parties ensuring its confidentiality. While SSL requires authentication, it’s only on the server side — the client isn’t required to authenticate itself at all.
SSH: Secure Shell, is similar to SSL in that they’re both PKI based and both form encrypted communication tunnels. But whereas SSL is designed for the transmission of information, SSH is designed to execute commands. You generally see SSH when you want to log in to some part of a network remotely. SSH uses port 22 and also requires client authentication. After all, the ability to run commands requires a certain level of permission, so, obviously, you need to confirm the identity of the individual trying to log in.
So, long story short: SSL is for securing internet connections between websites and their visitors; SSH is for running commands via remote access.
二、SSH
SSH的登录验证方式:(1)账户密码;(2)密钥对
补充:这两个SSH登录方式都是通过密文传输的,而Telnet是明文传输账号密码的。
虽然SSH传输很安全,但是Telnet的传输效率秒杀SSH~
主配置文件:/etc/ssh/sshd_config
1.账户密码单向验证
SSH的登录验证格式:【ssh 用户名@地址】
注意:如果直接【ssh 地址】进行登录,则用户名会被默认为root
[root@localhost user1]# ssh root@10.0.0.100
The authenticity of host '10.0.0.100 (10.0.0.100)' can't be established.
ECDSA key fingerprint is SHA256:Qh8mHR84g/h06CGIrzaNDJCHeYjfaJv9lxgBx+bo7ao.
ECDSA key fingerprint is MD5:fa:07:81:64:08:ec:71:2b:32:c3:bc:af:23:26:9f:59.
Are you sure you want to continue connecting (yes/no)? yes
Warning: Permanently added '10.0.0.100' (ECDSA) to the list of known hosts.
root@10.0.0.100's password:
Last login: Sat Apr 25 23:43:54 2020
这种SSH登录方式仍然使用密码,只不过对传输过程进行加密~
 =
=
这里讲一下账号和密码存放文件。
[root@localhost user1]# ls -l /etc/passwd              #账号,所有用户(包括系统管理员)
-rw-r--r--. 1 root root 2236 Apr 21 03:29 /etc/passwd
root:x:0:0:root:/root:/bin/bash
bin:x:1:1:bin:/bin:/sbin/nologin
1账号名称:2保留位:3UID:4GID:5账号信息:6账号家目录:7账号使用的Shell

[root@localhost user1]# ls -l /etc/shadow              #密码
----------. 1 root root 1345 Apr 21 03:31 /etc/shadow
root:$6$HjhWq/HE9gSg8zI/$fsasclMWaH/wTSjqiJ.iu9NJNICZVyyQVQHNfYUlM6CcOd6uM78ivbmBmLDVQBXNDfsNmNb6G88ZCRY8REhnn/::0:99999:7:::
bin:*:17492:0:99999:7:::
daemon:*:17492:0:99999:7:::
1账号名称:2加密后的密码(*或!表示不可登录):3最近改动密码日期(从1970年):4密码不可变更天数:5密码需要重新变更的天数(99999表示无限制):6密码过期预警天数:7密码过期的宽恕时间:8账号失效日期:9保留位
如何查看用户server的家目录
[root@linux02 .ssh]# cat /etc/passwd | grep server | cut -d: -f6
/home/server
如何查看用户ftp的家目录
[root@linux02 .ssh]# cat /etc/passwd | grep ftp | cut -d: -f6
/var/ftp
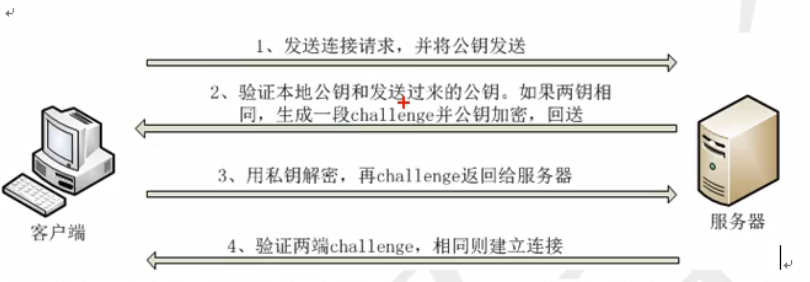
2.密钥对双向验证
三.配置ssh服务
1.环境准备
清空防火墙规则和关闭Selinux
[root@linux01 ~]# iptables -F   #清空防火墙规则
[root@linux01 ~]# chkconfig iptables off  #永久关闭iptables
[root@linux01 ~]# setenforce 0   #临时关闭Selinux,0表示disabled模式;1表示permissive模式
setenforce: SELinux is disabled

永久关闭防火墙和关闭Selinux
[root@linux01 ~]# systemctl disable firewalld  #永久关闭防火墙
[root@linux02 ~]# sed -i '7s/enforcing/disabled/' /etc/selinux/config   #永久关闭Selinux

重启机器使上述配置生效
[root@linux01 ~]# reboot 或者 shutdown -r     #重启机器
重启后检查Selinux是否关闭
[root@localhost ~]# getenforce
Disabled

改变主机名,便于实验过程中区分不同的主机
[root@linux01 ~]# hostname linux01

等待一段时间后查看transient类的主机名
[root@linux01 ~]# hostnamectl
   Static hostname: localhost.localdomain
Transient hostname: linux01
         Icon name: computer-vm
           Chassis: vm
        Machine ID: 3c6eacee1eb642128c9f9ce1e7061143
           Boot ID: 722d25240f2e405fb3dc263506186ba7
    Virtualization: vmware
  Operating System: Red Hat Enterprise Linux Server 7.5 (Maipo)
       CPE OS Name: cpe:/o:redhat:enterprise_linux:7.5:GA:server
            Kernel: Linux 3.10.0-862.el7.x86_64
      Architecture: x86-64
关于主机名:
1.static类的主机名就是我们常说的主机名,由/etc/hostname文件决定。
2.transient类的主机名也就是我们常说的临时主机名,它是由内核动态维护的主机名。默认在系统启动的时候会根据/etc/hostname文件中的静态主机名进行初始化。
3.pretty类的主机名是给人看的,它可以提供非标准的主机名,以前版本(例如CentOS 6)没有这功能。它可以包含特殊符号,例如空格。例如将pretty名称命为"MaYun's Host",这种名称在以前的主机名(即static类主机名)里是不允许存在的。
1.使用hostname命令修改主机名,它修改是transient主机名,即临时生效的主机名。
2.直接修改/etc/hostname文件,它瞬时生效,重启后也生效(因为内核会根据它初始化transient主机名)。
3.使用nmtui命令在图形化界面修改主机名。它会直接修改/etc/hostname文件,因此也是瞬时生效+永久生效的。
4.使用hostnamectl命令。它可以修改并查看static、transient或pretty三种主机名。当它修改了static主机名时,会直接写入/etc/hostname文件中,因此它也是瞬时生效+永久生效的。
来源:https://www.linuxidc.com/Linux/2018-03/151464.htm
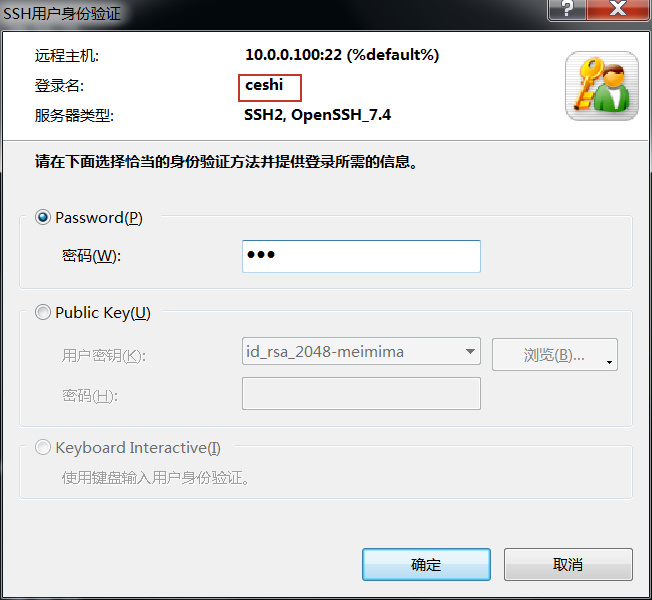
2.账户密码单向验证登录
SSH的登录验证格式:【ssh 用户名@地址】
注意:如果直接【ssh 地址】进行登录,则用户名会被默认为root
[root@linux02 ssh]# ssh 10.0.0.100
root@10.0.0.100's password:
Last login: Sun Apr 26 03:37:18 2020 from 10.0.0.10
[root@linux01 ~]# exit
logout
Connection to 10.0.0.100 closed.

[root@linux02 ssh]# ssh ceshi@10.0.0.100
ceshi@10.0.0.100's password:
Last login: Sun Apr 26 03:36:33 2020 from 10.0.0.10
[ceshi@linux01 ~]$
3.Linux登录Linux,密钥对双向验证登录(三部曲)

[root@linux01 ~]# ssh-keygen -t rsa -b 2048
Generating public/private rsa key pair.
Enter file in which to save the key (/root/.ssh/id_rsa):   #默认保存在用户的家目录下;也可以保存到用户的家目录下
/root/.ssh/id_rsa already exists.
Overwrite (y/n)? y
Enter passphrase (empty for no passphrase):           #使用密钥文件时是否需要输入密码?如果不设置密码,则为免密登录,不需要交互。
Enter same passphrase again:
Your identification has been saved in /root/.ssh/id_rsa.
Your public key has been saved in /root/.ssh/id_rsa.pub.
The key fingerprint is:
SHA256:Ygjm68E4e9Xui0n/5j4Bj/pVA/hLF7kKEBqKzIn1Jyc root@linux01
The key's randomart image is:
+---[RSA 2048]----+
|  o .            |
|=o.+ . .   .     |
|+++ E + . o      |
| o . B.. . o     |
|  . ..++S =      |
| o ...o+o= .     |
|o +..o  +.       |
| +.o.+..o        |
|... oo=*+.       |
+----[SHA256]-----+
[root@linux01 ~]#
ssh-keygen 客户端生成密钥对文件
(1)-t 指定加密类型,rsa/dsa/ecdsa等
(2)-b 指定密钥对的加密长度
Last login: Sun Apr 26 03:54:36 2020
[root@linux01 ~]# ssh-copy-id server@10.0.0.101
/usr/bin/ssh-copy-id: INFO: Source of key(s) to be installed: "/root/.ssh/id_rsa.pub"      #这里的.ssh是隐藏目录
/usr/bin/ssh-copy-id: INFO: attempting to log in with the new key(s), to filter out any that are already installed
/usr/bin/ssh-copy-id: INFO: 1 key(s) remain to be installed -- if you are prompted now it is to install the new keys
server@10.0.0.101's password:

Number of key(s) added: 1

Now try logging into the machine, with:   "ssh 'server@10.0.0.101'"
and check to make sure that only the key(s) you wanted were added.
ssh-copy-id 将公钥文件上传
(1)ssh-copy-id 用户名@地址
(2)地址就是我们要登录的服务器地址
[root@linux01 ~]# ssh server@10.0.0.101
[server@linux02 ~]$             #密钥对优先级大于账户密码优先级
ssh 用户名@地址
(1)不需要用户密码,直接登录服务器10.0.0.101
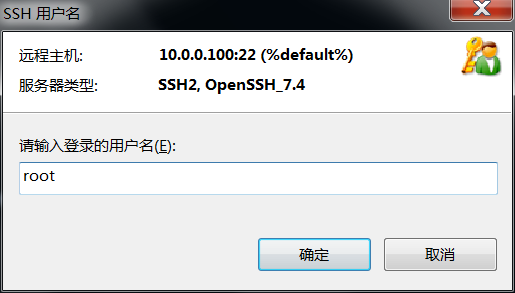
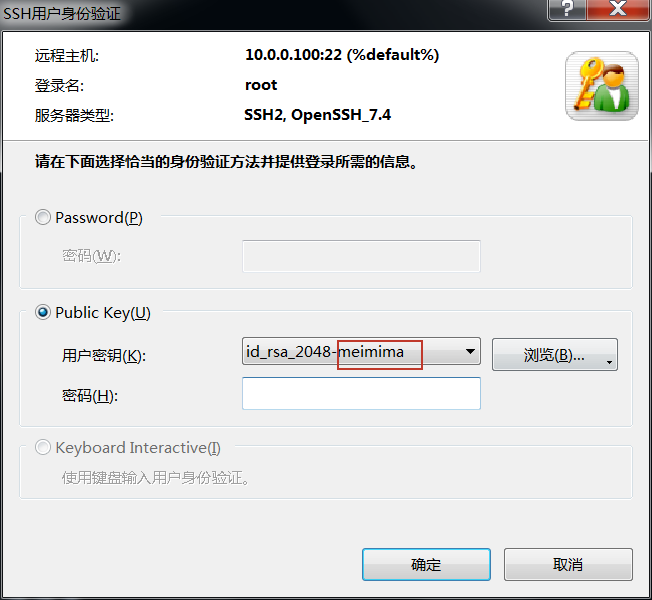
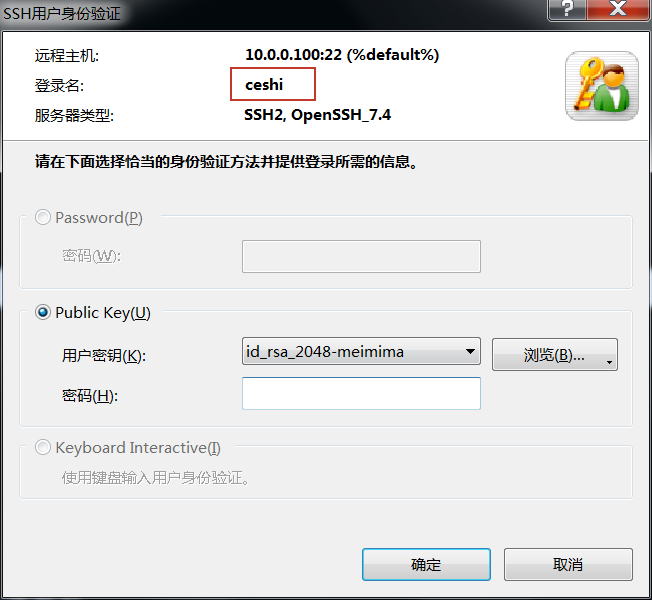
4.Windos登录Linux,密钥对双向验证登录
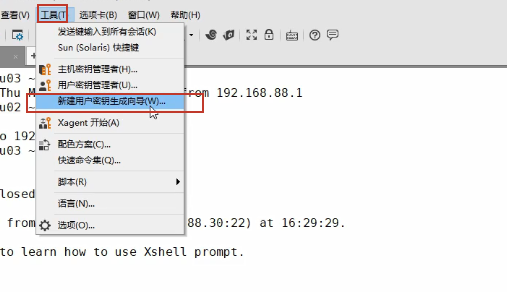
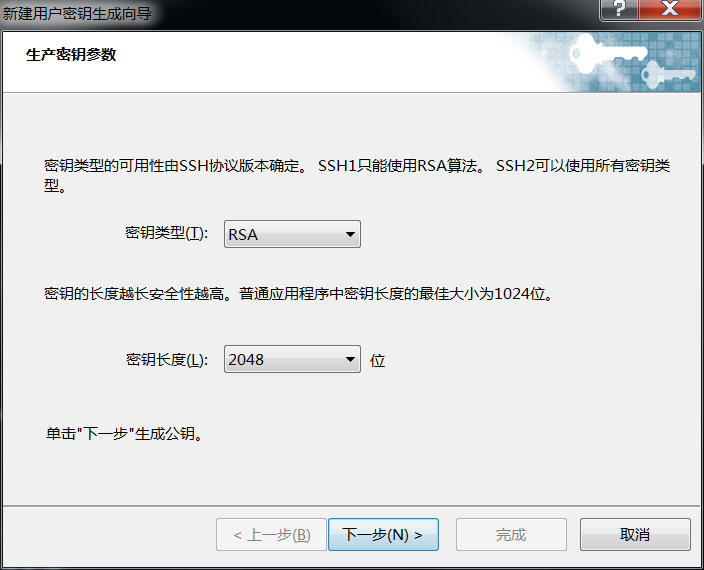
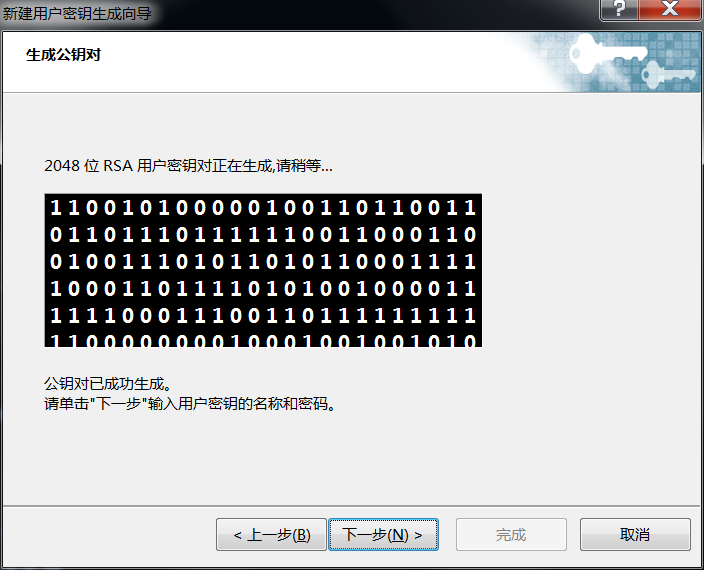
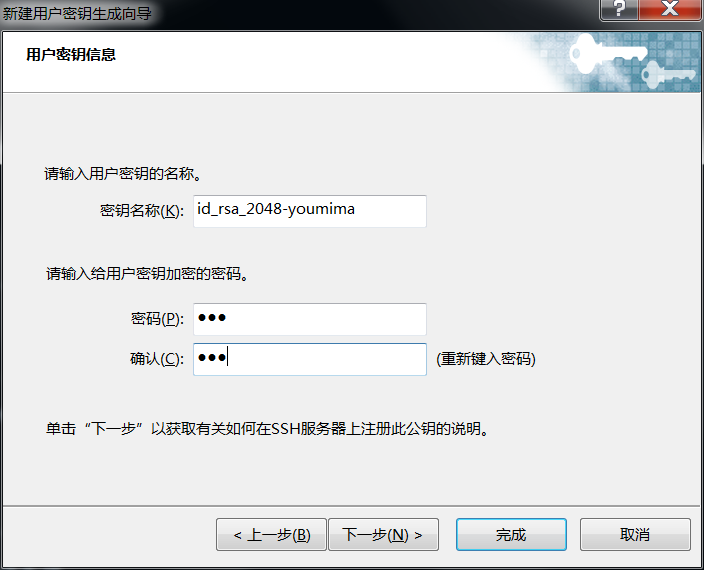
👆👇这两种密钥对不一样!!!
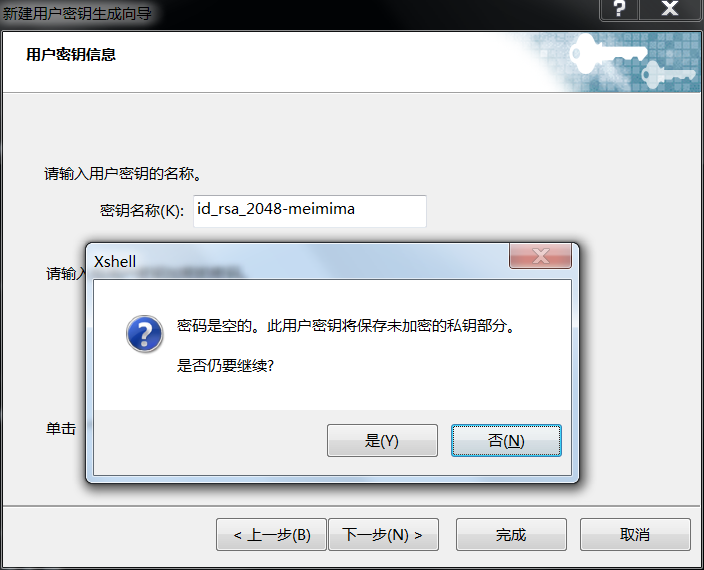

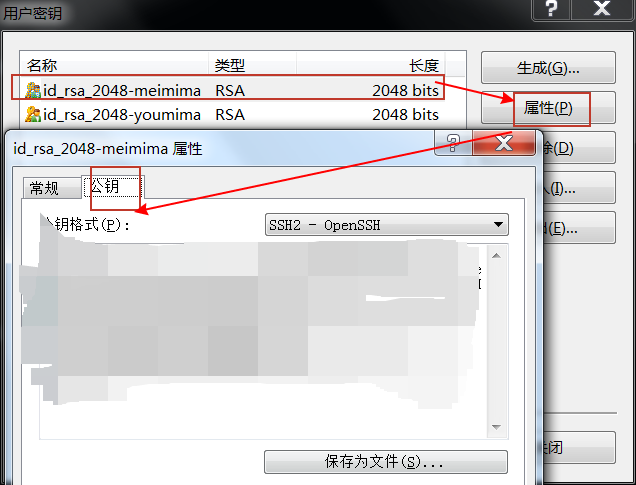
使用Xshell生成密钥对(加密的和不加密的),密钥直接显示,公钥需要转存(建议直接复制字符串)。
找到/root/.ssh/authorized_keys文件,复制公钥字符串到新的一行,保存退出 [root@linux01 .ssh]# vim authorized_keys 注意这里authorized_keys可能不存在,需要手动创建
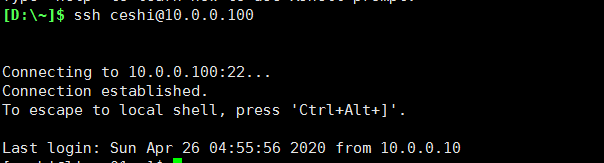
切换到本地shell [D:\~]$ ssh 10.0.0.100
注意这里ssh登录时账户未指定,默认为root
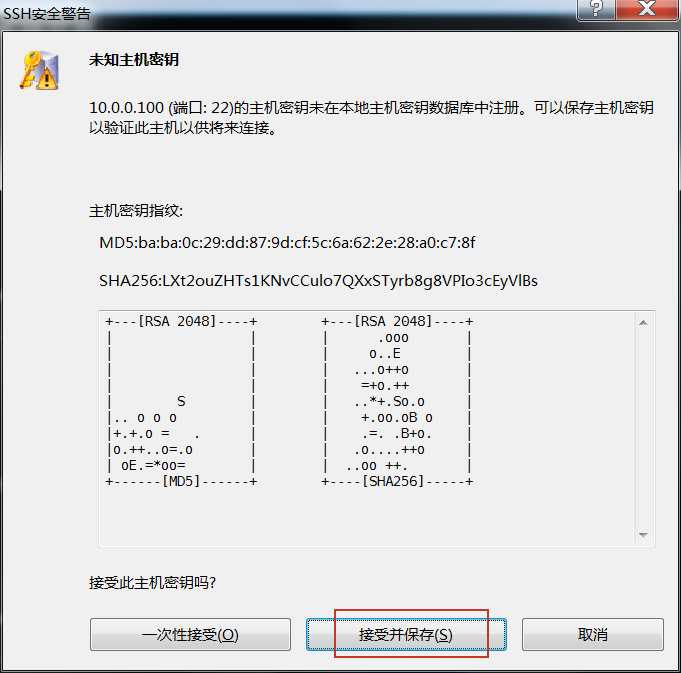
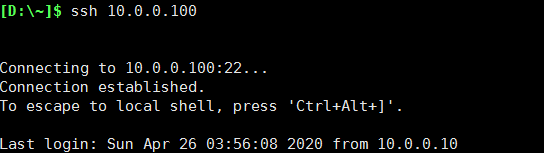
免密登录成功(注意这里是免除使用密钥文件的密码)

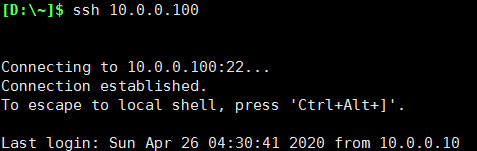
同理可知,需要密码验证也能登录成功(这里不是账户的密码,而是密钥对的密码。就好比你把密钥对放到保险柜里,先输入保险柜密码,你才能取出使用密钥~)
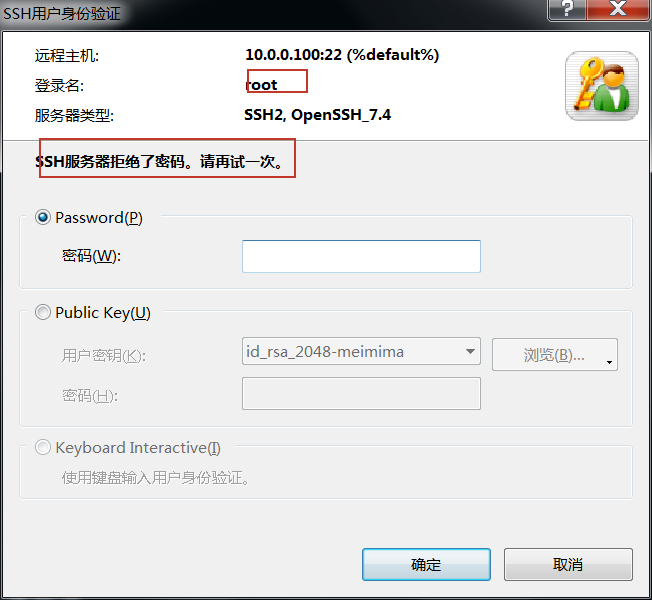
5.禁止使用账户密码登录(只能用密钥对登录)
[root@linux01 .ssh]# cd  /etc/ssh/
[root@linux01 ssh]# vim sshd_config
#PasswordAuthentication yes       第63行,取消注释,将yes改为no

[root@linux01 ssh]# systemctl restart sshd
使用Xshell登录时,灰色不可选;root和普通账户ceshi均不能登陆。
6.禁止使用root账户登录(可以用普通账户登录)
[root@linux01 .ssh]# cd  /etc/ssh/
[root@linux01 ssh]# vim sshd_config
#PermitRootLogin yes    第38行,取消注释,将yes改为no

[root@linux01 ssh]# systemctl restart sshd
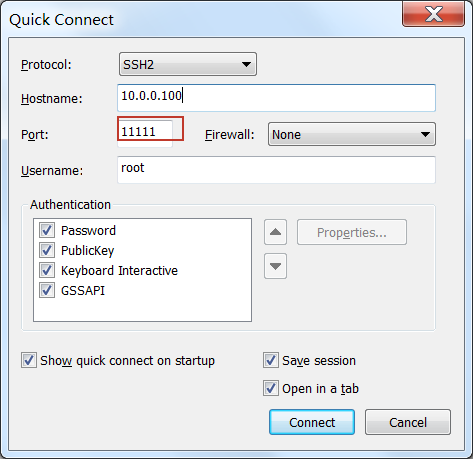
7.修改默认端口
[root@linux01 .ssh]# cd  /etc/ssh/
[root@linux01 ssh]# vim sshd_config
#Port 22       第17行,取消注释,将22改为11111(1~65535)

[root@linux01 ssh]# systemctl restart sshd
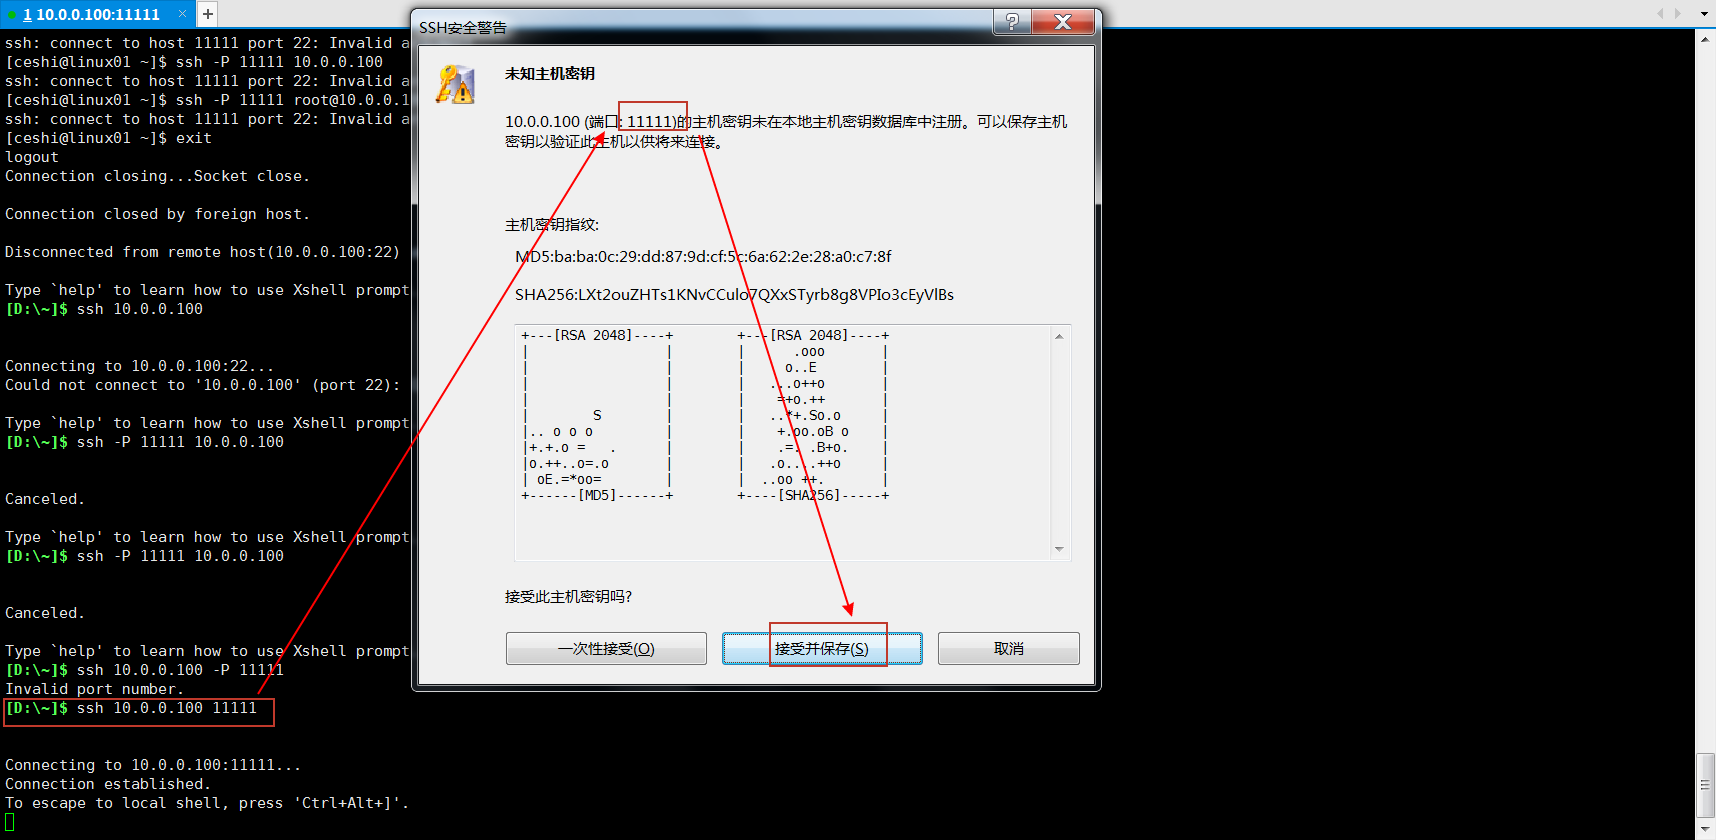
👆Xshell登录

👆Secure CRT登录
[root@linux02 .ssh]# nmap -sT 10.0.0.100        #使用nmap来扫描端口,扫描到vce的11111端口

Starting Nmap 6.40 ( http://nmap.org ) at 2020-04-26 05:15 CST
Nmap scan report for 10.0.0.100
Host is up (0.012s latency).
Not shown: 997 closed ports
PORT      STATE SERVICE
21/tcp    open  ftp
111/tcp   open  rpcbind
11111/tcp open  vce
MAC Address: 00:0C:29:1E:7E:6D (VMware)

Nmap done: 1 IP address (1 host up) scanned in 1.02 seconds
[root@linux02 .ssh]# nmap -sT 10.0.0.100        #改回默认22端口,扫描到ssh的22端口

Starting Nmap 6.40 ( http://nmap.org ) at 2020-04-26 05:16 CST
Nmap scan report for 10.0.0.100
Host is up (0.0042s latency).
Not shown: 997 closed ports
PORT    STATE SERVICE
21/tcp  open  ftp
22/tcp  open  ssh
111/tcp open  rpcbind
MAC Address: 00:0C:29:1E:7E:6D (VMware)

Nmap done: 1 IP address (1 host up) scanned in 0.66 seconds
这里nmap的功能比较强大,默认开启扫描高端口了
[root@linux02 .ssh]# ssh -p 11111 root@10.0.0.100
root@10.0.0.100's password:
Last login: Sun Apr 26 05:09:09 2020 from 10.0.0.10
ssh 非默认端口时,连接其他linux主机
(1)-p 指定端口号
8.限制ssh监听IP
有些服务器安全级别更高,不允许使用外网连接,只有通过局域网才能登录,我们可以在机房里设置其中一台能够被外网远程连接,其他主机都通过这个机器与外网远程连接。
[root@linux01 ssh]# ifconfig ens33:0 10.0.0.110    #设置网卡子端口,并加上IP地址,用于模拟下面实验。而实际生产环境是多网卡。这里
[root@linux01 ssh]# ifconfig
ens33: flags=4163<UP,BROADCAST,RUNNING,MULTICAST>  mtu 1500
        inet 10.0.0.100  netmask 255.255.255.0  broadcast 10.0.0.255
        inet6 fe80::dac7:97cd:26f9:178a  prefixlen 64  scopeid 0x20<link>
        inet6 fe80::c041:6a79:a3f1:3a31  prefixlen 64  scopeid 0x20<link>
        ether 00:0c:29:1e:7e:6d  txqueuelen 1000  (Ethernet)
        RX packets 63094  bytes 6111862 (5.8 MiB)
        RX errors 0  dropped 49  overruns 0  frame 0
        TX packets 10342  bytes 1771122 (1.6 MiB)
        TX errors 0  dropped 0 overruns 0  carrier 0  collisions 0

ens33:0: flags=4163<UP,BROADCAST,RUNNING,MULTICAST>  mtu 1500
        inet 10.0.0.110  netmask 255.0.0.0  broadcast 10.255.255.255
        ether 00:0c:29:1e:7e:6d  txqueuelen 1000  (Ethernet)
[root@linux01 .ssh]# cd  /etc/ssh/
[root@linux01 ssh]# vim sshd_config
#ListenAddress 0.0.0.0       第19行,取消注释,将其改为本机网卡的一个地址(默认是所有IP)

[root@linux01 ssh]# systemctl restart sshd
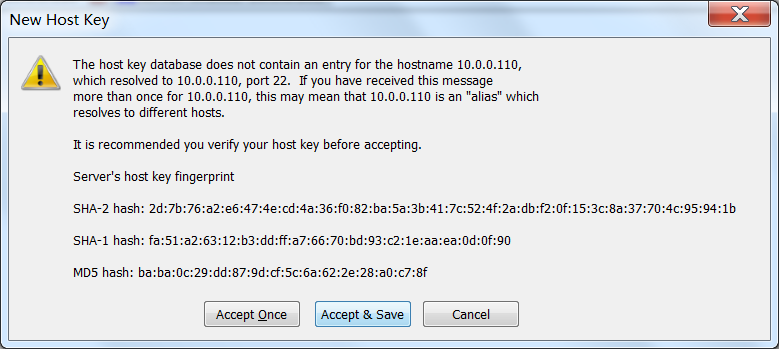
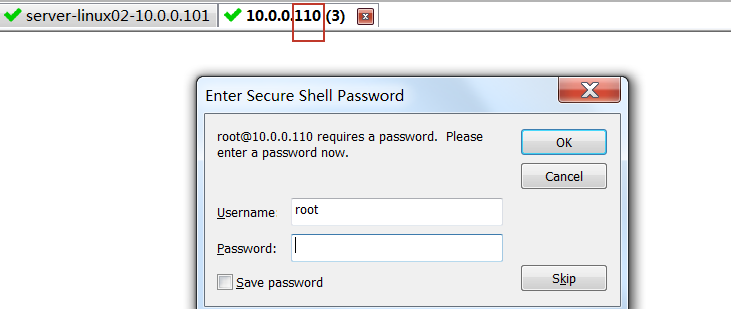
上面ssh登陆10.0.0.110成功,下面ssh登陆10.0.0.100失败

只有从10.0.0.110才能ssh登陆,而10.0.0.100不能ssh登陆~这就是IP限制ssh登录!
所有用户(包括系统管理员)的
authorized_keys
[root@linux01 ~]#
