

配置虚拟域名简化URL路径
原来打开一个URL路径是这样的http://localhost/zerg/public/index.php/sample/Test/hello,通过配置虚拟域名简化URL路径后成了这样:y.cn/sample/test/hello
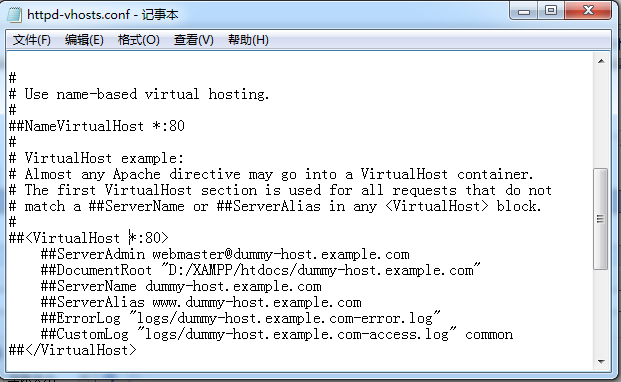
1. 打开D:\XAMPP\apache\conf\extra,把httpd-vhosts.conf以txt形式打开,拉到最下面:
2.添加以下代码:
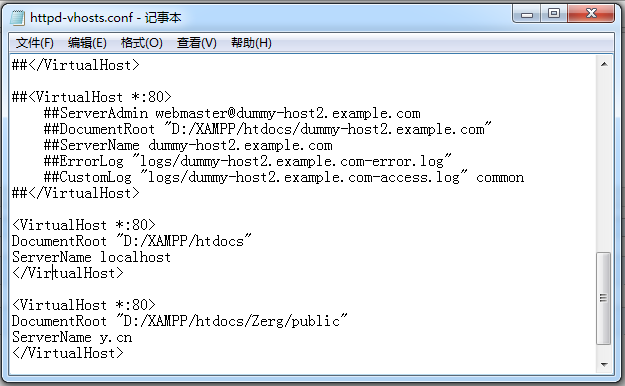
<VirtualHost *:80>
DocumentRoot "D:/XAMPP/htdocs/Zerg/public" //public文件夹的路径
ServerName y.cn //y.cn是自己命名的,随意。
</VirtualHost>
3.在C:\Windows\System32\drivers\etc下的文件夹里打开 hosts 文件,在文件的最后添加 127.0.0.1 y.cn(即虚拟域名,同上面步骤2中的一致)。
//有些人的C:\Windows\System32\drivers\etc文件夹下并没有hosts文件,那么你就需要自己新建了。
//hosts里的代码:
# Copyright (c) 1993-2009 Microsoft Corp.
#
# This is a sample HOSTS file used by Microsoft TCP/IP for Windows.
#
# This file contains the mappings of IP addresses to host names. Each
# entry should be kept on an individual line. The IP address should
# be placed in the first column followed by the corresponding host name.
# The IP address and the host name should be separated by at least one
# space.
#
# Additionally, comments (such as these) may be inserted on individual
# lines or following the machine name denoted by a '#' symbol.
#
# For example:
#
# 102.54.94.97 rhino.acme.com # source server
# 38.25.63.10 x.acme.com # x client host
# localhost name resolution is handled within DNS itself.
# 127.0.0.1 localhost
# ::1 localhost
127.0.0.1 y.cn
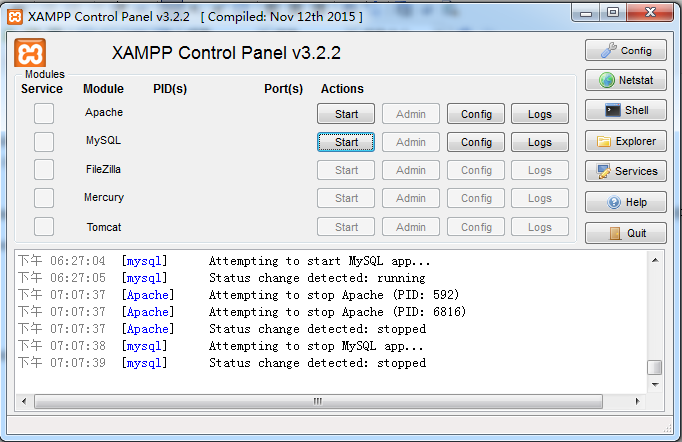
4.重启Apache。
点击Start再点击Stop.(两个Start都要点击)
存在的问题:
1.在浏览器地址栏输入localhost,你会发现打开的是入口文件所在目录,这样会影响其他项目的开发。
解决办法:
1.打开D:\XAMPP\apache\conf\extra下的httpd-vhosts.conf,输入:
<VirtualHost *:80>
DocumentRoot "D:/XAMPP/htdocs"
ServerName localhost
</VirtualHost>
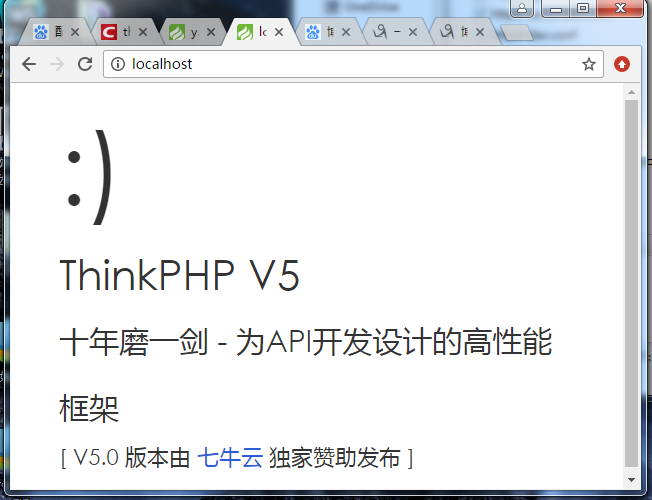
再次重启Apache,再在浏览器中输入localhost
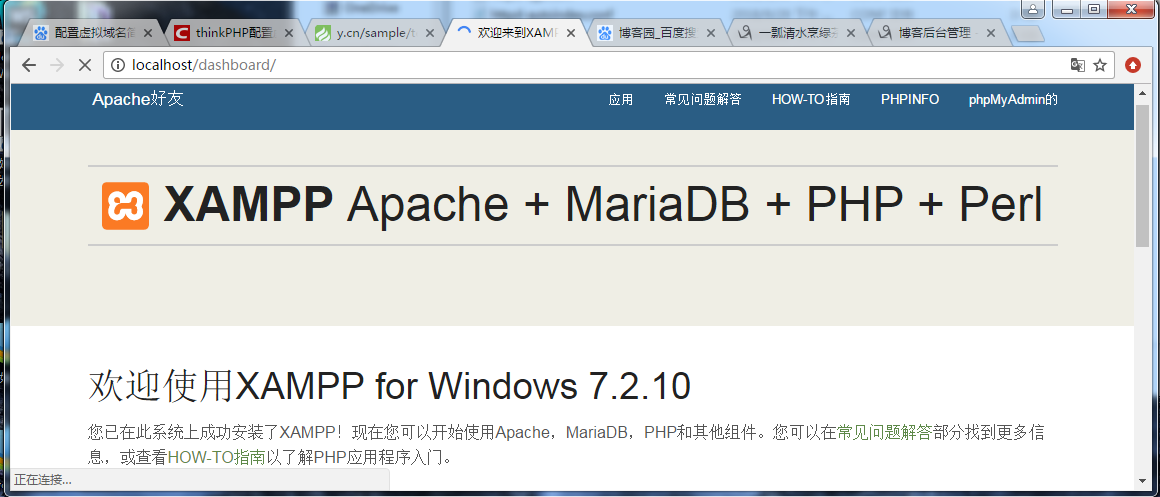
出现这样的页面即成功。

 浙公网安备 33010602011771号