HM-SpringCloud微服务系列4.2【RabbitMQ快速入门】
1 RabbitMQ概述
-
RabbitMQ是基于Erlang语言开发的开源消息通信中间件,官网地址:https://www.rabbitmq.com/

-
RabbitMQ的结构:

-
RabbitMQ中的一些角色:
- channel:操作MQ的工具
- publisher:生产者
- consumer:消费者
- exchange个:交换机,负责消息路由(路由消息到队列中)
- queue:队列,存储消息(缓存消息)
- virtualHost:虚拟主机,隔离不同租户的exchange、queue、消息的隔离(是对queue、exchange等资源的逻辑分组)
2 CentOS7环境Docker安装RabbitMQ(单机部署)
2.1 获取镜像
-
方式1:在线拉取
docker pull rabbitmq:3-management -
方式2:本地加载
- 课前资料已经提供了镜像包:

- 上传到虚拟机中后,使用命令加载镜像即可:
docker load -i mq.tar
- 课前资料已经提供了镜像包:


2.2 安装MQ
-
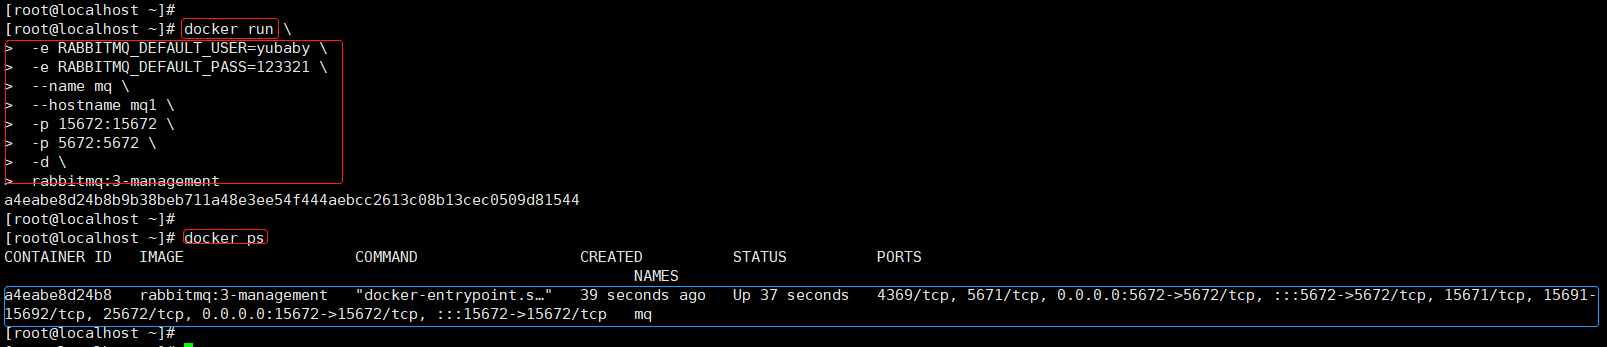
执行下面的命令来运行MQ容器:
docker run \ -e RABBITMQ_DEFAULT_USER=yubaby \ -e RABBITMQ_DEFAULT_PASS=123321 \ --name mq \ --hostname mq1 \ -p 15672:15672 \ -p 5672:5672 \ -d \ rabbitmq:3-management -
命令解读:
-e给MQ设置环境变量,此处设置了两个环境变量:用户名&密码,用于后续访问MQ&登录MQ管理平台--name是给MQ起名字--hostname给MQ设置主机名(单机部署时不配置也行;但集群部署时必须配置,后面讲MQ集群部署)-p是配置端口映射,此处开放两个端口,15672是MQ管理平台端口,5672是MQ消息通信端口-d是后台运行(此命令,即安装MQ容器)- 最后的
rabbitmq:3-management是镜像名称
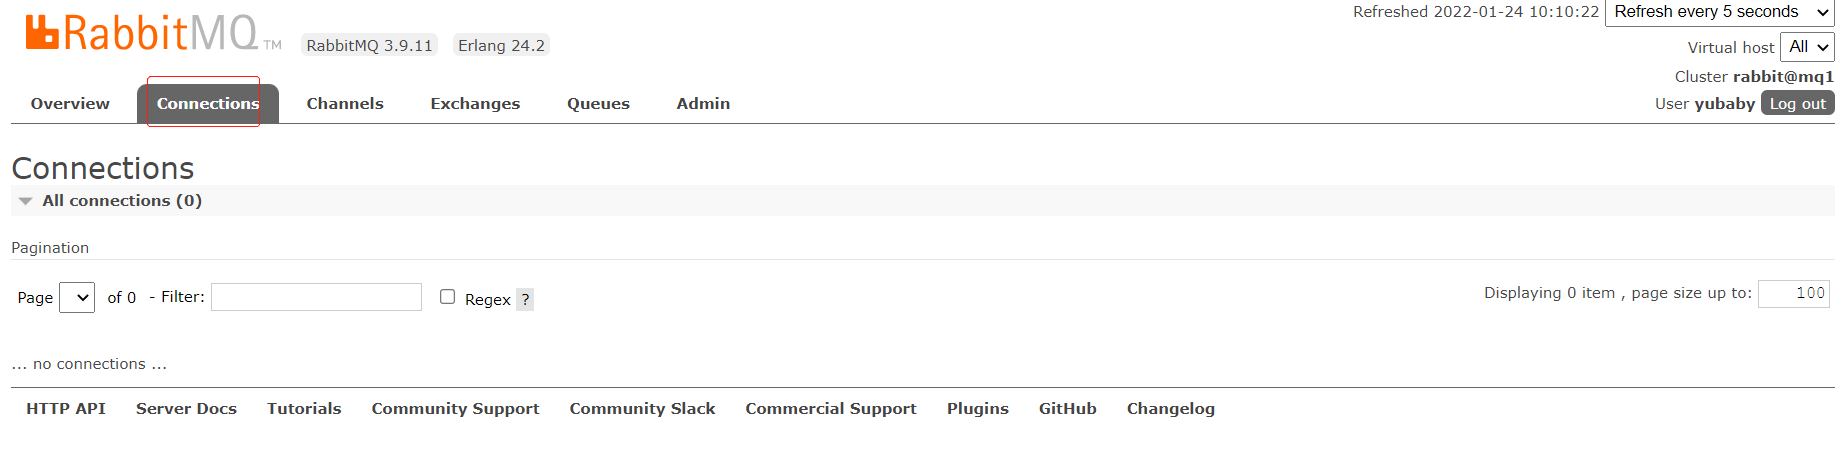
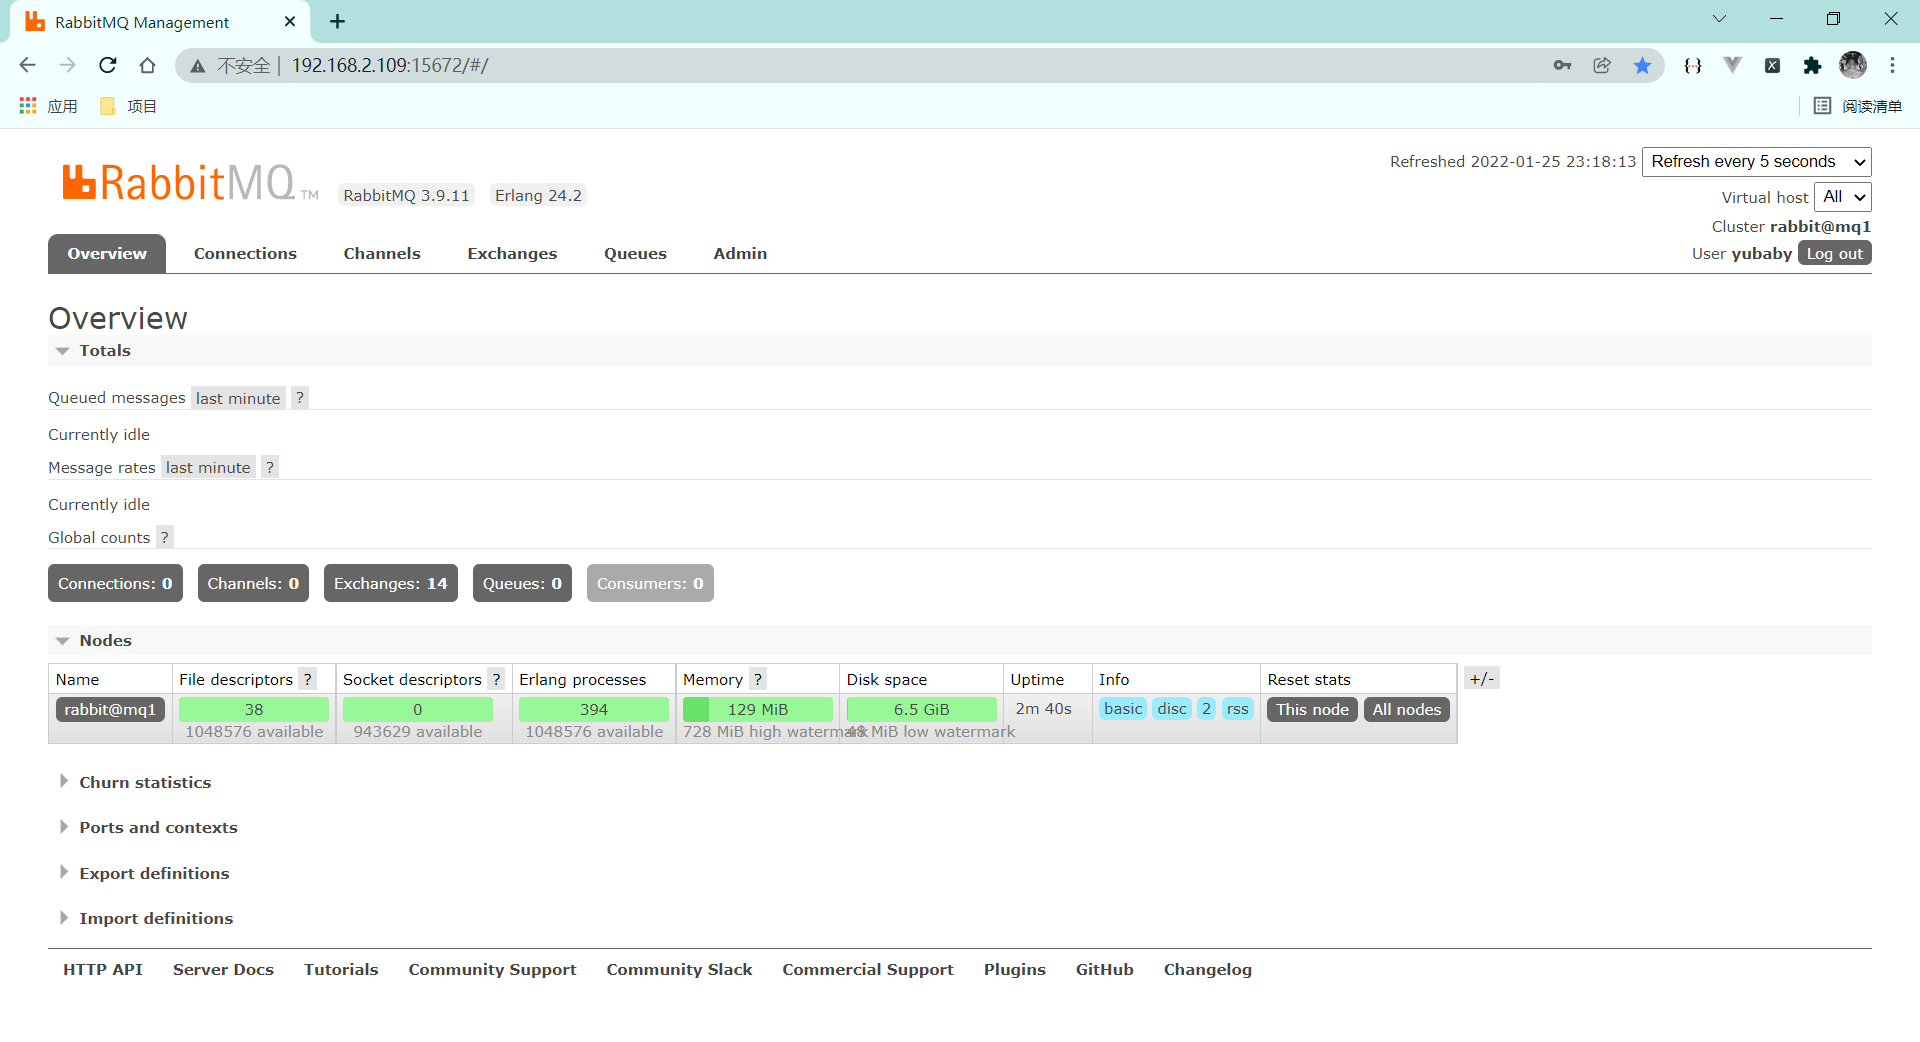
- 安装&访问

- 默认界面


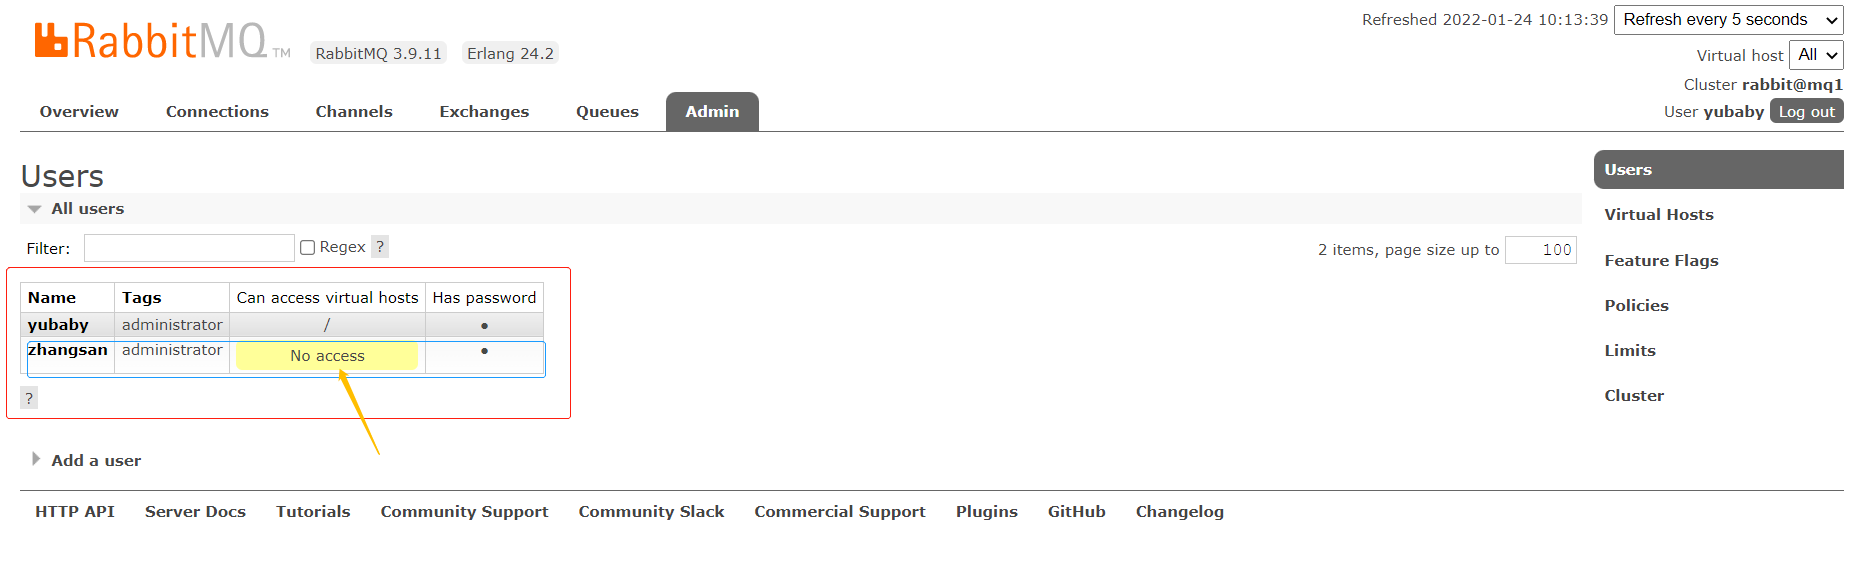
- 添加用户&分配权限

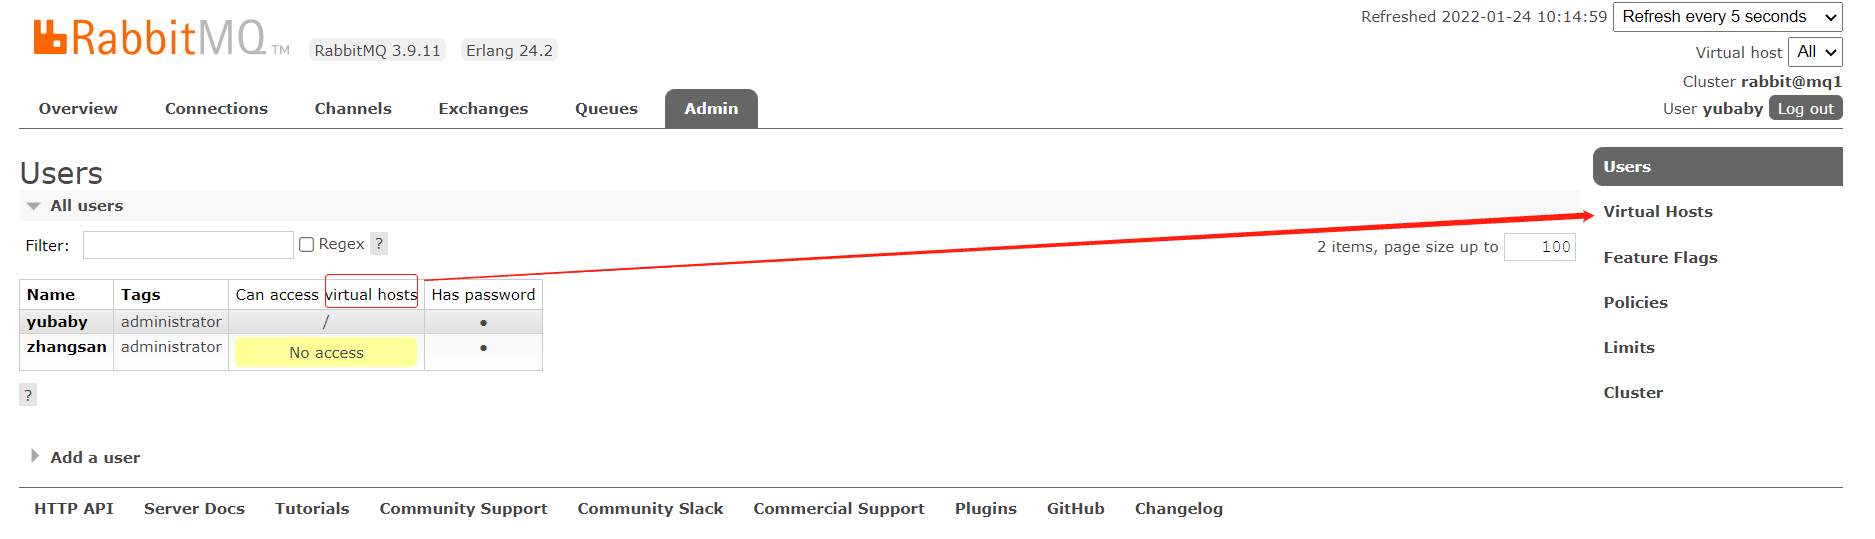


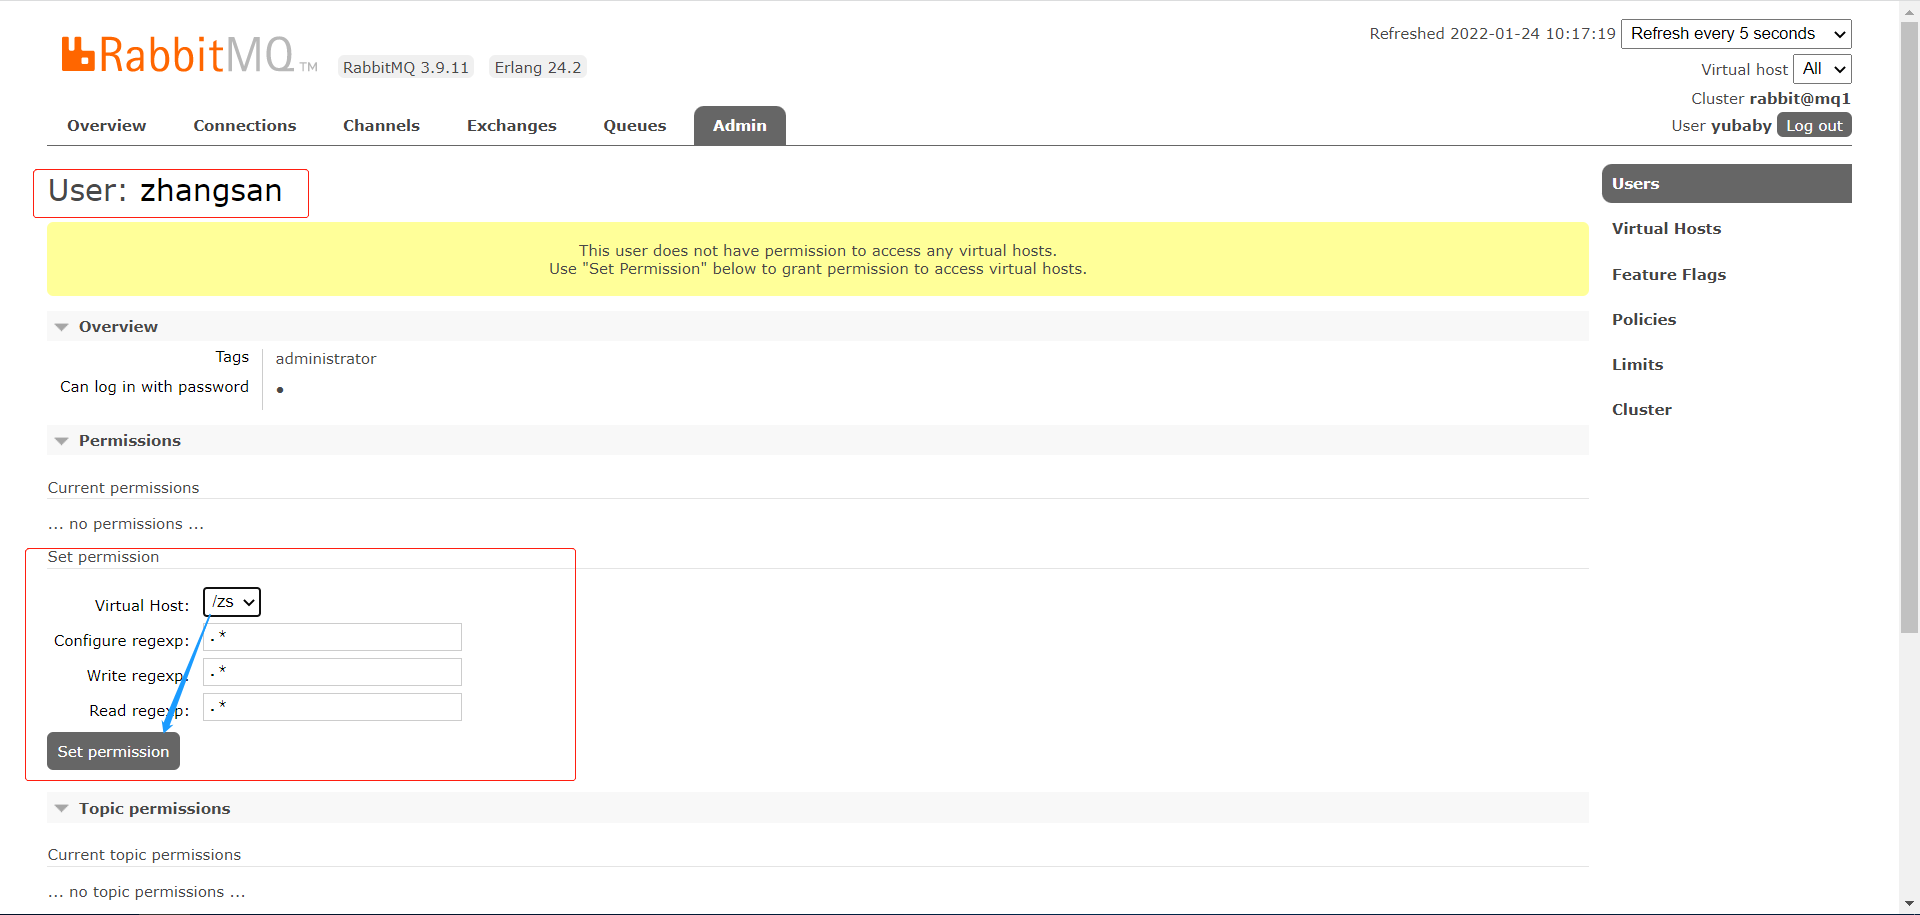

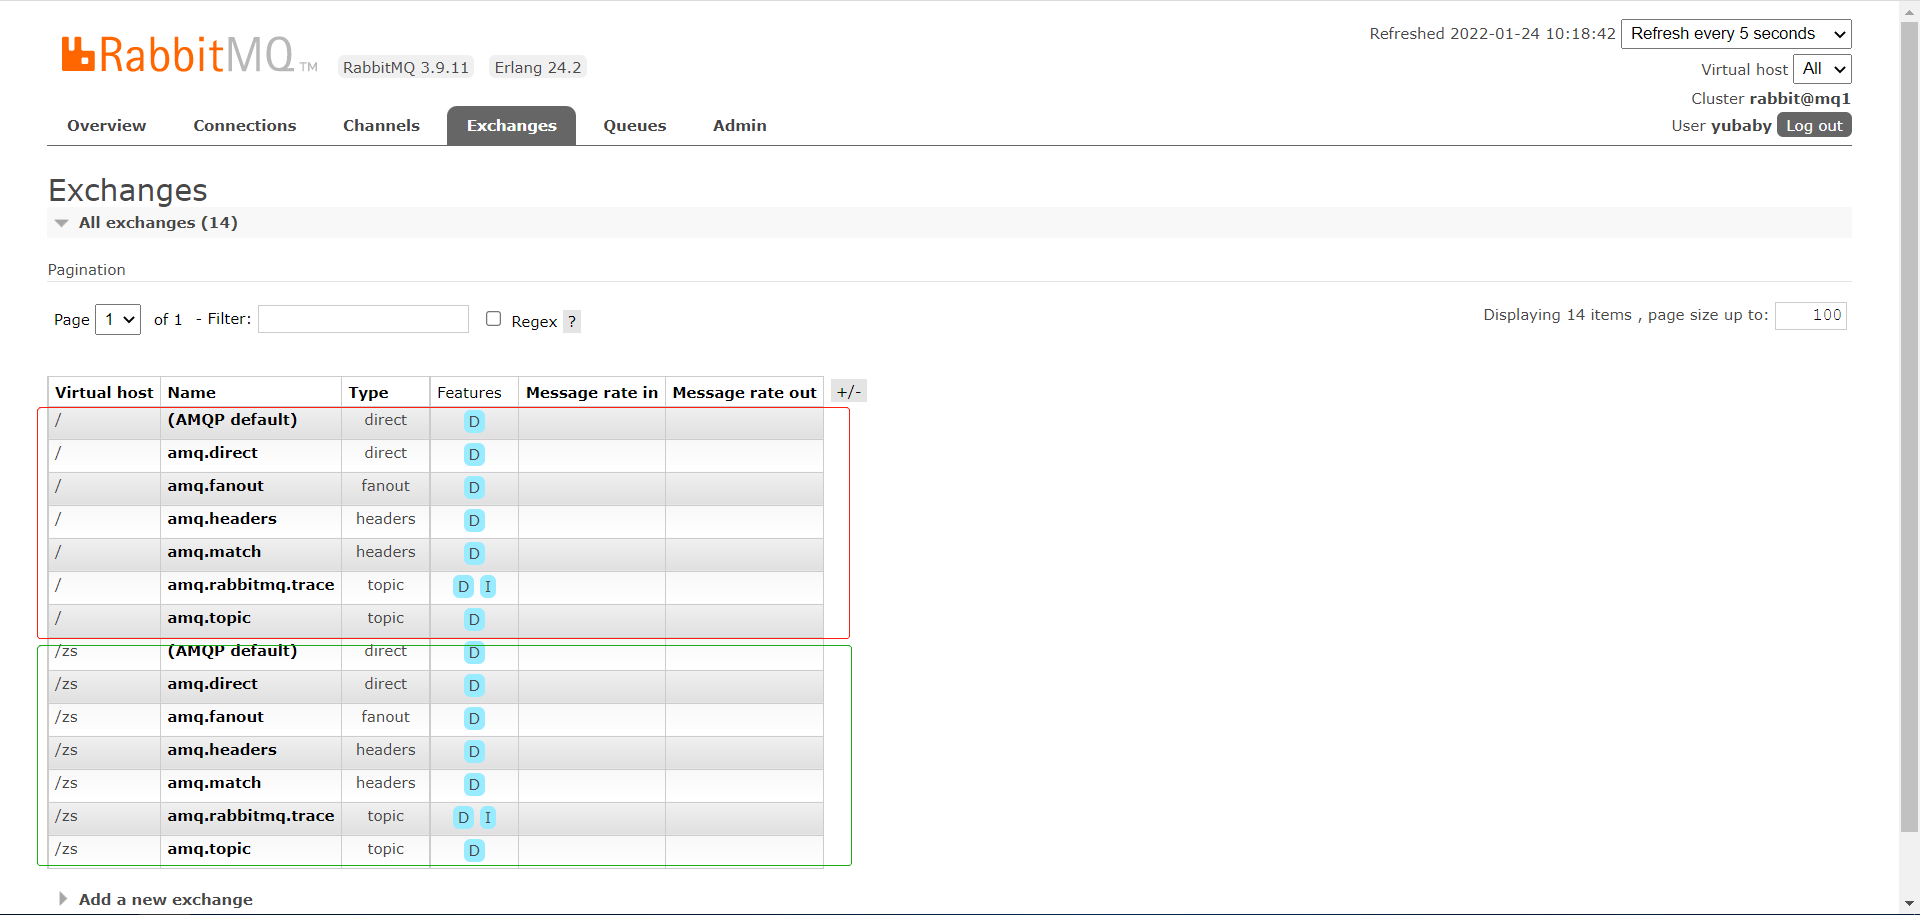
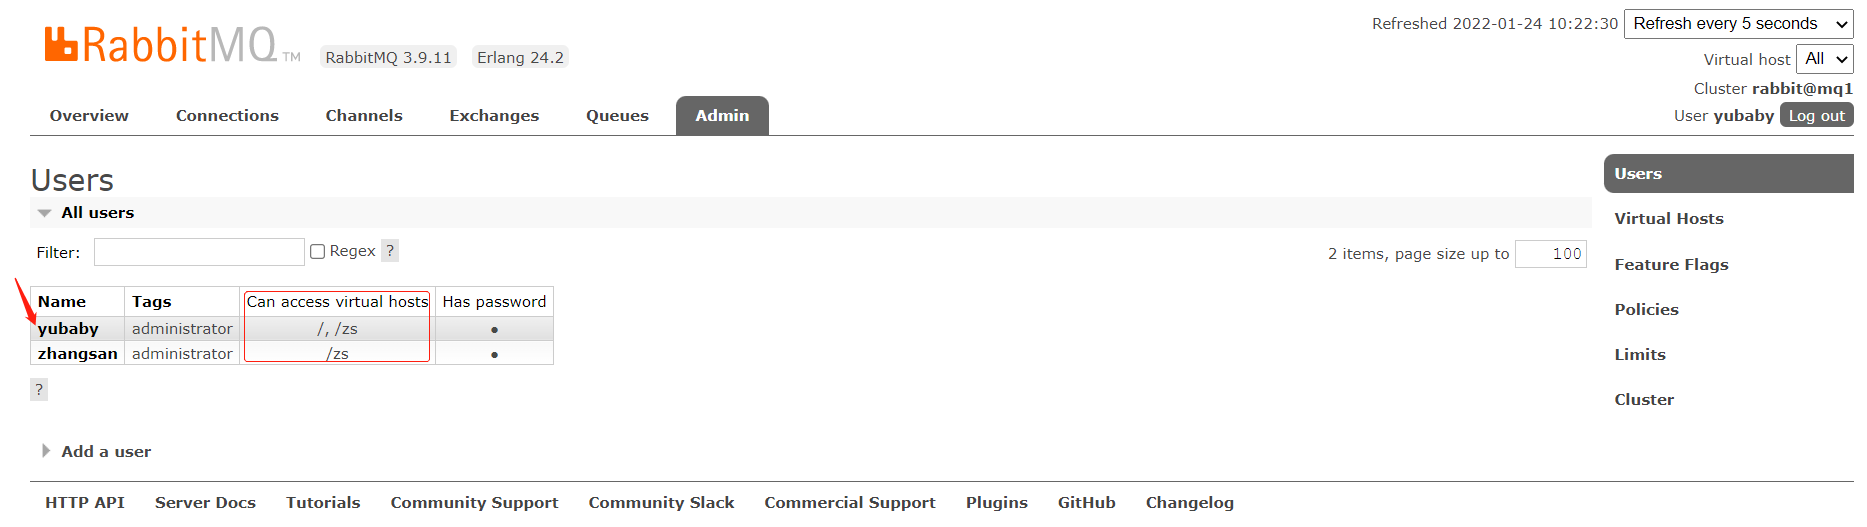
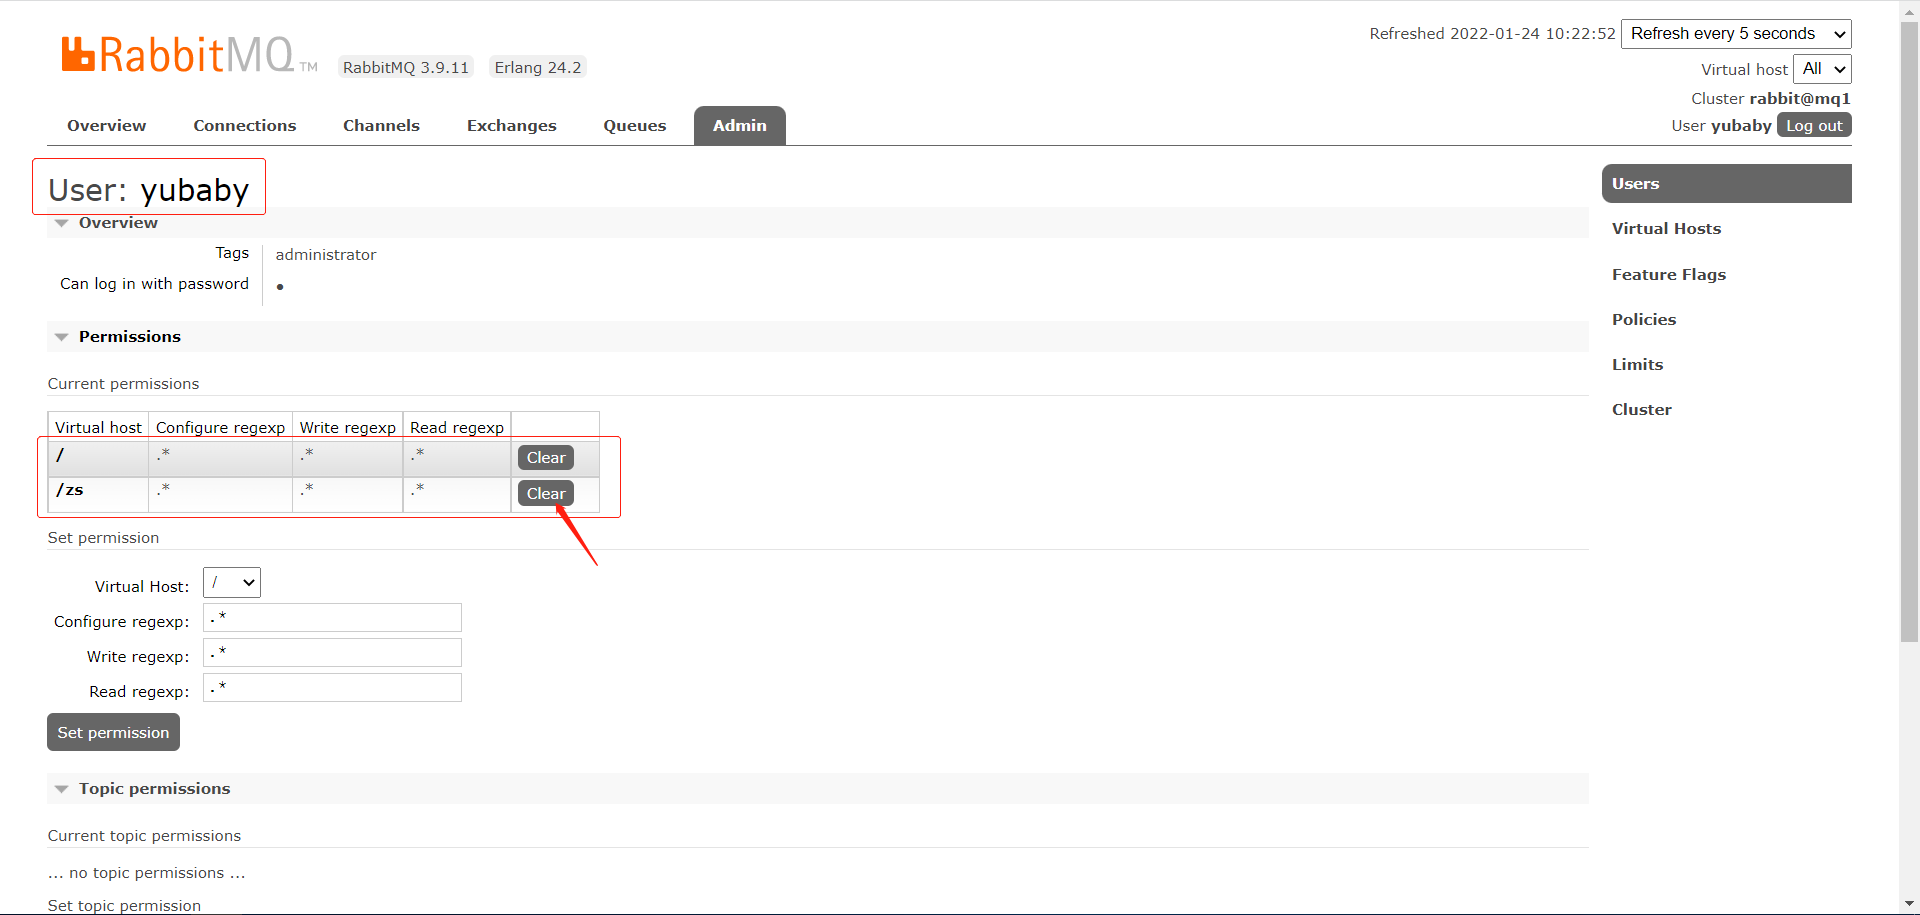


虚拟主机隔离
3 RabbitMQ消息模型
https://www.rabbitmq.com/getstarted.html

2.
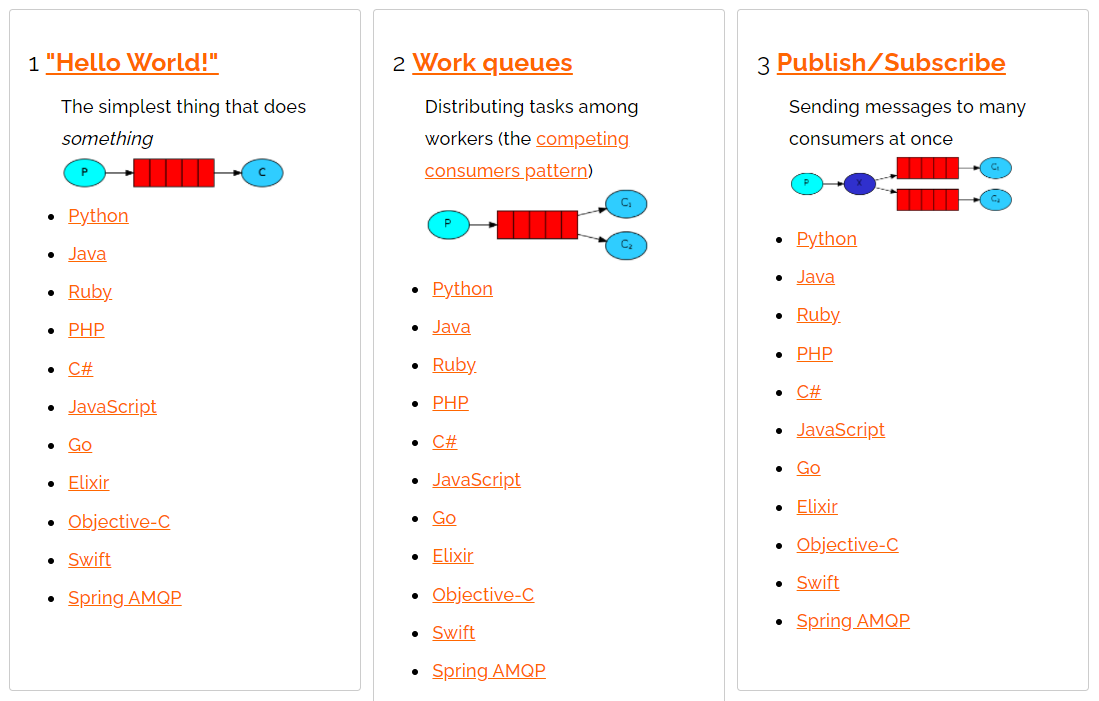
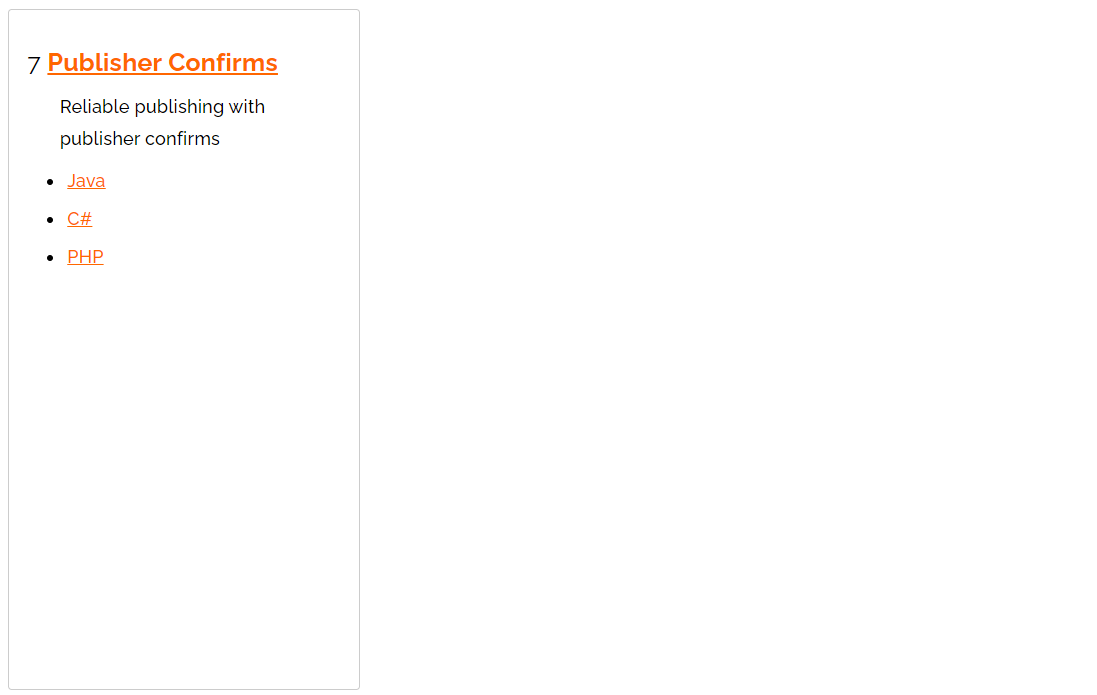
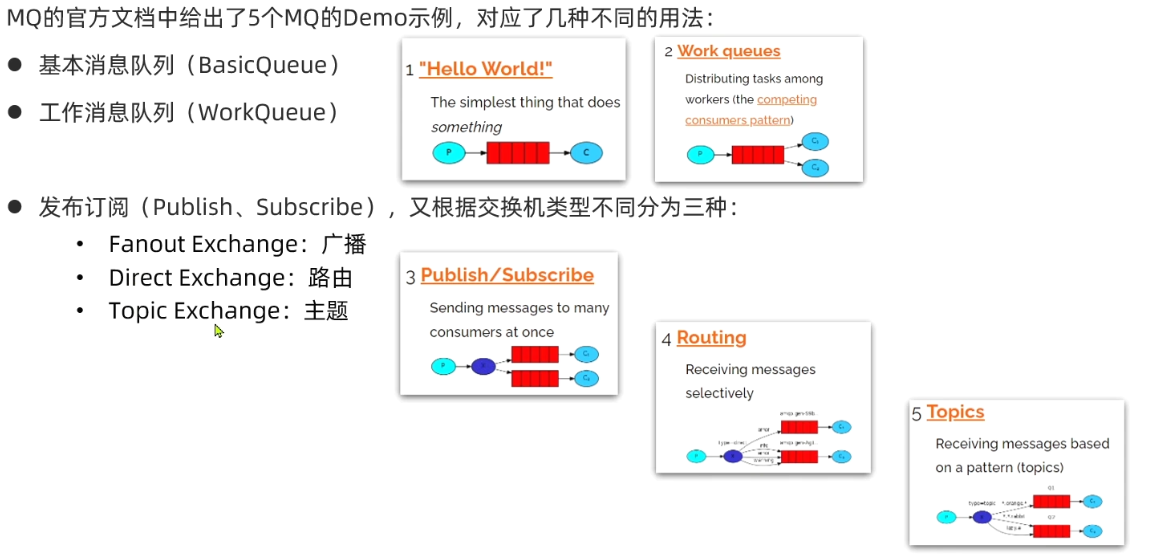
RabbitMQ官方提供了7个不同的Demo示例(如上)。
在此学习前五个,对应了如下不同的消息模型:
4 RabbitMQ入门案例"HelloWorld"
4.1 案例简介
- 简单队列模式的模型图

官方的HelloWorld是基于最基础的消息队列模型来实现的,只包括三个角色:- publisher:消息发布者,将消息发送到队列queue
- queue:消息队列,负责接受并缓存消息
- consumer:订阅队列,处理队列中的消息
- 案例步骤
4.2 案例实现
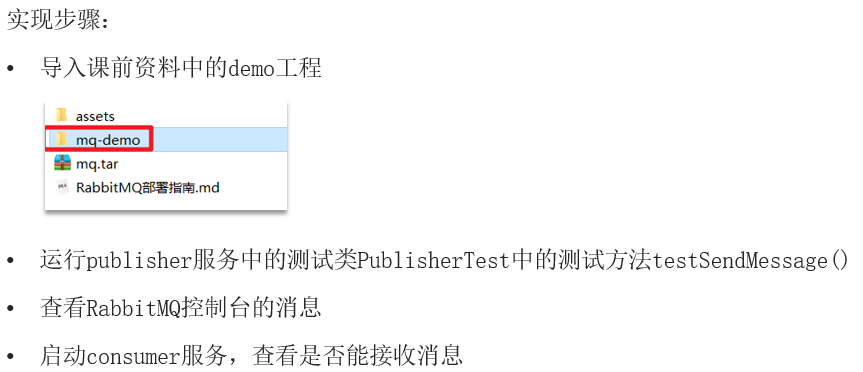
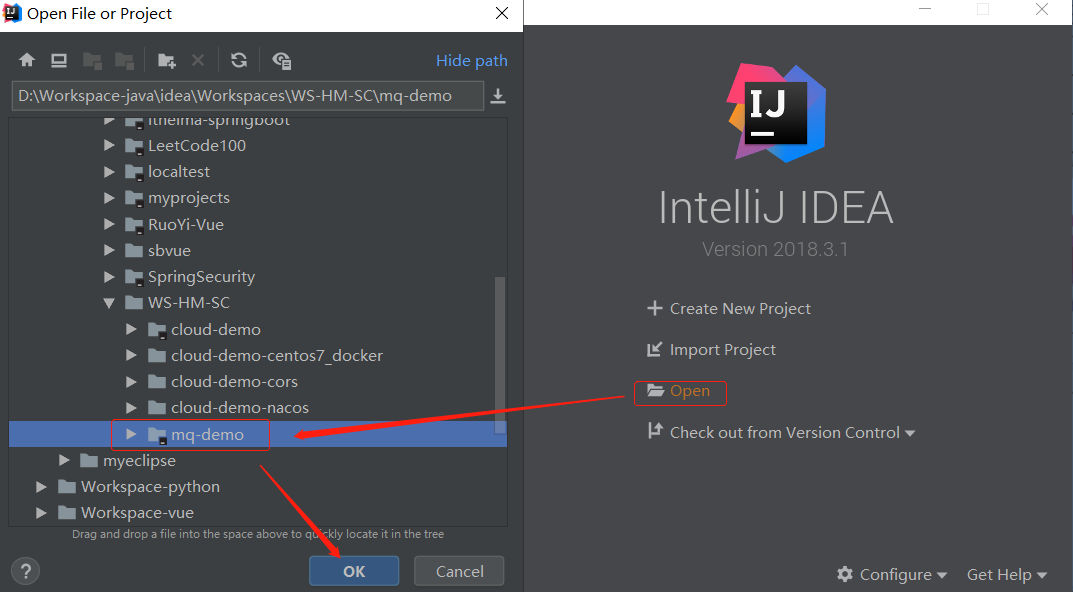
4.2.1 导入demo
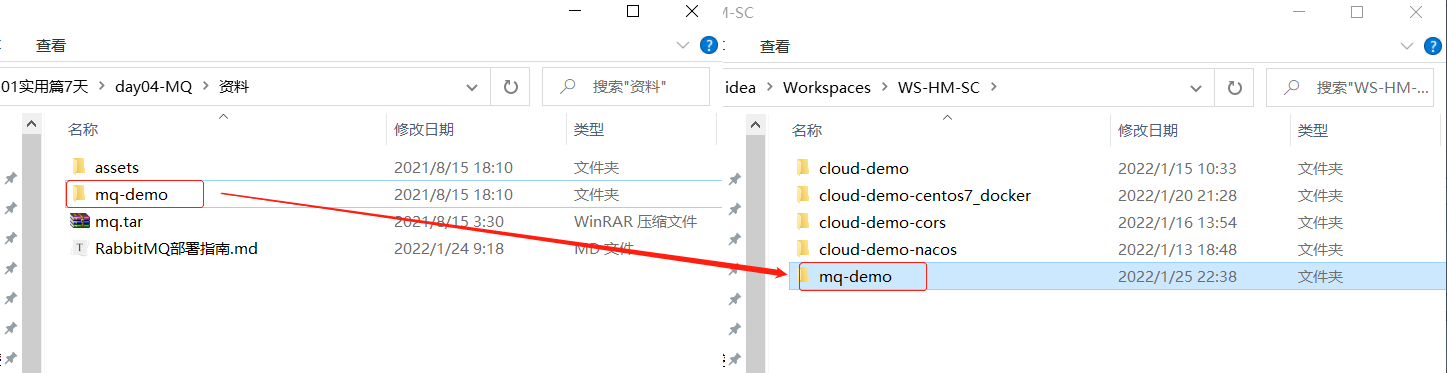
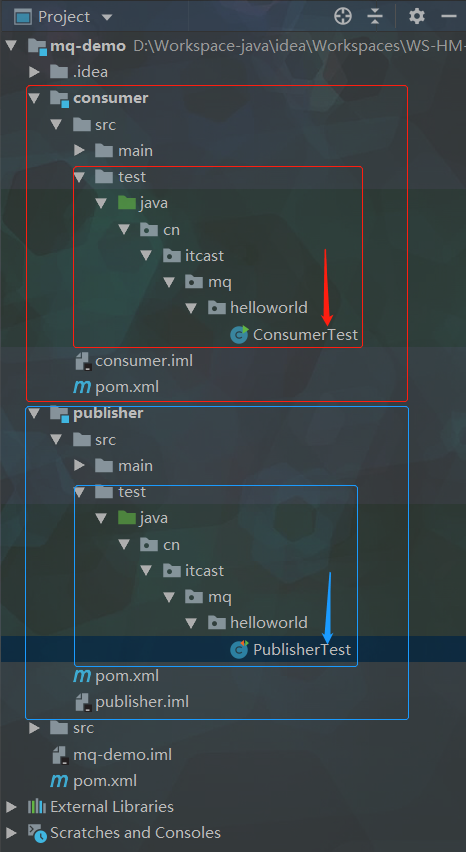
4.2.2 项目结构

父工程maven:
<?xml version="1.0" encoding="UTF-8"?>
<project xmlns="http://maven.apache.org/POM/4.0.0"
         xmlns:xsi="http://www.w3.org/2001/XMLSchema-instance"
         xsi:schemaLocation="http://maven.apache.org/POM/4.0.0 http://maven.apache.org/xsd/maven-4.0.0.xsd">
    <modelVersion>4.0.0</modelVersion>

    <groupId>cn.itcast.demo</groupId>
    <artifactId>mq-demo</artifactId>
    <version>1.0-SNAPSHOT</version>
    <modules>
        <module>publisher</module>
        <module>consumer</module>
    </modules>
    <packaging>pom</packaging>

    <parent>
        <groupId>org.springframework.boot</groupId>
        <artifactId>spring-boot-starter-parent</artifactId>
        <version>2.3.9.RELEASE</version>
        <relativePath/>
    </parent>

    <properties>
        <maven.compiler.source>8</maven.compiler.source>
        <maven.compiler.target>8</maven.compiler.target>
    </properties>

    <dependencies>
        <dependency>
            <groupId>org.projectlombok</groupId>
            <artifactId>lombok</artifactId>
        </dependency>
        <!--AMQP依赖,包含RabbitMQ-->
        <dependency>
            <groupId>org.springframework.boot</groupId>
            <artifactId>spring-boot-starter-amqp</artifactId>
        </dependency>
        <!--单元测试-->
        <dependency>
            <groupId>org.springframework.boot</groupId>
            <artifactId>spring-boot-starter-test</artifactId>
        </dependency>
    </dependencies>
</project>
子工程maven:


4.2.3 publisher实现
- 思路
- 建立连接
- 创建Channel
- 声明队列
- 发送消息
- 关闭连接和channel
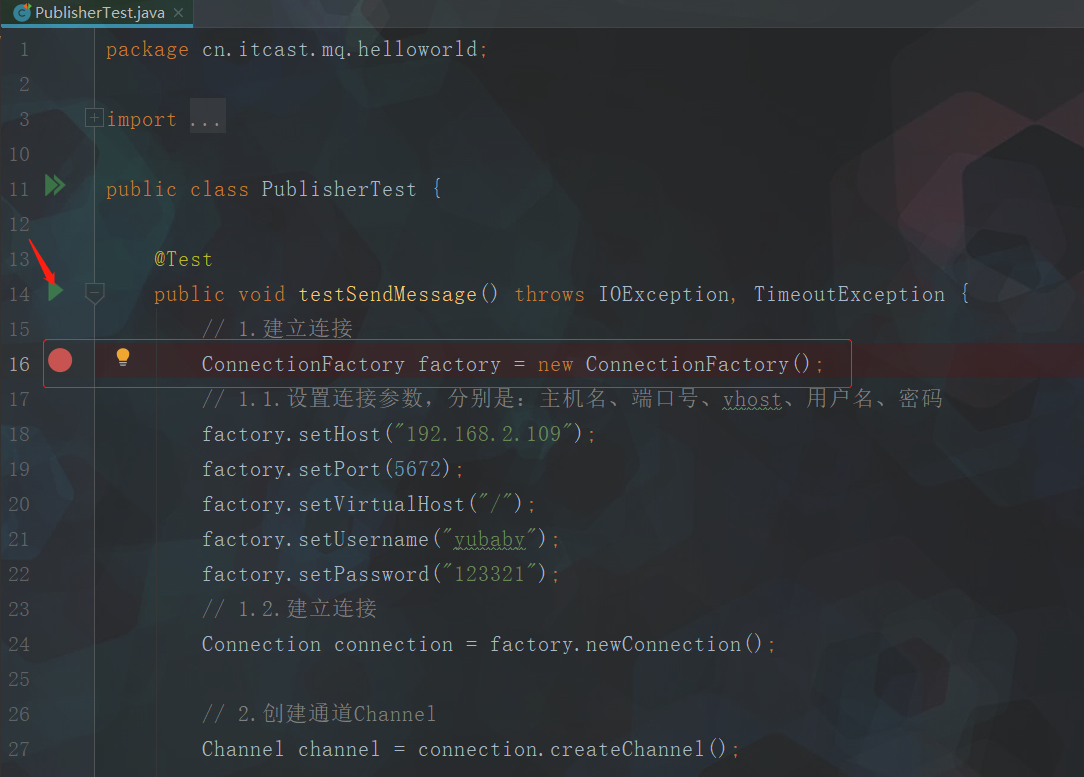
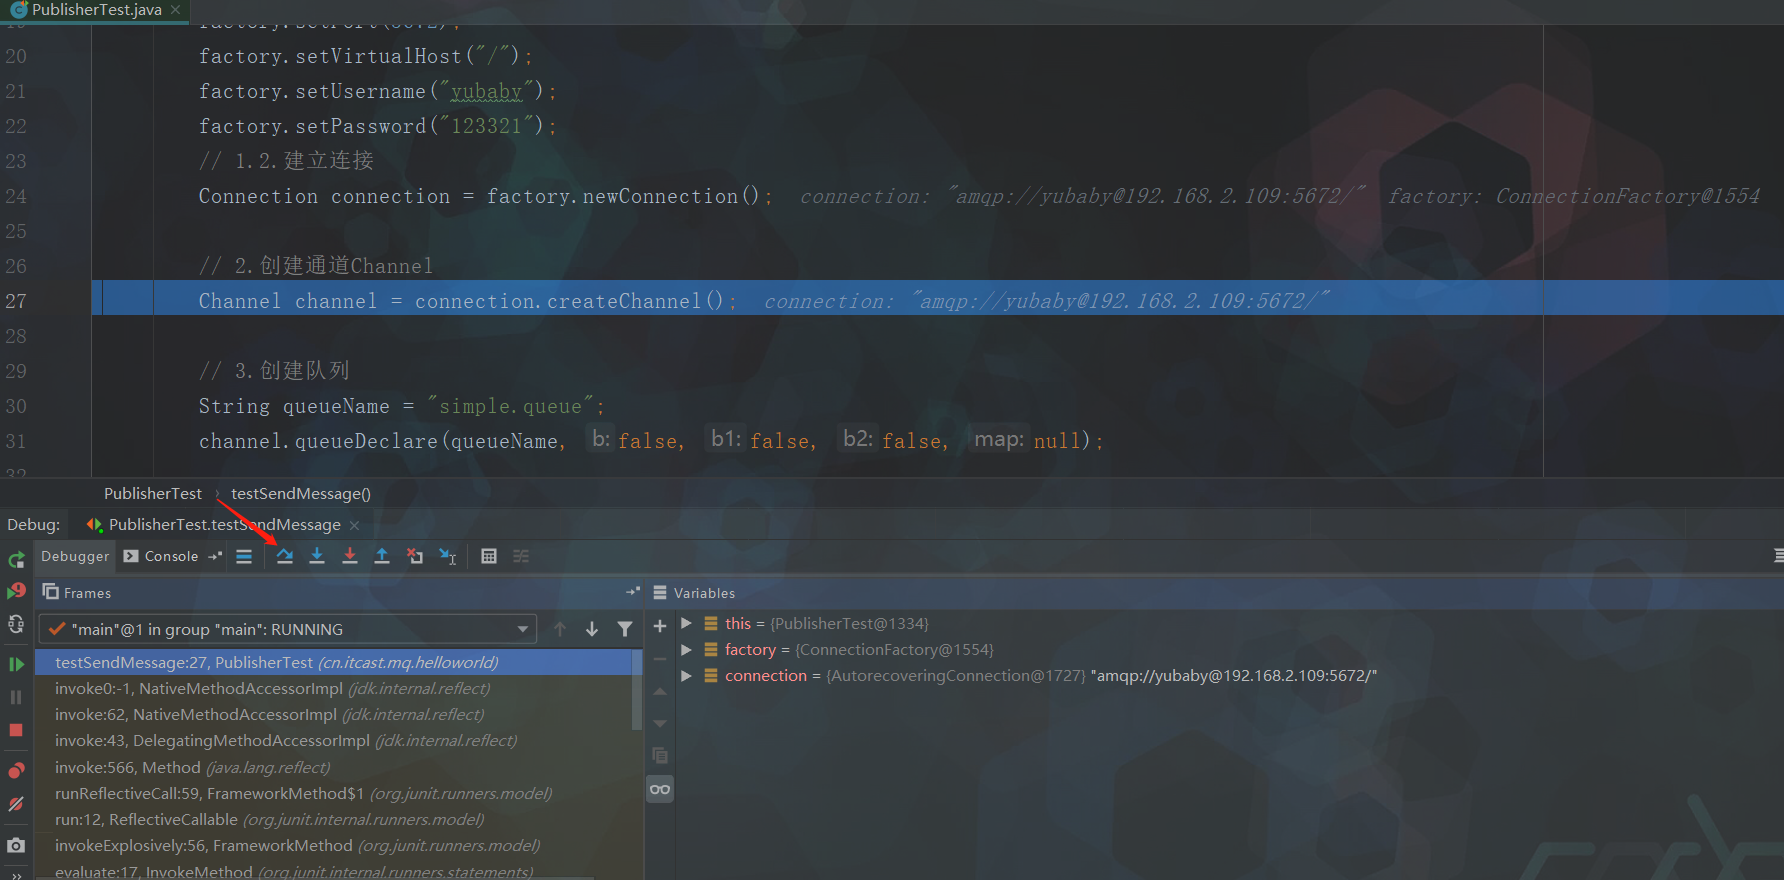
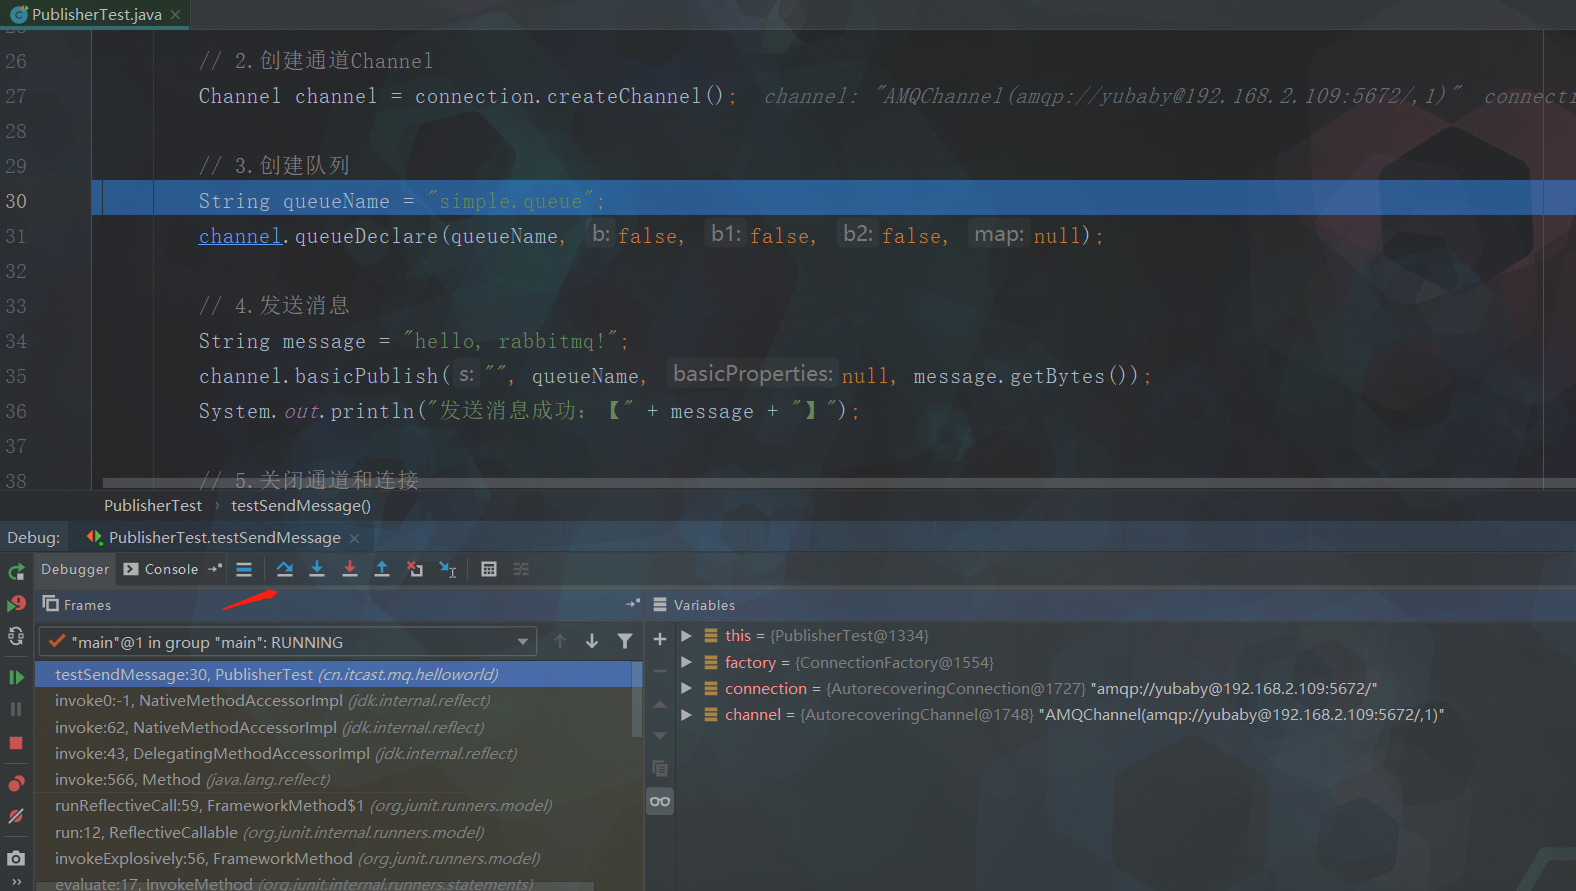
- 代码
package cn.itcast.mq.helloworld;

import com.rabbitmq.client.Channel;
import com.rabbitmq.client.Connection;
import com.rabbitmq.client.ConnectionFactory;
import org.junit.Test;

import java.io.IOException;
import java.util.concurrent.TimeoutException;

public class PublisherTest {

	@Test
	public void testSendMessage() throws IOException, TimeoutException {
		// 1.建立连接
		ConnectionFactory factory = new ConnectionFactory();
		// 1.1.设置连接参数,分别是:主机名、端口号、vhost、用户名、密码
		factory.setHost("192.168.2.109");
		factory.setPort(5672);
		factory.setVirtualHost("/");
		factory.setUsername("yubaby");
		factory.setPassword("123321");
		// 1.2.建立连接
		Connection connection = factory.newConnection();

		// 2.创建通道Channel
		Channel channel = connection.createChannel();

		// 3.创建队列
		String queueName = "simple.queue";
		channel.queueDeclare(queueName, false, false, false, null);

		// 4.发送消息
		String message = "hello, rabbitmq!";
		channel.basicPublish("", queueName, null, message.getBytes());
		System.out.println("发送消息成功:【" + message + "】");

		// 5.关闭通道和连接
		channel.close();
		connection.close();
	}
}
4.2.4 consumer实现
- 思路
- 建立连接
- 创建Channel
- 声明队列
- 订阅消息
- 代码
package cn.itcast.mq.helloworld;

import com.rabbitmq.client.*;

import java.io.IOException;
import java.util.concurrent.TimeoutException;

public class ConsumerTest {

	public static void main(String[] args) throws IOException, TimeoutException {
		// 1.建立连接
		ConnectionFactory factory = new ConnectionFactory();
		// 1.1.设置连接参数,分别是:主机名、端口号、vhost、用户名、密码
		factory.setHost("192.168.2.109");
		factory.setPort(5672);
		factory.setVirtualHost("/");
		factory.setUsername("yubaby");
		factory.setPassword("123321");
		// 1.2.建立连接
		Connection connection = factory.newConnection();

		// 2.创建通道Channel
		Channel channel = connection.createChannel();

		// 3.创建队列
		String queueName = "simple.queue";
		channel.queueDeclare(queueName, false, false, false, null);

		// 4.订阅消息
		channel.basicConsume(queueName, true, new DefaultConsumer(channel){
			@Override
			public void handleDelivery(String consumerTag, Envelope envelope,
									   AMQP.BasicProperties properties, byte[] body) throws IOException {
				// 5.处理消息
				String message = new String(body);
				System.out.println("接收到消息:【" + message + "】");
			}
		});
		System.out.println("等待接收消息。。。。");
	}
}
4.2.5 实现&分析
- 启动mq
- 开启虚拟机centos7,xshell远程连接
- 开启docker
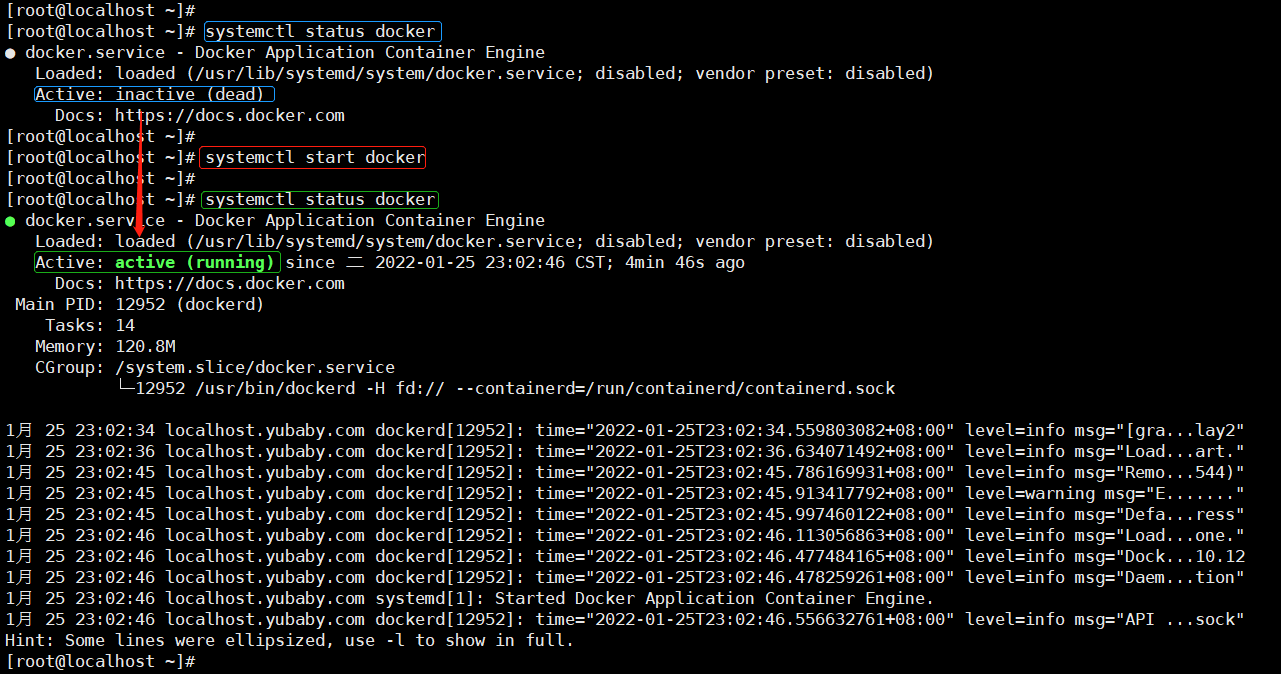
- 查看MQ容器是否开启

- 启动已停止的MQ容器
docker start [容器名]

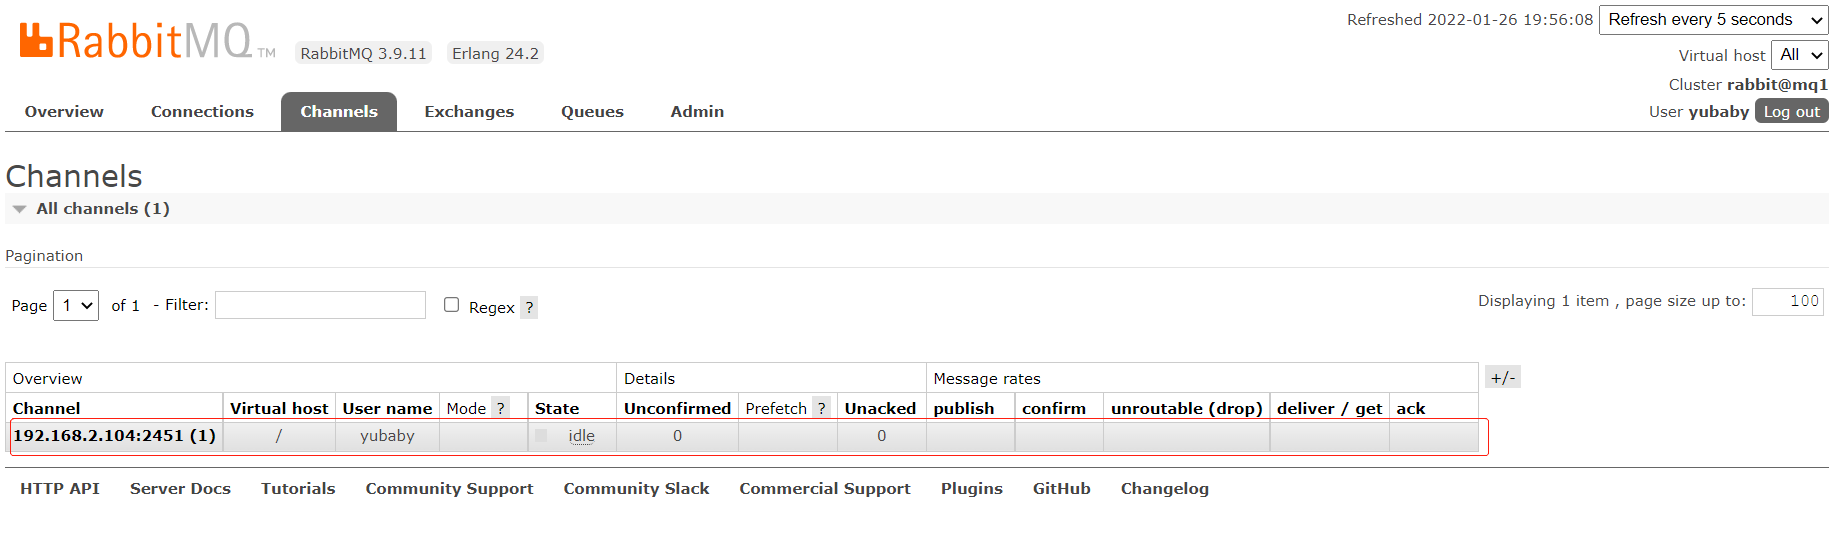
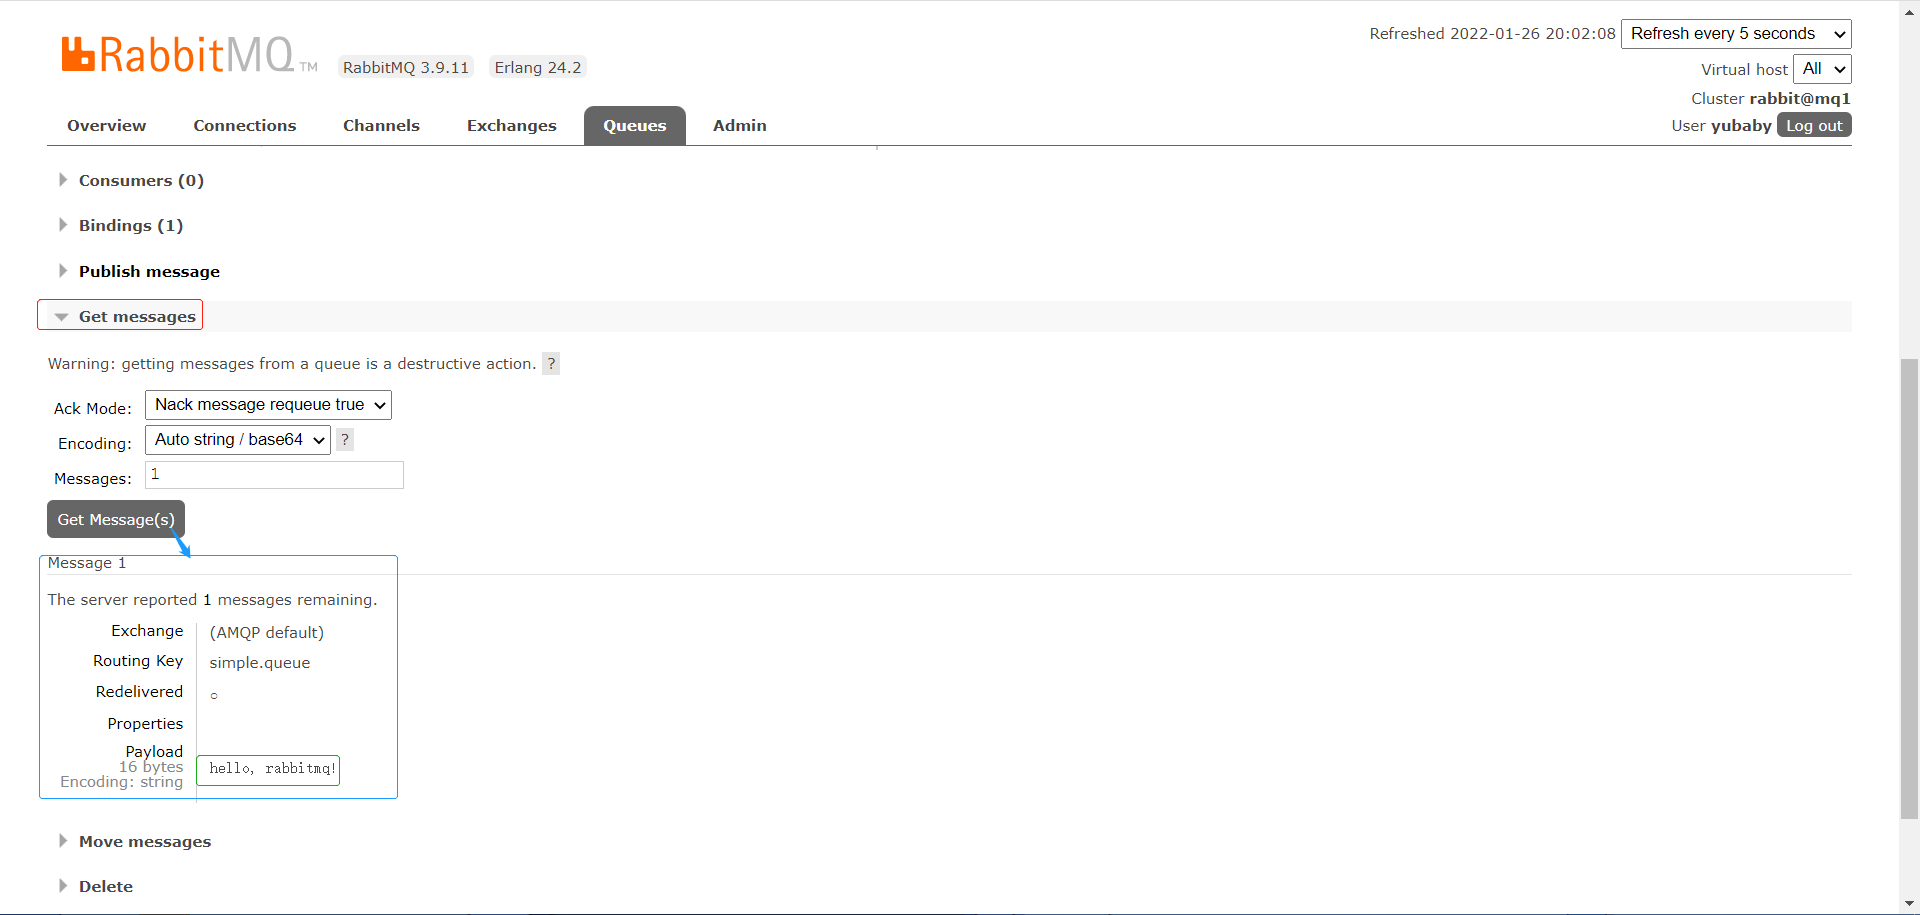
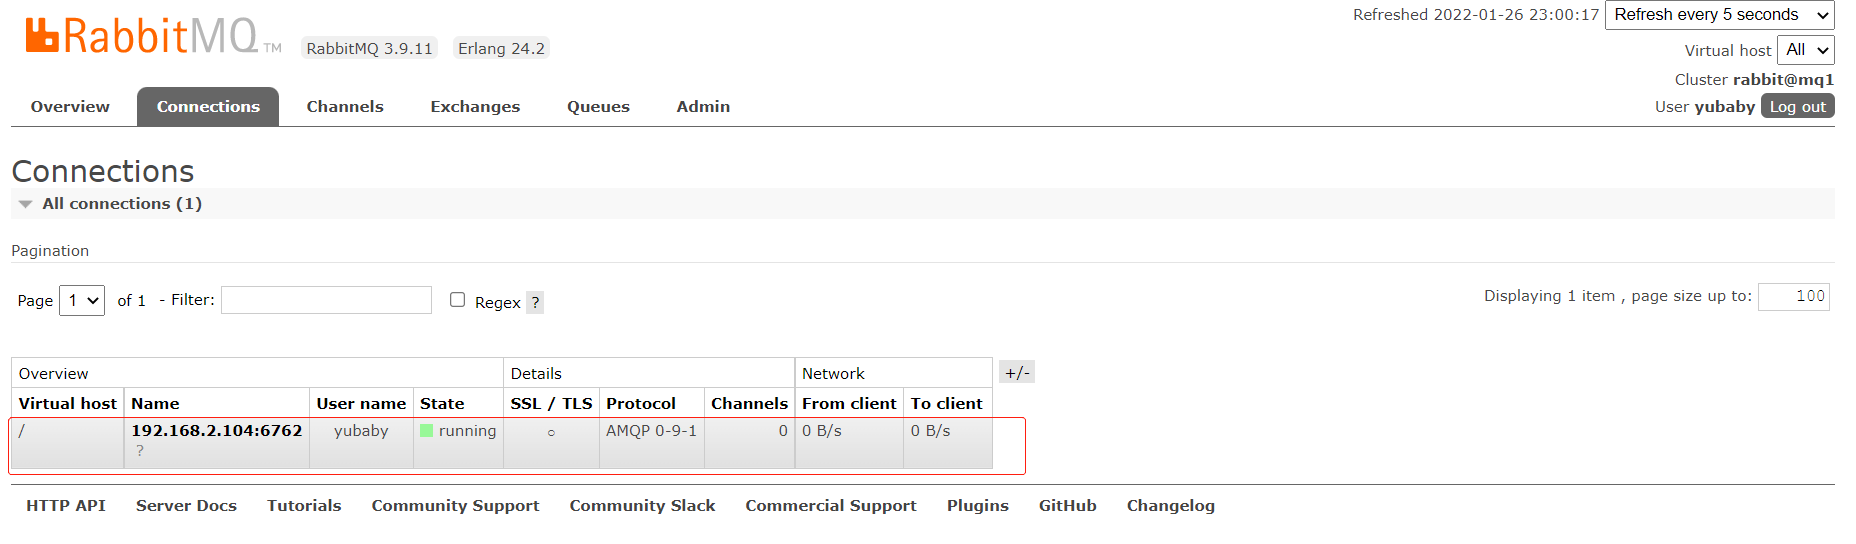
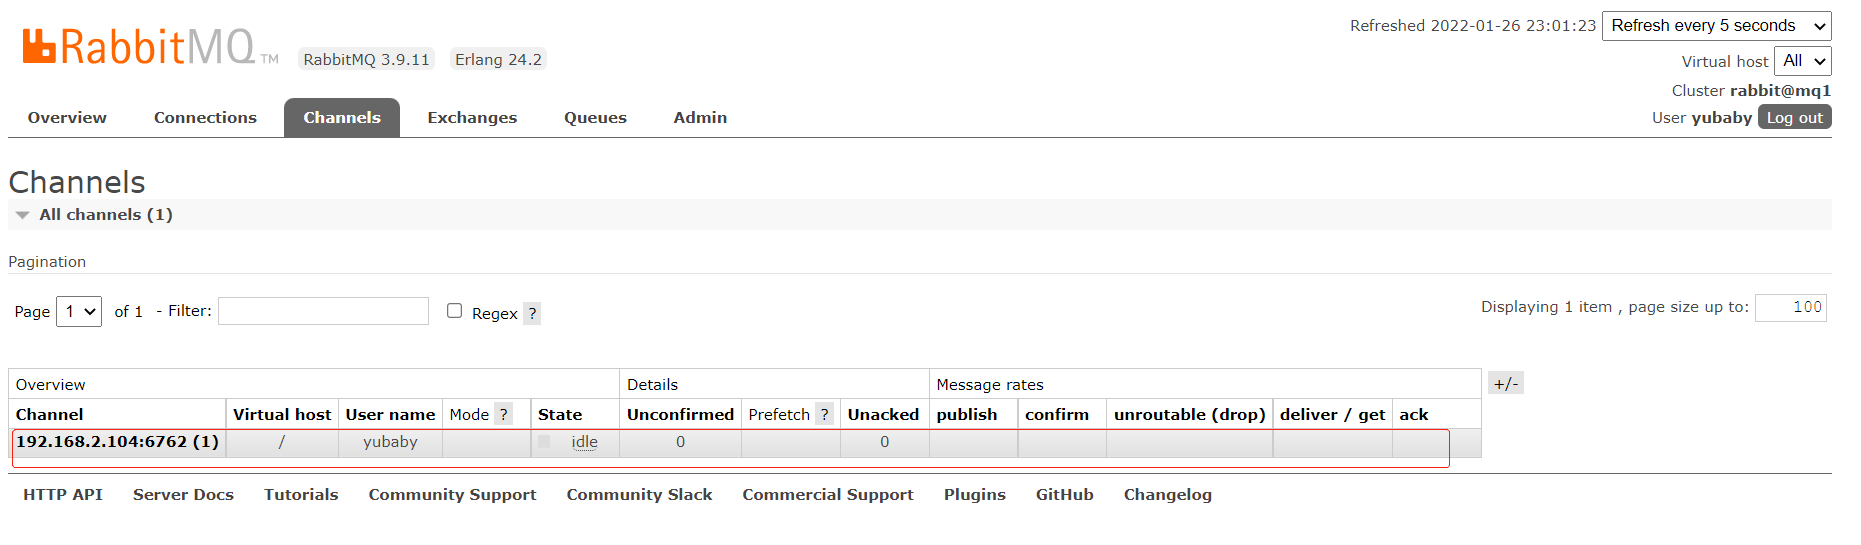
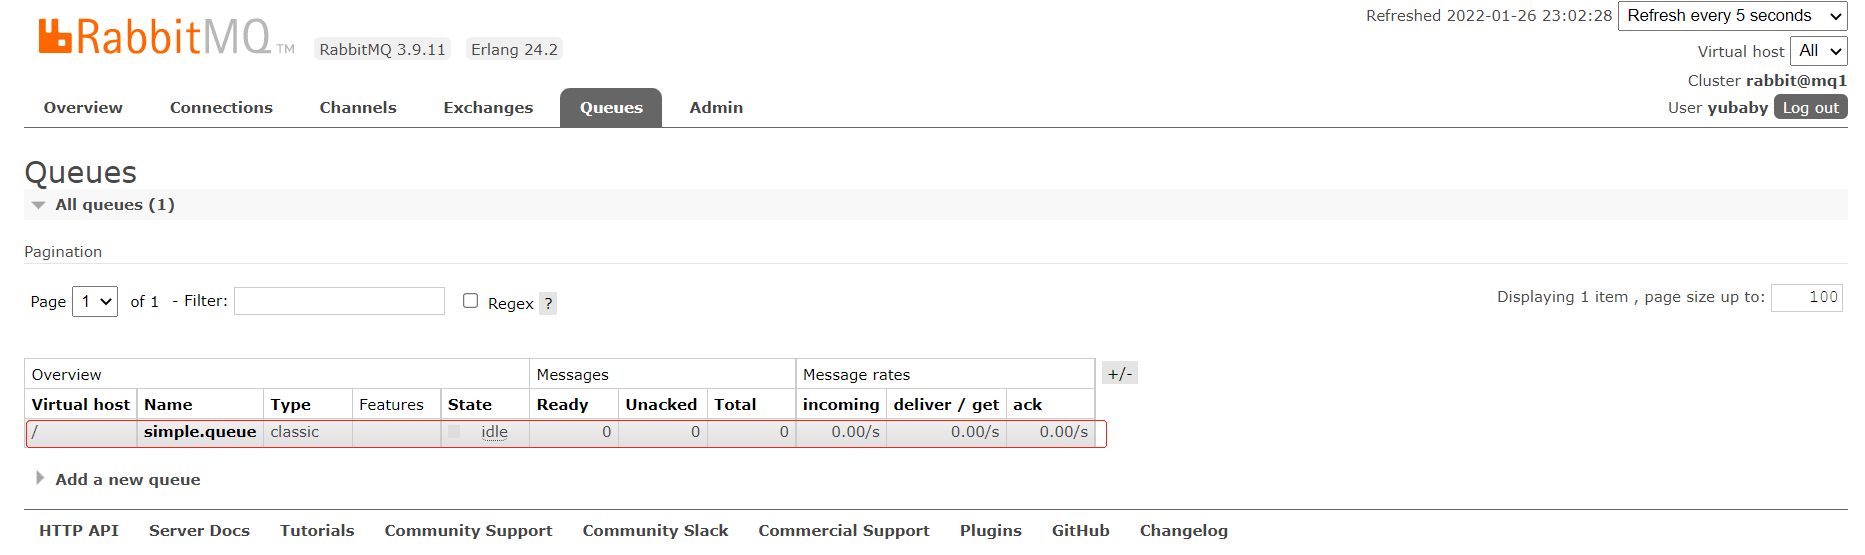
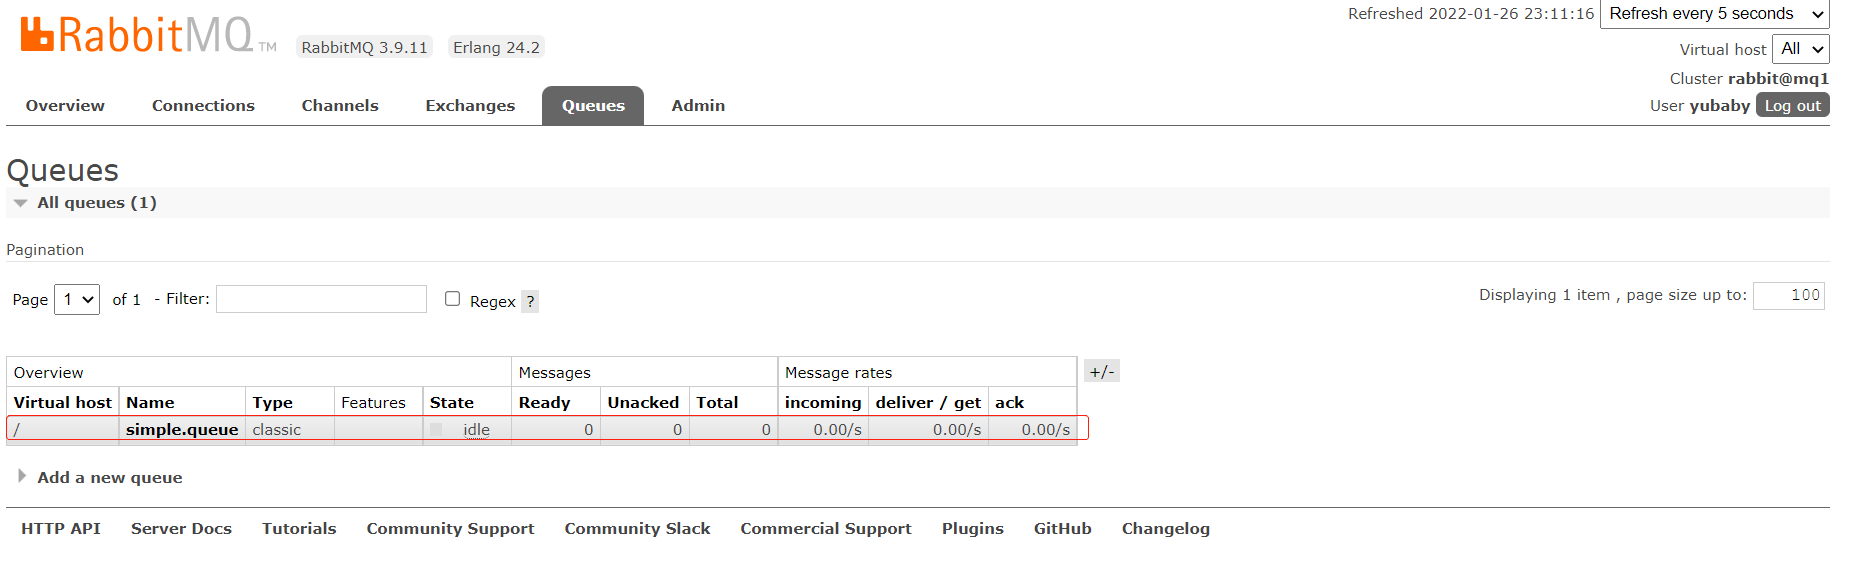
- 访问http://192.168.2.109:15672/测试
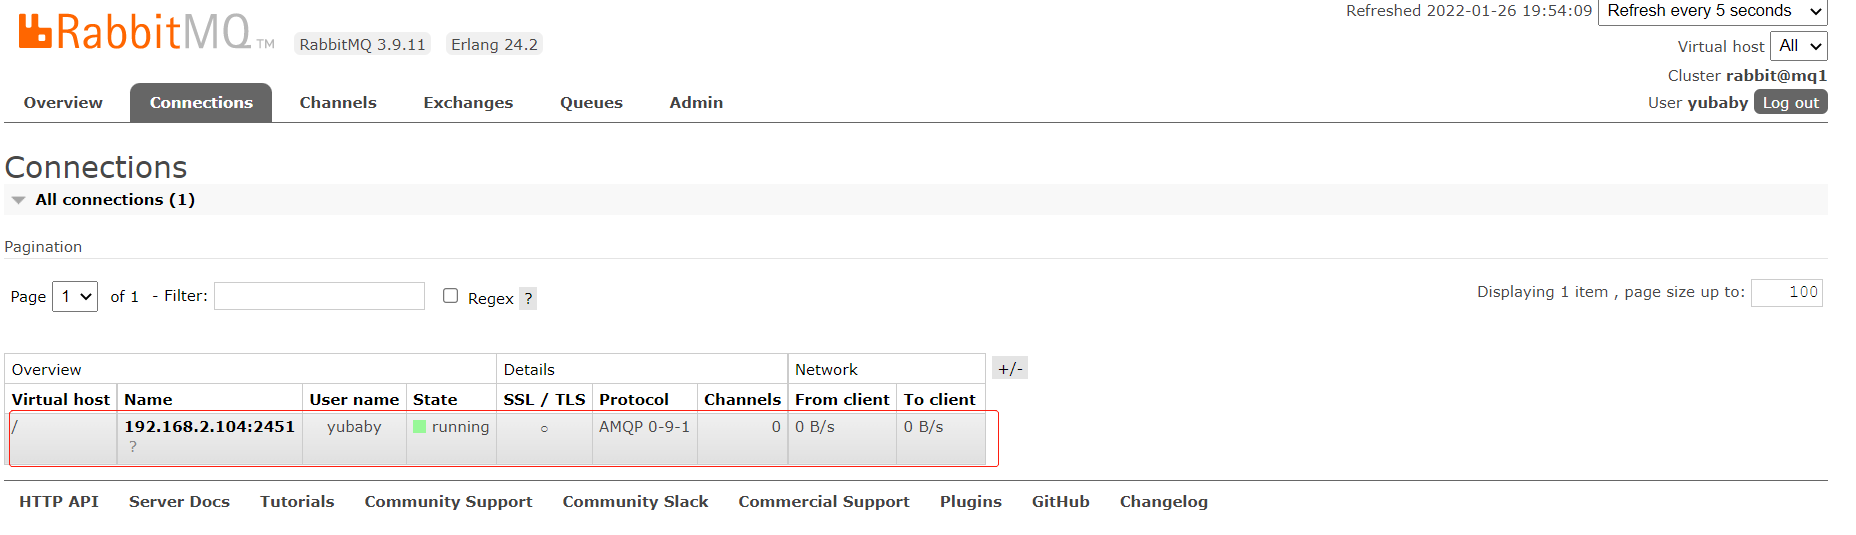
- 断点运行publisher测试代码


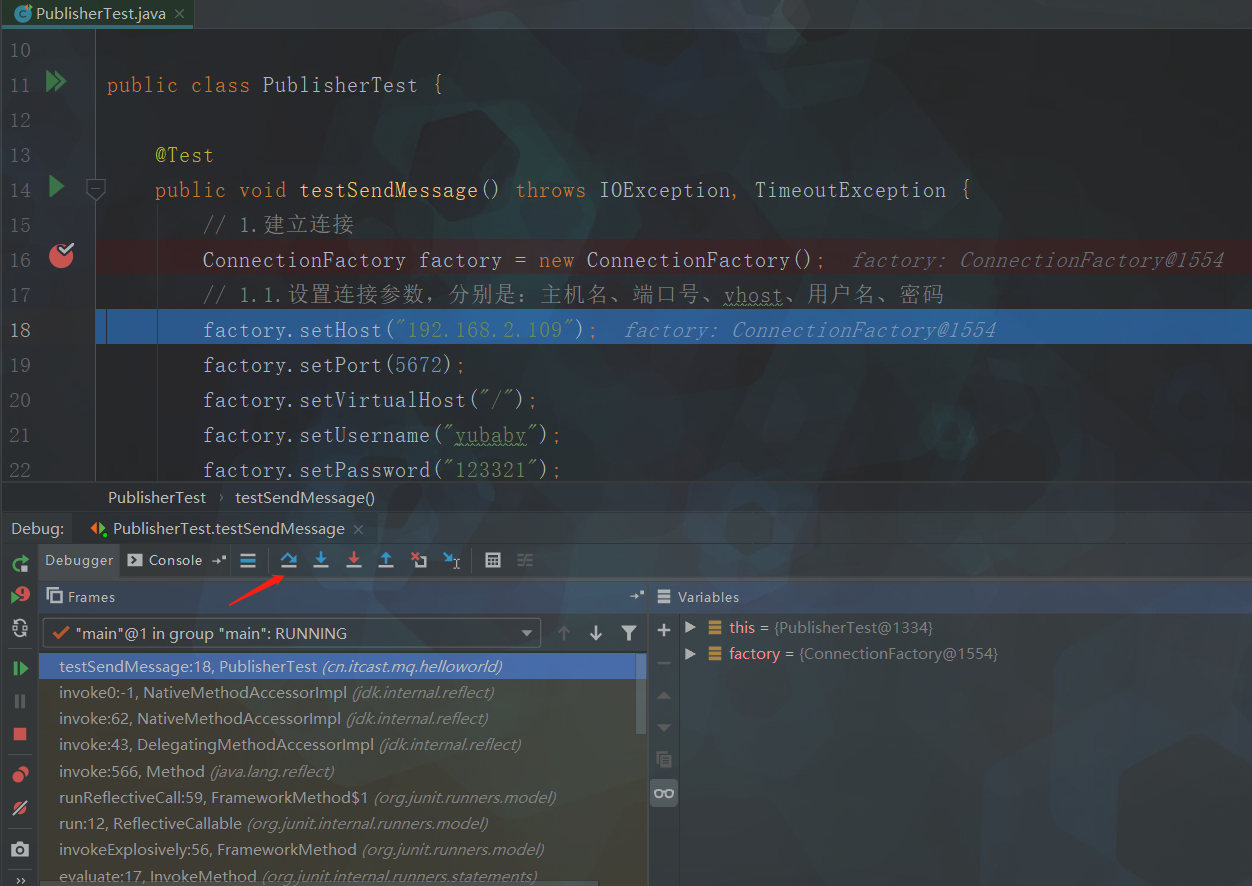
StepOver(F8) * 4


- 断点运行consumer测试代码
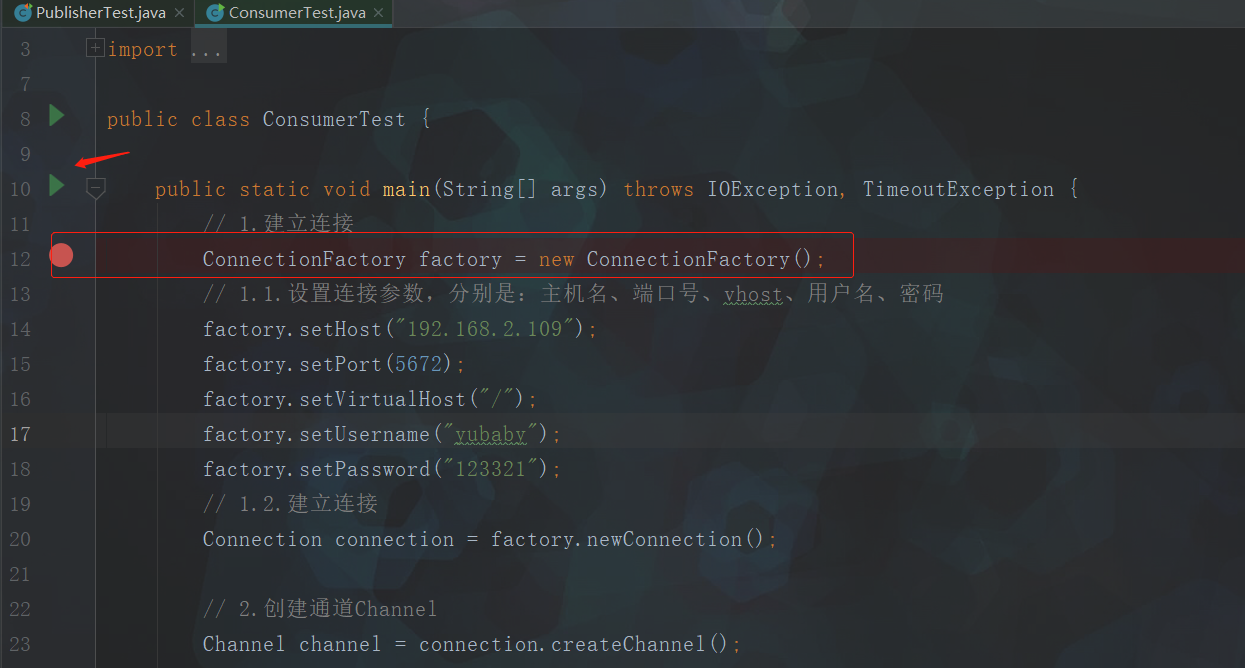

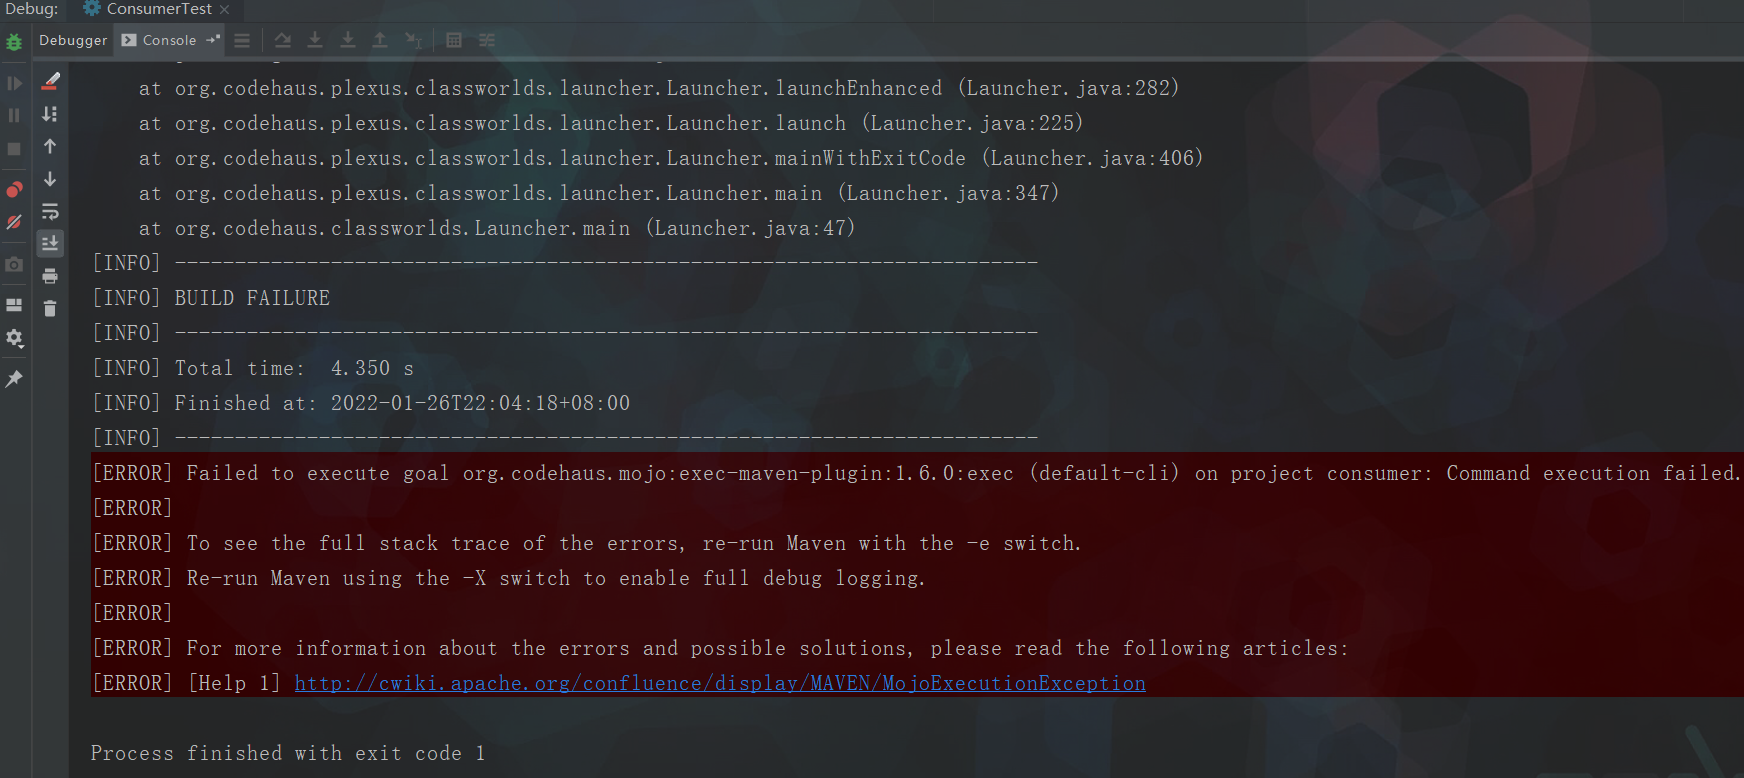
debug启动时报错
Disconnected from the target VM, address: '127.0.0.1:2893', transport: 'socket'
Failed to execute goal org.codehaus.mojo:exec-maven-plugin:1.6.0:exec (default-cli) on project consumer: Command execution failed.
参考:https://blog.csdn.net/weixin_41753664/article/details/108319642
https://blog.csdn.net/weixin_45773603/article/details/105883894
解决:

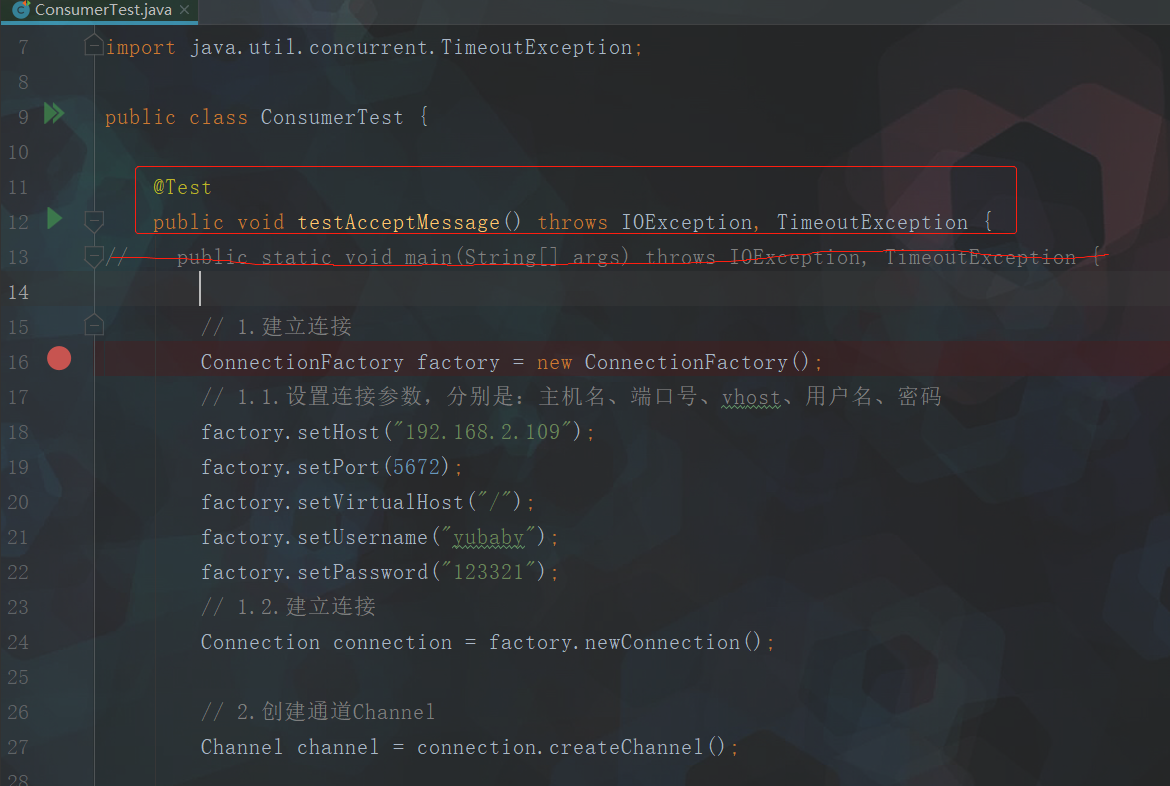

StepOver(F8)

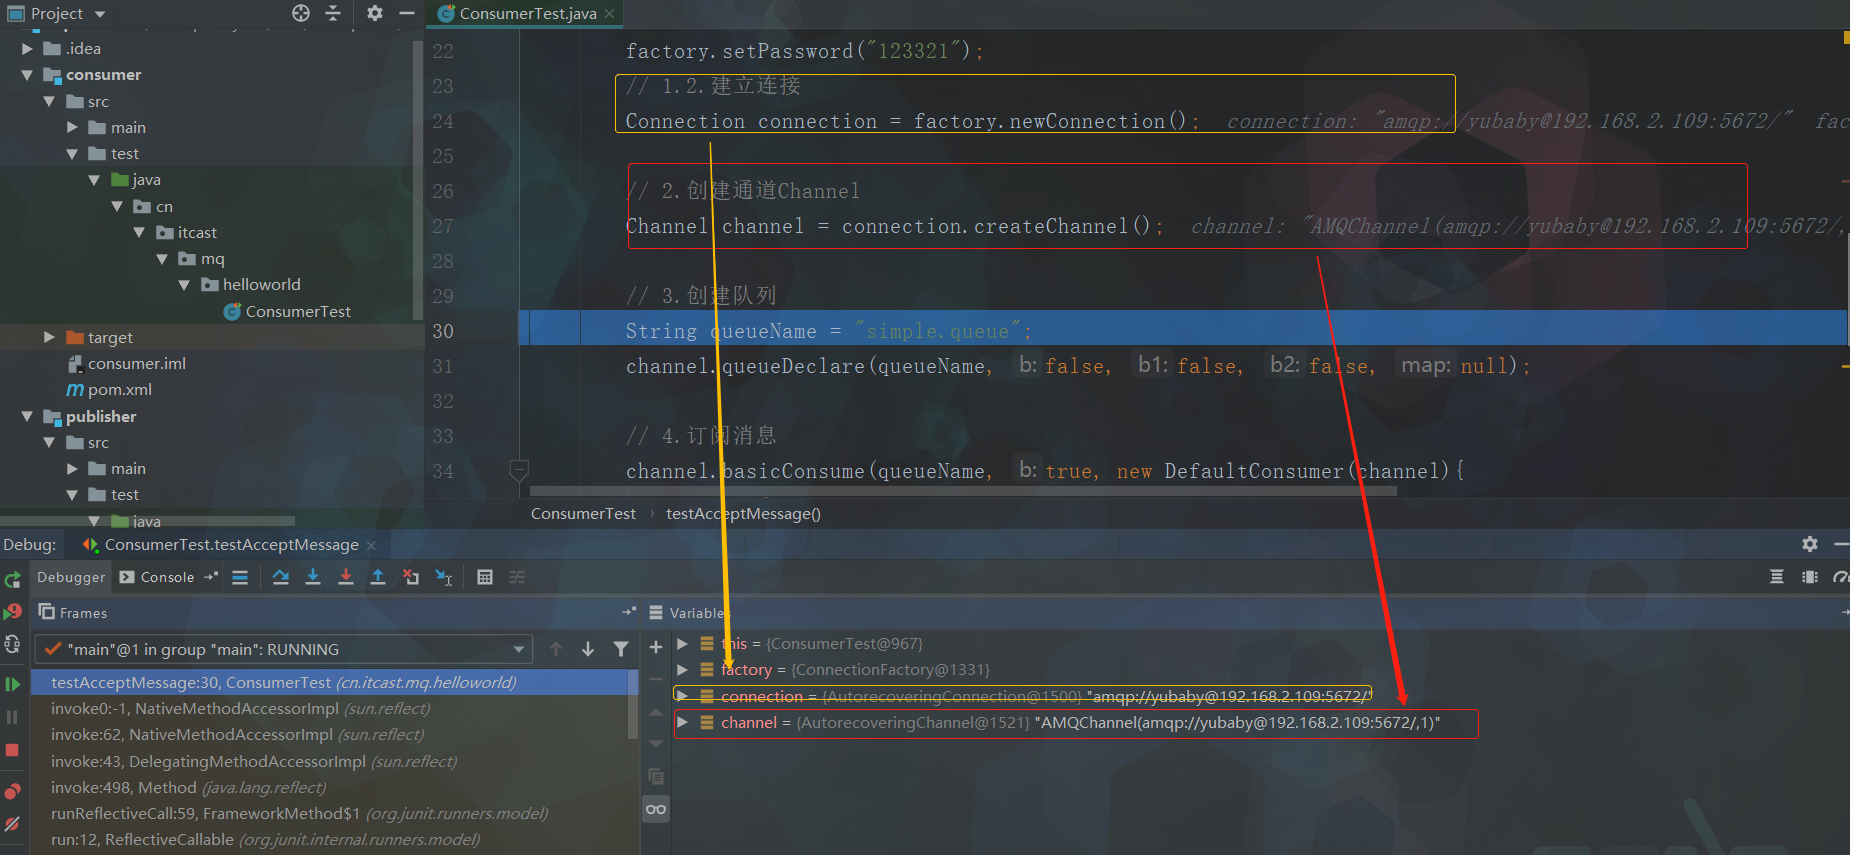


老师演示

本地实测

“阅后即焚”
4.3 小结
- 基本消息队列的消息发送流程:
- 建立connection
- 创建channel
- 利用channel声明队列
- 利用channel向队列发送消息
- 基本消息队列的消息接收流程:
- 建立connection
- 创建channel
- 利用channel声明队列
- 定义consumer的消费行为handleDelivery()
- 利用channel将消费者与队列绑定
