HMVue6.3【基于slot插槽改造购物车案例】
1、初始项目
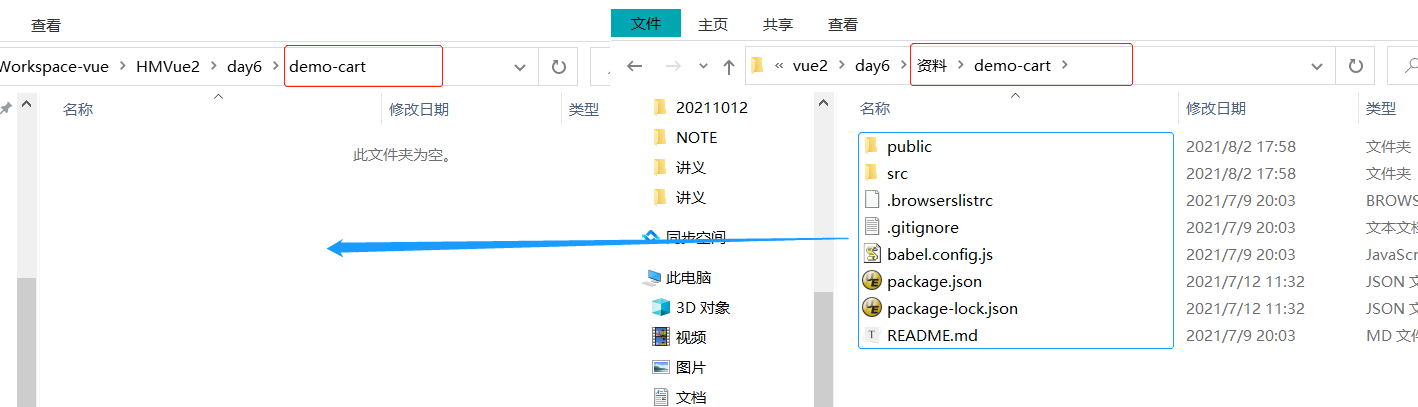
npm i
npm audit fix
2 案例需求
 =====================>>
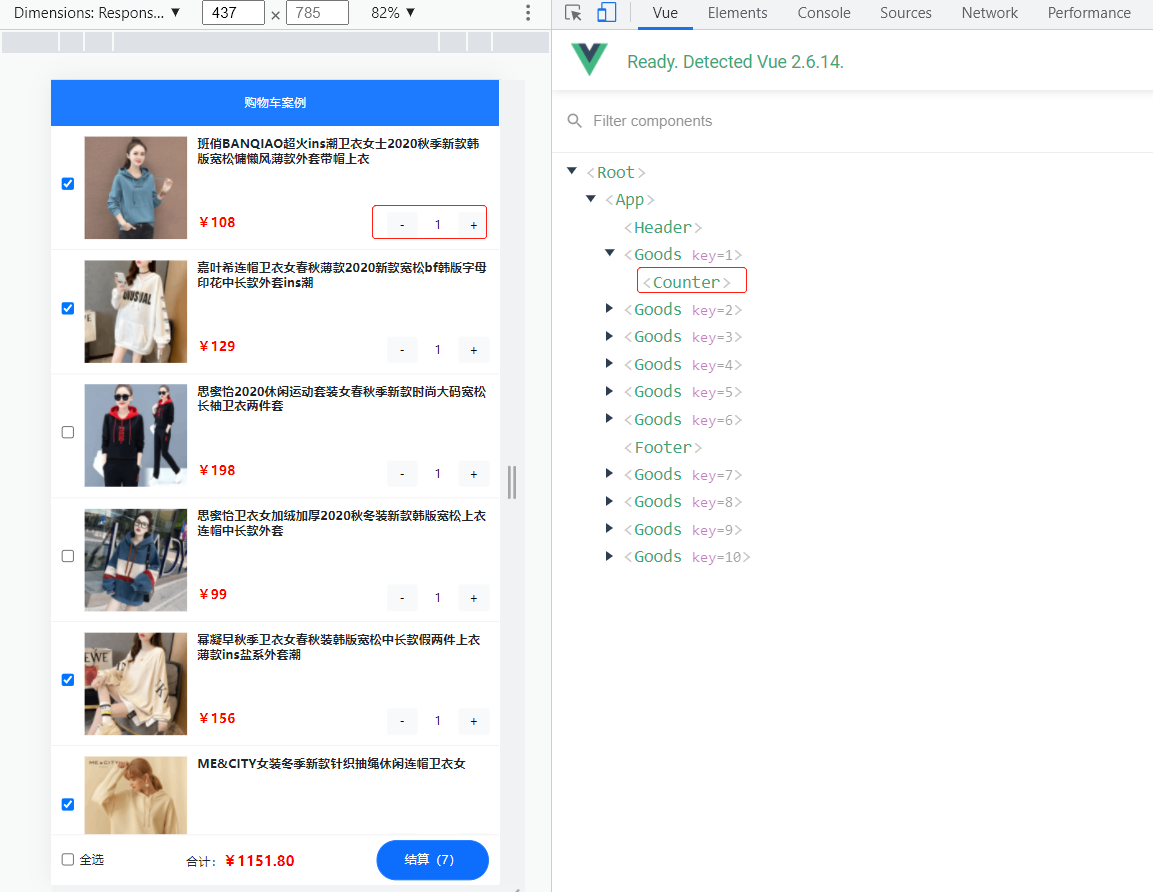
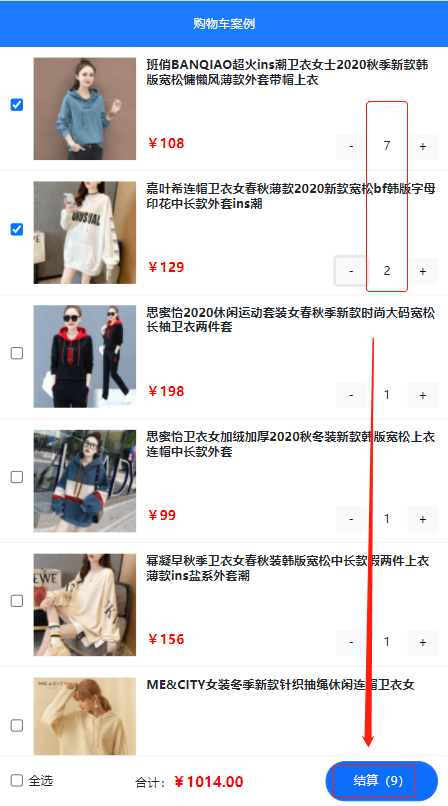
之前的案例中孙子组件Counter通过EventBus向外层App组件传值,有点绕
现在期望利用插槽来进行改进
3 初步实现
4 进一步实现

5 最终实现

6 源码
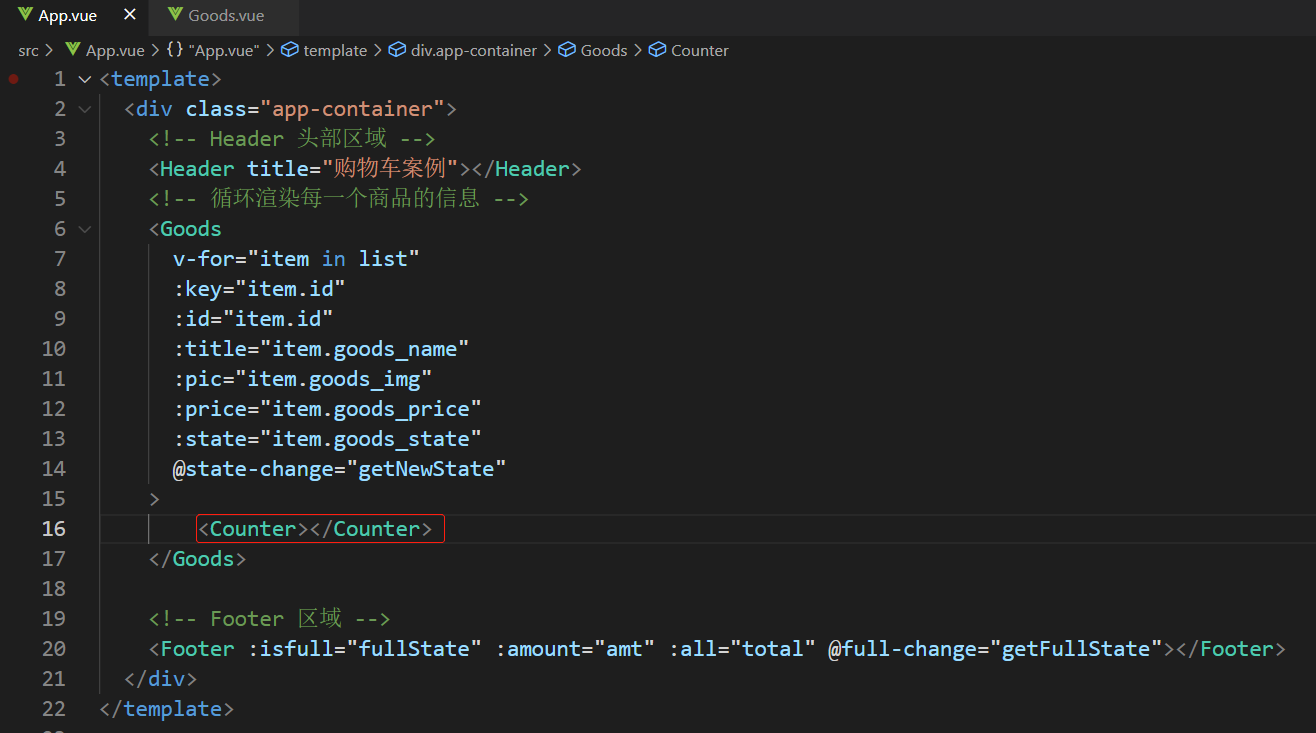
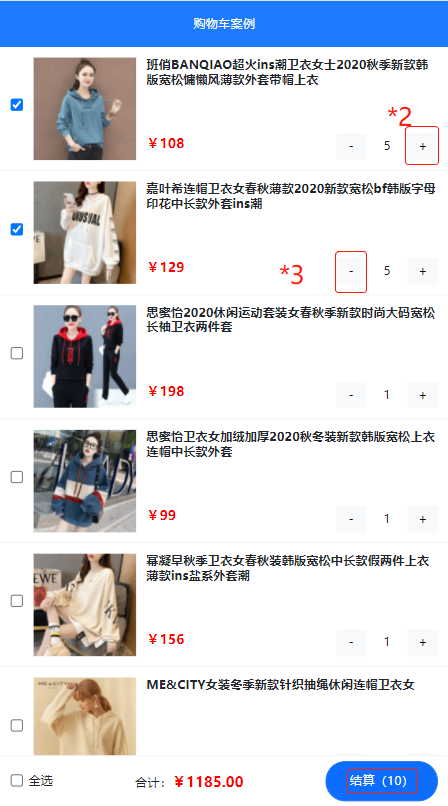
“开天窗”,直接孙子组件与外层组件进行数据传递
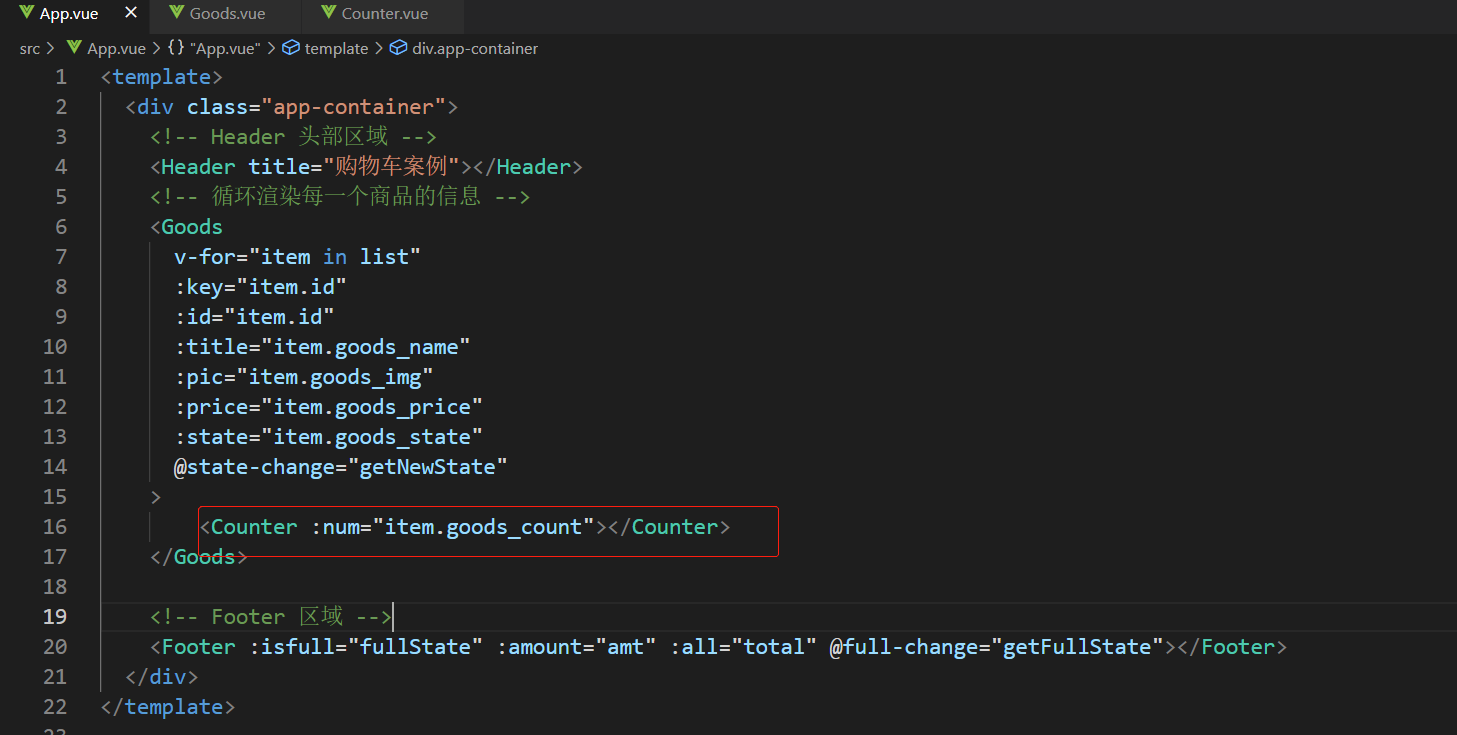
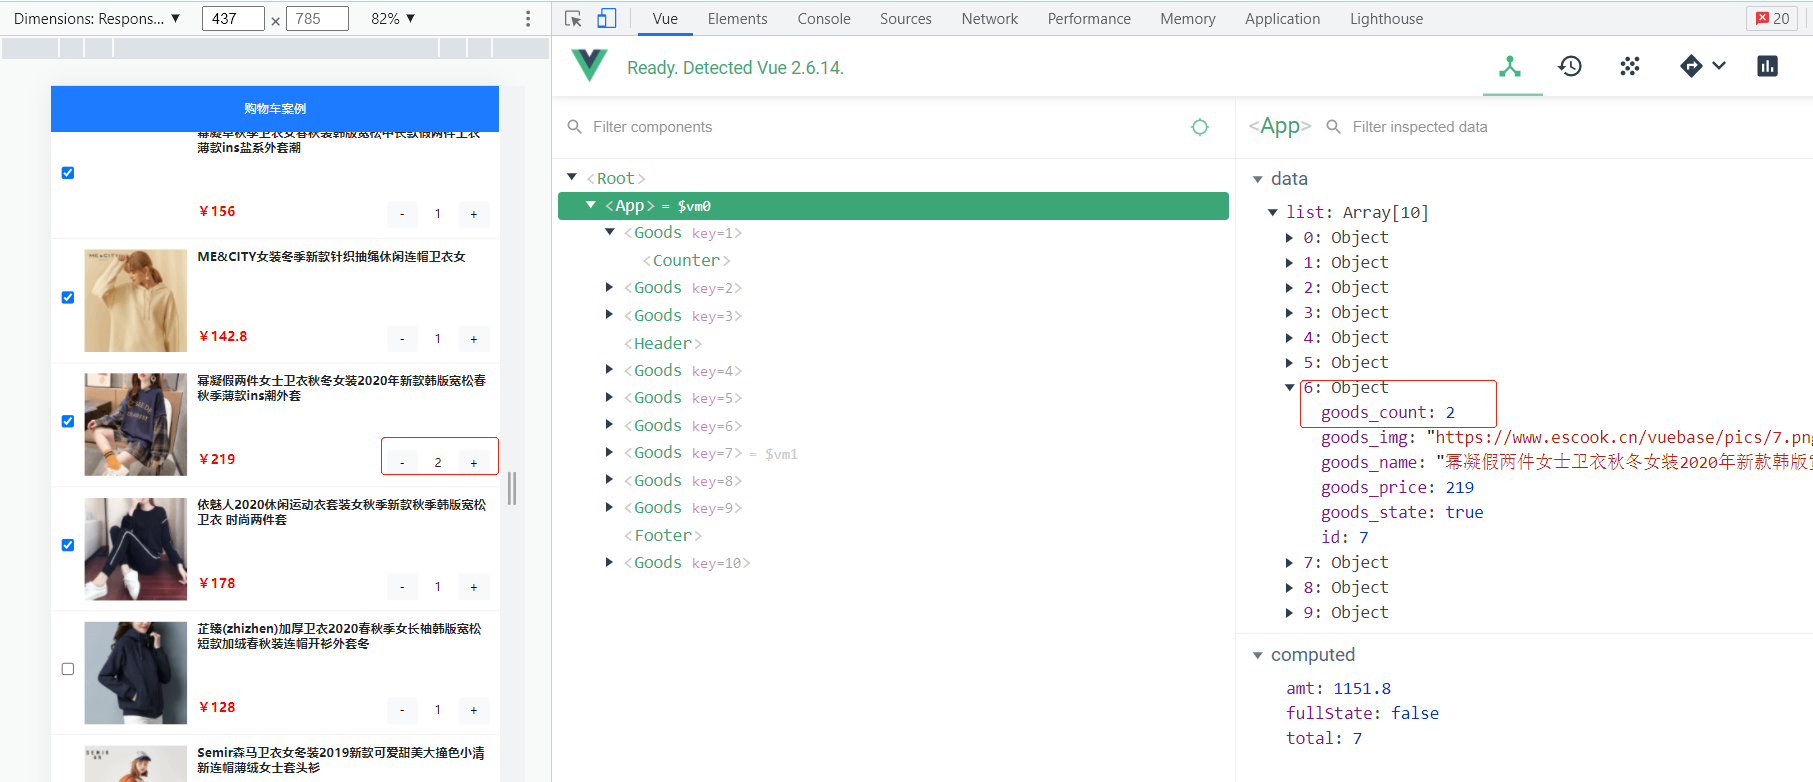
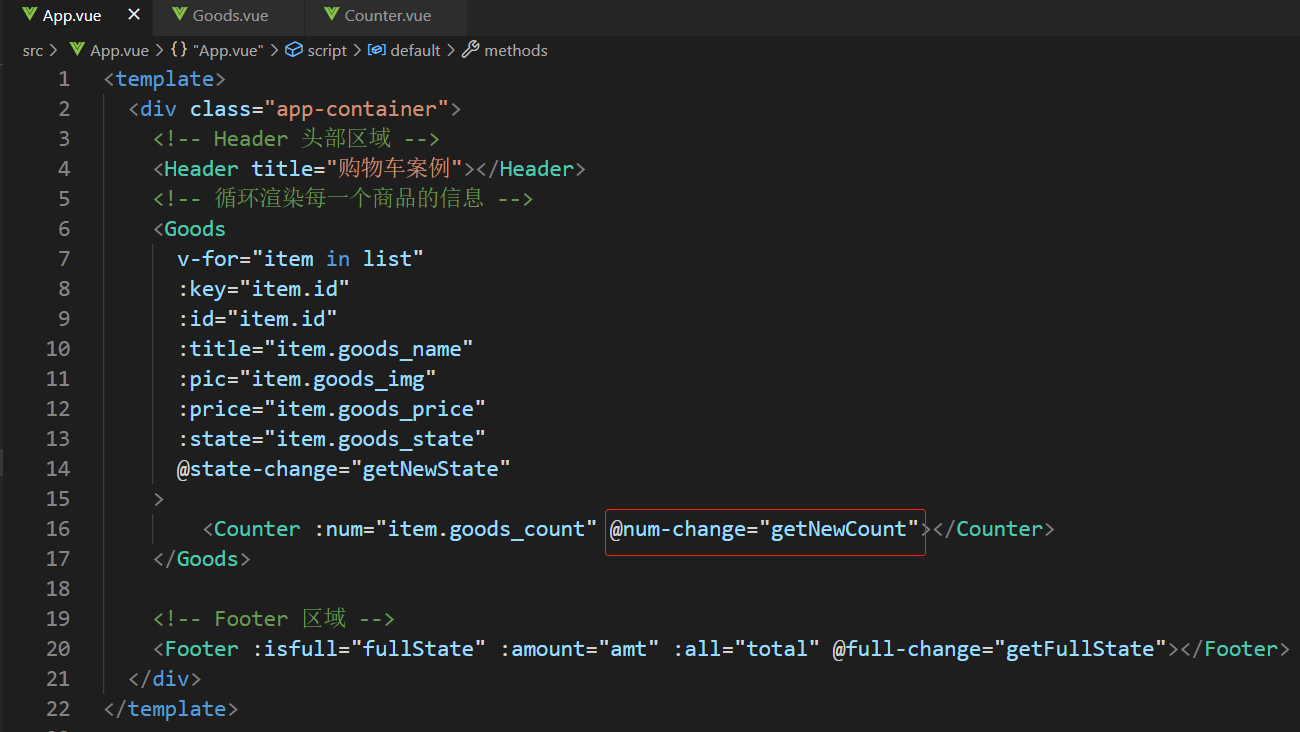
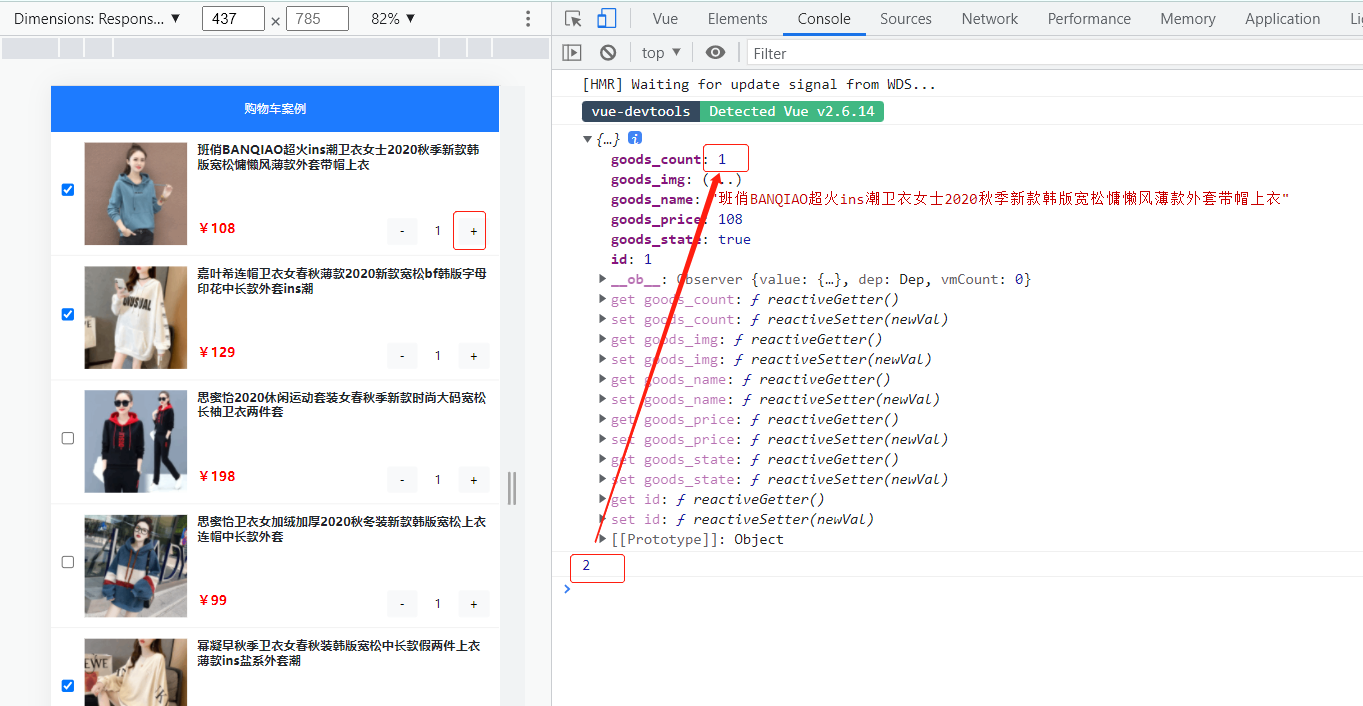
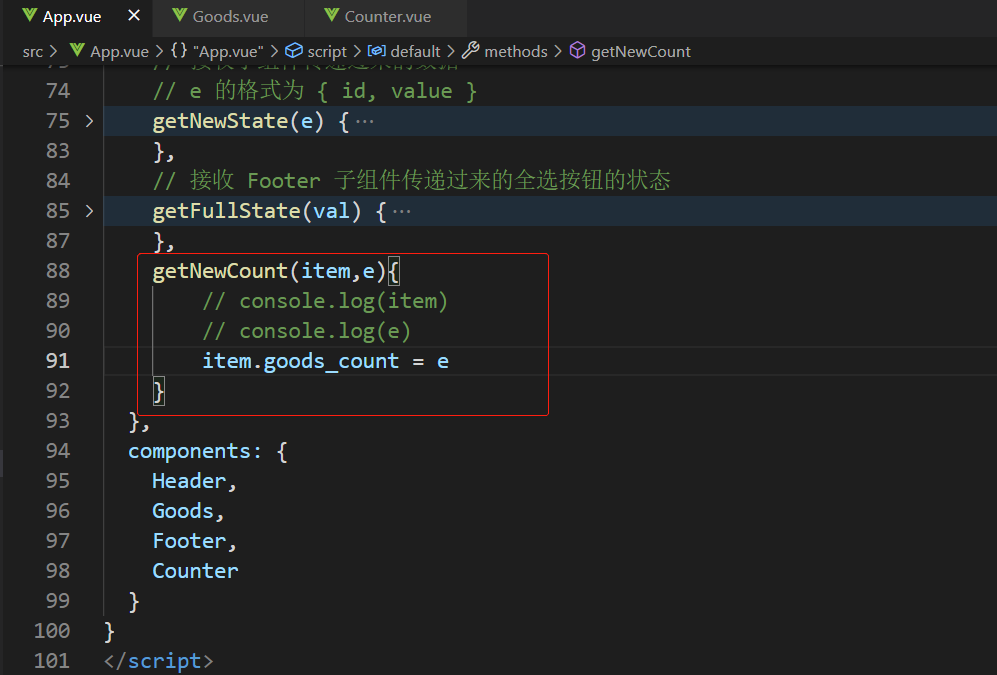
:num="item.goods_count" 自定义属性,父向子传值
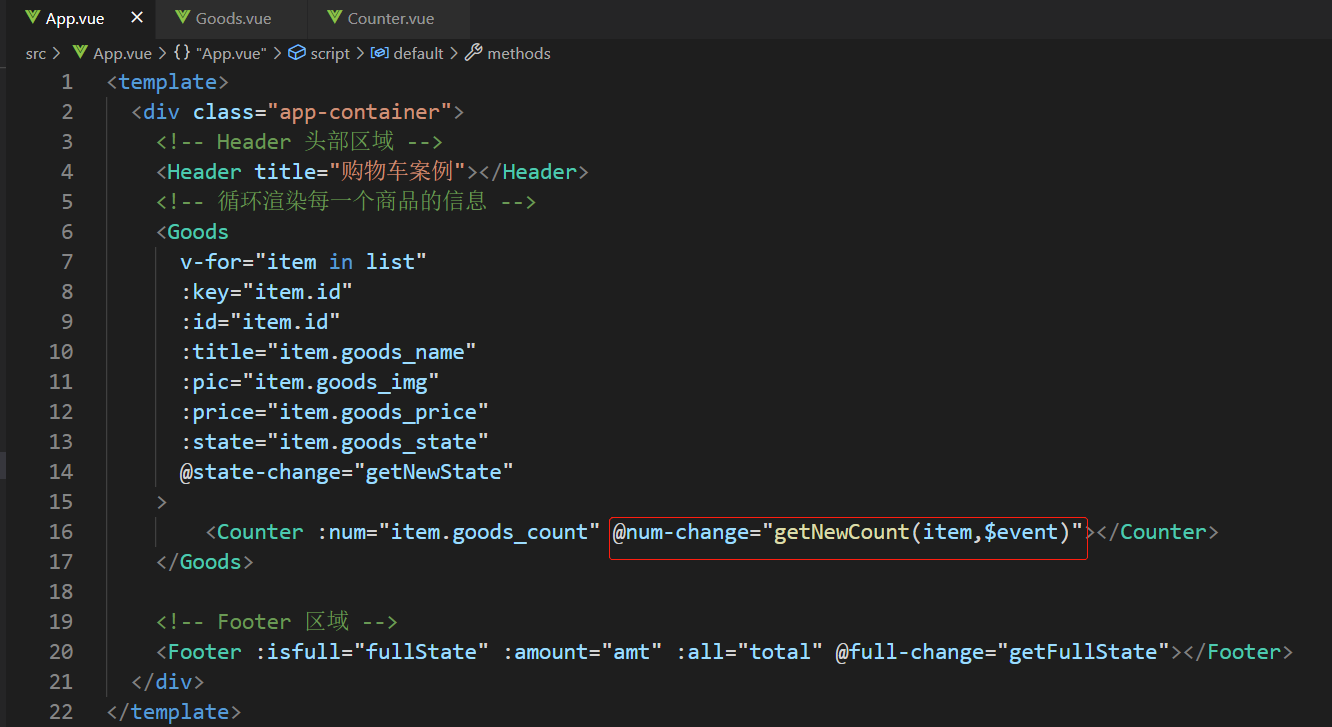
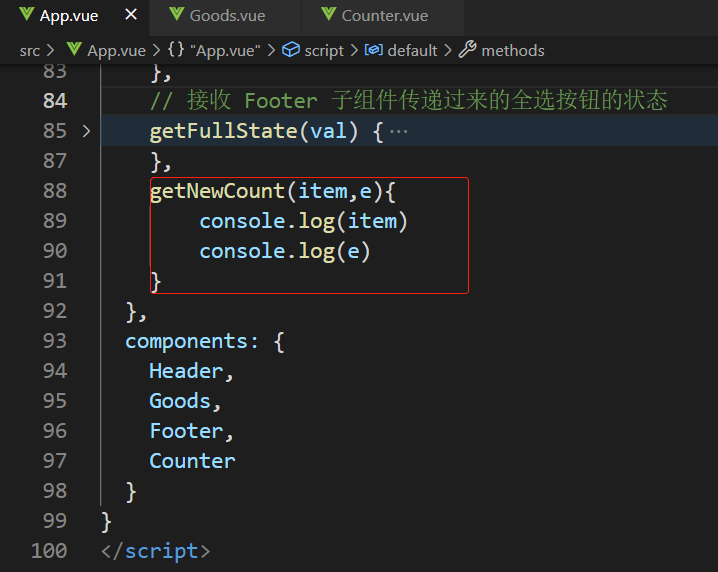
@num-change="getNewCount(item,$event)" 自定义属性,子向父传值


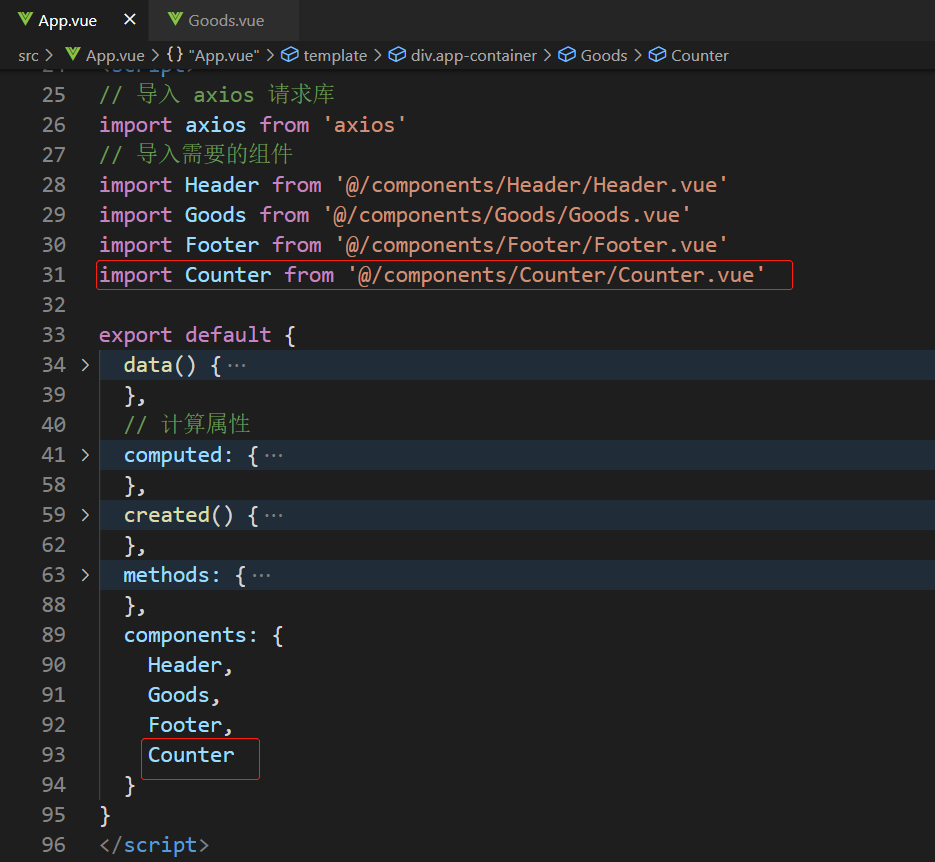
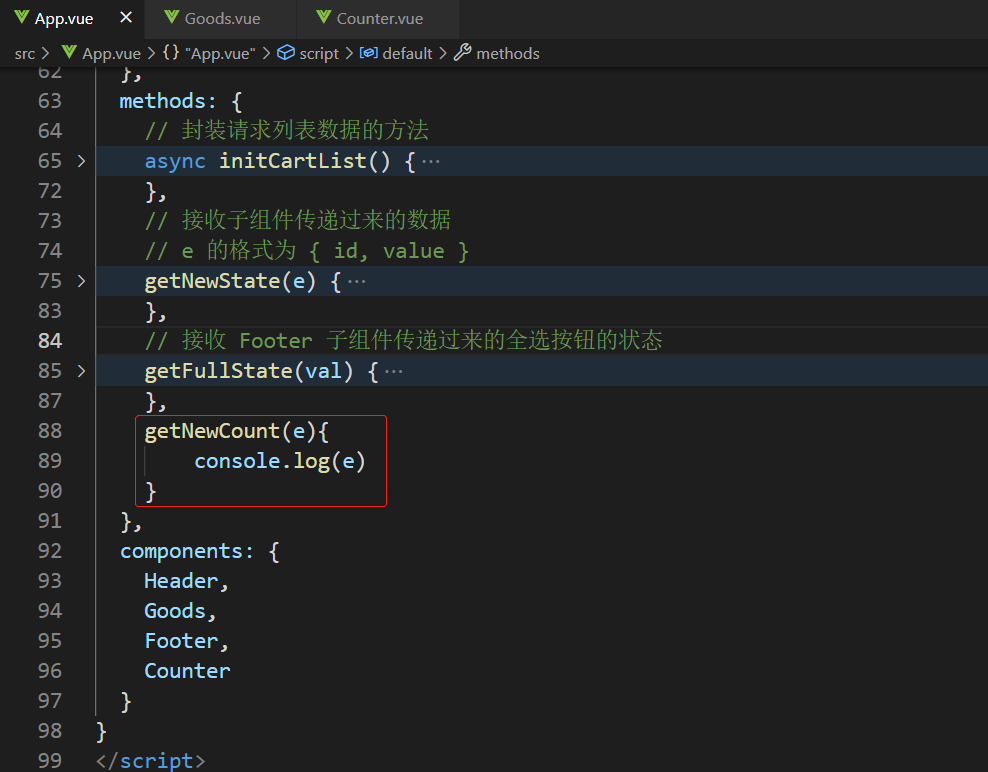
<template>
  <div class="app-container">
    <!-- Header 头部区域 -->
    <Header title="购物车案例"></Header>
    <!-- 循环渲染每一个商品的信息 -->
    <Goods
      v-for="item in list"
      :key="item.id"
      :id="item.id"
      :title="item.goods_name"
      :pic="item.goods_img"
      :price="item.goods_price"
      :state="item.goods_state"
      @state-change="getNewState"
    >
        <Counter :num="item.goods_count" @num-change="getNewCount(item,$event)"></Counter>
    </Goods>

    <!-- Footer 区域 -->
    <Footer :isfull="fullState" :amount="amt" :all="total" @full-change="getFullState"></Footer>
  </div>
</template>

<script>
// 导入 axios 请求库
import axios from 'axios'
// 导入需要的组件
import Header from '@/components/Header/Header.vue'
import Goods from '@/components/Goods/Goods.vue'
import Footer from '@/components/Footer/Footer.vue'
import Counter from '@/components/Counter/Counter.vue'

export default {
  data() {
    return {
      // 用来存储购物车的列表数据,默认为空数组
      list: []
    }
  },
  // 计算属性
  computed: {
    // 动态计算出全选的状态是 true 还是 false
    fullState() {
      return this.list.every(item => item.goods_state)
    },
    // 已勾选商品的总价格
    amt() {
      // 1. 先 filter 过滤
      // 2. 再 reduce 累加
      return this.list
        .filter(item => item.goods_state)
        .reduce((total, item) => (total += item.goods_price * item.goods_count), 0)
    },
    // 已勾选商品的总数量
    total() {
      return this.list.filter(item => item.goods_state).reduce((t, item) => (t += item.goods_count), 0)
    }
  },
  created() {
    // 调用请求数据的方法
    this.initCartList()
  },
  methods: {
    // 封装请求列表数据的方法
    async initCartList() {
      // 调用 axios 的 get 方法,请求列表数据
      const { data: res } = await axios.get('https://www.escook.cn/api/cart')
      // 只要请求回来的数据,在页面渲染期间要用到,则必须转存到 data 中
      if (res.status === 200) {
        this.list = res.list
      }
    },
    // 接收子组件传递过来的数据
    // e 的格式为 { id, value }
    getNewState(e) {
      this.list.some(item => {
        if (item.id === e.id) {
          item.goods_state = e.value
          // 终止后续的循环
          return true
        }
      })
    },
    // 接收 Footer 子组件传递过来的全选按钮的状态
    getFullState(val) {
      this.list.forEach(item => (item.goods_state = val))
    },
    getNewCount(item,e){
        // console.log(item)
        // console.log(e)
        item.goods_count = e
    }
  },
  components: {
    Header,
    Goods,
    Footer,
    Counter
  }
}
</script>

<style lang="less" scoped>
.app-container {
  padding-top: 45px;
  padding-bottom: 50px;
}
</style>
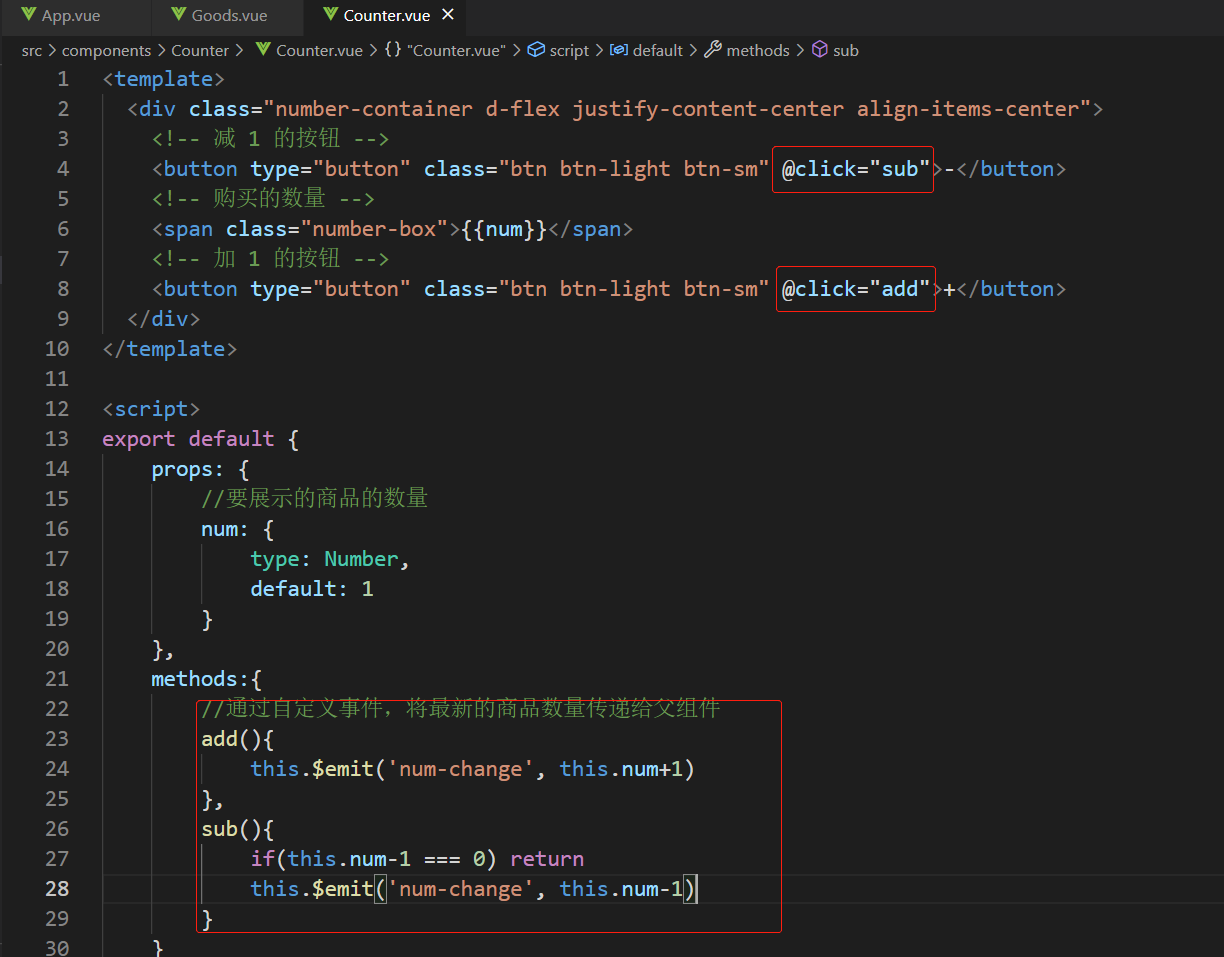
<template>
  <div class="number-container d-flex justify-content-center align-items-center">
    <!-- 减 1 的按钮 -->
    <button type="button" class="btn btn-light btn-sm" @click="sub">-</button>
    <!-- 购买的数量 -->
    <span class="number-box">{{num}}</span>
    <!-- 加 1 的按钮 -->
    <button type="button" class="btn btn-light btn-sm" @click="add">+</button>
  </div>
</template>

<script>
export default {
    props: {
        //要展示的商品的数量
        num: {
            type: Number,
            default: 1
        }
    },
    methods:{
        //通过自定义事件,将最新的商品数量传递给父组件
        add(){
            this.$emit('num-change', this.num+1)
        },
        sub(){
            if(this.num-1 === 0) return
            this.$emit('num-change', this.num-1)
        }
    }
}
</script>

<style lang="less" scoped>
.number-box {
  min-width: 30px;
  text-align: center;
  margin: 0 5px;
  font-size: 12px;
}

.btn-sm {
  width: 30px;
}
</style>
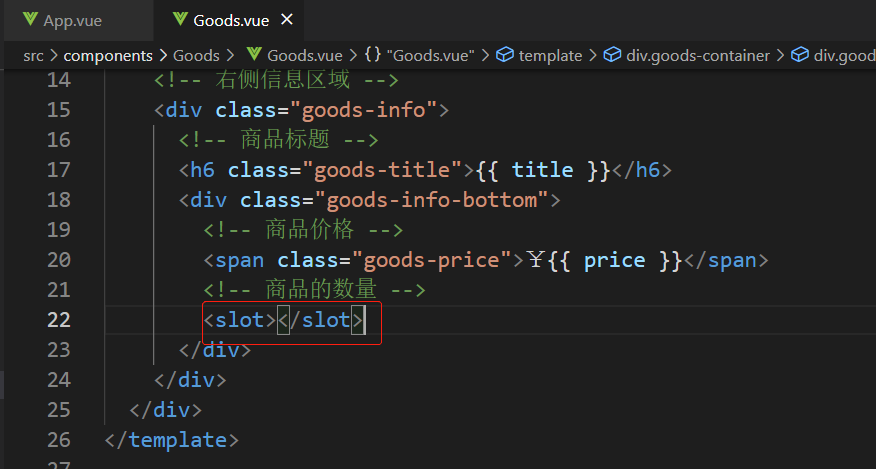
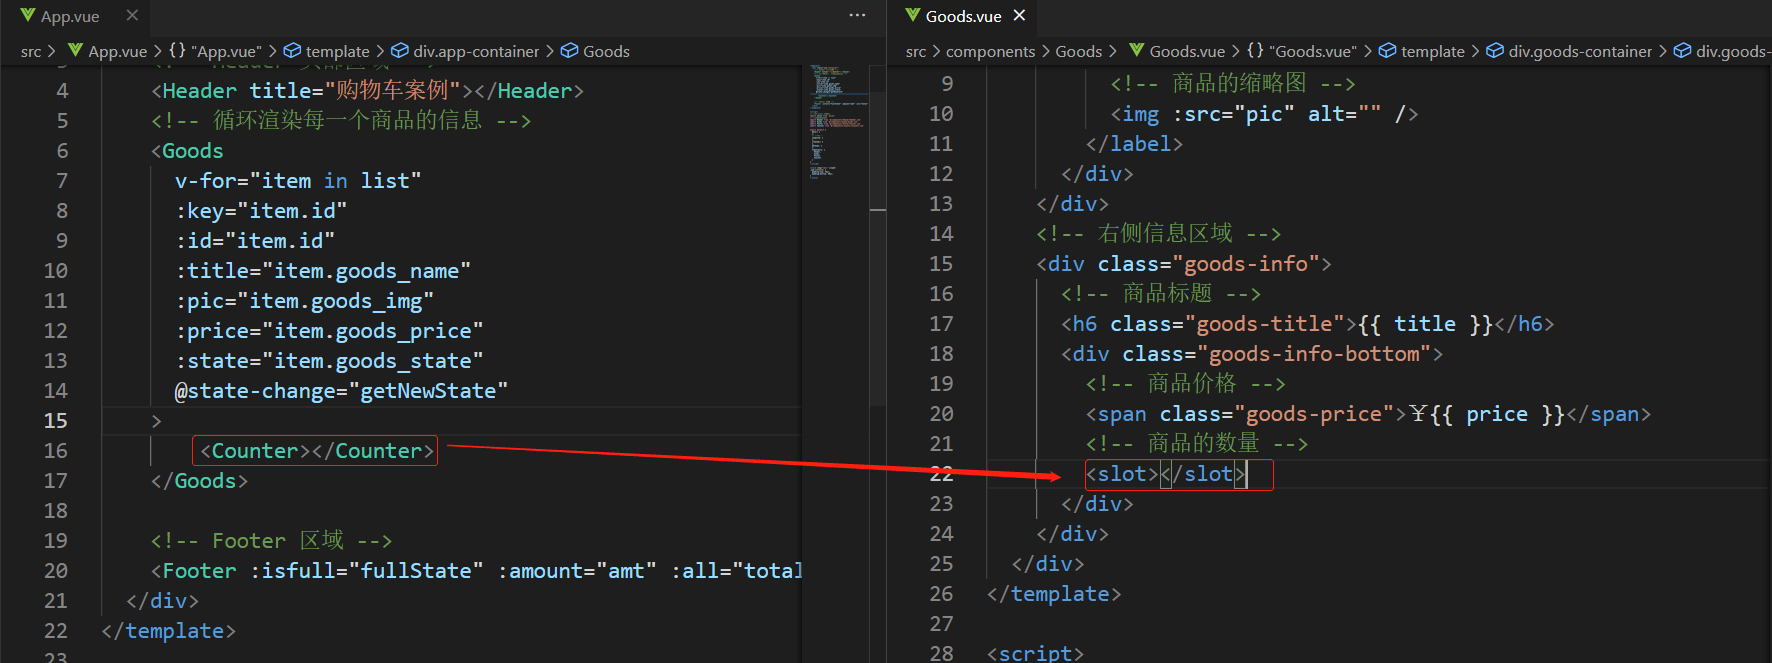
<template>
  <div class="goods-container">
    <!-- 左侧图片 -->
    <div class="thumb">
      <div class="custom-control custom-checkbox">
        <!-- 复选框 -->
        <input type="checkbox" class="custom-control-input" :id="'cb' + id" :checked="state" @change="stateChange" />
        <label class="custom-control-label" :for="'cb' + id">
          <!-- 商品的缩略图 -->
          <img :src="pic" alt="" />
        </label>
      </div>
    </div>
    <!-- 右侧信息区域 -->
    <div class="goods-info">
      <!-- 商品标题 -->
      <h6 class="goods-title">{{ title }}</h6>
      <div class="goods-info-bottom">
        <!-- 商品价格 -->
        <span class="goods-price">¥{{ price }}</span>
        <!-- 商品的数量 -->
        <slot></slot>
      </div>
    </div>
  </div>
</template>

<script>
export default {
  props: {
    // 商品的 id
    // 为啥在这里要封装一个 id 属性呢?
    // 原因:将来,子组件中商品的勾选状态变化之后, 需要通过子 -> 父的形式,
    // 通知父组件根据 id 修改对应商品的勾选状态。
    id: {
      required: true,
      type: Number
    },
    // 要渲染的商品的标题
    title: {
      default: '',
      type: String
    },
    // 要渲染的商品的图片
    pic: {
      default: '',
      type: String
    },
    // 商品的单价
    price: {
      default: 0,
      type: Number
    },
    // 商品的勾选状态
    state: {
      default: true,
      type: Boolean
    }
  },
  methods: {
    // 只要复选框的选中状态发生了变化,就会调用这个处理函数
    stateChange(e) {
      const newState = e.target.checked
      // 触发自定义事件
      this.$emit('state-change', { id: this.id, value: newState })
    }
  }
}
</script>

<style lang="less" scoped>
.goods-container {
  + .goods-container {
    border-top: 1px solid #efefef;
  }
  padding: 10px;
  display: flex;
  .thumb {
    display: flex;
    align-items: center;
    img {
      width: 100px;
      height: 100px;
      margin: 0 10px;
    }
  }

  .goods-info {
    display: flex;
    flex-direction: column;
    justify-content: space-between;
    flex: 1;
    .goods-title {
      font-weight: bold;
      font-size: 12px;
    }
    .goods-info-bottom {
      display: flex;
      justify-content: space-between;
      .goods-price {
        font-weight: bold;
        color: red;
        font-size: 13px;
      }
    }
  }
}
</style>


【推荐】国内首个AI IDE,深度理解中文开发场景,立即下载体验Trae
【推荐】编程新体验,更懂你的AI,立即体验豆包MarsCode编程助手
【推荐】抖音旗下AI助手豆包,你的智能百科全书,全免费不限次数
【推荐】轻量又高性能的 SSH 工具 IShell:AI 加持,快人一步
· Linux系列:如何用heaptrack跟踪.NET程序的非托管内存泄露
· 开发者必知的日志记录最佳实践
· SQL Server 2025 AI相关能力初探
· Linux系列:如何用 C#调用 C方法造成内存泄露
· AI与.NET技术实操系列(二):开始使用ML.NET
· 被坑几百块钱后,我竟然真的恢复了删除的微信聊天记录!
· 没有Manus邀请码?试试免邀请码的MGX或者开源的OpenManus吧
· 【自荐】一款简洁、开源的在线白板工具 Drawnix
· 园子的第一款AI主题卫衣上架——"HELLO! HOW CAN I ASSIST YOU TODAY
· Docker 太简单,K8s 太复杂?w7panel 让容器管理更轻松!