HMVue2.5【filter过滤器】
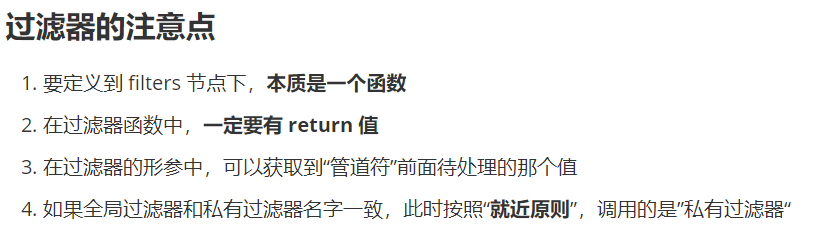
1 过滤器的注意事项
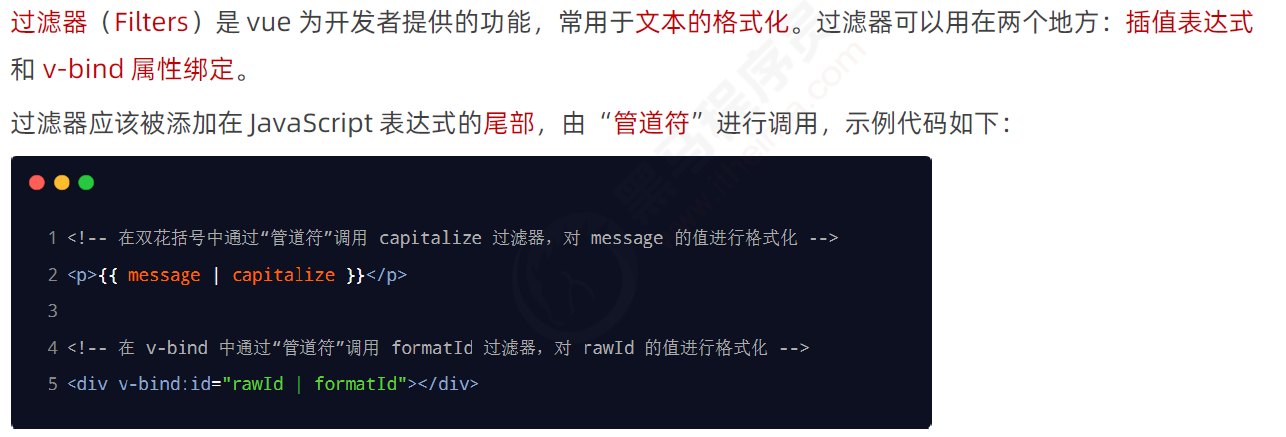
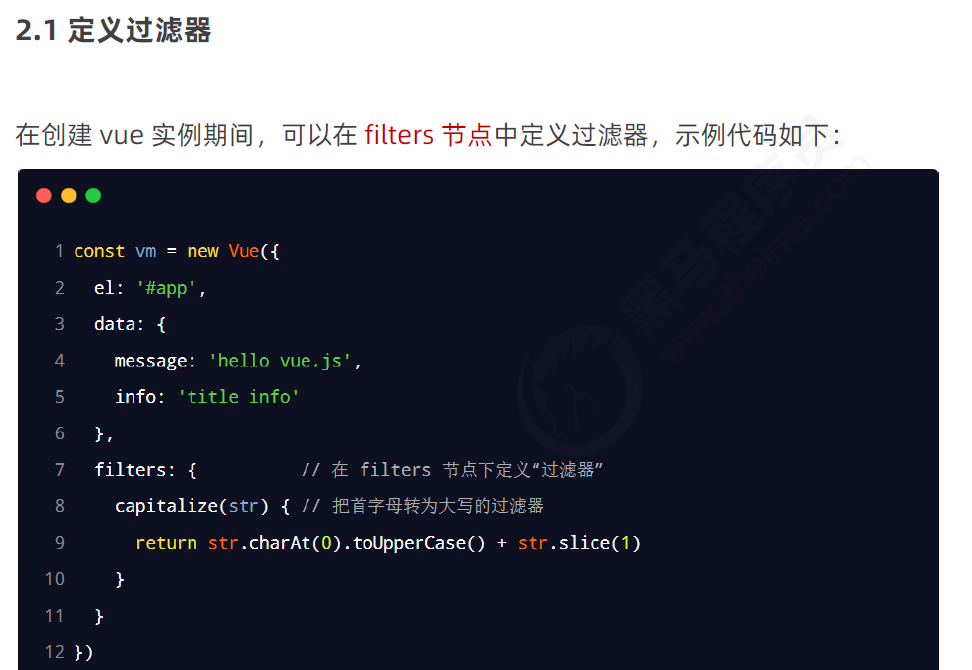
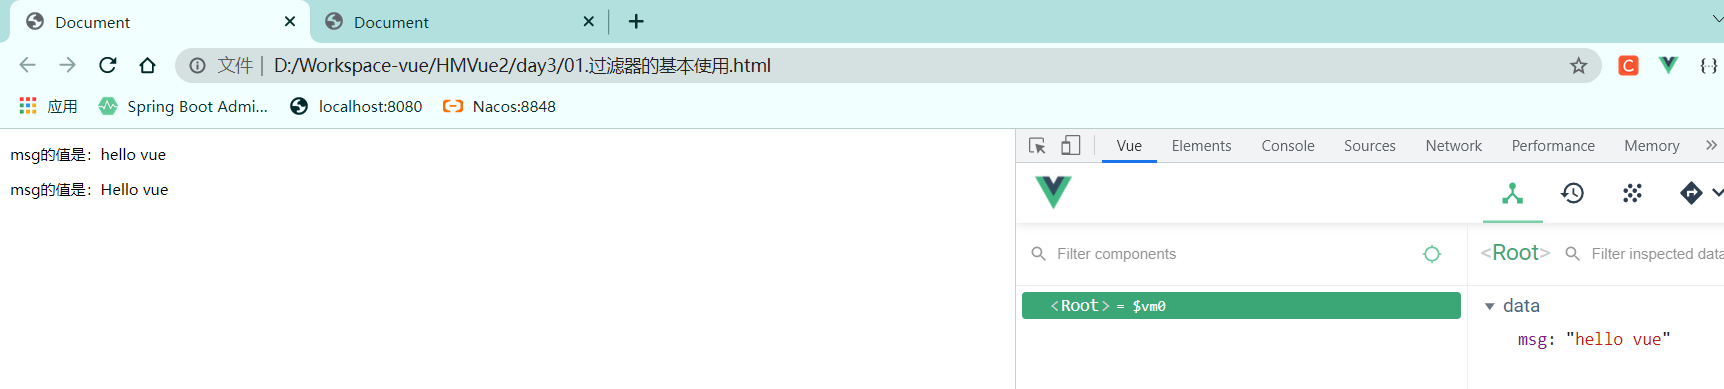
2 过滤器的基本使用


<!DOCTYPE html>
<html lang="en">
<head>
    <meta charset="UTF-8">
    <meta http-equiv="X-UA-Compatible" content="IE=edge">
    <meta name="viewport" content="width=device-width, initial-scale=1.0">
    <title>Document</title>
</head>
<body>

    <div id="app">
        <p>msg的值是:{{msg}}</p>
        <!-- 需求:通过过滤器将hello首字母大写 -->
        <p>msg的值是:{{msg | capi}}</p>
        <!-- 插值表达式最终展示的是过滤器函数capi的返回值 -->
    </div>

    <script src="./lib/vue-2.6.12.js"></script>
    <script>
        // Vue.config.devtools = true; //安装了Vue-devtools插件但在浏览器控制台不显示的解决
        const vm = new Vue({
            el: '#app',
            data: {
                msg: 'hello vue'
            },
            //过滤器函数必须定义到filters节点内
            filters: {
                //注意:过滤器函数形参中的 val,永远都是“管道符|”前面的那个值
                capi(val){
                    console.log(val)
                    //charAt获取字符串中指定索引位置的字符
                    console.log(val.charAt(0))
                    //首字母小写转为大写
                    const first = val.charAt(0).toUpperCase()
                    //从索引1位置开始截取字符串直至最后
                    const other = val.slice(1)
                    // 强调:过滤器中,一定要有一个返回值
                    return first+other
                }
            }
        })
    </script>

</body>
</html>
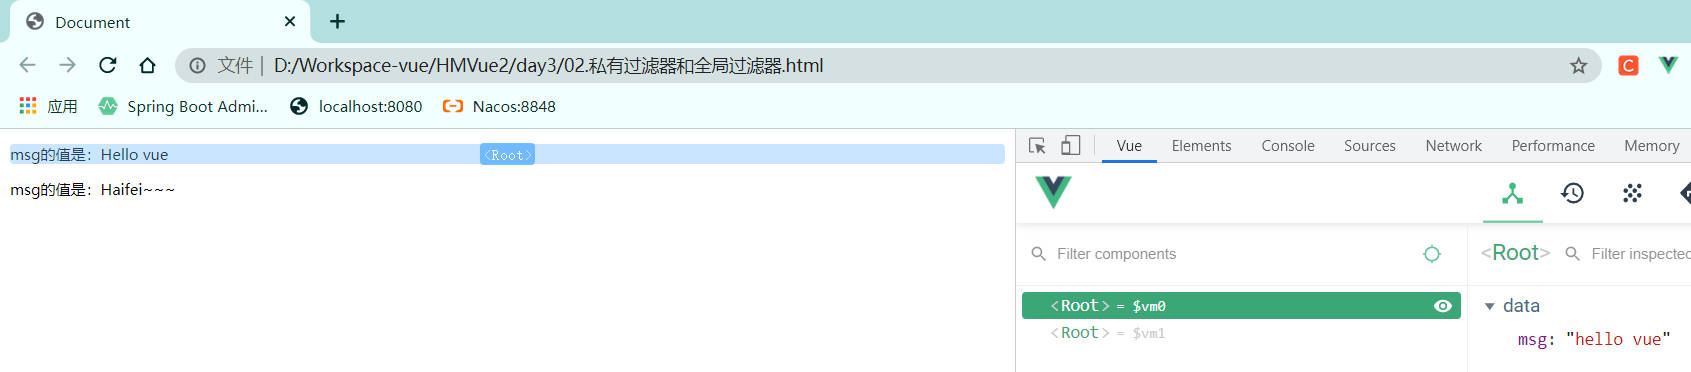
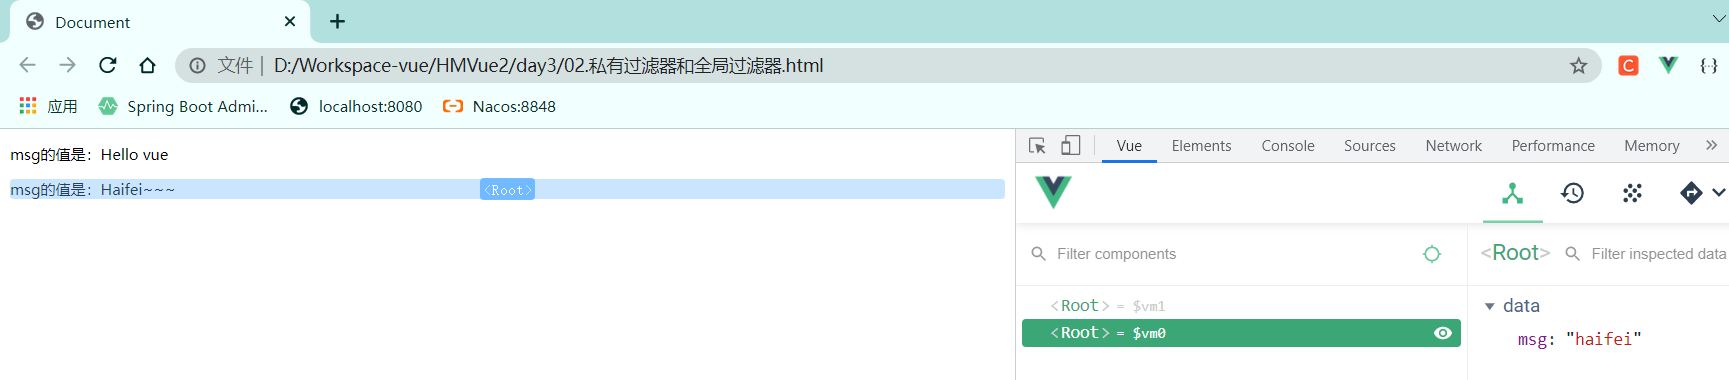
3 私有过滤器和全局过滤器
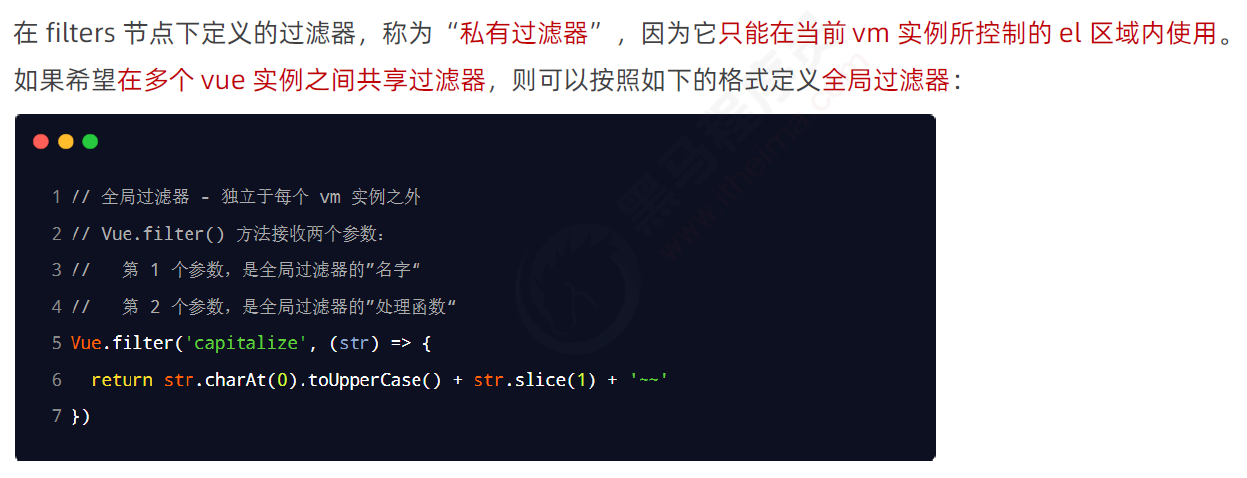
<!DOCTYPE html>
<html lang="en">
<head>
    <meta charset="UTF-8">
    <meta http-equiv="X-UA-Compatible" content="IE=edge">
    <meta name="viewport" content="width=device-width, initial-scale=1.0">
    <title>Document</title>
</head>
<body>

    <div id="app">
        <p>msg的值是:{{msg | capi}}</p> <!--调用私有过滤器-->
    </div>
    <div id="app2">
        <p>msg的值是:{{msg | capi}}</p> <!--调用全局过滤器-->
    </div>

    <script src="./lib/vue-2.6.12.js"></script>
    <script>
        // 使用 Vue.filter() 定义全局过滤器
        Vue.filter('capi', function(str){
            const first = str.charAt(0).toUpperCase()
            const other = str.slice(1)
            return first+other+'~~~'
        });
        //--------------------------------------------------------------
        //一个vm只能控制一个大div
        //此处,vm控制第一个div(id=app);第二个div(id=app2)不受影响
        const vm = new Vue({
            el: '#app',
            data: {
                msg: 'hello vue'
            },
            filters: {
                capi(val){  //私有过滤器,只能在app中使用,app2中调用时会报错
                    const first = val.charAt(0).toUpperCase()
                    const other = val.slice(1)
                    return first+other
                }
            }
        });
        //--------------------------------------------------------------
        const vm2 = new Vue({
            el: '#app2',
            data: {
                msg: 'haifei'
            },
        });
    </script>

</body>
</html>
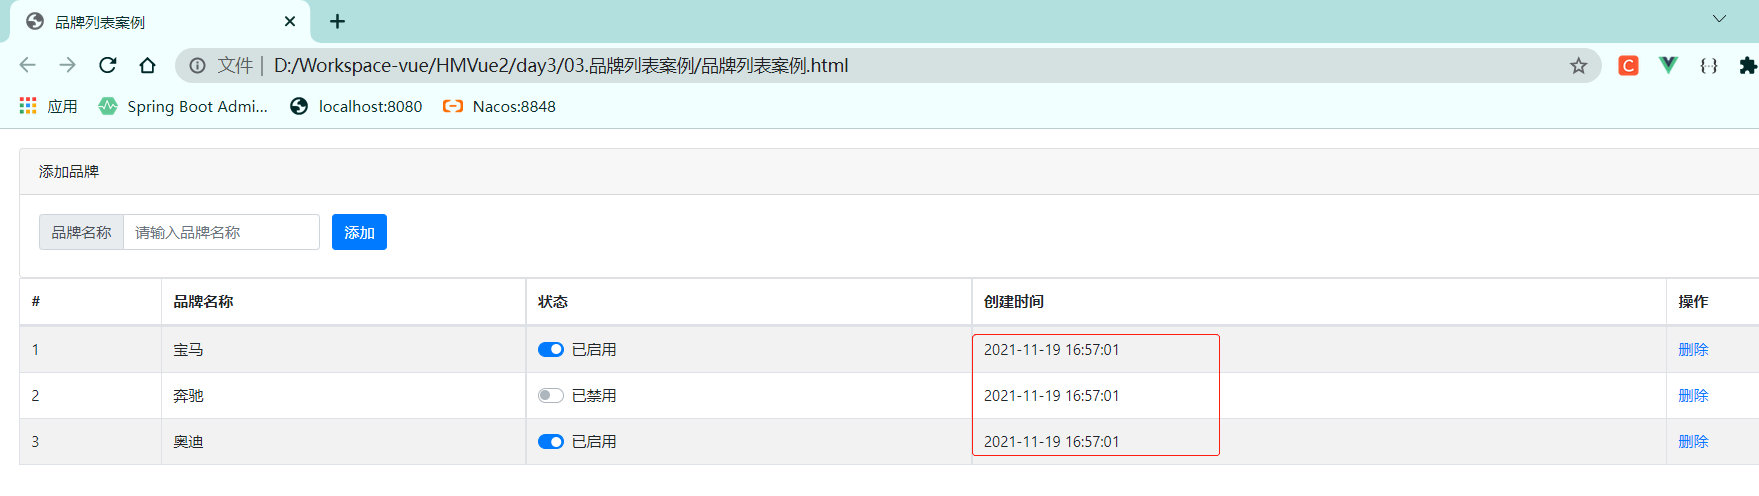
4 使用全局过滤器格式化时间(+HMVue2.4案例)
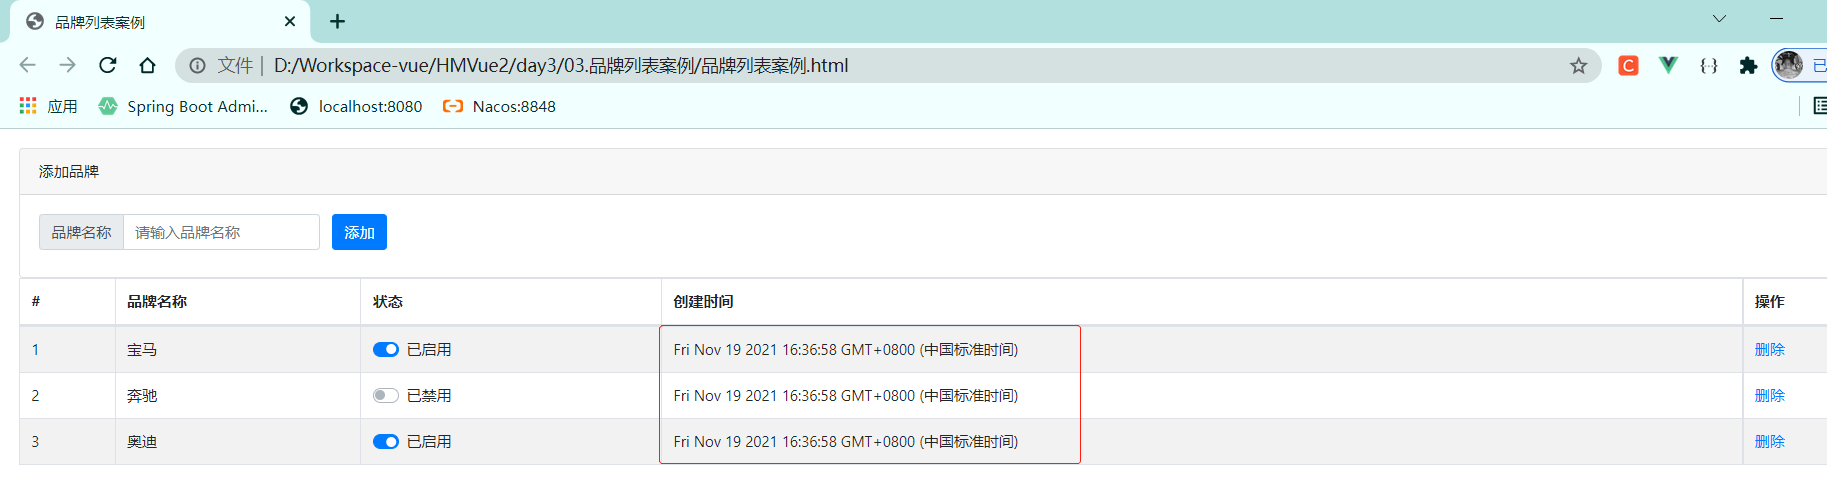
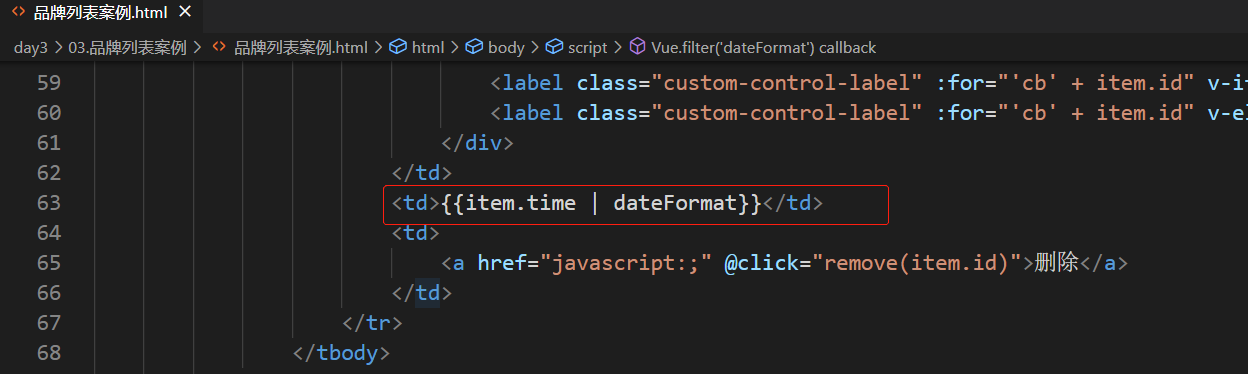
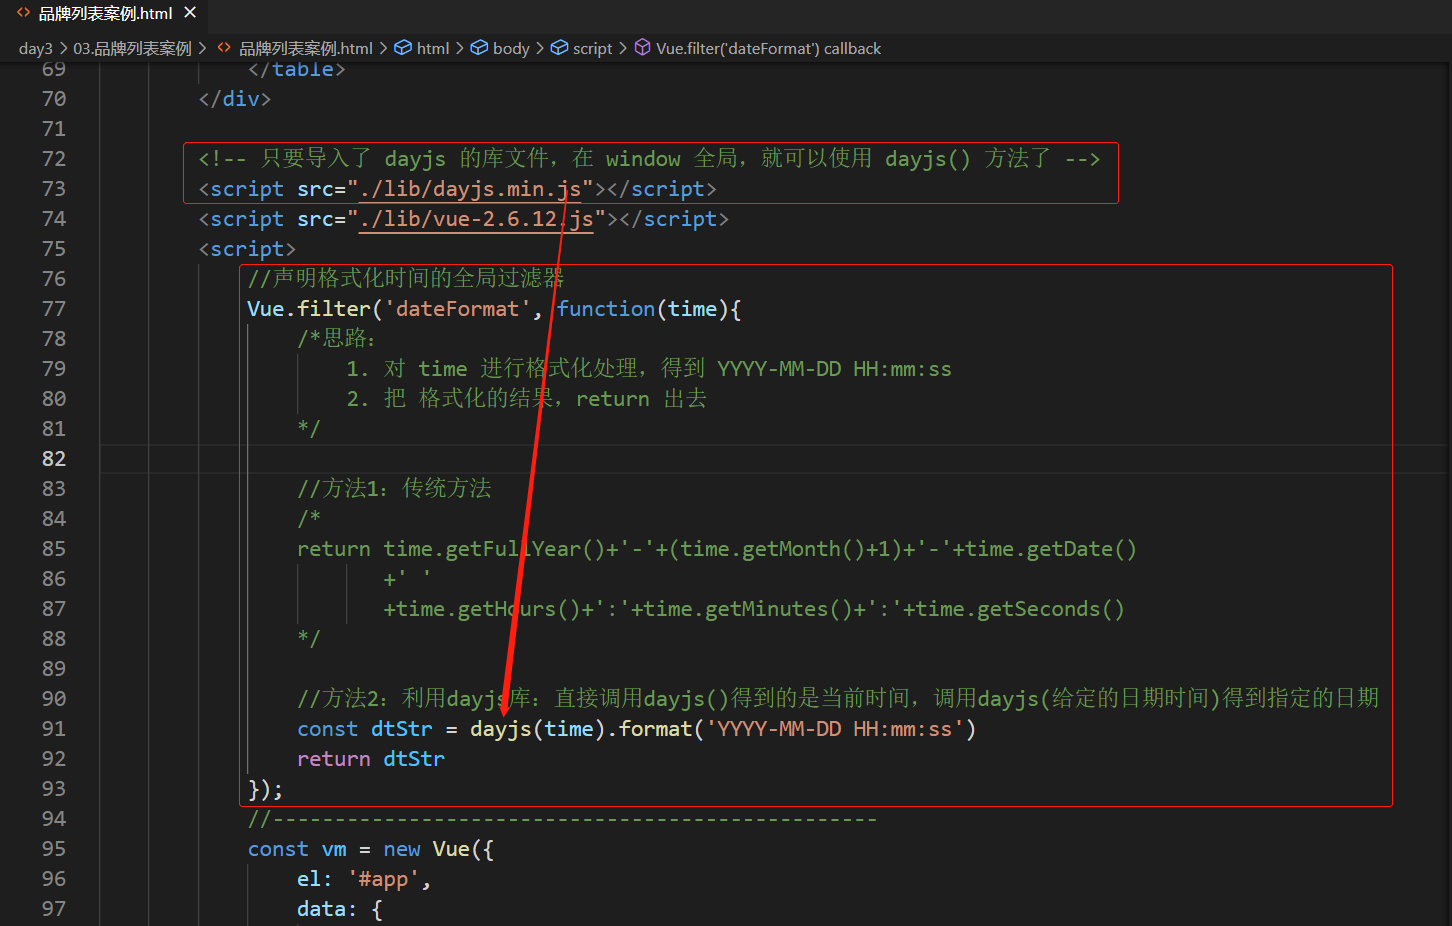
<!DOCTYPE html>
<html lang="en">

    <head>
        <meta charset="UTF-8">
        <meta http-equiv="X-UA-Compatible" content="IE=edge">
        <meta name="viewport" content="width=device-width, initial-scale=1.0">
        <title>品牌列表案例</title>
        <link rel="stylesheet" href="./lib/bootstrap.css">
        <link rel="stylesheet" href="./css/brandlist.css">
    </head>

    <body>

        <div id="app">
            <!-- 卡片区域 -->
            <div class="card">
            <div class="card-header">添加品牌</div>
            <div class="card-body">
                <!-- 添加品牌的表单区域 -->
                <!-- vue中form 表单元素有 submit 事件 -->
                <form @submit.prevent="add">   <!--.prevent阻止表单提交时刷新页面-->
                    <div class="form-row align-items-center">
                        <div class="col-auto">
                            <div class="input-group mb-2">
                                <div class="input-group-prepend">
                                    <div class="input-group-text">品牌名称</div>
                                </div>
                                <input type="text" class="form-control" placeholder="请输入品牌名称" v-model.trim="brand">
                            </div>
                        </div>
                        <div class="col-auto">
                            <button type="submit" class="btn btn-primary mb-2">添加</button>
                        </div>
                    </div>
                </form>
            </div>
            </div>

            <!-- 表格区域 -->
            <table class="table table-bordered table-hover table-striped">
                <thead>
                    <tr>
                        <th scope="col">#</th>
                        <th scope="col">品牌名称</th>
                        <th scope="col">状态</th>
                        <th scope="col">创建时间</th>
                        <th scope="col">操作</th>
                    </tr>
                </thead>
                <tbody>
                    <tr v-for="item in list" :key="item.id">
                        <td>{{item.id}}</td>
                        <td>{{item.name}}</td>
                        <td>
                            <div class="custom-control custom-switch">
                                <input type="checkbox" class="custom-control-input" :id="'cb' + item.id" v-model="item.status">
                                <!-- <label class="custom-control-label" for="customSwitch1" v-if="item.status === true">已启用</label> -->
                                <label class="custom-control-label" :for="'cb' + item.id" v-if="item.status">已启用</label>
                                <label class="custom-control-label" :for="'cb' + item.id" v-else>已禁用</label>
                            </div>
                        </td>
                        <td>{{item.time | dateFormat}}</td>
                        <td>
                            <a href="javascript:;" @click="remove(item.id)">删除</a>
                        </td>
                    </tr>
                </tbody>
            </table>
        </div>

        <!-- 只要导入了 dayjs 的库文件,在 window 全局,就可以使用 dayjs() 方法了 -->
        <script src="./lib/dayjs.min.js"></script>
        <script src="./lib/vue-2.6.12.js"></script>
        <script>
            //声明格式化时间的全局过滤器
            Vue.filter('dateFormat', function(time){
                /*思路:
                    1. 对 time 进行格式化处理,得到 YYYY-MM-DD HH:mm:ss
                    2. 把 格式化的结果,return 出去
                */

                //方法1:传统方法
                /*
                return time.getFullYear()+'-'+(time.getMonth()+1)+'-'+time.getDate()
                       +' '
                       +time.getHours()+':'+time.getMinutes()+':'+time.getSeconds()
                */

                //方法2:利用dayjs库:直接调用dayjs()得到的是当前时间,调用dayjs(给定的日期时间)得到指定的日期
                const dtStr = dayjs(time).format('YYYY-MM-DD HH:mm:ss')
                  return dtStr
            });
            //-------------------------------------------------
            const vm = new Vue({
                el: '#app',
                data: {
                    // 品牌的列表数据
                    list: [
                        {id:1, name:'宝马', status:true, time:new Date()},
                        {id:2, name:'奔驰', status:false, time:new Date()},
                        {id:3, name:'奥迪', status:true, time:new Date()},
                    ],
                    // 用户输入的品牌名称
                    brand: '',
                    //下一个可用的id
                    nextId: 4,
                },
                methods: {
                    // 点击链接,删除对应的品牌信息
                    remove(id){
                        console.log(id)
                        this.list = this.list.filter(item => item.id!==id)
                    },
                    // 阻止表单的默认提交行为之后,触发 add 方法
                    add(){
                        console.log(this.brand)
                        if(this.brand === ""){
                            alert('必须填写品牌名称')
                            return
                        }else{
                            //1. 先把要添加的品牌对象,整理出来
                            const obj = {
                                id: this.nextId,
                                name: this.brand,
                                status: true,
                                time: new Date()
                            }
                            //2. 往 this.list 数组中 push 步骤 1 中得到的对象
                            this.list.push(obj)
                            //3. 清空 this.brand
                            this.brand = ''
                            //4. 让 this.nextId 自增 +1
                            this.nextId++
                        }
                    }
                },
            })
        </script>

    </body>

</html>
https://dayjs.fenxianglu.cn/category/parse.html
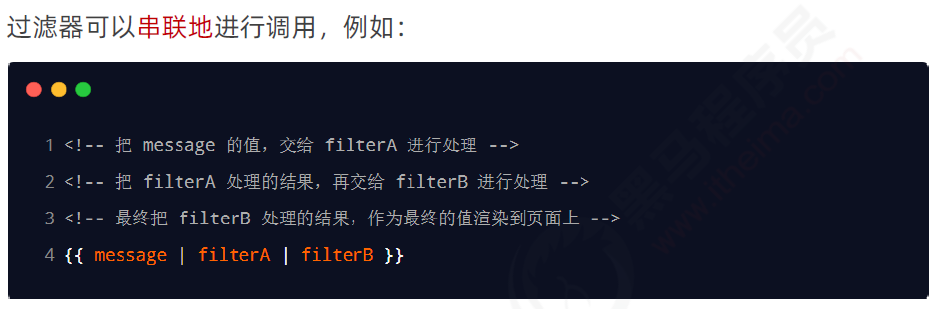
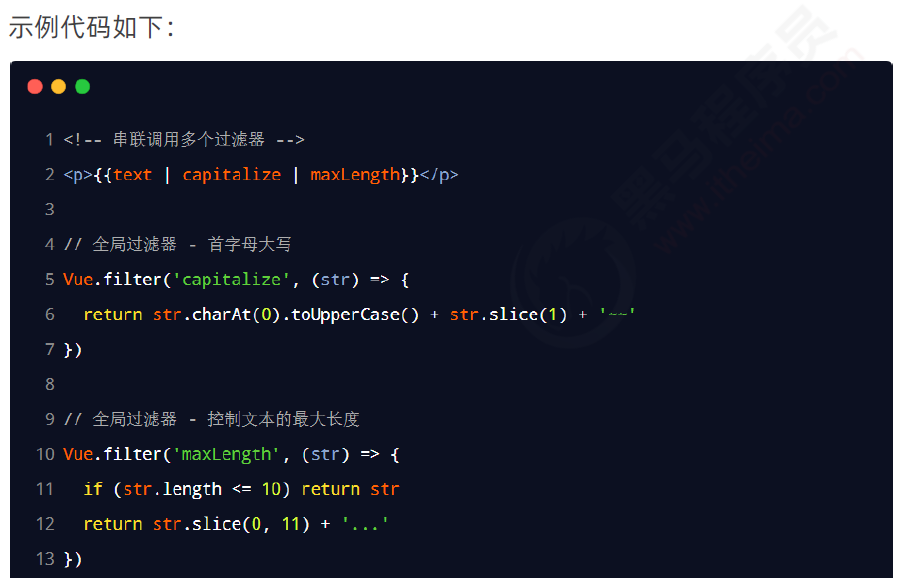
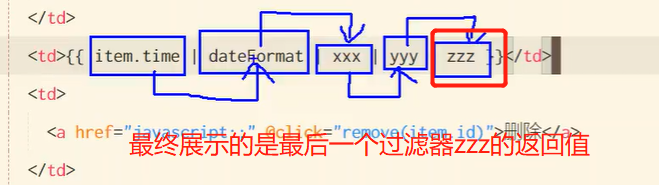
5 连续调用多个过滤器
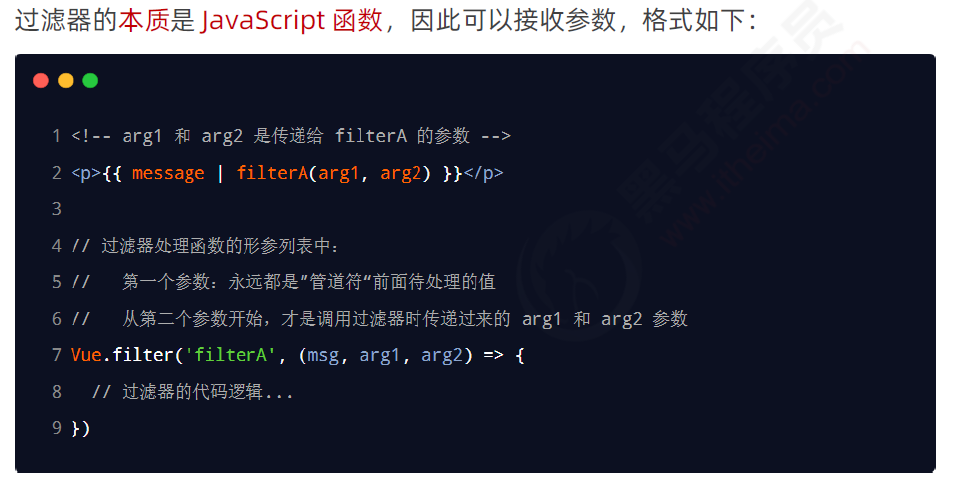
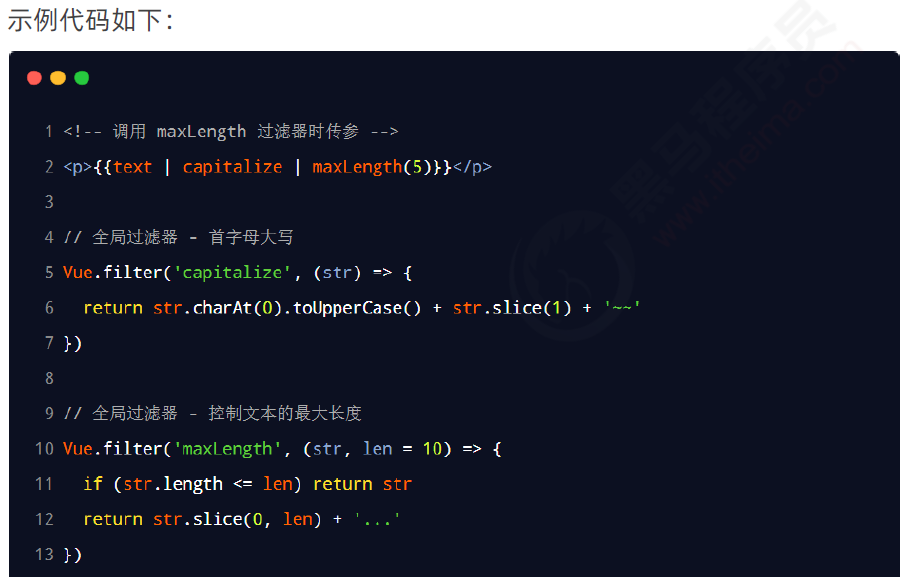
6 过滤器传参
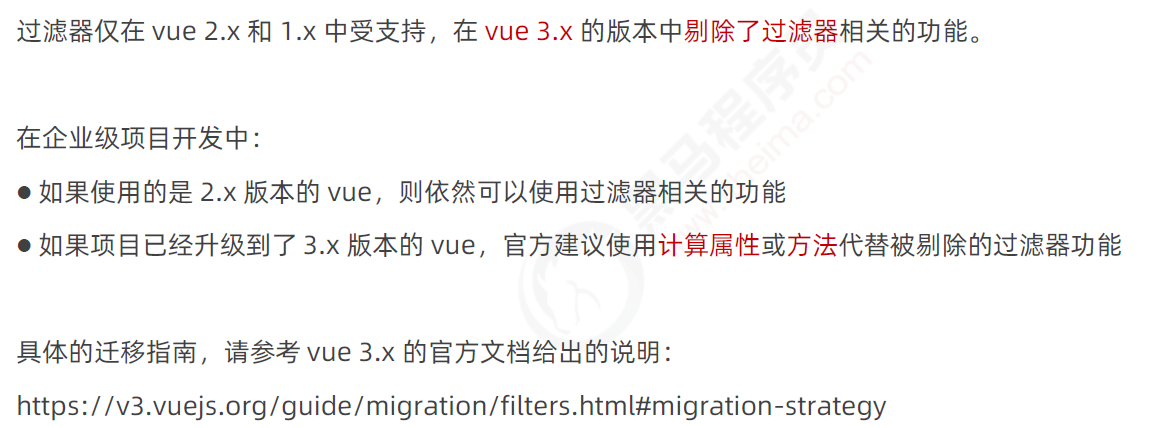
7 过滤器的兼容性
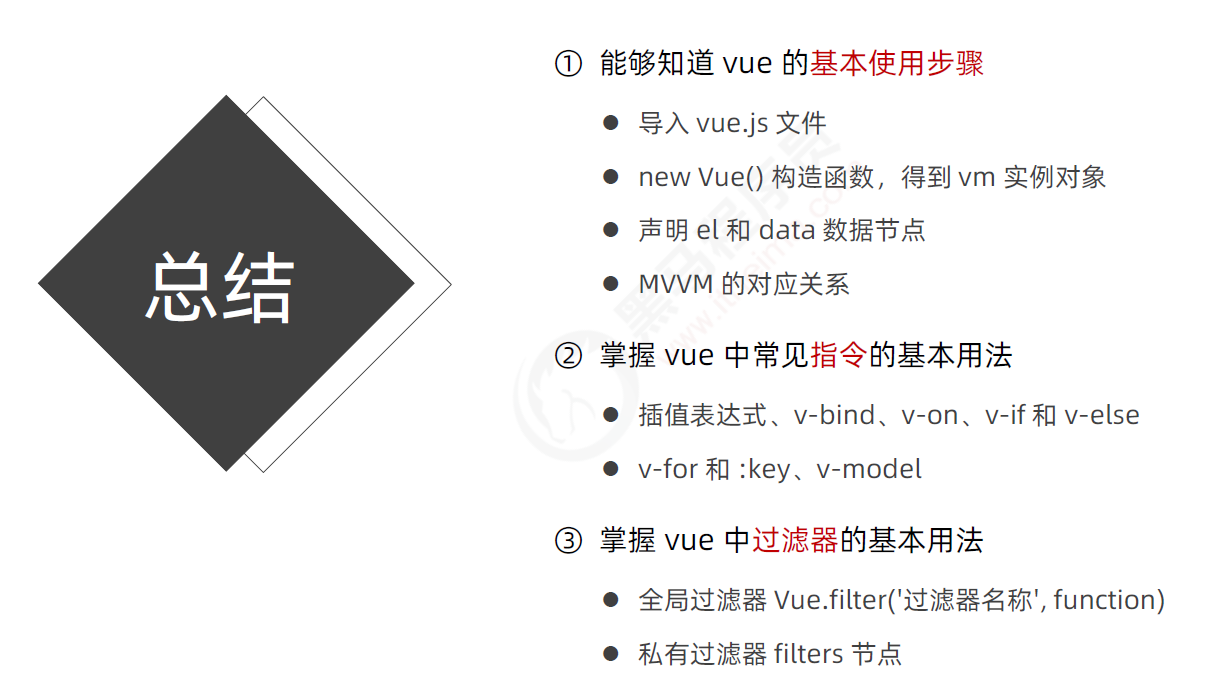
8 总结


【推荐】国内首个AI IDE,深度理解中文开发场景,立即下载体验Trae
【推荐】编程新体验,更懂你的AI,立即体验豆包MarsCode编程助手
【推荐】抖音旗下AI助手豆包,你的智能百科全书,全免费不限次数
【推荐】轻量又高性能的 SSH 工具 IShell:AI 加持,快人一步
· Linux系列:如何用heaptrack跟踪.NET程序的非托管内存泄露
· 开发者必知的日志记录最佳实践
· SQL Server 2025 AI相关能力初探
· Linux系列:如何用 C#调用 C方法造成内存泄露
· AI与.NET技术实操系列(二):开始使用ML.NET
· 被坑几百块钱后,我竟然真的恢复了删除的微信聊天记录!
· 没有Manus邀请码?试试免邀请码的MGX或者开源的OpenManus吧
· 【自荐】一款简洁、开源的在线白板工具 Drawnix
· 园子的第一款AI主题卫衣上架——"HELLO! HOW CAN I ASSIST YOU TODAY
· Docker 太简单,K8s 太复杂?w7panel 让容器管理更轻松!