泡泡SpringSecurity5.3【SpringBoot整合SpringSecurity-数据库认证】


package com.haifei.pojo;

import java.io.Serializable;

public class User implements Serializable {

    private Integer id;
    private String username;
    private String password;
    private Integer age;
    private String sex;

    public Integer getId() {
        return id;
    }

    public void setId(Integer id) {
        this.id = id;
    }

    public String getUsername() {
        return username;
    }

    public void setUsername(String username) {
        this.username = username;
    }

    public String getPassword() {
        return password;
    }

    public void setPassword(String password) {
        this.password = password;
    }

    public Integer getAge() {
        return age;
    }

    public void setAge(Integer age) {
        this.age = age;
    }

    public String getSex() {
        return sex;
    }

    public void setSex(String sex) {
        this.sex = sex;
    }

    @Override
    public String toString() {
        return "User{" +
                "id=" + id +
                ", username='" + username + '\'' +
                ", password='" + password + '\'' +
                ", age=" + age +
                ", sex='" + sex + '\'' +
                '}';
    }
}
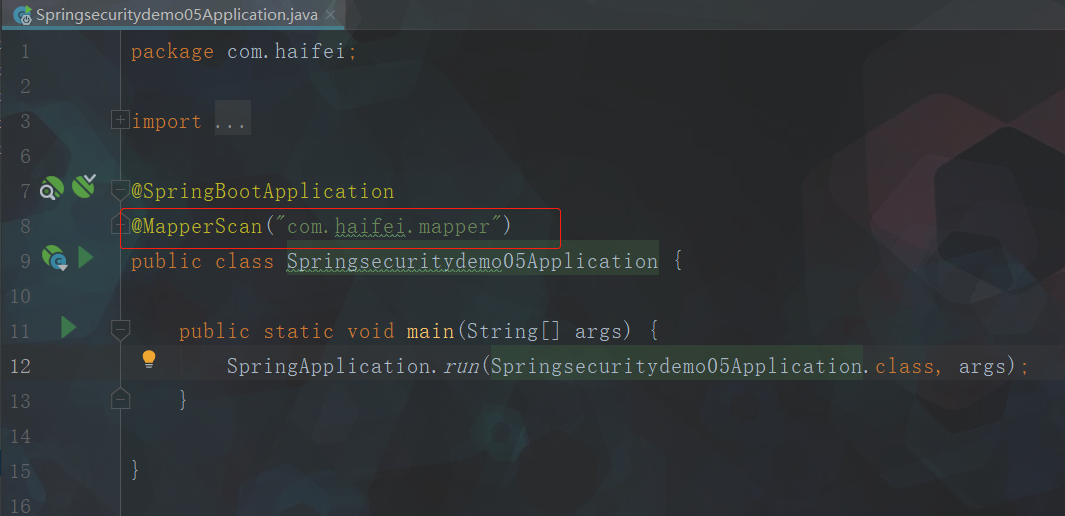
package com.haifei.mapper;

import com.haifei.pojo.User;
import org.apache.ibatis.annotations.Select;
import org.springframework.stereotype.Repository;


@Repository
public interface UserMapper {

    @Select("select * from user where username = #{username}")
    User findUserByUsername(String username);

}
package com.haifei.service;

import org.springframework.security.core.userdetails.UserDetailsService;

public interface UserService extends UserDetailsService {
}
package com.haifei.service.impl;

import com.haifei.mapper.UserMapper;
import com.haifei.pojo.User;
import com.haifei.service.UserService;
import org.springframework.beans.factory.annotation.Autowired;
import org.springframework.security.core.authority.SimpleGrantedAuthority;
import org.springframework.security.core.userdetails.UserDetails;
import org.springframework.security.core.userdetails.UsernameNotFoundException;
import org.springframework.stereotype.Service;

import java.util.ArrayList;
import java.util.List;

@Service
public class UserServiceImpl implements UserService {

    @Autowired
    private UserMapper userMapper;

    @Override
    public UserDetails loadUserByUsername(String s) throws UsernameNotFoundException {
        //根据账号查找用户信息
        User user = userMapper.findUserByUsername(s);
        if (user != null){
            //设置登录账号的角色
            List<SimpleGrantedAuthority> authorities = new ArrayList<>();
            authorities.add(new SimpleGrantedAuthority("ROLE_USER"));

            UserDetails userDetails = new org.springframework.security.core.userdetails.User(
                    user.getUsername(),
                    user.getPassword(),
                    true, //是否可用
                    true, //账号是否过期
                    true, //凭证是否过期
                    true, //是否被锁定
                    authorities
            );
            return userDetails;
        }
        return null;
    }

}
application.properties
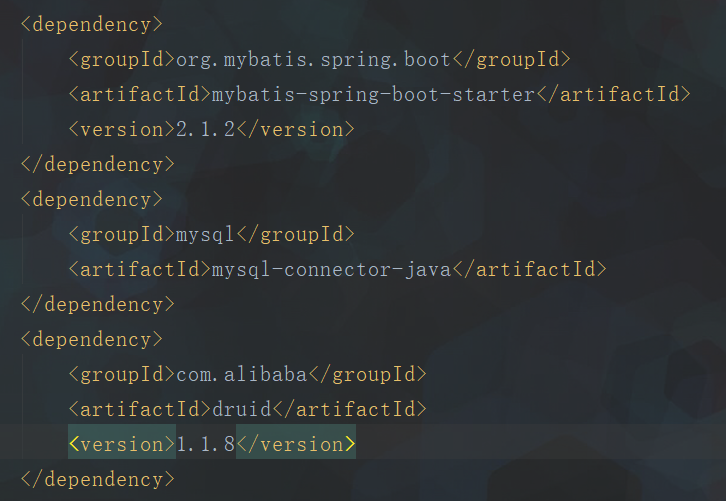
#thymeleaf 配置
spring.thymeleaf.mode=HTML5
spring.thymeleaf.encoding=UTF-8
spring.thymeleaf.suffix=.html
spring.thymeleaf.servlet.content-type=text/html
#缓存设置为false, 这样修改之后马上生效,便于调试
spring.thymeleaf.cache=false
#上下文--
#不仅仅是一个路劲的前缀,而且是项目的名字groupId
server.servlet.context-path=/

server.port=8082

# 配置JDBC的相关信息
spring.datasource.driver-class-name=com.mysql.cj.jdbc.Driver
spring.datasource.url=jdbc:mysql://localhost:3306/db_localtest?characterEncoding=utf-8&serverTimezone=UTC
spring.datasource.username=root
spring.datasource.password=root
# 配置连接池
spring.datasource.type=com.alibaba.druid.pool.DruidDataSource
# 配置MyBatis的package 设置别名
mybatis.type-aliases-package=com.haifei.pojo
#mybatis.mapper-locations=classpath:mapper/*.xml
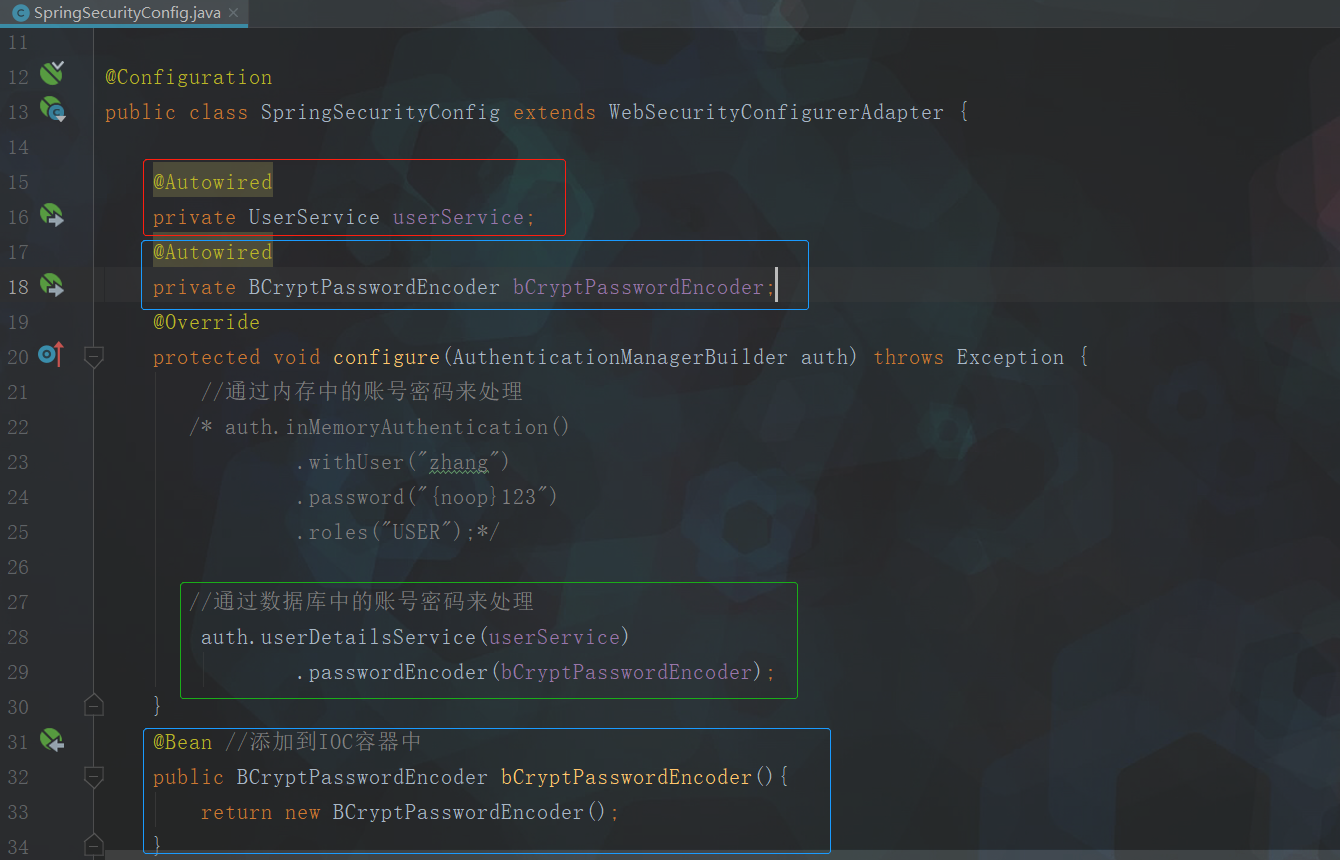
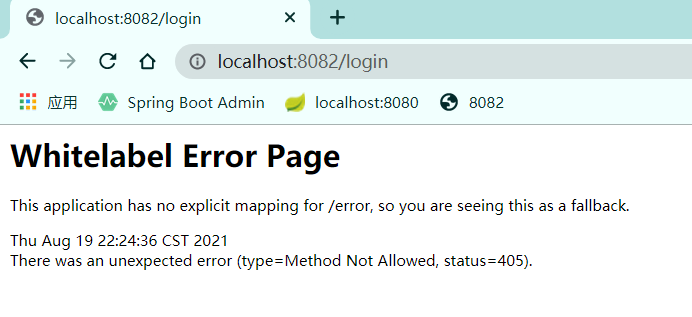
package com.haifei.config;

import com.haifei.service.UserService;
import org.springframework.beans.factory.annotation.Autowired;
import org.springframework.context.annotation.Bean;
import org.springframework.context.annotation.Configuration;
import org.springframework.security.config.annotation.authentication.builders.AuthenticationManagerBuilder;
import org.springframework.security.config.annotation.web.builders.HttpSecurity;
import org.springframework.security.config.annotation.web.configuration.WebSecurityConfigurerAdapter;
import org.springframework.security.crypto.bcrypt.BCryptPasswordEncoder;

@Configuration
public class SpringSecurityConfig extends WebSecurityConfigurerAdapter {

    @Autowired
    private UserService userService;
    @Autowired
    private BCryptPasswordEncoder bCryptPasswordEncoder;
    @Override
    protected void configure(AuthenticationManagerBuilder auth) throws Exception {
        //通过内存中的账号密码来处理
       /* auth.inMemoryAuthentication()
                .withUser("zhang")
                .password("{noop}123")
                .roles("USER");*/

       //通过数据库中的账号密码来处理
        auth.userDetailsService(userService)
                .passwordEncoder(bCryptPasswordEncoder);
    }
    @Bean //添加到IOC容器中
    public BCryptPasswordEncoder bCryptPasswordEncoder(){
        return new BCryptPasswordEncoder();
    }

    @Override
    protected void configure(HttpSecurity http) throws Exception {
        http.authorizeRequests()
                .mvcMatchers("/login_page.html","/mylogin","/css/**","/js/**")
                .permitAll()
                .antMatchers("/**")
                .hasAnyRole("USER")
                .anyRequest()
                .authenticated()
                .and()
                .formLogin()
                .loginPage("/mylogin")
                .loginProcessingUrl("/login")
                .successForwardUrl("/home.html")
                .and()
                .csrf()
                .disable();
        //successForwardUrl仅支持post提交
    }

}


【推荐】国内首个AI IDE,深度理解中文开发场景,立即下载体验Trae
【推荐】编程新体验,更懂你的AI,立即体验豆包MarsCode编程助手
【推荐】抖音旗下AI助手豆包,你的智能百科全书,全免费不限次数
【推荐】轻量又高性能的 SSH 工具 IShell:AI 加持,快人一步
· Linux系列:如何用heaptrack跟踪.NET程序的非托管内存泄露
· 开发者必知的日志记录最佳实践
· SQL Server 2025 AI相关能力初探
· Linux系列:如何用 C#调用 C方法造成内存泄露
· AI与.NET技术实操系列(二):开始使用ML.NET
· 被坑几百块钱后,我竟然真的恢复了删除的微信聊天记录!
· 没有Manus邀请码?试试免邀请码的MGX或者开源的OpenManus吧
· 【自荐】一款简洁、开源的在线白板工具 Drawnix
· 园子的第一款AI主题卫衣上架——"HELLO! HOW CAN I ASSIST YOU TODAY
· Docker 太简单,K8s 太复杂?w7panel 让容器管理更轻松!