HM-SpringBoot2.3【SpringBoot自动配置-Enable*注解】
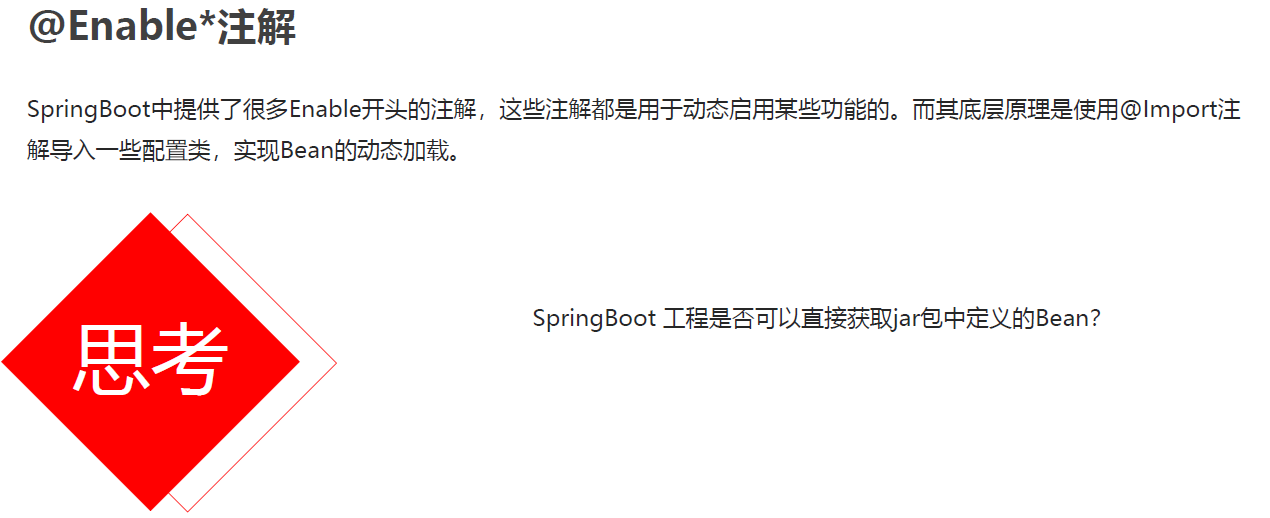
1 创建模块1

 1 <?xml version="1.0" encoding="UTF-8"?>
 2 <project xmlns="http://maven.apache.org/POM/4.0.0" xmlns:xsi="http://www.w3.org/2001/XMLSchema-instance"
 3          xsi:schemaLocation="http://maven.apache.org/POM/4.0.0 https://maven.apache.org/xsd/maven-4.0.0.xsd">
 4
 5     <modelVersion>4.0.0</modelVersion>
 6
 7     <parent>
 8         <groupId>org.springframework.boot</groupId>
 9         <artifactId>spring-boot-starter-parent</artifactId>
10         <version>2.5.3</version>
11         <relativePath/> <!-- lookup parent from repository -->
12     </parent>
13
14     <groupId>com.haifei</groupId>
15     <artifactId>springboot9-enable</artifactId>
16     <version>0.0.1-SNAPSHOT</version>
17     <name>springboot9-enable</name>
18     <description>Demo project for Spring Boot</description>
19
20     <properties>
21         <java.version>1.8</java.version>
22     </properties>
23
24     <dependencies>
25         <dependency>
26             <groupId>org.springframework.boot</groupId>
27             <artifactId>spring-boot-starter</artifactId>
28         </dependency>
29         <dependency>
30             <groupId>org.springframework.boot</groupId>
31             <artifactId>spring-boot-starter-test</artifactId>
32             <scope>test</scope>
33         </dependency>
34     </dependencies>
35
36     <build>
37         <plugins>
38             <plugin>
39                 <groupId>org.springframework.boot</groupId>
40                 <artifactId>spring-boot-maven-plugin</artifactId>
41             </plugin>
42         </plugins>
43     </build>
44
45 </project>
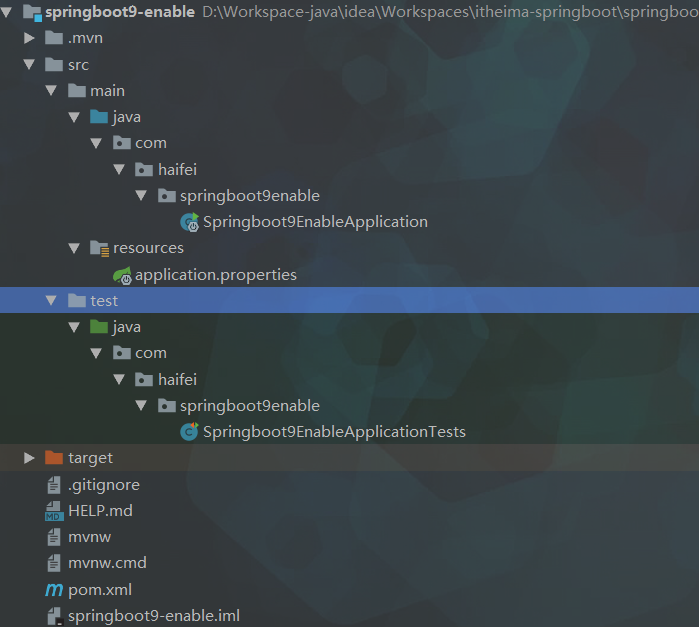
2 创建模块2
 1 <?xml version="1.0" encoding="UTF-8"?>
 2 <project xmlns="http://maven.apache.org/POM/4.0.0" xmlns:xsi="http://www.w3.org/2001/XMLSchema-instance"
 3          xsi:schemaLocation="http://maven.apache.org/POM/4.0.0 https://maven.apache.org/xsd/maven-4.0.0.xsd">
 4
 5     <modelVersion>4.0.0</modelVersion>
 6
 7     <parent>
 8         <groupId>org.springframework.boot</groupId>
 9         <artifactId>spring-boot-starter-parent</artifactId>
10         <version>2.5.3</version>
11         <relativePath/> <!-- lookup parent from repository -->
12     </parent>
13
14     <groupId>com.haifei</groupId>
15     <artifactId>springboot10-enable-other</artifactId>
16     <version>0.0.1-SNAPSHOT</version>
17     <name>springboot10-enable-other</name>
18     <description>Demo project for Spring Boot</description>
19
20     <properties>
21         <java.version>1.8</java.version>
22     </properties>
23
24     <dependencies>
25         <dependency>
26             <groupId>org.springframework.boot</groupId>
27             <artifactId>spring-boot-starter</artifactId>
28         </dependency>
29     </dependencies>
30
31 </project>
3 在模块2中创建Bean类及其配置类
1 package com.haifei.domain;
2
3 public class User {
4 }
 1 package com.haifei.config;
 2
 3 import com.haifei.domain.User;
 4 import org.springframework.context.annotation.Bean;
 5 import org.springframework.context.annotation.Configuration;
 6
 7 @Configuration
 8 public class UserConfig {
 9
10     @Bean
11     public User user(){
12         return new User();
13     }
14
15 }
4 在模块1中获取Bean
1 pom.xml
2
3 +
4
5         <dependency>
6             <groupId>com.haifei</groupId>
7             <artifactId>springboot10-enable-other</artifactId>
8             <version>0.0.1-SNAPSHOT</version>
9         </dependency>
 1 package com.haifei.springboot9enable;
 2
 3 import com.haifei.config.EnableUser;
 4 import com.haifei.config.UserConfig;
 5 import com.haifei.domain.User;
 6 import org.springframework.boot.SpringApplication;
 7 import org.springframework.boot.autoconfigure.SpringBootApplication;
 8 import org.springframework.context.ConfigurableApplicationContext;
 9 import org.springframework.context.annotation.ComponentScan;
10 import org.springframework.context.annotation.Import;
11
12 import java.util.Map;
13
14 /**
15  * Enable*注解
16  */
17 //@ComponentScan("com.haifei.config")
18 //@Import(UserConfig.class)
19 @EnableUser
20
21 @SpringBootApplication
22 public class Springboot9EnableApplication {
23
24     public static void main(String[] args) {
25         ConfigurableApplicationContext context = SpringApplication.run(Springboot9EnableApplication.class, args);
26         //获取Bean(由于该Bean是其他模块中的Bean,需要在pom中导入依赖坐标)
27         Object user = context.getBean("user");
28         System.out.println(user);
29
30         /*
31         不能直接获取bean-user,NoSuchBeanDefinitionException: No bean named 'user' available
32         原因:
33             @SpringBootApplication的元注解@ComponentScan指定扫描范围仅为当前引导类所在包及其子包
34             而这个bean-user在springboot10-enable-other模块中的com.haifei.config包下
35             此类属于springboot9-enable模块中的com.haifei.springboot9enable包下
36          */
37
38         /*
39         解决方法1:使用@ComponentScan扫描com.itheima.config包
40         在该类上加上注解@ComponentScan,并指定bean的配置类所在包
41         com.haifei.domain.User@517566b
42          */
43
44         /*
45         解决方法2:可以使用@Import注解,加载类。这些类都会被Spring创建,并放入IOC容器
46         在该类上加上注解@Import,并指定bean的配置类.class
47         com.haifei.domain.User@e8df99a
48          */
49
50         /*
51         解决方法3:可以对Import注解进行封装
52         在springboot10-enable-other模块中的com.haifei.config包下创建注解@EnableUser,并对其配置方法2中的@Import
53         在该类上加上注解@EnableUser即可
54         com.haifei.domain.User@2f40e5db
55          */
56     }
57
58 }
5 模块2中自定义的@EnableUser注解
 1 package com.haifei.config;
 2
 3 import org.springframework.context.annotation.Import;
 4
 5 import java.lang.annotation.*;
 6
 7 @Target({ElementType.TYPE})
 8 @Retention(RetentionPolicy.RUNTIME)
 9 @Documented //以上三个为@Import注解的元注解
10 @Import(UserConfig.class)
11 public @interface EnableUser {
12 }
标签:
SpringBoot
, Java


【推荐】国内首个AI IDE,深度理解中文开发场景,立即下载体验Trae
【推荐】编程新体验,更懂你的AI,立即体验豆包MarsCode编程助手
【推荐】抖音旗下AI助手豆包,你的智能百科全书,全免费不限次数
【推荐】轻量又高性能的 SSH 工具 IShell:AI 加持,快人一步
· 开发者必知的日志记录最佳实践
· SQL Server 2025 AI相关能力初探
· Linux系列:如何用 C#调用 C方法造成内存泄露
· AI与.NET技术实操系列(二):开始使用ML.NET
· 记一次.NET内存居高不下排查解决与启示
· 被坑几百块钱后,我竟然真的恢复了删除的微信聊天记录!
· 没有Manus邀请码?试试免邀请码的MGX或者开源的OpenManus吧
· 【自荐】一款简洁、开源的在线白板工具 Drawnix
· 园子的第一款AI主题卫衣上架——"HELLO! HOW CAN I ASSIST YOU TODAY
· Docker 太简单,K8s 太复杂?w7panel 让容器管理更轻松!