
jenkins学习5-jenkins拉取git仓库代码,执行python自动化脚本
前言
python自动化的脚本开发完成后需提交到git代码仓库,接下来就是用Jenkins拉取代码去构建自动化代码了
git源码管理
代码上传git仓库这里就不介绍了,可以看之前写过的github相关这篇https://www.cnblogs.com/yoyoketang/p/7302515.html
自己公司内部的一般用gitlab,可以参考这篇https://www.cnblogs.com/yoyoketang/p/10282529.html
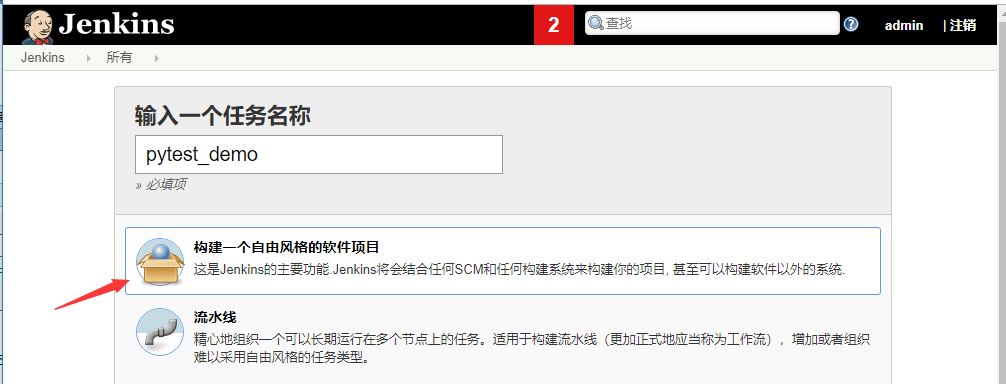
打开Jenkins新建一个自由风格的项目
源码管理
- Repository URL 代码仓库地址
- Credentials git仓库登陆的账号和密码凭证
- 指定分支(为空时代表any)分支默认
*/master
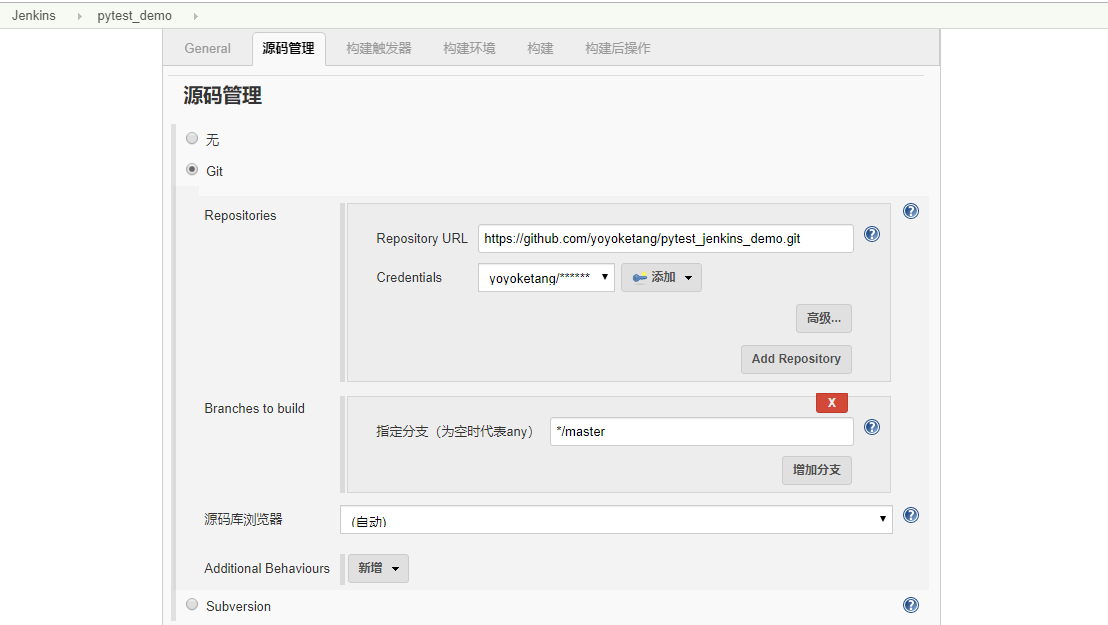
Repository URL 代码仓库地址
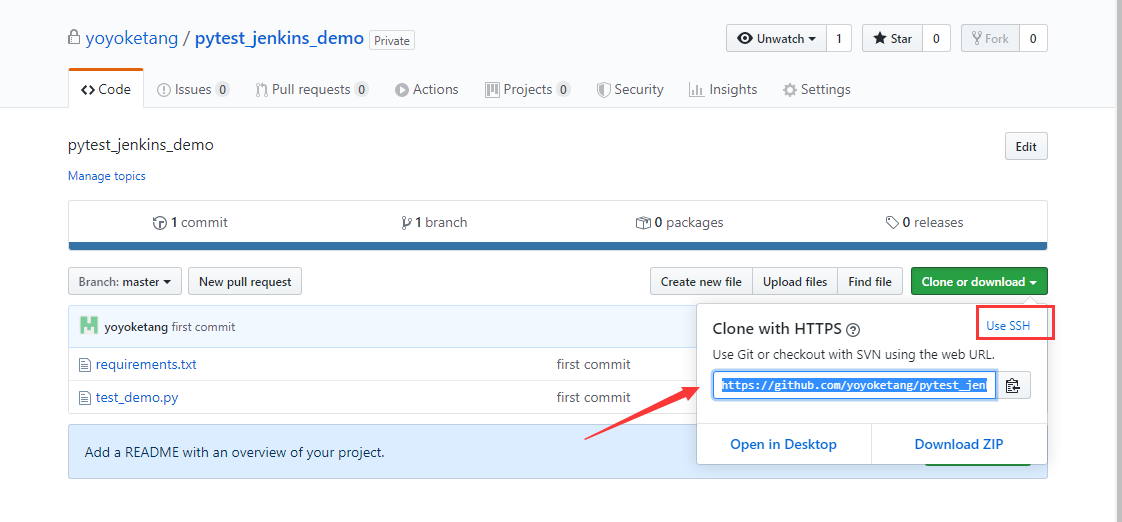
备注:如果是ssh方式链接的,就点右上角的SSH地址
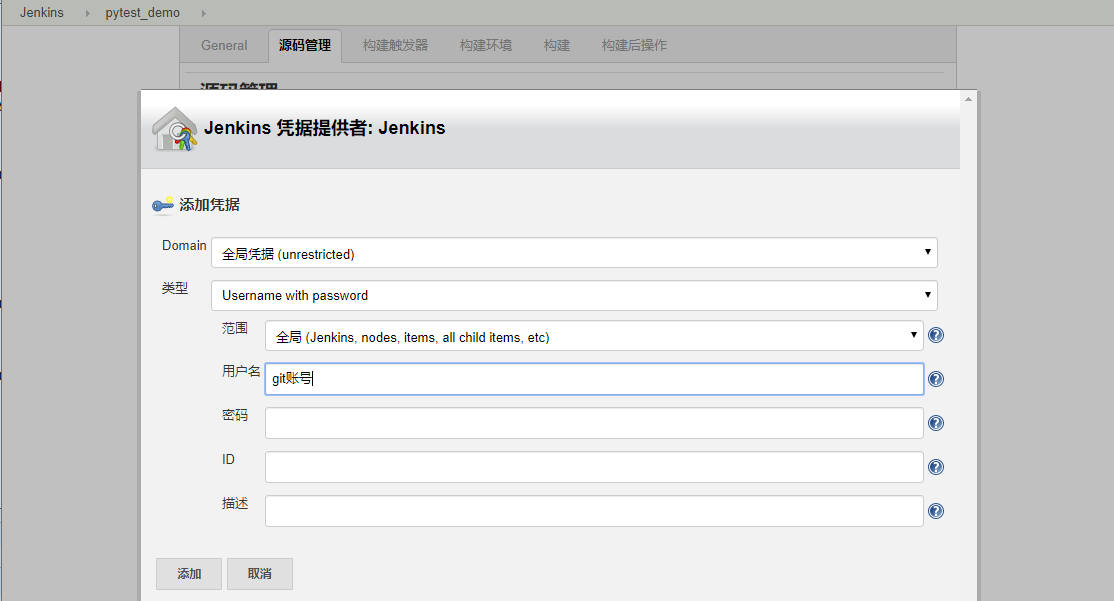
Credentials 点开Jenkins按钮,输入git仓库登陆的账号和密码
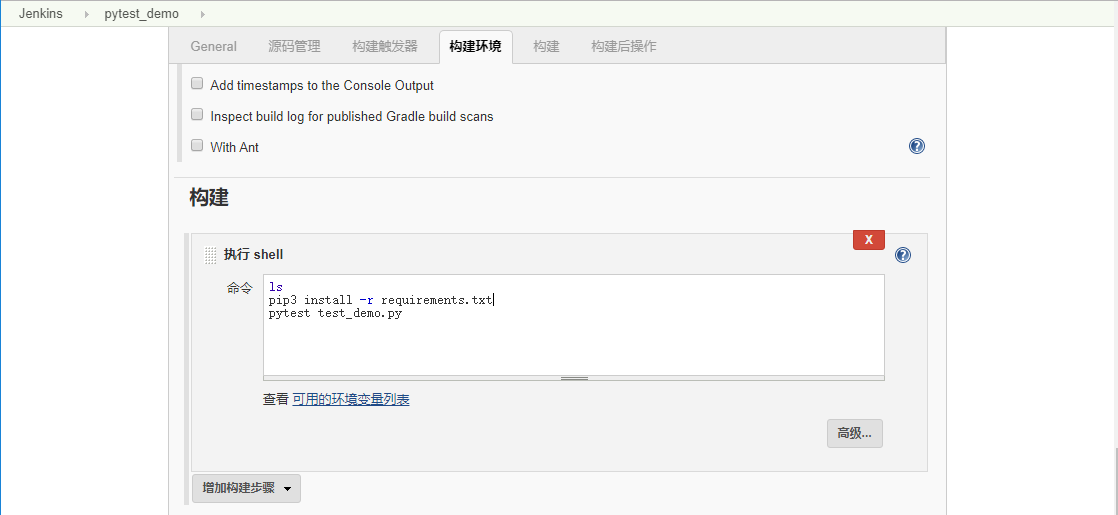
构建 执行shell
执行shell,先pip3安装requirements.txt,再用pytest执行脚本
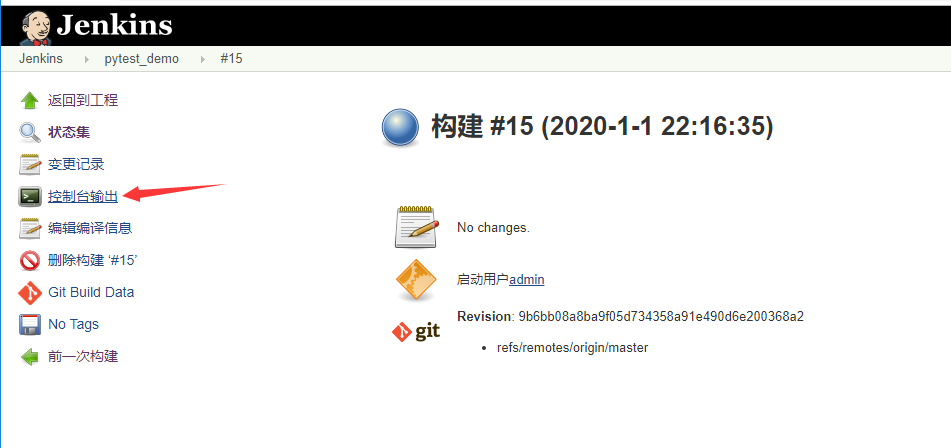
查看控制台输入出,console查看日志
+ ls
requirements.txt
test_demo.py
+ pip3 install -r requirements.txt
Collecting requests==2.18.4 (from -r requirements.txt (line 1))
  Downloading

Installing collected packages: idna, urllib3, requests, atomicwrites, six, more-itertools, wcwidth, attrs, py, zipp, importlib-metadata, pluggy, pytest, pytest-metadata, pytest-html
  Found existing installation: idna 2.8
    Uninstalling idna-2.8:
Could not install packages due to an EnvironmentError: [Errno 13] Permission denied: '/var/jenkins_home/python3/lib/python3.6/site-packages/idna-2.8.dist-info/INSTALLER'
Consider using the `--user` option or check the permissions.
发现没有权限安装,可以进入容器内部安装
docker exec -it -u root 容器id /bin/bash
打开workspace目录安装 /home/jenkins/workspace/pytest_demo
[root@cb8e397d5308]# cd /home/jenkins/workspace/pytest_demo
[root@cb8e397d5308]# ls
requirements.txt  test_demo.py
[root@cb8e397d5308]# pip3 install -r requirements.txt
安装完成后输入pytest检查pytest:-bash: pytest: command not found
[root@VM_0_2_centos pytest_demo]# pytest
-bash: pytest: command not found
查找pytest安装地址添加软链接,输入pytest --version查看环境
[root@cb8e397d5308]# find / -name pytest
/var/jenkins_home/python3/bin/pytest
[root@cb8e397d5308]# ln -s /var/jenkins_home/python3/bin/pytest /usr/bin/pytest
[root@cb8e397d5308]# pytest --version
This is pytest version 4.5.0, imported from /root/python36/lib/python3.6/site-packages/pytest.py
setuptools registered plugins:
  pytest-html-1.19.0 at /root/python36/lib/python3.6/site-packages/pytest_html/plugin.py
  pytest-metadata-1.8.0 at /root/python36/lib/python3.6/site-packages/pytest_metadata/plugin.py
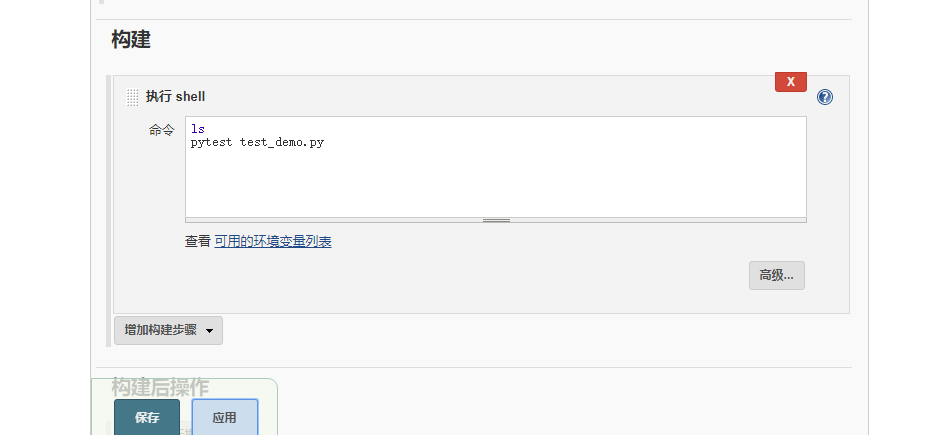
构建job
上面需要的环境都安装完成后,执行shell的时候,直接输入pytest命令就可以执行自动化的脚本了
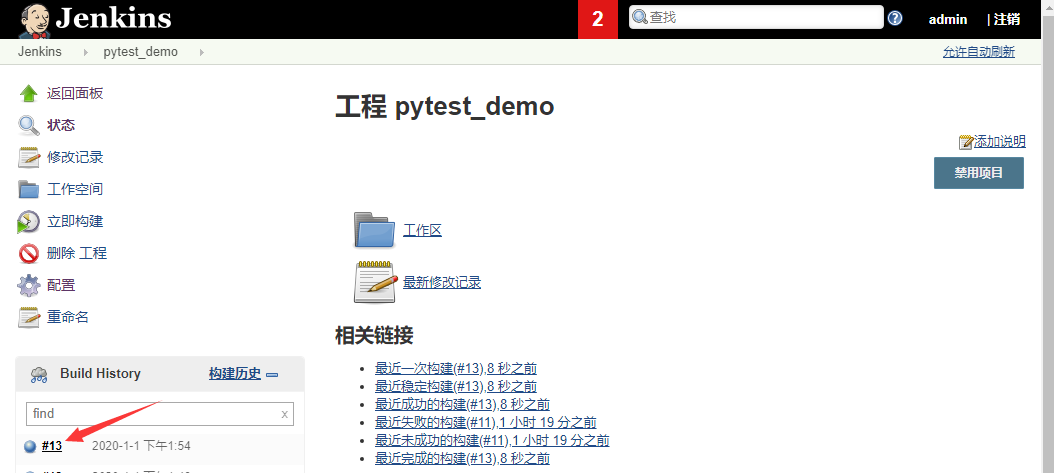
构建成功

 浙公网安备 33010602011771号