
【转+整理】jenkins与SonarQube集成
一、SonarQube
我的理解是,SonarQube就是一个对代码进行分析的平台,其功能可以通过插件扩展。支持多种语言,也支持静态代码检查、发现潜在bug等。
以下是参考信息:
维基百科:https://zh.wikipedia.org/wiki/SonarQube
文档:https://docs.sonarqube.org/display/SONAR/Documentation
二、下载安装
1.下载
访问官网:https://www.sonarqube.org/
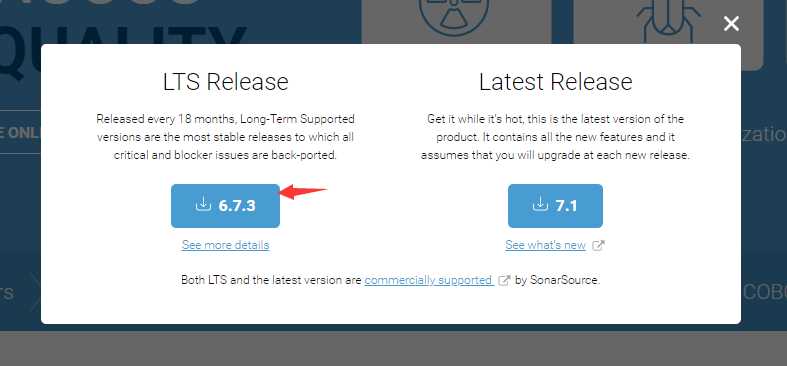
点击“Download”,

然后我们可以选择长期支持版本或者最近的稳定版本,
2.安装运行
该软件是绿色版,不需要安装,手动解压即可。windows或者linux都支持。
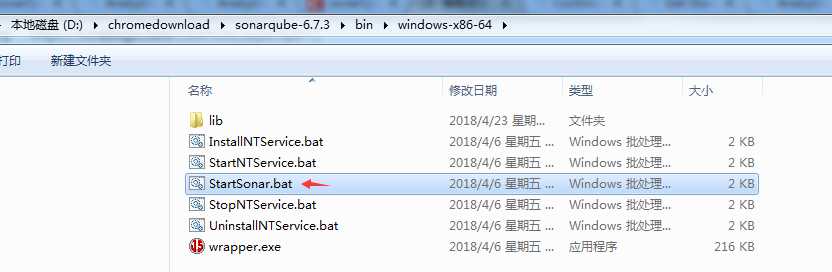
解压后,如果是windows,执行以下路径的bat(如果是32位操作系统,请切换到bin\windows-x86-32目录)
我的是mac,执行以下路径的sh sonar.sh文件

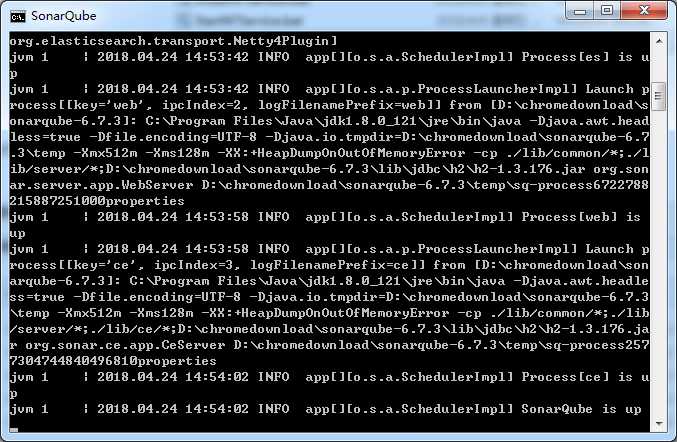
运行如下,如果显示如下图,表示已成功启动SonarQube。
3.尝试使用
访问:
用户名/密码是:admin/admin
接下来可以照着网页上的提示,完成token生成、SonarQube Scanner安装,该token用处很大,需要牢记。
4.配置mysql数据库(非必须)
安装mysql(不详述);默认安装在/usr/local/mysql下
$ ln -s /usr/local/mysql/bin/mysql /usr/local/bin/mysql #建立软连接
$ mysql -uroot -pyourpass #登录数据库
创建sonar所需库及用户等
CREATE DATABASE sonar CHARACTER SET utf8 COLLATE utf8_general_ci;
CREATE USER 'sonar' IDENTIFIED BY 'sonar';
GRANT ALL ON sonar.* TO 'sonar'@'%' IDENTIFIED BY 'sonar';
GRANT ALL ON sonar.* TO 'sonar'@'localhost' IDENTIFIED BY 'sonar';
FLUSH PRIVILEGES;
5、配置环境变量(mac下)
$ vim ~/.bash_profile
配置 SONAR_HOME
export SONAR_HOME=/usr/local/sonarqube-5.6.3
export PATH=$PATH:$SONAR_HOME/bin
保存退出验证是否生效
$ source ~/.bash_profile #使文件生效
$ echo $SONAR_HOME #打印验证
/usr/local/sonarqube-5.6.3 #正确的输出
如果需要配置mysql,配置sonar.properties
vim /usr/local/sonarqube-5.6.3/conf/sonar.properties
修改如下位置:

sonar.jdbc.username=sonar    #数据库用户名
sonar.jdbc.password=sonar    #密码
sonar.jdbc.url=jdbc:mysql://localhost:3306/sonar?useUnicode=true&characterEncoding=utf8&rewriteBatchedStatements=true&useConfigs=maxPerformance
sonar.jdbc.driverClassName=com.mysql.jdbc.Driver
保存退出,建立启动软链接
$ ln -s /usr/local/sonarqube-5.6.3/bin/macosx-universal-64/sonar.sh /usr/local/bin/sonar
配置sonar-scanner
sonar-scanne压缩包下载(https://docs.sonarqube.org/display/SCAN/Analyzing+with+SonarQube+Scanner)到/usr/local/解压
配置环境变量
$ vim ~/.bash_profile
添加SONAR_RUNNER_HOME
export SONAR_RUNNER_HOME=/usr/local/sonar-scanner-2.8
export PATH=$PATH:$SONAR_RUNNER_HOME/bin
如果需要配置mysql,配置解压路径下的sonar-scanner.properties :/usr/local/sonar-scanner.properties
vim /usr/local/sonar-scanner-2.8/conf/sonar-scanner.properties
修改如下位置:
sonar.jdbc.username=sonar    #数据库用户名
sonar.jdbc.password=sonar    #密码
sonar.jdbc.url=jdbc:mysql://localhost:3306/sonar?useUnicode=true&characterEncoding=utf8&rewriteBatchedStatements=true&useConfigs=maxPerformance
sonar.jdbc.driverClassName=com.mysql.jdbc.Driver
输入sonar-scanner -h 检查是否配置成功,成功则出现下列提示
usage: sonar-scanner [options]Options: -D,--define <arg> Define property -h,--help Display help information -v,--version Display version information -X,--debug Produce execution debug output
六、汉化
从以下链接下载汉化包:https://github.com/SonarQubeCommunity/sonar-l10n-zh/releases
放到sonarqube安装路径下的/extensions/plugins,sonarqube和汉化插件版本对应如下

7、测试
针对maven项目(python项目自行查资料),我们可以测试一下。
找到想要测试的项目的根路径,比如:

在命令行执行:(sonar.login就是上文生成的token值)
mvn sonar:sonar   -Dsonar.host.url=http://localhost:9000   -Dsonar.login=429cf9cccb1c1dc96aea29c2f69f74669ed7fdc5

或者是 sonar-scanner
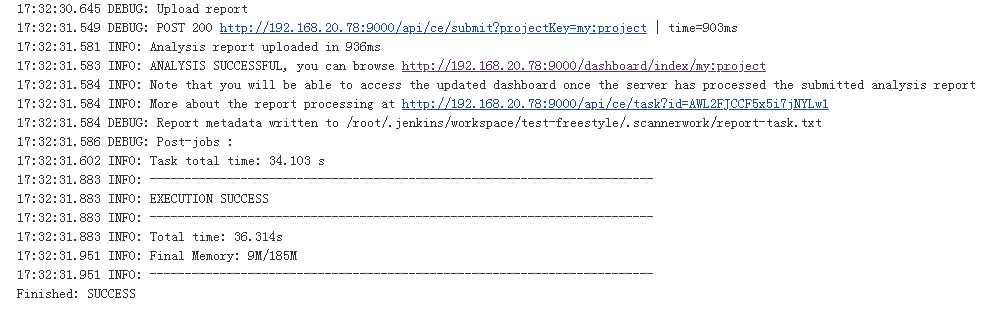
执行结果如下:
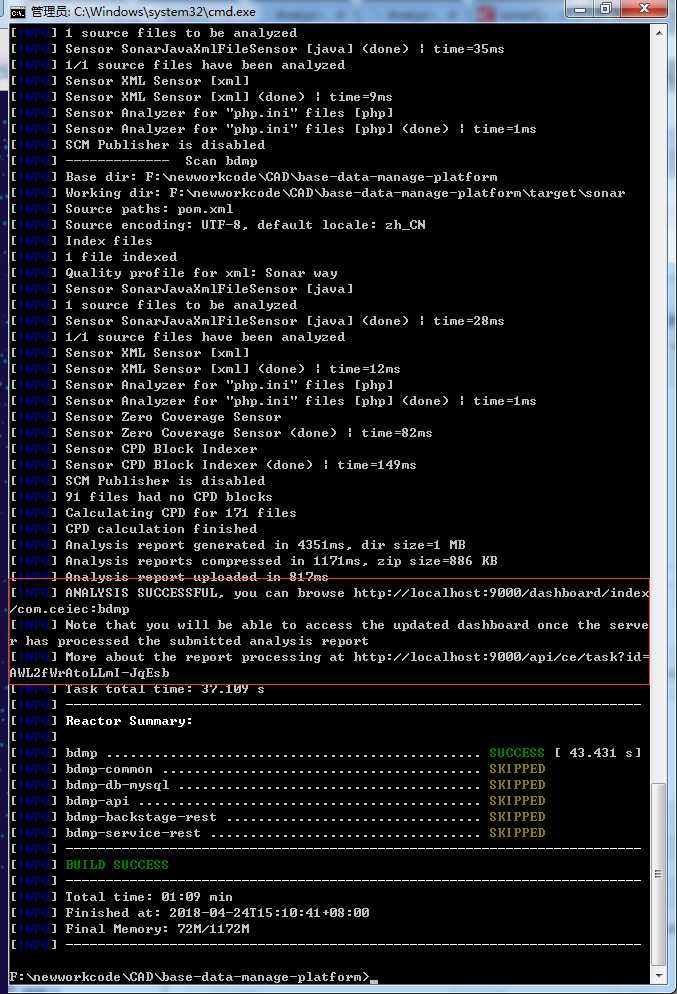
根据以下日志,
[INFO] ANALYSIS SUCCESSFUL, you can browse http://localhost:9000/dashboard/index
/com.ceiec:bdmp
我们访问:http://localhost:9000/dashboard/index/com.ceiec:bdmp,页面如下:
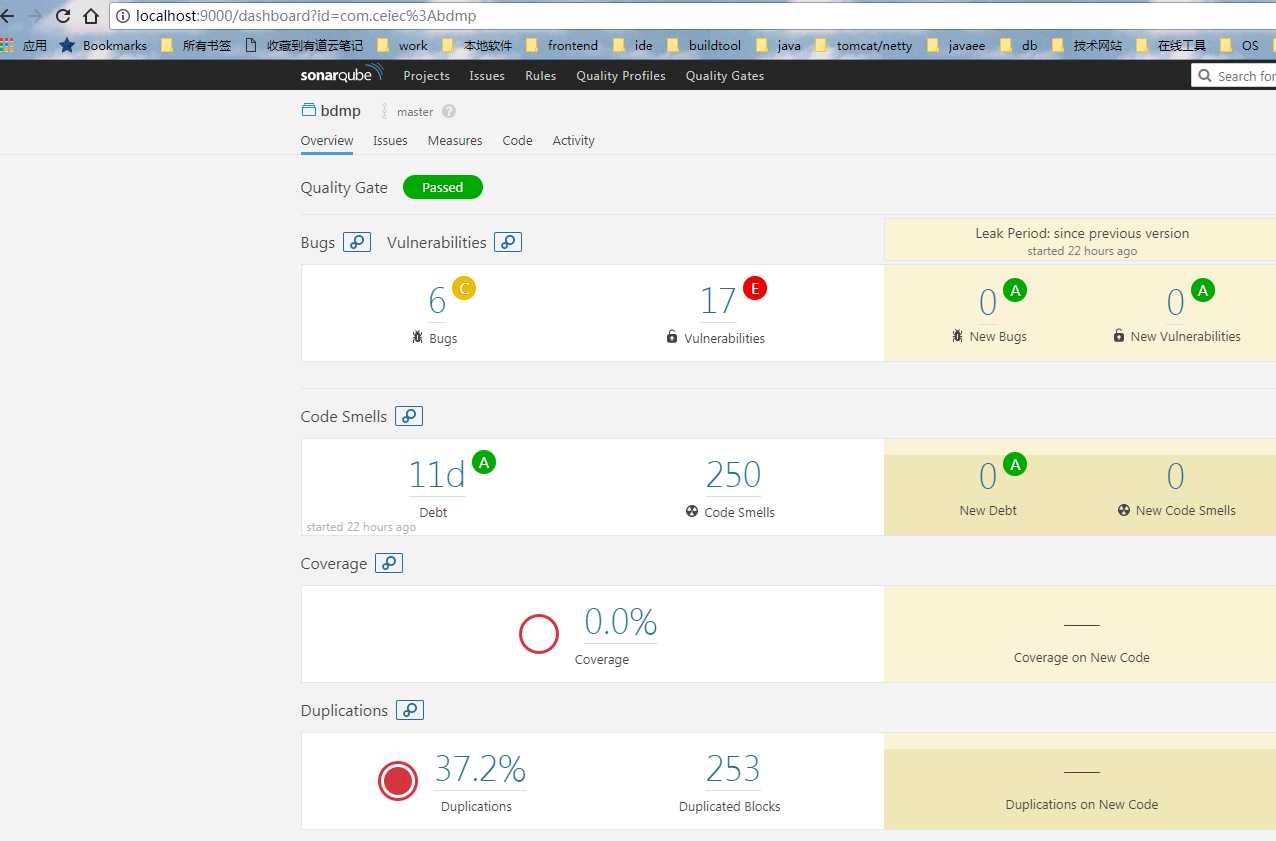
SonarQube的功能很多,以上只展示了基本功能。
更多功能可以参考官方文档:
https://docs.sonarqube.org/display/SONAR/Get+Started+in+Two+Minutes
三、与jenkins集成
参考:
https://docs.sonarqube.org/display/SCAN/Analyzing+with+SonarQube+Scanner
1.安装
依次进入,“系统管理”--》“管理插件”--》“可选插件”--》“SonarQube Scanner for Jenkins”,然后点“直接安装”。安装完成后,重启一下。
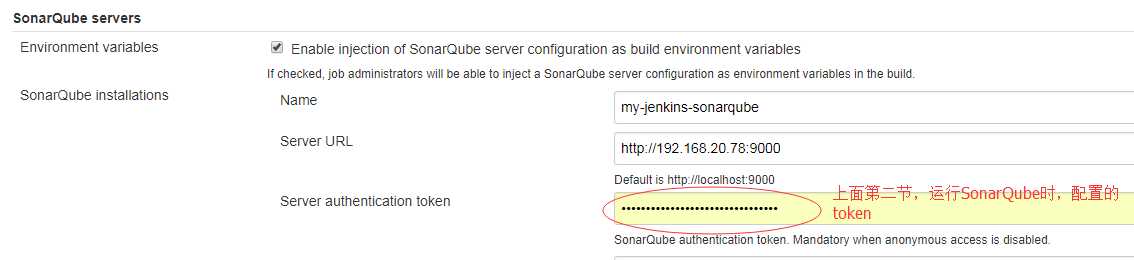
2.配置SonarQube服务器的地址
依次进入,“系统管理”--》“系统设置”,配置以下部分:
3.配置SonarQube Scanner
依次进入,“系统管理”--》“全局工具配置”,配置以下部分:
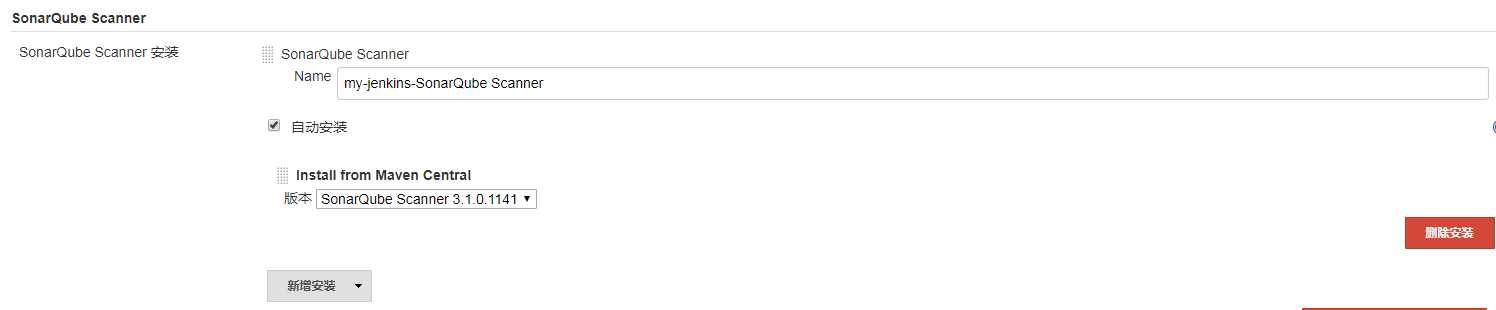
我这边采用了自动安装,但是,这个“自动安装”的运行条件是:
当你在job中配置了,要使用该指定名称“my-jenkins-SonarQube Scanner”的工具(当然,如果不指定,因为没有默认值,所以会在job配置页面上报错,红字提示),然后在“立即构建”时,才会去下载该工具。
并不是这里点了自动安装,点击保存后,马上就会下载安装的。
4.配置job
SonarQube,针对java来说,是基于class来检测的,所以在这前面,需要配置一个maven的编译步骤。
如下:

上图中,要指定给SonarQube Scanner使用的jdk,在Analysis properties中,
“sonar.projectKey”可随意指定;
“sonar.sources”指定了我的源文件路径;
“sonar.java.binaries”是编译后的class文件的路径。
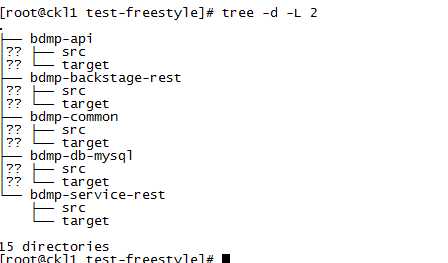
以下是我的jenkins的该job的工作目录树(请读者参考自己的目录配置):
5.构建结果
6.异常情形
INFO: ------------------------------------------------------------------------ ERROR: Error during SonarQube Scanner execution ERROR: Error when executing blame for file bdmp-api/pom.xml ERROR: Caused by: svn: E170001: Authentication required for ‘<http://192.168.19.225:80> CollabNet Subversion Repository‘ ERROR: ERROR: Re-run SonarQube Scanner using the -X switch to enable full debug logging. WARN: Unable to locate ‘report-task.txt‘ in the workspace. Did the SonarScanner succedeed? ERROR: SonarQube scanner exited with non-zero code: 1 Finished: FAILURE
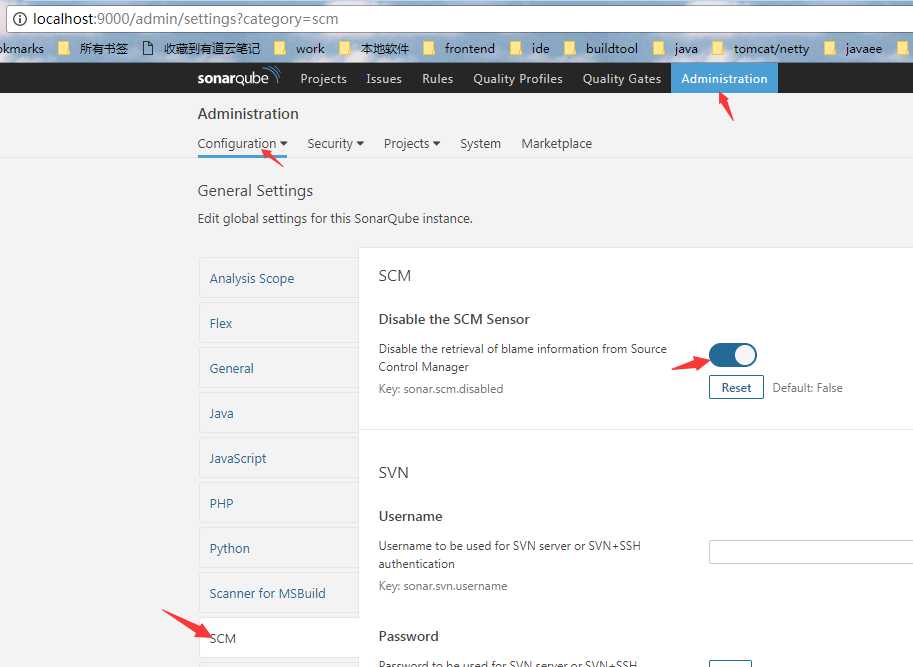
解决方法:
登录SonarQube,按下图所示,关闭“从scm获取blame信息”即可:

 浙公网安备 33010602011771号