Elasticsearch(安装篇):Windows下安装和运行Elasticsearch
前期准备
JAVA环境
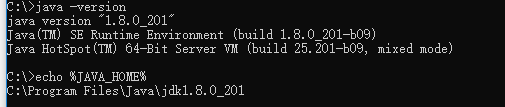
lasticsearch至少需要Java 8.具体到撰写本文时,为了更加适配新版ElasticSearch,建议大家使用Oracle JDK版本1.8.0以上。Java安装因平台而异,因此我们不会在此处详细介绍。可以在Oracle的网站上找到Oracle推荐的安装文档。
首先,在安装Elasticsearch之前 先看一下 是否安装过JDK,以及JDK版本是否符合这次安装(然后根据需要进行相应的安装/升级):
ElasticSearch安装
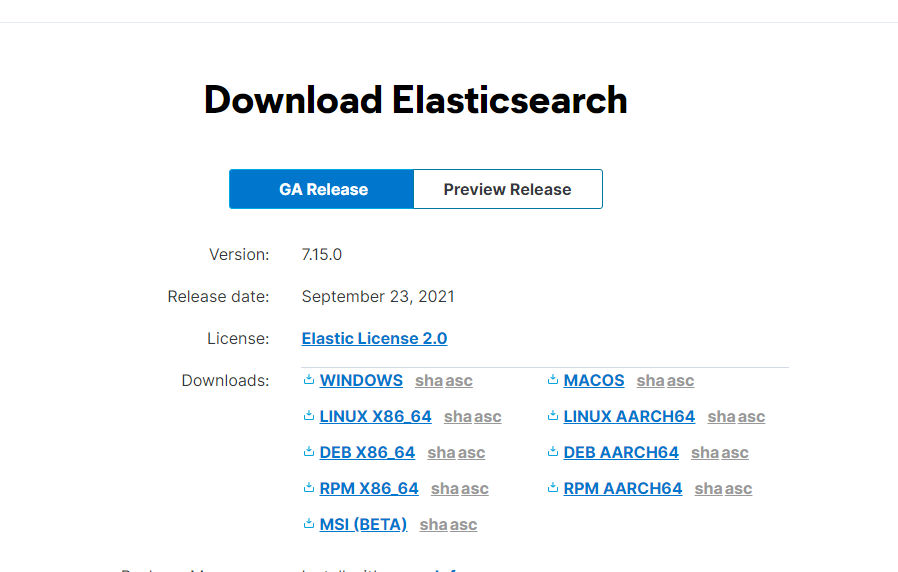
下载Elasticsearch
设置好Java,我们就可以下载并运行Elasticsearch。二进制文件可以https://www.elastic.co/downloads/elasticsearch与过去发布的所有版本一起提供。对于每个版本,您可以选择zip或tar存档,包DEB或RPM包,或Windows MSI安装包。
百度云下载地址 链接:https://pan.baidu.com/s/1K-gtBmobNtaIm0I2ff-mVQ
提取码:fuzx
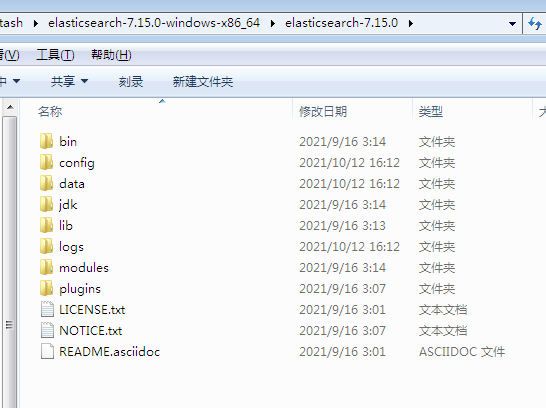
下载好后解压即可使用
编辑config/elasticsearch.yml
# ======================== Elasticsearch Configuration =========================
#
# NOTE: Elasticsearch comes with reasonable defaults for most settings.
# Before you set out to tweak and tune the configuration, make sure you
# understand what are you trying to accomplish and the consequences.
#
# The primary way of configuring a node is via this file. This template lists
# the most important settings you may want to configure for a production cluster.
#
# Please consult the documentation for further information on configuration options:
# https://www.elastic.co/guide/en/elasticsearch/reference/index.html
#
# ---------------------------------- Cluster -----------------------------------
#
# Use a descriptive name for your cluster:
#
cluster.name: my-application
#
# ------------------------------------ Node ------------------------------------
#
# Use a descriptive name for the node:
#
node.name: node-1
#
# Add custom attributes to the node:
#
#node.attr.rack: r1
#
# ----------------------------------- Paths ------------------------------------
#
# Path to directory where to store the data (separate multiple locations by comma):
#
#path.data: /path/to/data
#
# Path to log files:
#
#path.logs: /path/to/logs
#
# ----------------------------------- Memory -----------------------------------
#
# Lock the memory on startup:
#
#bootstrap.memory_lock: true
#
# Make sure that the heap size is set to about half the memory available
# on the system and that the owner of the process is allowed to use this
# limit.
#
# Elasticsearch performs poorly when the system is swapping the memory.
#
# ---------------------------------- Network -----------------------------------
#
# By default Elasticsearch is only accessible on localhost. Set a different
# address here to expose this node on the network:
#
network.host: 127.0.0.1
#
# By default Elasticsearch listens for HTTP traffic on the first free port it
# finds starting at 9200. Set a specific HTTP port here:
#
http.port: 9200
#
# For more information, consult the network module documentation.
#
# --------------------------------- Discovery ----------------------------------
#
# Pass an initial list of hosts to perform discovery when this node is started:
# The default list of hosts is ["127.0.0.1", "[::1]"]
#
discovery.seed_hosts: ["127.0.0.1"]
#
# Bootstrap the cluster using an initial set of master-eligible nodes:
#
cluster.initial_master_nodes: ["node-1"]
#
# For more information, consult the discovery and cluster formation module documentation.
#
# ---------------------------------- Various -----------------------------------
#
# Require explicit names when deleting indices:
#
#action.destructive_requires_name: true
# 设置证书
xpack.license.self_generated.type: basic
xpack.security.enabled: false
#是否支持跨域,默认为false
http.cors.enabled: true
#当设置允许跨域,默认为*,表示支持所有域名,如果我们只是允许某些网站能访问,那么可以使用正则表达式。比如只允许本地地址。 /https?:\/\/localhost(:[0-9]+)?/
http.cors.allow-origin: "*"
#这是为elasticsearch增加自动创建索引功能
action.auto_create_index: .security,.monitoring*,.watches,.triggered_watches,.watcher-history*,test_*
启动

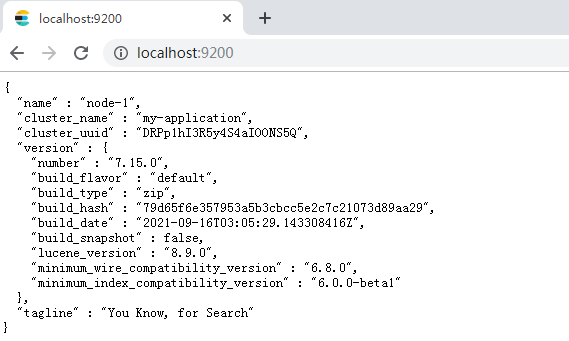
如果一切顺利安装,你应该看到一堆如下所示的消息:
浏览器打开http://127.0.0.1:9200/

 浙公网安备 33010602011771号