python.openpyxl
下载和导包
pip install openpyxl

import openpyxl

导入将字母转换成数字,将数字转换成字母的包
from openpyxl.utils import get_column_letter,column_index_from_string
名词概念
工作薄(workbook)
表单(worksheet)
行、列、单元格(row、column、cell)
创建和打开EXCEL文件
# 创建一个excel文件,创建和打开不同,创建最后需要保存
wb = openpyxl.Workbook()
wb.save("test.xlsx")
# 打开一个excel文件
wb = openpyxl.load_workbook(文件路径)
EXCEL里表单的操作
以下所有操作都是基于打开或者创建一个excel文件之后的操作:
wb = openpyxl.load_workbook(文件路径)
| 方法 | 应用场景 | 使用案例 | 运行结果 |
|---|---|---|---|
| .create_sheet() | 创建表单 | wb.create_sheet("leesin") or (index=5,title='leesin') | 添加名为“leesin”新表单 or 创建为第五页表单 |
| .remove_sheet() | 删除表单 | wb.remove_sheet(wb.get_sheet_by_name('表单名')) | 删除该表单 |
| .sheetnames | 读取中所有表单名称 | print(wb.sheetnames) | 返回包含所有表单名称的list |
| .get_sheet_by_name() | 获取指定名称的表单 | ws = wb.get_sheet_by_name("表单名称") | 将指定名称的表单赋值给ws |
| .active | 获取当前表单 | ws = wb.active | 将当前工作表单赋值给ws |
| .title | 获取和更改当前活动表单的名称 | print(ws.title) or ws.title=“test1” | 返回当前表单的名称:test or 更改当前表单的名称为:test1 |
| .row | 获取行数 | print(sheet["B1"].row) | 打印B1所在的行数:1 |
| .column | 获取列数 | print(sheet["B1"].column) | 打印B1所在的列数:2 |
| .coordinate | 获取坐标 | print(sheet["B1"].coordinate) | 打印B1的坐标:B1 |
| .value | 获取值或者赋值 | print(sheet["B1"].value) | 打印B1的值:B1 |
| .cell | 根据行、列定位坐标#.cell(row,column) | print(sheet.cell(1,2).value) | 返回地一行第二列的值:B1 |
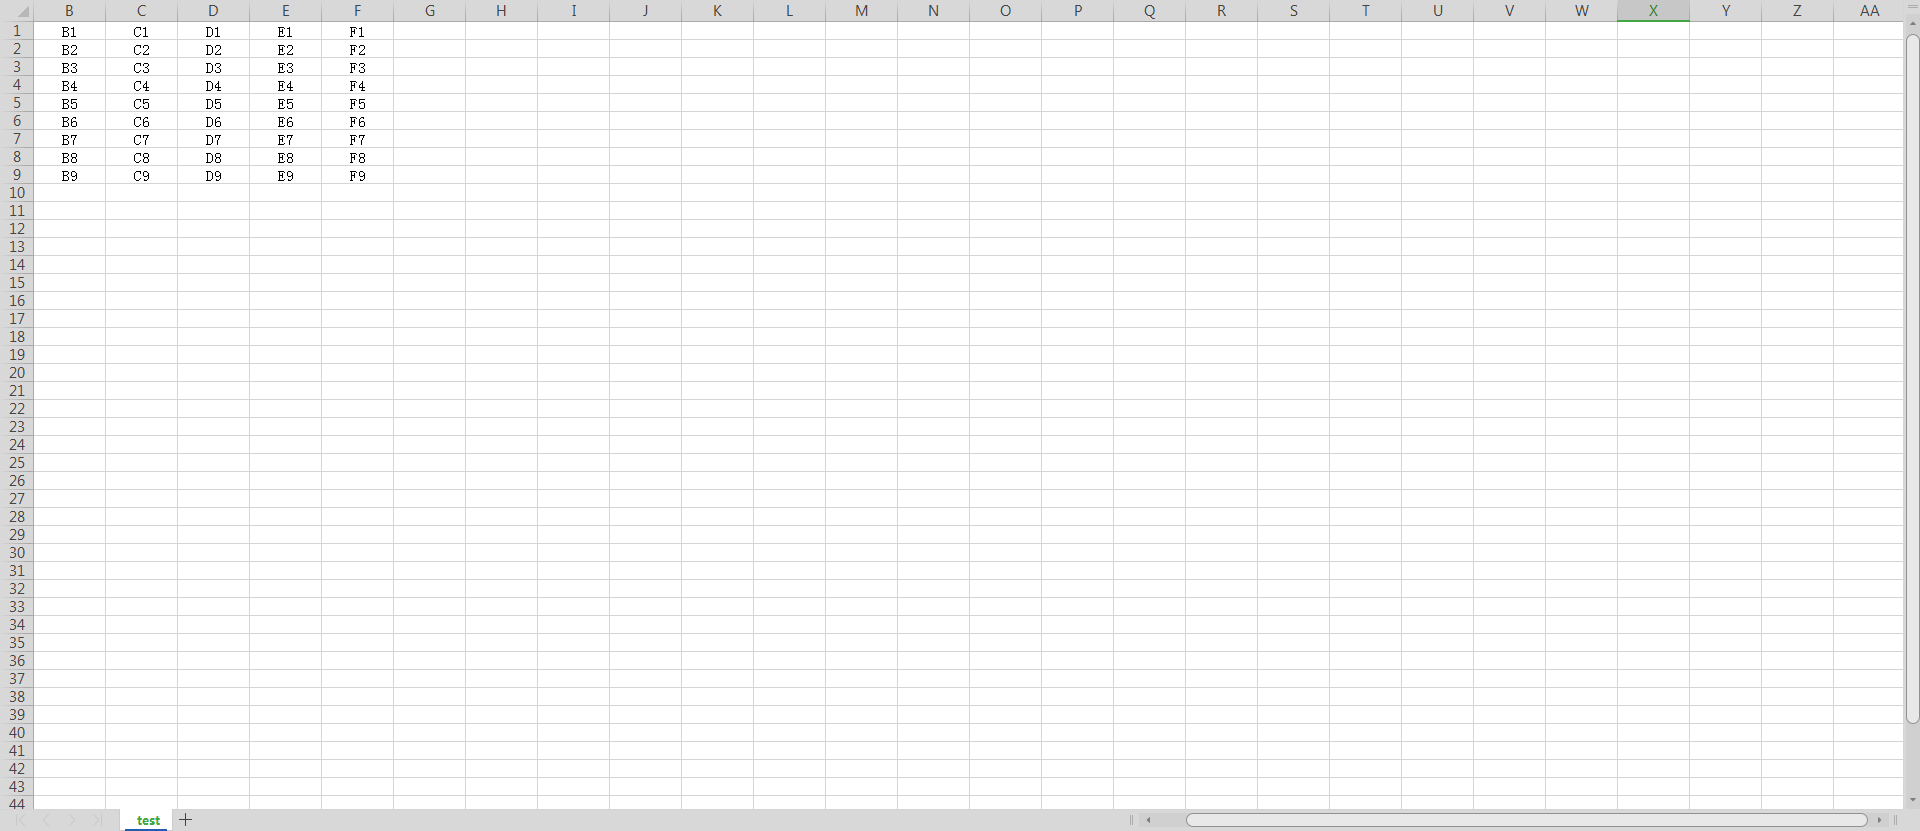
.rows 按行获取数值,将每行所有的值返回为元祖格式
for row in sheet.rows:
	print(row)
(<Cell 'test'.A1>, <Cell 'test'.B1>, <Cell 'test'.C1>, <Cell 'test'.D1>, <Cell 'test'.E1>, <Cell 'test'.F1>)
(<Cell 'test'.A2>, <Cell 'test'.B2>, <Cell 'test'.C2>, <Cell 'test'.D2>, <Cell 'test'.E2>, <Cell 'test'.F2>)
(<Cell 'test'.A3>, <Cell 'test'.B3>, <Cell 'test'.C3>, <Cell 'test'.D3>, <Cell 'test'.E3>, <Cell 'test'.F3>)
(<Cell 'test'.A4>, <Cell 'test'.B4>, <Cell 'test'.C4>, <Cell 'test'.D4>, <Cell 'test'.E4>, <Cell 'test'.F4>)
(<Cell 'test'.A5>, <Cell 'test'.B5>, <Cell 'test'.C5>, <Cell 'test'.D5>, <Cell 'test'.E5>, <Cell 'test'.F5>)
(<Cell 'test'.A6>, <Cell 'test'.B6>, <Cell 'test'.C6>, <Cell 'test'.D6>, <Cell 'test'.E6>, <Cell 'test'.F6>)
(<Cell 'test'.A7>, <Cell 'test'.B7>, <Cell 'test'.C7>, <Cell 'test'.D7>, <Cell 'test'.E7>, <Cell 'test'.F7>)
(<Cell 'test'.A8>, <Cell 'test'.B8>, <Cell 'test'.C8>, <Cell 'test'.D8>, <Cell 'test'.E8>, <Cell 'test'.F8>)
(<Cell 'test'.A9>, <Cell 'test'.B9>, <Cell 'test'.C9>, <Cell 'test'.D9>, <Cell 'test'.E9>, <Cell 'test'.F9>)
.columns 按列获取数值,将每列所有的值返回为元祖格式
for col in sheet.columns:
	print(col)
返回数据
A1
A2
A3
A4
A5
A6
A7
A8
A9
B1
B2
B3
B4
B5
B6
B7
B8
B9
C1
C2
C3
C4
C5
C6
C7
C8
C9
D1
D2
D3
D4
D5
D6
D7
D8
D9
E1
E2
E3
E4
E5
E6
E7
E8
E9
F1
F2
F3
F4
F5
F6
F7
F8
F9
设置单元格样式
单元格样式主要包括字体、边框、颜色以及对齐方式等,这些均位于openpyxl.styles库中
# 导入字体、边框、颜色以及对齐方式相关库from openpyxl.styles import Font, Border, Side, PatternFill, colors, Alignment
字体通过sheet单元格font属性设置字体风格
通过sheet单元格font属性设置字体风格
# 设置字体风格为Times New Roman,大小为16,粗体、斜体,颜色蓝色
sheet['A1'].font = Font(name='Times New Roman', size=16, bold=True, italic=True, color=colors.BLUE)
对齐方式
通过sheet单元格alignment属性设置文本对齐风格
# 通过参数horizontal和vertical来设置文字在单元格里的对齐方式,此外设置值还可为left和right
sheet['B1'].alignment = Alignment(horizontal='center',vertical='center')
边框
通过sheet单元格border属性设置字体风格
# 首先设置边框四个方向的线条种类
left, right, top, bottom = [Side(style='thin', color='000000')] * 4
# 再将各方向线条作为参数传入Border方法
sheet['C1'].border = Border(left=left, right=right, top=top, bottom=bottom)
设置行高和列宽
行和列的长度大小可以通过row_dimensions[序号].height和column_dimensions[标号].width来设置
# 设置行高
sheet.row_dimensions[1].height = 25

# 设置列宽
sheet.column_dimensions['D'].width = 15.5
合并和拆分单元格
对单元格的合并与拆分,主要是通过sheet的merge_cells(args1:args2)和unmerge_cells(args1:args2)两个方法来实现的
# 合并单元格
sheet.merge_cells('A1:B2')

# 拆分单元格
sheet.unmerge_cells('A1:B2')

 浙公网安备 33010602011771号