Spring Cloud 系列之 Netflix Hystrix 服务容错(一)

Hystrix 源自 Netflix 团队于 2011 年开始研发。2012年 Hystrix 不断发展和成熟,Netflix 内部的许多团队都采用了它。如今,每天在 Netflix 上通过 Hystrix 执行数百亿个线程隔离和数千亿个信号量隔离的调用。极大地提高了系统的稳定性。
在分布式环境中,不可避免地会有许多服务依赖项中的某些服务失败而导致雪崩效应。Hystrix 是一个库,可通过添加等待时间容限和容错逻辑来帮助您控制这些分布式服务之间的交互。Hystrix 通过隔离服务之间的访问点,停止服务之间的级联故障并提供后备选项来实现此目的,所有这些都可以提高系统的整体稳定性。
2|0雪崩效应
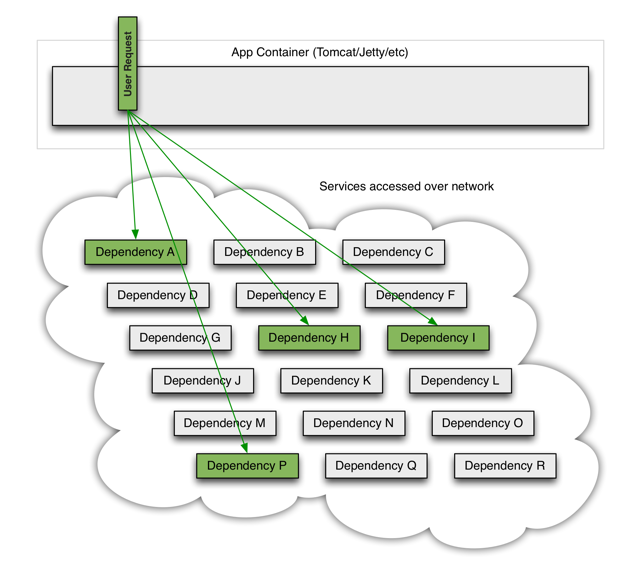
在微服务架构中,一个请求需要调用多个服务是非常常见的。如客户端访问 A 服务,而 A 服务需要调用 B 服务,B 服务需要调用 C 服务,由于网络原因或者自身的原因,如果 B 服务或者 C 服务不能及时响应,A 服务将处于阻塞状态,直到 B 服务 C 服务响应。此时若有大量的请求涌入,容器的线程资源会被消耗完毕,导致服务瘫痪。服务与服务之间的依赖性,故障会传播,造成连锁反应,会对整个微服务系统造成灾难性的严重后果,这就是服务故障的“雪崩”效应。以下图示完美解释了什么是雪崩效应。
当一切服务正常时,请求看起来是这样的:
当其中一个服务有延迟时,它可能阻塞整个用户请求:
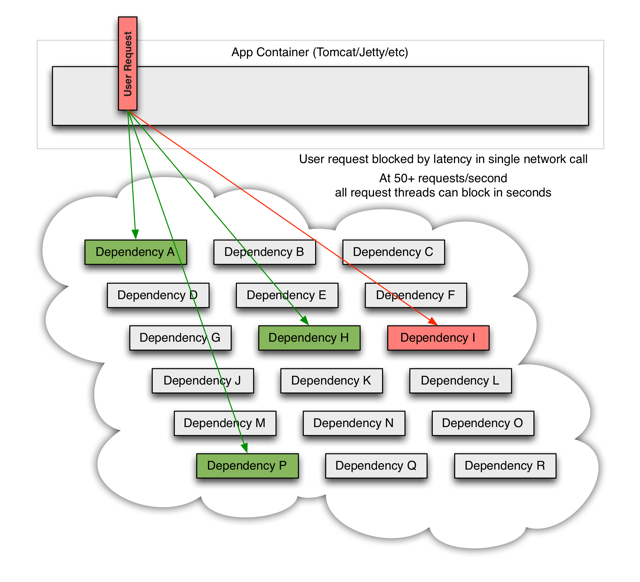
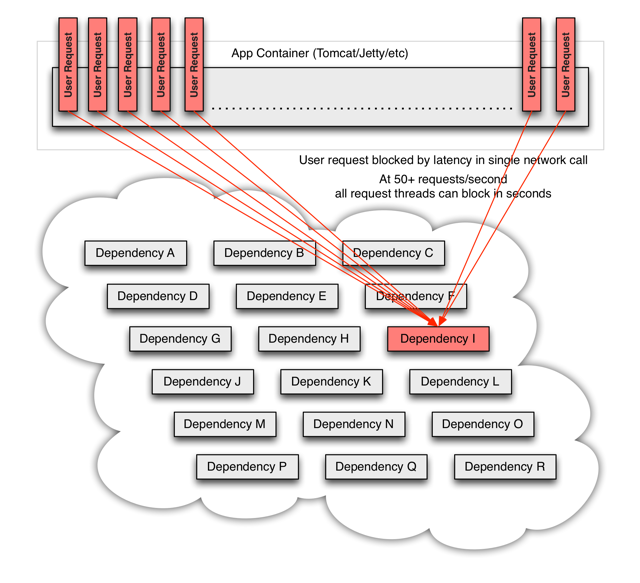
在高并发的情况下,一个服务的延迟可能导致所有服务器上的所有资源在数秒内饱和。比起服务故障,更糟糕的是这些应用程序还可能导致服务之间的延迟增加,从而备份队列,线程和其他系统资源,从而导致整个系统出现更多级联故障。
2|1总结
造成雪崩的原因可以归结为以下三点:
- 服务提供者不可用(硬件故障,程序 BUG,缓存击穿,用户大量请求等)
- 重试加大流量(用户重试,代码逻辑重试)
- 服务消费者不可用(同步等待造成的资源耗尽)
最终的结果就是:一个服务不可用,导致一系列服务的不可用。
3|0解决方案
雪崩是系统中的蝴蝶效应导致,其发生的原因多种多样,从源头我们无法完全杜绝雪崩的发生,但是雪崩的根本原因来源于服务之间的强依赖,所以我们可以提前评估做好服务容错。解决方案大概可以分为以下几种:
- 请求缓存:支持将一个请求与返回结果做缓存处理;
- 请求合并:将相同的请求进行合并然后调用批处理接口;
- 服务隔离:限制调用分布式服务的资源,某一个调用的服务出现问题不会影响其他服务调用;
- 服务熔断:牺牲局部服务,保全整体系统稳定性的措施;
- 服务降级:服务熔断以后,客户端调用自己本地方法返回缺省值。
4|0环境准备
hystrix-demo 聚合工程。SpringBoot 2.2.4.RELEASE、Spring Cloud Hoxton.SR1。
eureka-server:注册中心eureka-server02:注册中心product-service:商品服务,提供了/product/{id}接口,/product/list接口,/product/listByIds接口order-service-rest:订单服务,基于Ribbon通过RestTemplate调用商品服务order-server-feign:订单服务,基于Feign通过声明式服务调用商品服务

5|0模拟高并发场景
服务提供者接口添加 Thread.sleep(2000),模拟服务处理时长。
服务消费者降低 Tomcat 最大线程数方便模拟高并发。
5|1JMeter
点击链接观看:JMeter 视频(获取更多请关注公众号「哈喽沃德先生」)

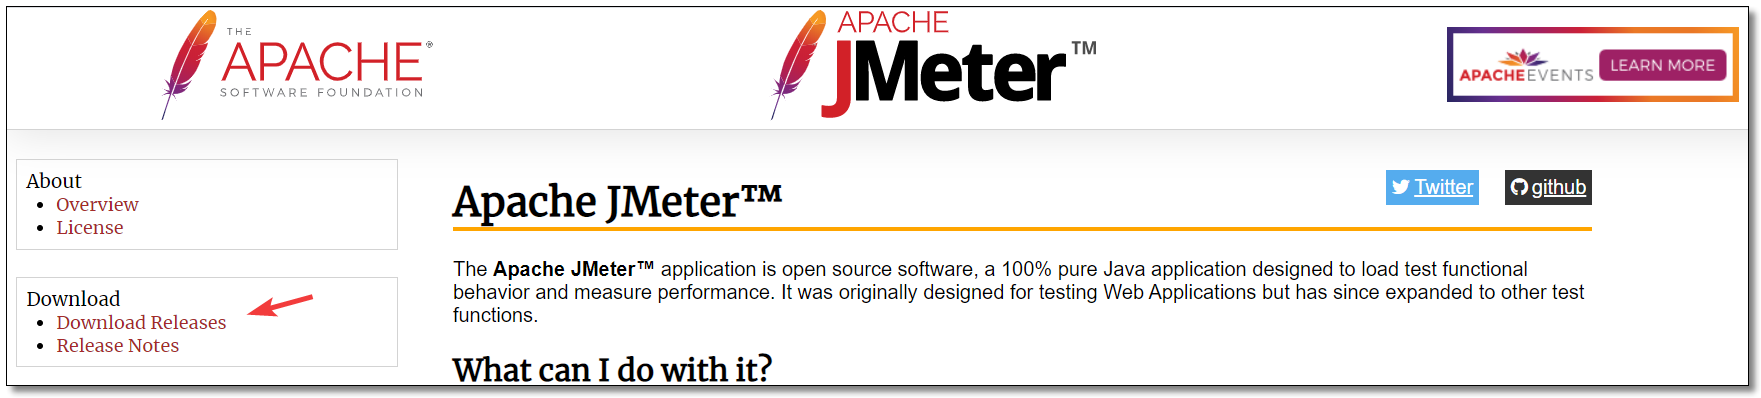
Apache JMeter 应用程序是开源软件,100% 纯 Java 应用而设计的负载测试功能行为和测量性能。它最初是为测试 Web 应用程序而设计的,但此后已扩展到其他测试功能。
Apache JMeter 可用于测试静态和动态资源,Web 动态应用程序的性能。它可用于模拟服务器,服务器组,网络或对象上的繁重负载,以测试其强度或分析不同负载类型下的整体性能。
安装
官网:https://jmeter.apache.org/ 本文安装 Windows 版本。
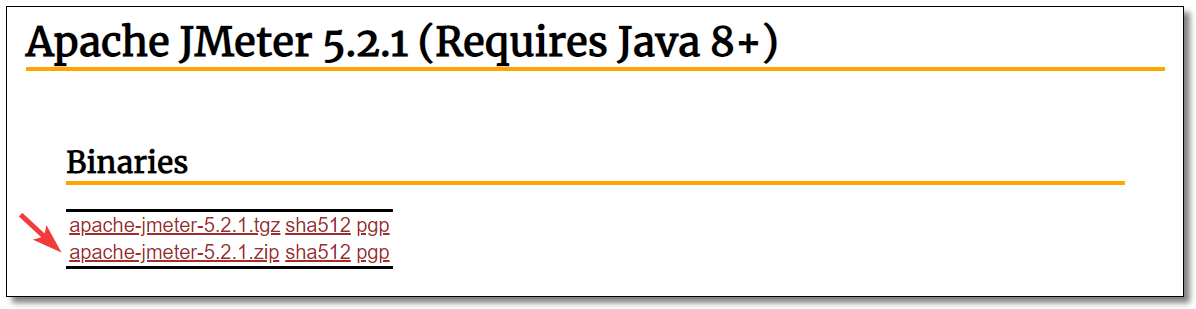
解压 apache-jmeter-5.2.1.zip,进入 bin 目录运行 jmeter.bat 即可。不过运行之前我们先来修改一下配置文件,方便大家更友好的使用。
修改配置
进入 bin 目录编辑 jmeter.properties 文件,修改 37 行和 1085 行两处代码(不同的电脑可能行数不一致,不过上下差距不大)。
language=zh_CN界面显示中文sampleresult.default.encoding=UTF-8编码字符集使用 UTF-8
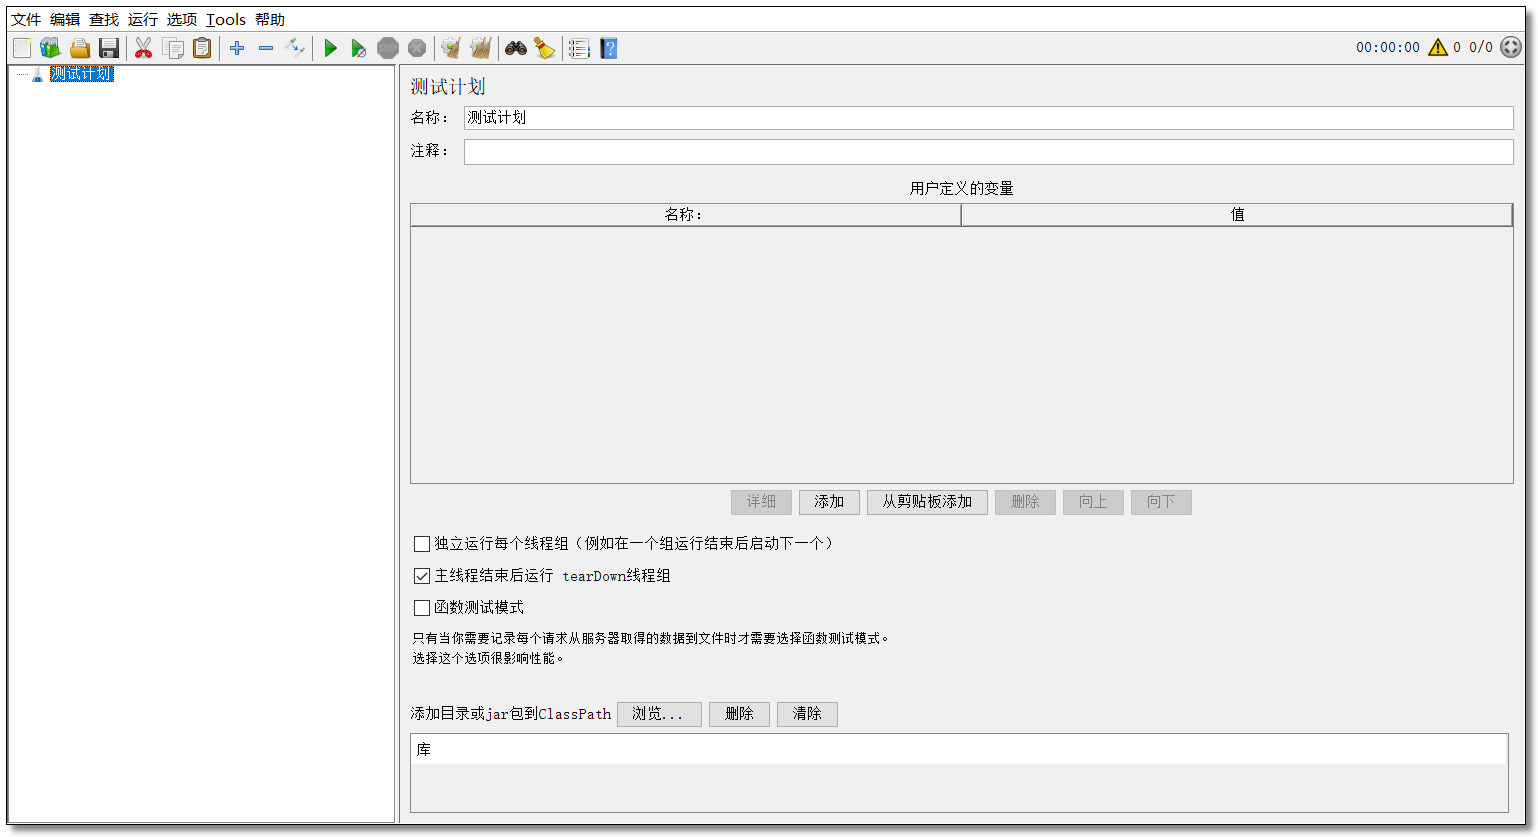
运行
运行 bin/jmeter.bat 文件,界面显示如下。
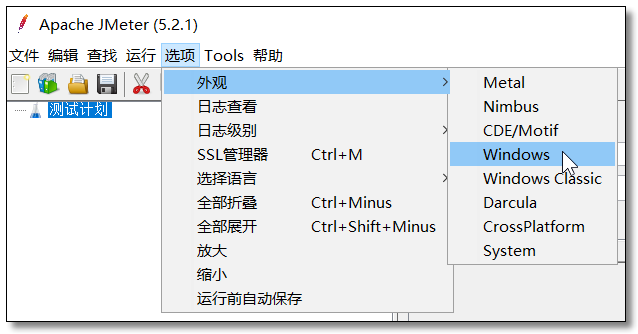
大家可以通过 选项 → 外观 选择自己喜欢的界面风格。
5|2基本使用
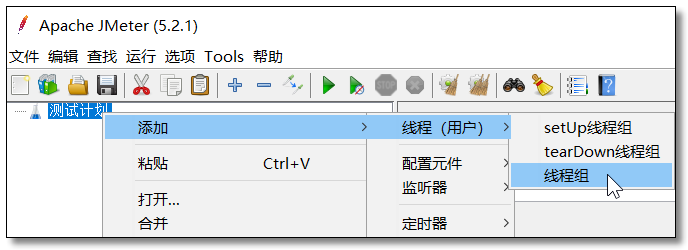
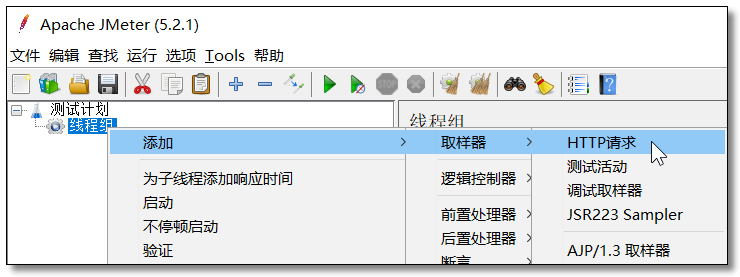
添加线程组

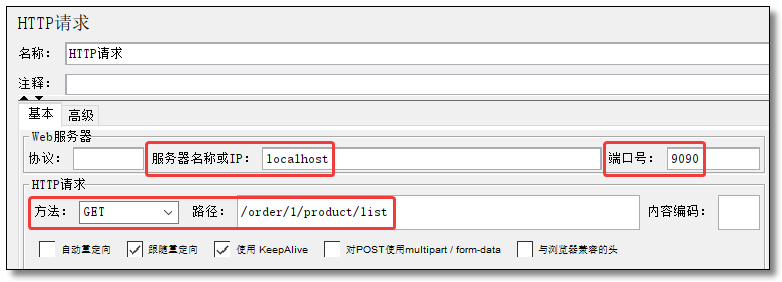
添加 HTTP 请求
HTTP 请求配置为服务消费者的 http://localhost:9090/order/1/product/list
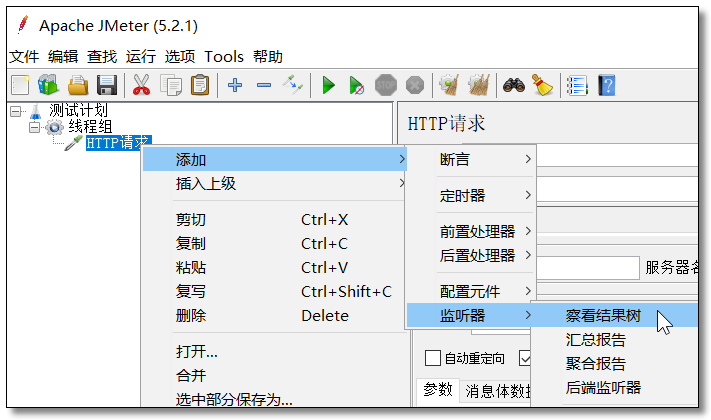
添加结果数
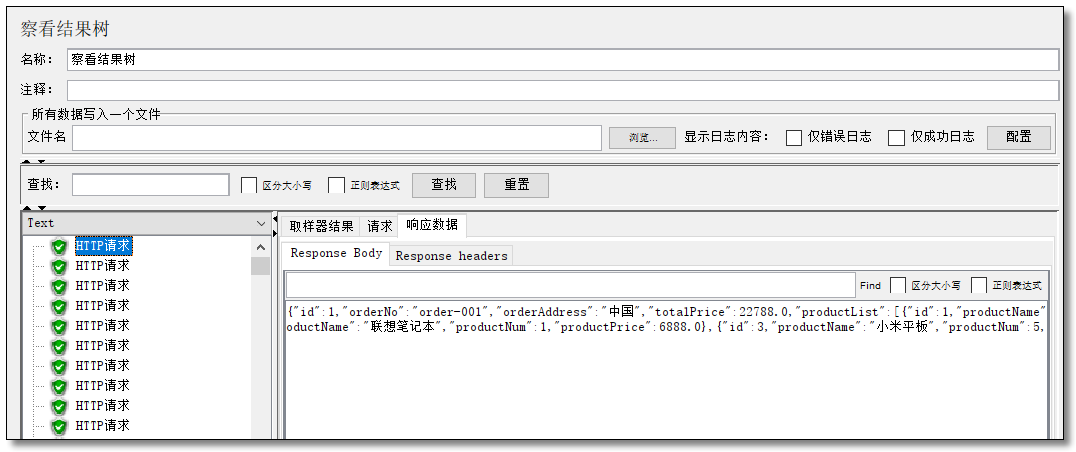
我们可以添加结果数来查看请求响应的结果数据。
下图是执行请求以后所显示的效果。
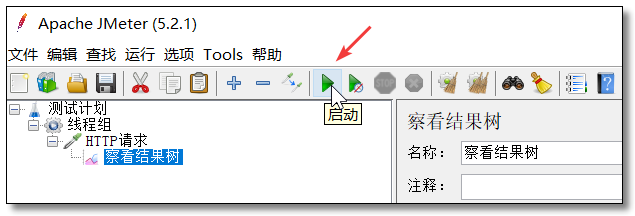
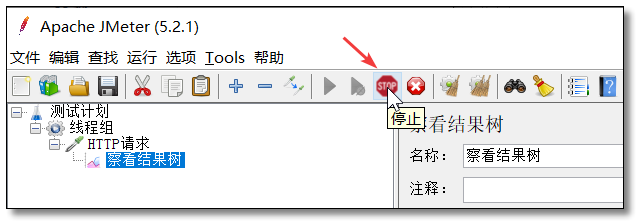
执行请求
如下图所示,点击启动按钮即可开始执行请求。STOP 按钮则为停止请求。
5|3测试请求
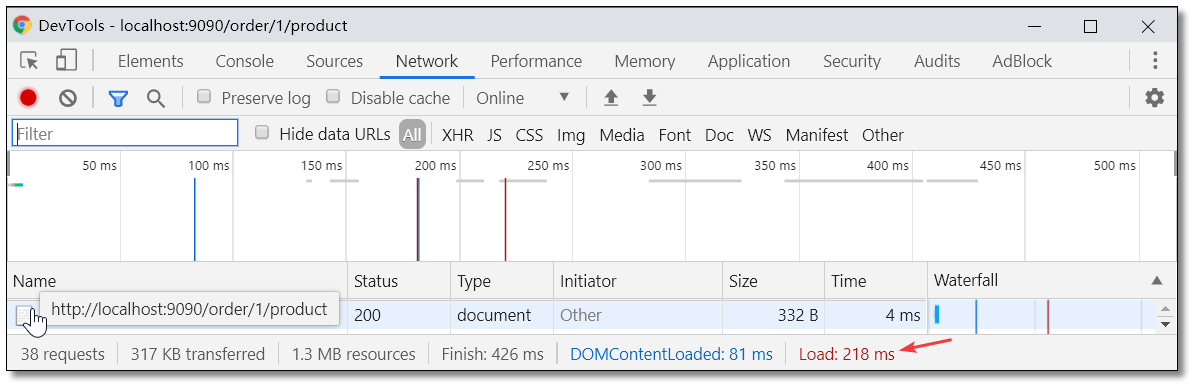
浏览器请求 http://localhost:9090/order/1/product 统计耗时如下。请求耗时:235ms

通过 JMeter 开启 50 线程循环 50 次请求服务消费者 http://localhost:9090/order/1/product/list 然后浏览器再次请求 http://localhost:9090/order/1/product 统计耗时如下。请求耗时:9.12s

通过以上测试我们可以发现,/product/list 服务如果出现故障或延迟整个系统的资源会被耗尽从而导致影响其他服务的正常使用,这种情况在微服务项目中是非常常见的,所以我们需要对服务做出容错处理。接下来我们就一个个学习服务容错的解决方案。
6|0请求缓存
点击链接观看:请求缓存视频(获取更多请关注公众号「哈喽沃德先生」)
Hystrix 为了降低访问服务的频率,支持将一个请求与返回结果做缓存处理。如果再次请求的 URL 没有变化,那么 Hystrix 不会请求服务,而是直接从缓存中将结果返回。这样可以大大降低访问服务的压力。
6|1安装 Redis
Hystrix 自带缓存有两个缺点:
- 本地缓存,集群情况下缓存无法同步。
- 不支持第三方缓存容器,如:Redis,MemCache。
本文使用 Spring 的缓存集成方案,NoSql 使用 Redis 来实现,Redis 使用的是 5.0.7 版本。
6|2添加依赖
服务消费者 pom.xml 添加 redis 和 commons-pool2 依赖。
6|3配置文件
服务消费者 application.yml 配置 Redis 缓存。
6|4配置类
添加 Redis 配置类重写序列化规则。
6|5启动类
服务消费者启动类开启缓存注解
6|6业务层
服务消费者业务层代码添加缓存规则。
6|7测试
为了方便查看效果我们在服务提供者对应接口中添加打印语句。
访问:http://localhost:9090/order/1/product/list 和 http://localhost:9090/order/1/product 效果如下。
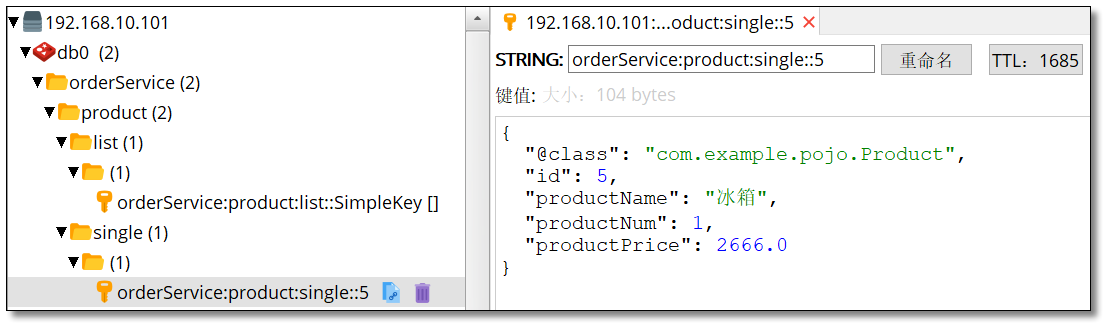
当我们请求相同服务时,服务提供者也不再打印语句说明服务消费者的请求直接获取了缓存的数据。
JMeter 开启 50 线程循环 50 次请求 http://localhost:9090/order/1/product/list
浏览器请求 http://localhost:9090/order/1/product,结果如下:
从结果可以看出请求缓存已解决之前服务响应速度过慢的问题。
7|0请求合并
在微服务架构中,我们将一个项目拆分成很多个独立的模块,这些独立的模块通过远程调用来互相配合工作,但是,在高并发情况下,通信次数的增加会导致总的通信时间增加,同时,线程池的资源也是有限的,高并发环境会导致有大量的线程处于等待状态,进而导致响应延迟,为了解决这些问题,我们需要来了解 Hystrix 的请求合并。
请求合并的缺点
设置请求合并之后,本来一个请求可能 5ms 就搞定了,但是现在必须再等 10ms 看看还有没有其他的请求一起,这样一个请求的耗时就从 5ms 增加到 15ms 了。
如果我们要发起的命令本身就是一个高延迟的命令,那么这个时候就可以使用请求合并了,因为这个时候时间消耗就显得微不足道了,另外高并发也是请求合并的一个非常重要的场景。
7|1添加依赖
服务消费者 pom.xml 添加 hystrix 依赖。
7|2业务层
服务消费者业务层代码添加请求合并规则。
@HystrixCollapser 注解各项参数说明如下:

服务消费者模拟同一时间用户发起多个请求。
7|3启动类
服务消费者启动类开启熔断器注解。
7|4测试
访问:http://localhost:9090/order/1/product 控制台打印结果如下:
根据结果得知,请求本来调用的是单个商品查询,请求合并以后只请求了一次批处理查询。
下一篇我们讲解 Hystrix 服务隔离中的线程池隔离与信号量隔离,记得关注噢~

 浙公网安备 33010602011771号