.Net Core Swagger配置
第一步,安装swagger
使用程序包管理器控制台,输入如下命令:
PM> Install-Package Swashbuckle.AspNetCore -Version 5.0.0-rc4
第二部,StartUp.cs配置
ConfigureServices方法中添加如下代码:
      public void ConfigureServices(IServiceCollection services)
        {
            services.AddSwaggerGen(m=> {
                m.SwaggerDoc("SWG1",new OpenApiInfo {Title = "swaggerTest",Version= "SWG1" });
            });
            services.AddControllers();
        }
注意 SWG1 这是随便取的名字
Configure中添加如下代码,使用中间件:
 app.UseSwagger();
 app.UseSwaggerUI(m=>
   {
      m.SwaggerEndpoint("/Swagger/SWG1/swagger.json","swaggerTest");
   });
注意这里的,SWG1要和上面的SWG1名称保存一直。
在配置一下 launchSettings.json
 "profiles": {
    "IIS Express": {
      "commandName": "IISExpress",
      "launchBrowser": true,
      "launchUrl": "swagger/index.html",
      "environmentVariables": {
        "ASPNETCORE_ENVIRONMENT": "Development"
      }
    },
    "WebSwagger": {
      "commandName": "Project",
      "launchBrowser": true,
      "launchUrl": "weatherforecast",
      "applicationUrl": "http://localhost:5000",
      "environmentVariables": {
        "ASPNETCORE_ENVIRONMENT": "Development"
      }
    }
  }
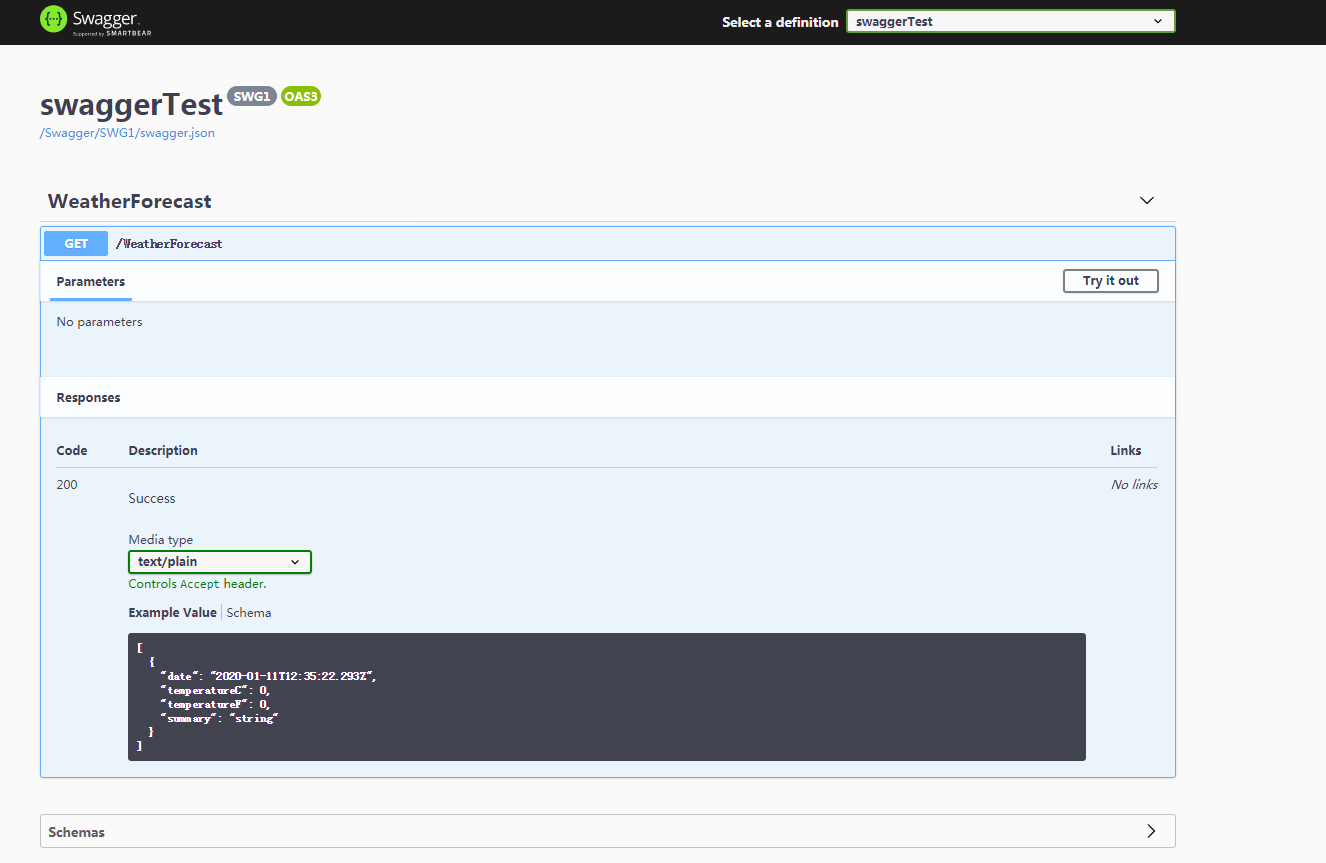
运行项目之后
http://localhost:49480/swagger/index.html


【推荐】国内首个AI IDE,深度理解中文开发场景,立即下载体验Trae
【推荐】编程新体验,更懂你的AI,立即体验豆包MarsCode编程助手
【推荐】抖音旗下AI助手豆包,你的智能百科全书,全免费不限次数
【推荐】轻量又高性能的 SSH 工具 IShell:AI 加持,快人一步
· 基于Microsoft.Extensions.AI核心库实现RAG应用
· Linux系列:如何用heaptrack跟踪.NET程序的非托管内存泄露
· 开发者必知的日志记录最佳实践
· SQL Server 2025 AI相关能力初探
· Linux系列:如何用 C#调用 C方法造成内存泄露
· Manus爆火,是硬核还是营销?
· 终于写完轮子一部分:tcp代理 了,记录一下
· 别再用vector<bool>了!Google高级工程师:这可能是STL最大的设计失误
· 震惊!C++程序真的从main开始吗?99%的程序员都答错了
· 单元测试从入门到精通
2018-01-11 jquery 封装页面之间获取值
2017-01-11 MVC ---- 理解学习Func用法
2017-01-11 MVC ---- 如何使用Predicate以及如何自定定义Predicate委托
2017-01-11 MVC ---- 如何使用Action委托
2017-01-11 MVC ---- 如何扩展方法