jquery实现图片轮播效果
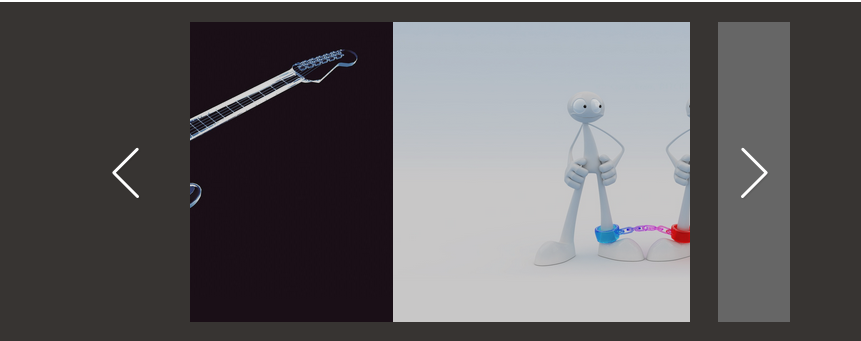
效果如下:
HTML Code:
<div class="bar">
    <div class="slideDiv">
        <div class="buttonDiv buttonDiv_1"><div class="btnIcon btnIcon_1"></div></div>
            <div id="showWindow">
                <div id="container">
                    <img src="images/1.jpg" />
                    <img src="images/2.jpg" />
                    <img src="images/3.jpg" />
                    <img src="images/4.jpg" />
                    <img src="images/5.jpg" />
                    <img src="images/6.jpg" />
                    <img src="images/7.jpg" />
                    <img src="images/8.jpg" />
                </div>
            </div>
        <div class="buttonDiv buttonDiv_2"><div class="btnIcon btnIcon_2"></div></div>
    </div>
</div>
<div class="inputBtn"></div>
CSS Code:
.bar {width:100%; height:340px; background:#373432; position:relative; left:0; top:0;}
.slideDiv {width:700px; height:300px; margin:20px auto; position:absolute; left:26%;}
#showWindow {width:500px; height:300px; overflow:hidden; position:absolute; left:100px;}
#container {width:4000px; height:300px; margin:0;}
img {width:500px; height:300px; position:relative; float:left; opacity:0.8; filter:alpha(opacity:80);}
img:hover {filter:alpha(opacity:80); opacity:0.8; cursor:pointer; opacity:1; filter:alpha(opacity:100);}
.buttonDiv    {width:72px; padding:114px 0; }
.buttonDiv_1 { float:left;}
.buttonDiv_2 { float:right;}
.buttonDiv:hover {background:#666; cursor:pointer; }
.inputBtn {position:relative;}
.btnIcon {width:100%; height:72px;}
.btnIcon_1 {background:url("images/sliding.png") no-repeat 0 0;}
.btnIcon_2 {background:url("images/sliding.png") no-repeat 0 -72px;}
JS Code:
function moveLeft(){
    if($('img').offset().left < -3000) {$('#container img').animate({left:"0"},500);}
    else {$('#container img').animate({left:"-=500px"},500);}
    };
function moveRight(){
    if($('img').offset().left > 0) {$('#container img').animate({left:"-3500px"},500);}
    else {$('#container img').animate({left:"+=500px"},500);};
    };

$(".buttonDiv:eq(0)").click(moveRight);

$(".buttonDiv:eq(1)").click(moveLeft);
图片之间默认会有一小段间隙,可设置img为display: block; float: left;


