2.2QT布局
QT 布局
水平布局
如果使用手写布局,首先要把ui文件删除,并在.cpp文件中删除ui.setupUi(this);在将.h文件中的#include "ui_文件名称.h"和Ui::文件名称 ui删除;
- 先写三个控件
 QLabel* pPath = new QLabel(this);
  pPath->setObjectName("pPath");
  pPath->setFixedSize(40, 32);
  pPath->setText(u8"路径");

  QLineEdit* pEdit = new QLineEdit(this);
  pEdit->setObjectName("pEdit");
  //pEdit->setFixedSize(100, 32);
  pEdit->setMinimumWidth(50);

  QPushButton* pBtn = new QPushButton(this);
  pBtn->setObjectName("pBtn");
  //pBtn->setFixedSize(50, 32);
  pBtn->setText(u8"打开");
  //加入水平布局
  QHBoxLayout* pHLay = new QHBoxLayout(this);
  pHLay->addWidget(pPath);
  pHLay->addWidget(pEdit);
  pHLay->addWidget(pBtn);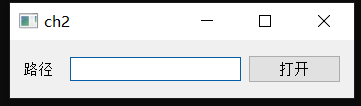
- 设置控件之间的属性
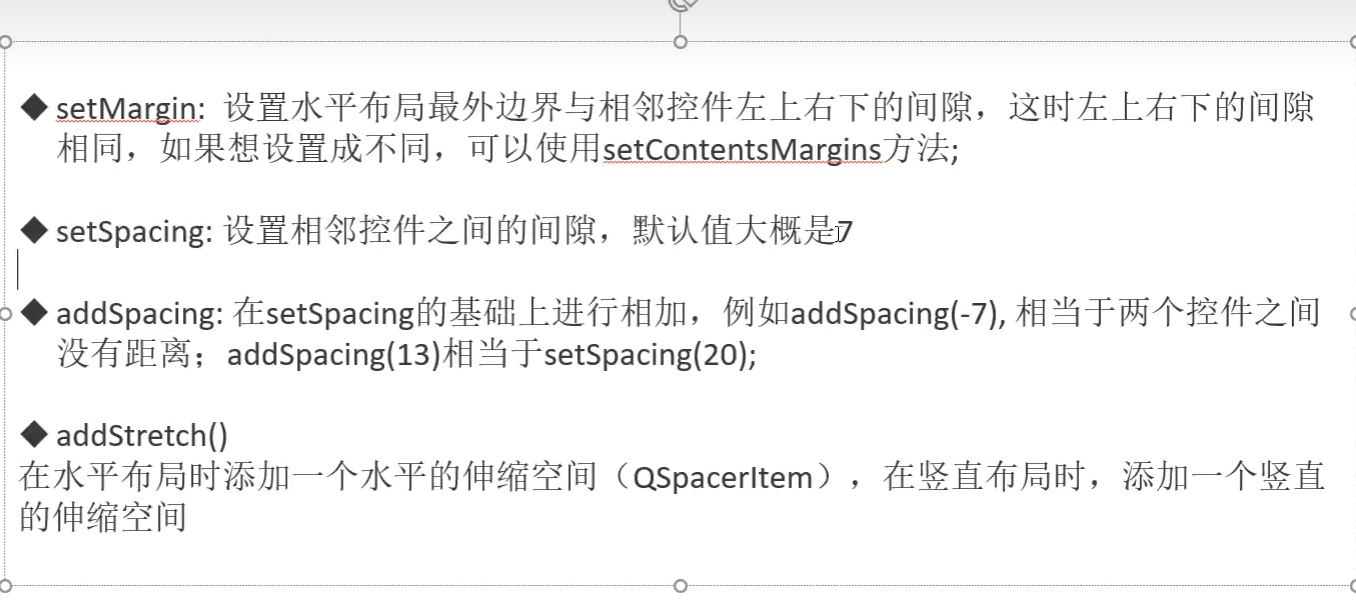
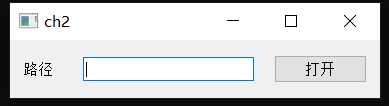
QHBoxLayout* pHLay = new QHBoxLayout(this);
  //pHLay->setMargin(100);//设置距离边框的距离,上下左右都是一百
  pHLay->addStretch();//pPath路径左边价格弹簧
  pHLay->addWidget(pPath);
  pHLay->setSpacing(20);//控件之间的距离
  qDebug() << pHLay->spacing();
  pHLay->addWidget(pEdit);
  pHLay->addStretch();//在pEdit和pBtn这两个控件之间价格弹簧
  pHLay->addWidget(pBtn);
  pHLay->addStretch();
竖直平局(跟水平布局差不多)

栅格布局
把一个窗口当成表格,分为几行几列
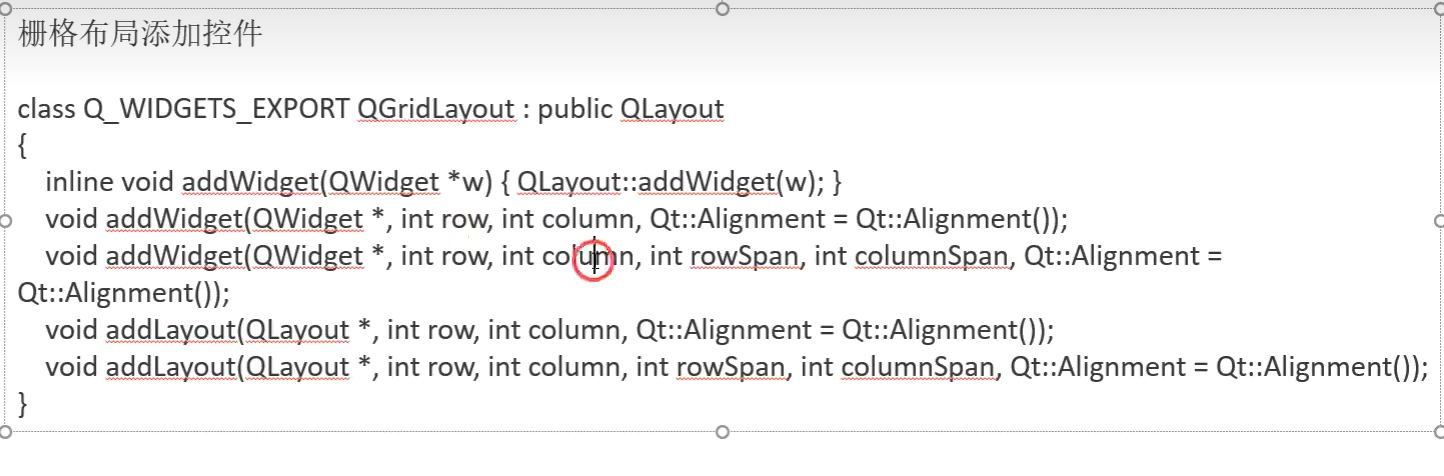
pGridLay->addWidget(pImageLabel, 0,0,3,1);//从第零行零列开始,这个控件要占三行和一列
pGridLay->addWidget(pRememberCheckBox, 2, 2, 1, 1, Qt::AlignLeft | Qt::AlignVCenter);
pGridLay->addWidget(pAutoLoginCheckBox, 2, 2, 1, 1, Qt::AlignRight | Qt::AlignVCenter);//将两个名为pRememberCheckBox和pAutoLoginCheckBox的QCheckBox对象添加到布局中,并将它们放置在第二列第三行的位置,并占据一行一列的大小。其中,pRememberCheckBox被左对齐,pAutoLoginCheckBox被右对齐。
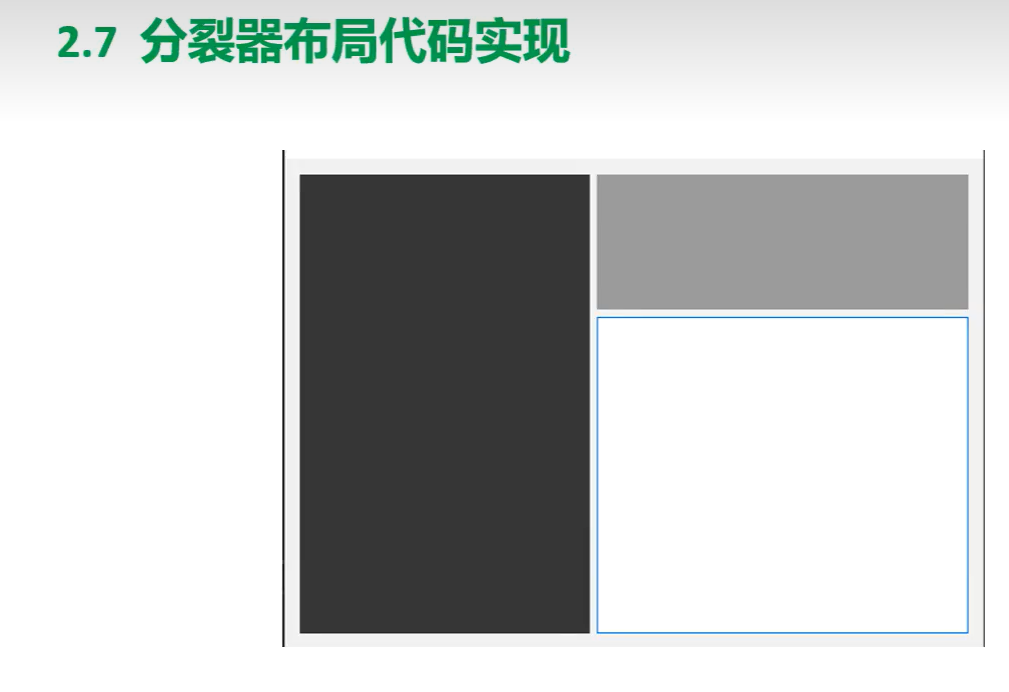
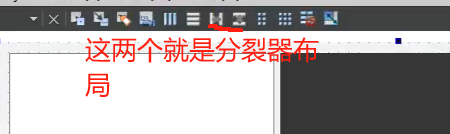
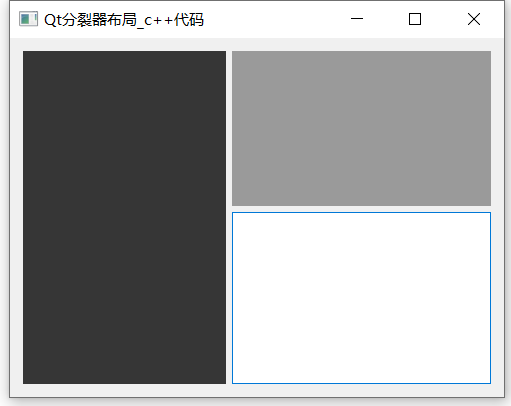
分裂期布局
#include "widget.h"
#include <QHBoxLayout>
#include <QSplitter>
#include <QTextBrowser>

Widget::Widget(QWidget *parent)
    : QWidget(parent)
{
    this->setWindowTitle("Qt分裂器布局_c++代码");

    //整体用水平布局
    QHBoxLayout* pHLay = new QHBoxLayout(this);

    //整体的水平分裂器
    QSplitter* pHSplitter = new QSplitter(Qt::Horizontal, this);
    QWidget* pLeftWidget = new QWidget(this);
    pLeftWidget->setStyleSheet("background-color:rgb(54,54,54)");
    pLeftWidget->setMinimumWidth(200);

    //分裂器添加widget
    pHSplitter->addWidget(pLeftWidget);

    //右侧的竖直分裂器
    //注意参数pHSplitter,表示父指针,因为是水平分裂器包含了竖直分裂器
    QSplitter* pVSplitter = new QSplitter(Qt::Vertical, pHSplitter);

    //在拖动到位并弹起鼠标后再显示分隔条
    pVSplitter->setOpaqueResize(false);

    QWidget* pRightTopWidget = new QWidget(this);
    pRightTopWidget->setStyleSheet("background-color:rgb(154, 154, 154)");

    QTextBrowser* pRightBottom = new QTextBrowser(this);

    pVSplitter->addWidget(pRightTopWidget);
    pVSplitter->addWidget(pRightBottom);

    pHSplitter->addWidget(pVSplitter);

    //布局添加分裂器
    pHLay->addWidget(pHSplitter);

    //设置整体布局
    setLayout(pHLay);
}

Widget::~Widget()
{
}
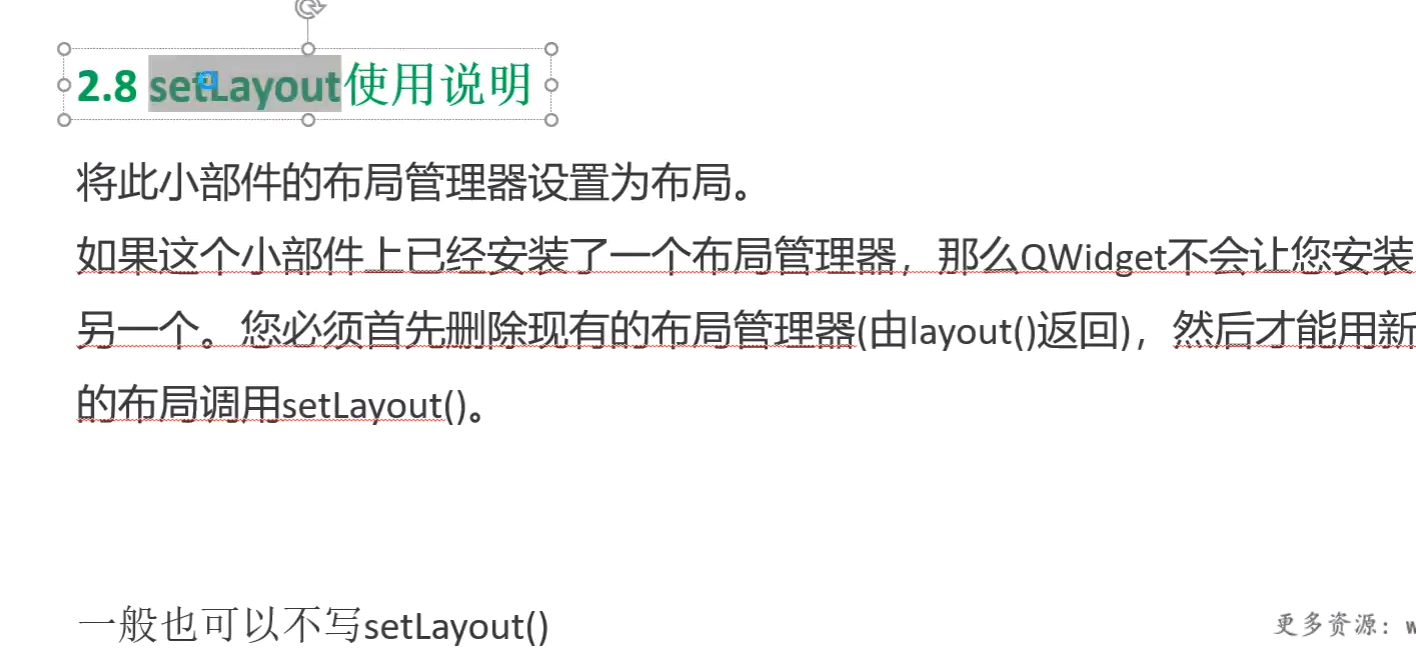
setLayout使用说明(一般不用)
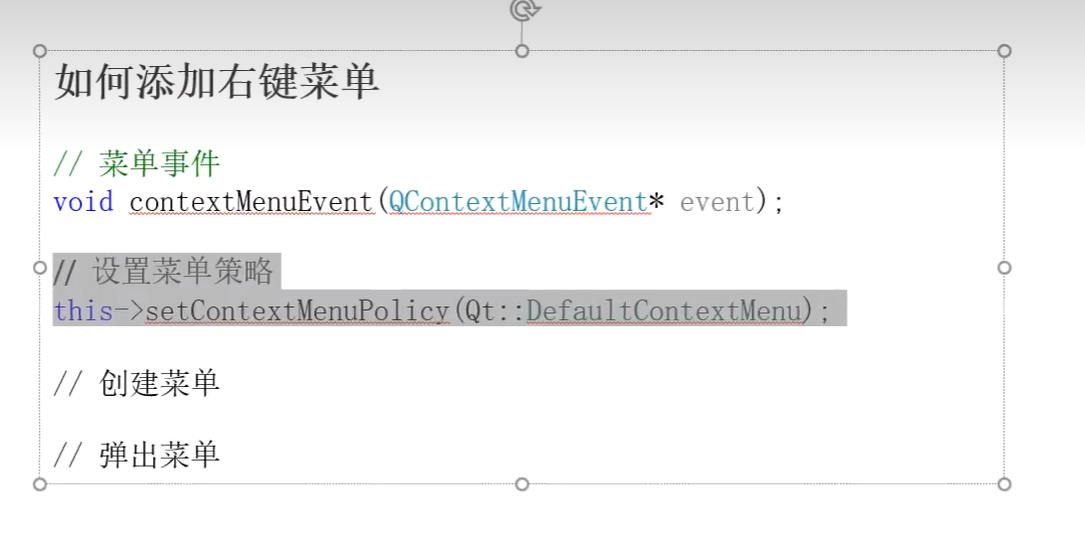
布局切换与删除重构(添加右键菜单)
#include "widget.h"
#include "ui_widget.h"
#include<QAction>
Widget::Widget(QWidget *parent)
: QWidget(parent)
, ui(new Ui::Widget)
{
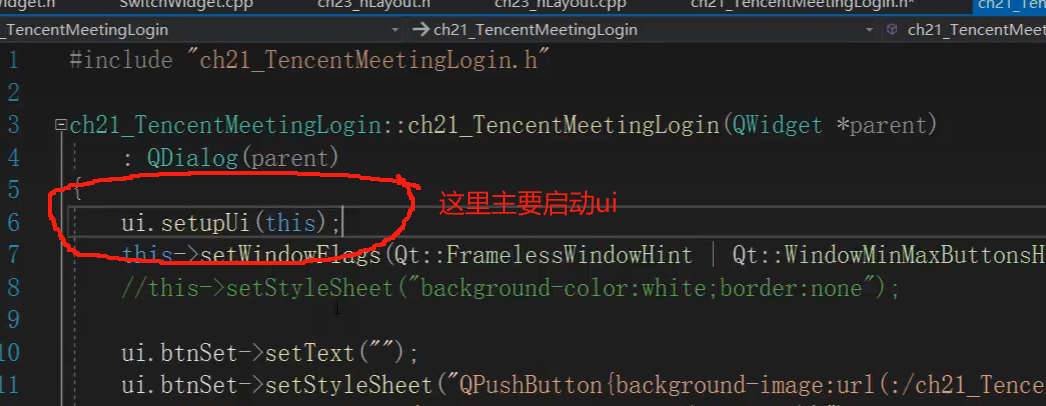
ui->setupUi(this);
this->setContextMenuPolicy(Qt::DefaultContextMenu);//设置菜单策略
initMenu();
}
Widget::~Widget()
{
delete ui;
}
void Widget::contextMenuEvent(QContextMenuEvent* event)
{
m_pMenu->exec(QCursor::pos());//就是在用户右键点击Widget部件时,显示一个菜单,而这个菜单会跟随鼠标光标移动。
}
void Widget::initMenu(){
QMenu * m_pMenu =new QMenu(this);
QAction *action1 = new QAction("ac1");
QAction *action2 = new QAction("ac2");
QAction *action3 = new QAction("ac3");
m_pMenu->addAction(action1);
m_pMenu->addAction(action2);
m_pMenu->addAction(action3);
// connect(action1, &QAction::triggered, this, [=]() {
// // 在这里编写菜单项1被选择时的操作
// });
}
怎么手写QT-UI代码
ui文件转化
其实使用ui做界面和存用代码写主要在于这个
所以你需要转到它的定义也就是ui_projectname.h文件,这里面其实就是用代码写的ui界面。
- 首先将他
public:里面的所有内容复制粘贴到你widget.cpp的构造函数中 - 可以直接删除里面的函数定义(因为之后会改)
- 添加所需要的库
- 将之前所定义的
class类全部替换成this

- 有一些关于ui的函数可以适当删除试一下
- 图片这种使用路径的重新需要改变的改变
如何使用上面的代码
因为你使用ui转换的代码肯定不如你自己的写的熟悉,它里面也有属于它的一系列规则
- 根据变量前后知道,哪些布局是最外面的
- 再查看的过程中发现哪些布局已经了解,将其改为自己熟悉的名称
- 弹簧的代码可以直接删除(用不到后续可以直接改)

问题解决
我既然使用了 QHBoxLayout pHLay = new QHBoxLayout(this);难道还不代表pHLay 是我this中的成员吗,但为什么我是用this->pHLay编译器报错*
你使用了QHBoxLayout* pHLay = new QHBoxLayout(this);这句代码,但是这并不代表pHLay是this中的成员变量,而只是一个局部变量。你可以在构造函数或其他函数中使用这个局部变量,但是你不能在其他地方使用this->pHLay来访问它,因为this指针只能访问类中定义的成员变量或成员函数。
如果你想让pHLay成为this中的成员变量,你需要在类的声明中定义它,例如:
class MyWidget : public QWidget
{
    Q_OBJECT
public:
    MyWidget(QWidget *parent = nullptr);
    ~MyWidget();
private:
    QHBoxLayout *pHLay; // 定义成员变量
};
然后,在构造函数或其他函数中,你可以使用this->pHLay来初始化或操作它,例如:
MyWidget::MyWidget(QWidget *parent)
    : QWidget(parent)
{
    this->pHLay = new QHBoxLayout(this); // 初始化成员变量
    // 其他代码
}


