

windows下tomcat集群配置
本次测试的环境为windows 10
使用到的工具
nginx-1.17.2
apache-tomcat-8.5.43
apache-tomcat-9.0.20
JDK1.8
局域网中的两台电脑
192.168.1.199
192.168.1.198
其中192.168.1.199上边运行的 apache-tomcat-9.0.20
192.168.1.198上边运行的 nginx-1.17.2 apache-tomcat-8.5.43
1)192.168.1.199上的tomcat的配置
192.168.1.199上的Tomcat的端口修改为8081------->端口修改,在conf下的server.xml中
    <Connector port="8081" protocol="HTTP/1.1"
               connectionTimeout="20000"
               redirectPort="8443" />
启动tomcat---->和conf同级的bin目录里,我习惯通过cmd cd进入,执行startup.bat
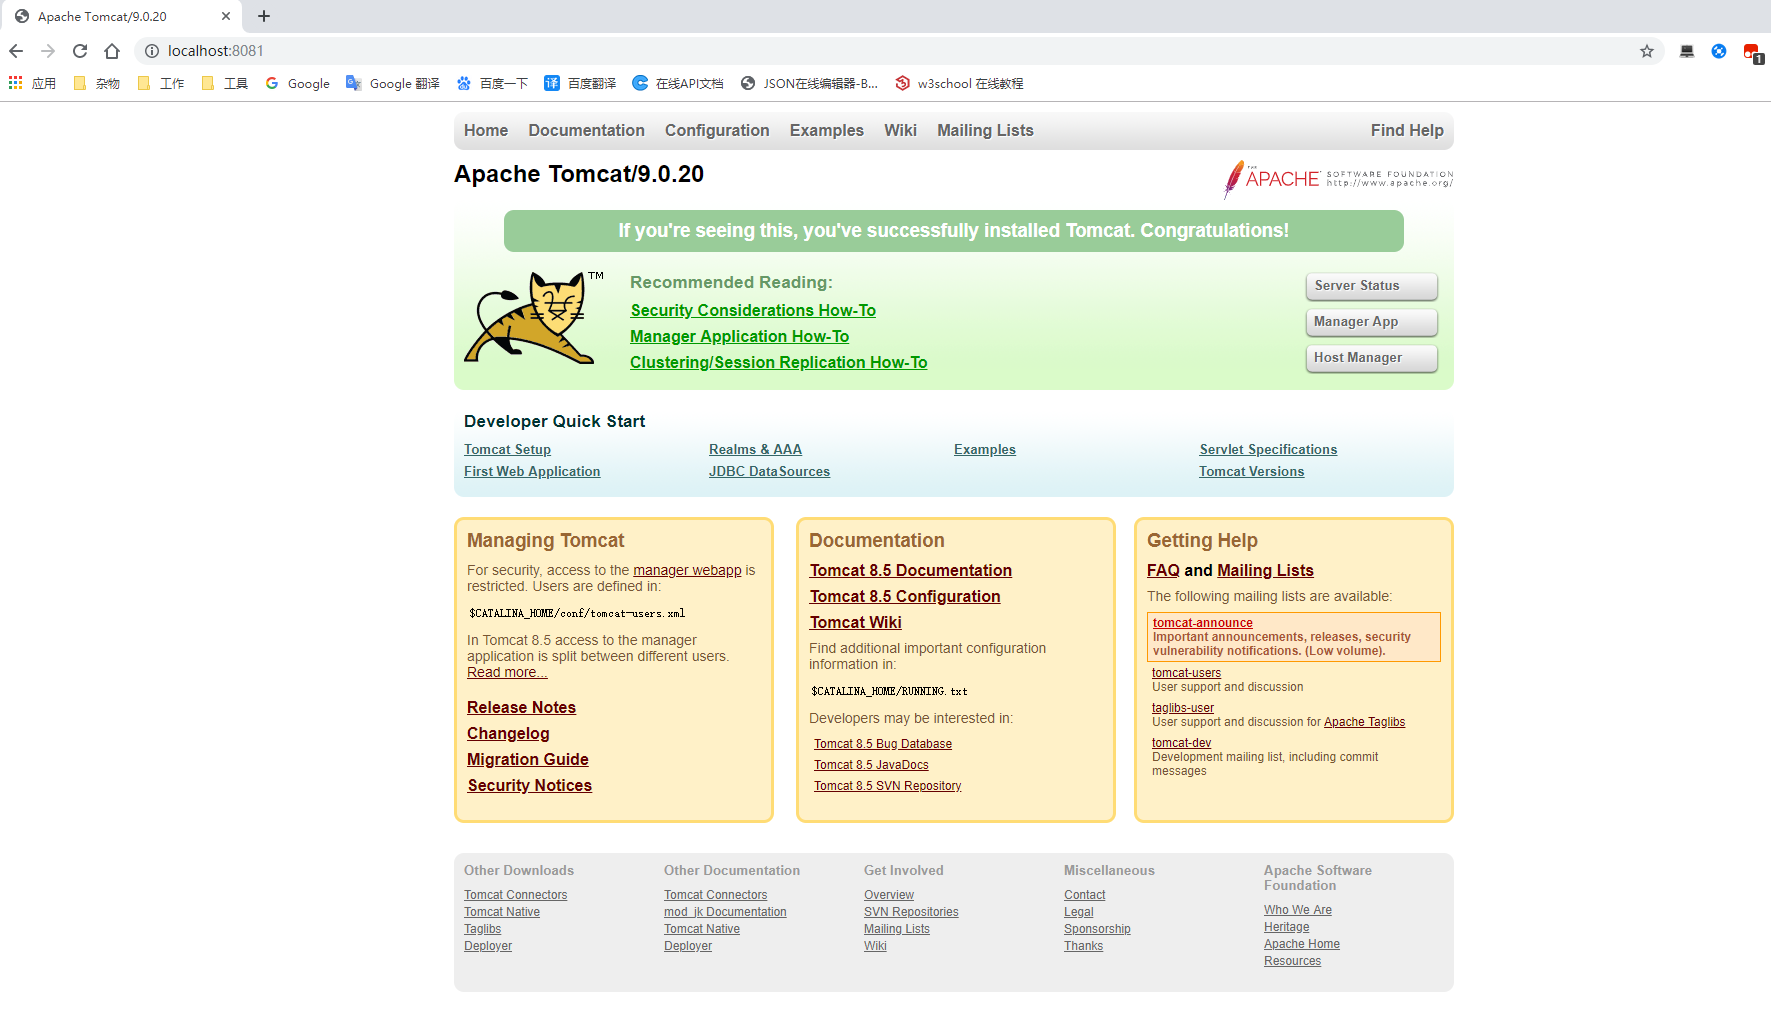
成功启动了,端口是8081
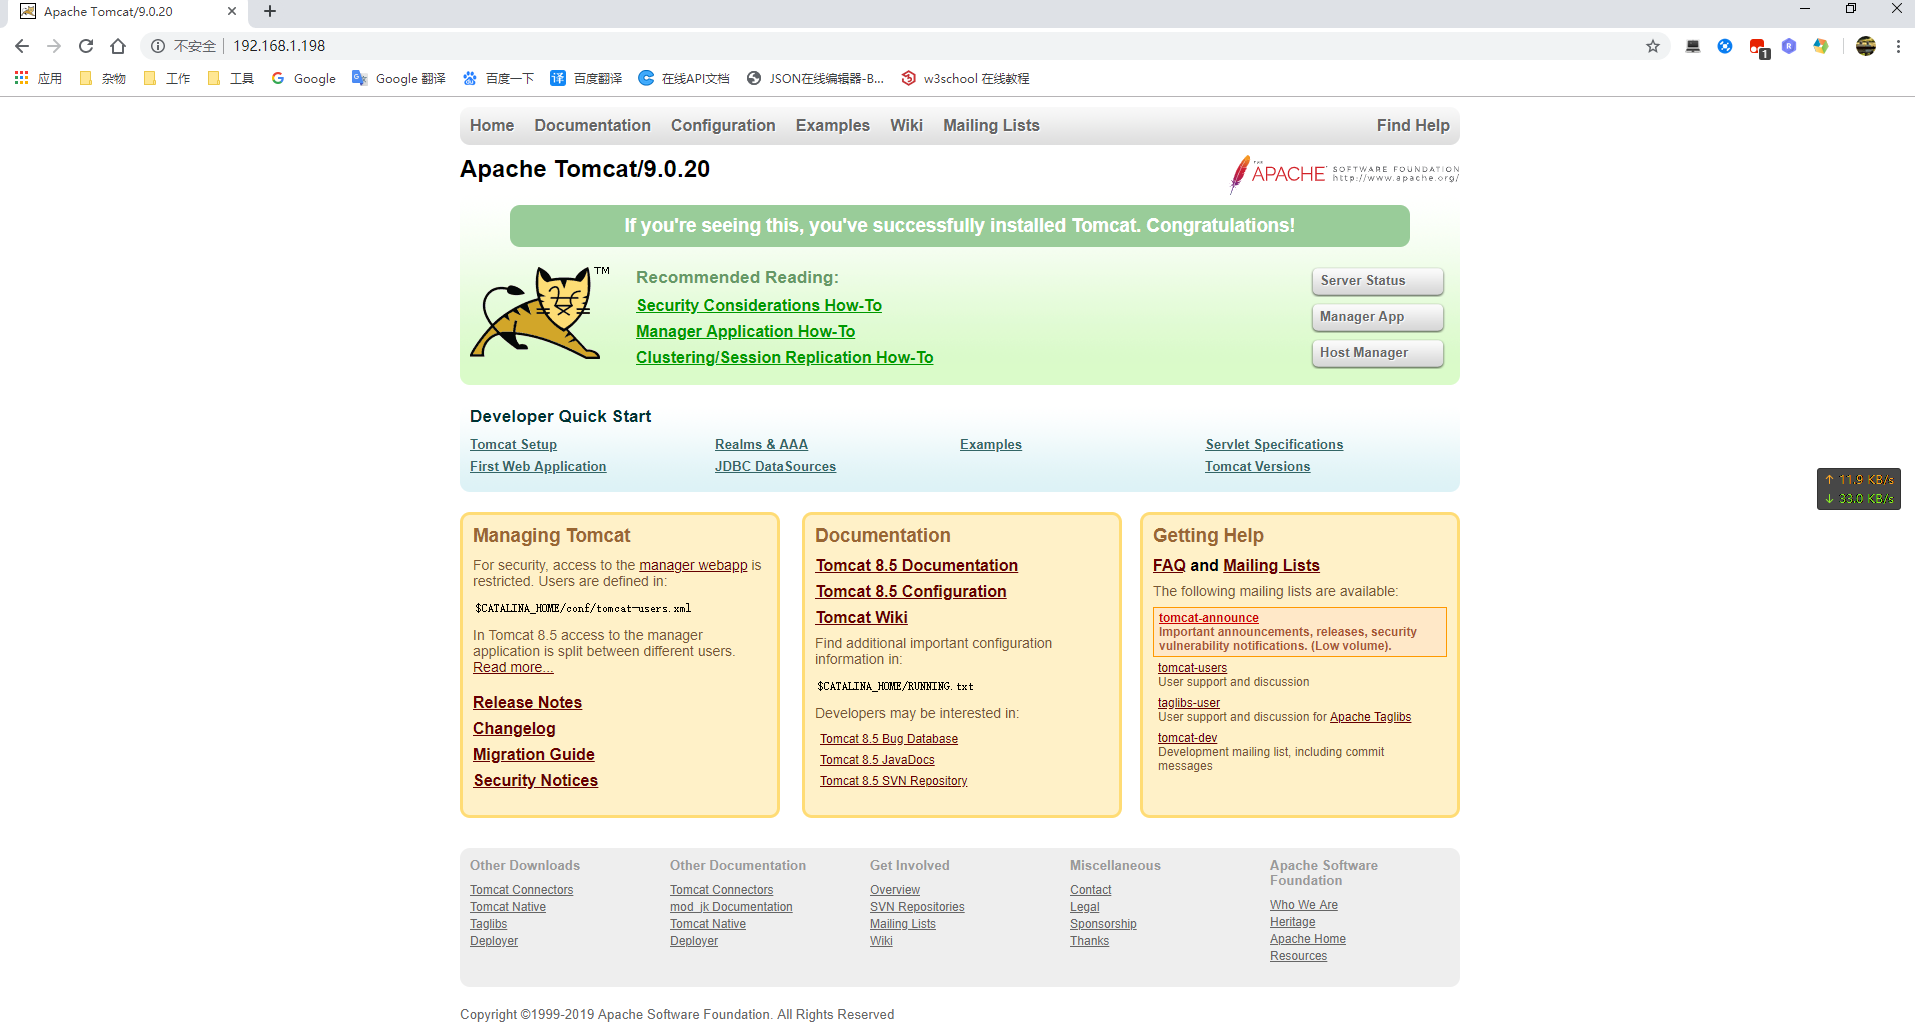
2)192.168.1.198上的Tomcat配置和nginx的配置
tomcat的配置方式同上,只不过端口修改为8080
nginx的配置如下
#user  nobody;
worker_processes  1;

#error_log  logs/error.log;
#error_log  logs/error.log  notice;
#error_log  logs/error.log  info;

#pid        logs/nginx.pid;


events {
    worker_connections  1024;
}


http {
    include       mime.types;
    default_type  application/octet-stream;

    #log_format  main  '$remote_addr - $remote_user [$time_local] "$request" '
    #                  '$status $body_bytes_sent "$http_referer" '
    #                  '"$http_user_agent" "$http_x_forwarded_for"';

    #access_log  logs/access.log  main;

    sendfile        on;
    #tcp_nopush     on;

    #keepalive_timeout  0;
    keepalive_timeout  65;

    #gzip  on;

    upstream myserver {
    	server 192.168.1.198:8080;//第一台tomcat
    	server 192.168.1.199:8081;//第二台tomcat
     #可以加上权重weight=1-10,ip_hash,max_fails=2 fail_timeout=30s,重试次数,超时等配置
    }


    server {
        listen       80;
        server_name  localhost;

        #charset koi8-r;

        #access_log  logs/host.access.log  main;

        location / {
            proxy_pass http://myserver;
        }

        #error_page  404              /404.html;

        # redirect server error pages to the static page /50x.html
        #
        error_page   500 502 503 504  /50x.html;
        location = /50x.html {
            root   html;
        }

        # proxy the PHP scripts to Apache listening on 127.0.0.1:80
        #
        #location ~ \.php$ {
        #    proxy_pass   http://127.0.0.1;
        #}

        # pass the PHP scripts to FastCGI server listening on 127.0.0.1:9000
        #
        #location ~ \.php$ {
        #    root           html;
        #    fastcgi_pass   127.0.0.1:9000;
        #    fastcgi_index  index.php;
        #    fastcgi_param  SCRIPT_FILENAME  /scripts$fastcgi_script_name;
        #    include        fastcgi_params;
        #}

        # deny access to .htaccess files, if Apache's document root
        # concurs with nginx's one
        #
        #location ~ /\.ht {
        #    deny  all;
        #}
    }


    # another virtual host using mix of IP-, name-, and port-based configuration
    #
    #server {
    #    listen       8000;
    #    listen       somename:8080;
    #    server_name  somename  alias  another.alias;

    #    location / {
    #        root   html;
    #        index  index.html index.htm;
    #    }
    #}


    # HTTPS server
    #
    #server {
    #    listen       443 ssl;
    #    server_name  localhost;

    #    ssl_certificate      cert.pem;
    #    ssl_certificate_key  cert.key;

    #    ssl_session_cache    shared:SSL:1m;
    #    ssl_session_timeout  5m;

    #    ssl_ciphers  HIGH:!aNULL:!MD5;
    #    ssl_prefer_server_ciphers  on;

    #    location / {
    #        root   html;
    #        index  index.html index.htm;
    #    }
    #}

}
这是nginx.conf配置文件的全部内容
其中的核心就是http 和 server
server就相当于一台虚拟机
这样配置好,然后启动nginx
3)测试
在192.168.1.199上访问192.168.1.198
第一次访问

第二次访问
可以看到,
Apache Tomcat/8.5.43 切换成
Apache Tomcat/9.0.20
可能需要多刷新几次才有看到效果,
同样的道理,理论上可以配置无数台tomcat,参与集群。
我们都只是茫茫星辰中的一粒沙。
