每日会议20230419
进度汇报:
吕金帅:完成了对车主表的页面显示
张博文:解决了Listview在Fragment中不能显示的问题。
代码支持:
 BottomNavigationView bottomNavigationView = findViewById(R.id.bottomnavigation);
//        NavController navController = Navigation.findNavController(this, R.id.fragment);
        NavHostFragment navHostFragment = (NavHostFragment) getSupportFragmentManager().findFragmentById(R.id.fragment);
        NavController navController = navHostFragment.getNavController();
        AppBarConfiguration configuration = new AppBarConfiguration.Builder(bottomNavigationView.getMenu()).build();
        NavigationUI.setupActionBarWithNavController(this, navController, configuration);
        NavigationUI.setupWithNavController(bottomNavigationView, navController);
赵纪旭:完成了购物车页面的编写。
代码及其实现:
<template>
<view class="cart-container" v-if="cart.length !== 0">
<view>
<!-- 底部的边框线 -->
<image src="/static/cart_border@2x.png" class="address-border"></image>
</view>
<!-- 购物车商品列表的标题区域 -->
<view class="cart-title">
<!-- 左侧的图标 -->
<uni-icons type="shop" size="25"></uni-icons>
<!-- 描述文本 -->
<text class="cart-title-text">购物车</text>
</view>
<view></view>
<!-- 商品列表区域 -->
<!-- uni-swipe-action 是最外层包裹性质的容器 -->
<uni-swipe-action>
<block v-for="(goods, i) in cart" :key="i">
<!-- uni-swipe-action-item 可以为其子节点提供滑动操作的效果。需要通过 options 属性来指定操作按钮的配置信息 -->
<uni-swipe-action-item :options="options" @click="swipeActionClickHandler(goods)">
<my-goods :goods="goods" :show-radio="true" :show-num="true" @radio-change="radioChangeHandler" @num-change="numberChangeHandler"></my-goods>
</uni-swipe-action-item>
</block>
</uni-swipe-action>
<!-- 结算区域 -->
<my-settle></my-settle>
</view>
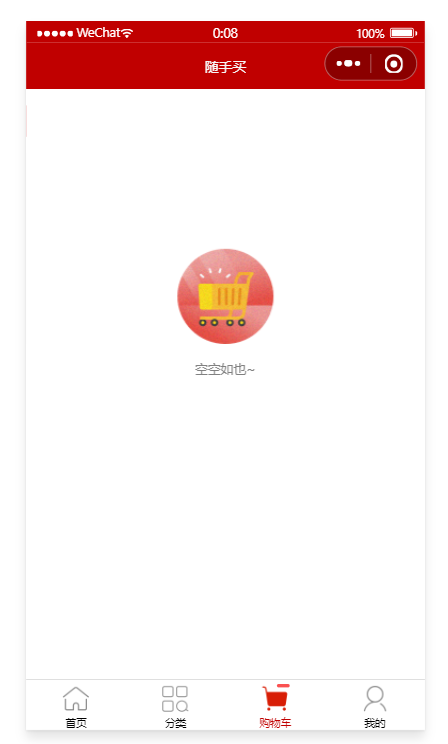
<!-- 空白购物车区域 -->
<view class="empty-cart" v-else>
<image src="/static/cart_empty@2x.png" class="empty-img"></image>
<text class="tip-text">空空如也~</text>
</view>
</template>
<script>
import badgeMix from '@/mixins/tabbar-badge.js'
// 按需导入 mapState 这个辅助函数
import { mapState, mapMutations } from 'vuex'
export default {
// 将 badgeMix 混入到当前的页面中进行使用
mixins: [badgeMix],
computed: {
// 将 m_cart 模块中的 cart 数组映射到当前页面中使用
...mapState('m_cart', ['cart']),
},
data() {
return {
options: [{
text: '删除', // 显示的文本内容
style: {
backgroundColor: '#C00000' // 按钮的背景颜色
}
}]
};
},
methods: {
...mapMutations('m_cart', ['updateGoodsState', 'updateGoodsCount', 'removeGoodsById']),
// 商品的勾选状态发生了变化
radioChangeHandler(e) {
console.log(e)
this.updateGoodsState(e)
},
// 商品的数量发生了变化
numberChangeHandler(e) {
this.updateGoodsCount(e)
},
// 点击了滑动操作按钮
swipeActionClickHandler(goods) {
this.removeGoodsById(goods.goods_id)
}
}
}
</script>
<style lang="scss">
.cart-container {
padding-bottom: 50px;
}
// 底部边框线的样式
.address-border {
display: block;
width: 100%;
height: 6px;
}
.cart-title {
height: 40px;
display: flex;
align-items: center;
font-size: 16px;
padding-left: 5px;
border-bottom: 1px solid #efefef;
.cart-title-text {
margin-left: 10px;
}
}
.empty-cart {
display: flex;
flex-direction: column;
align-items: center;
padding-top: 150px;
.empty-img {
width: 90px;
height: 90px;
}
.tip-text {
font-size: 12px;
color: gray;
margin-top: 15px;
}
}
</style>
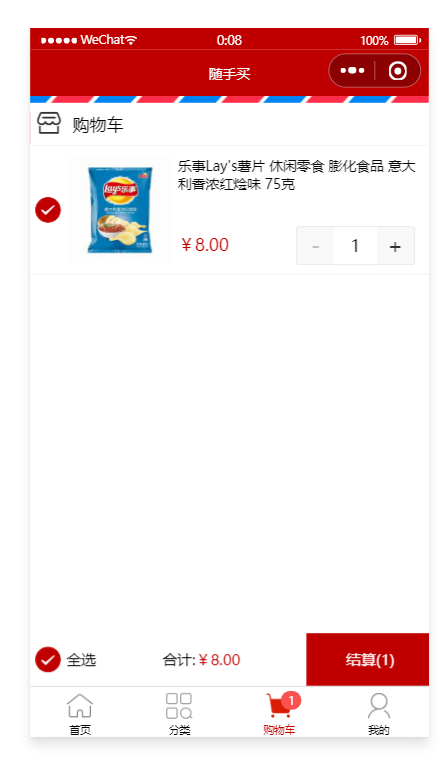
具体目标:显示商品栏;实现小程序的购物车角标的显示,完成购物车商品的添加,完成购物车的物品单个勾选。


 浙公网安备 33010602011771号