
IDEA搭建SpringMVC程序
1、idea新建maven工程,如图
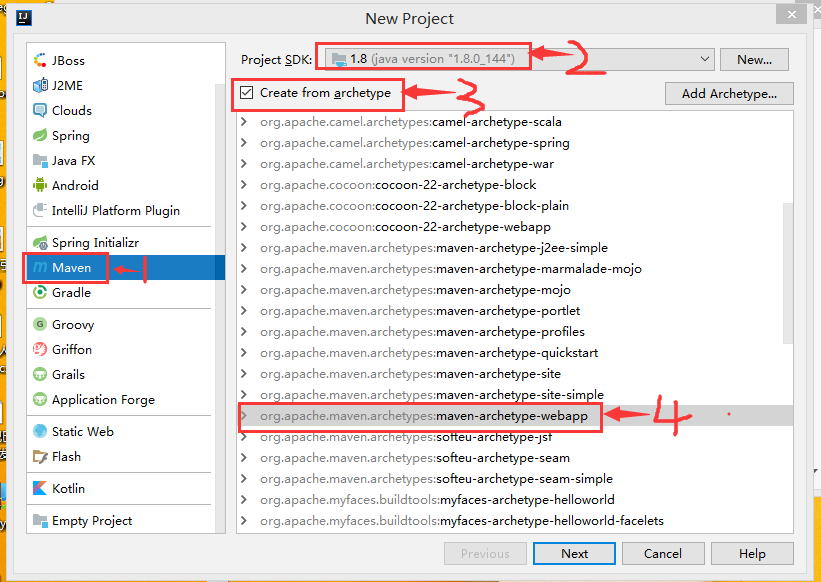
2、点击Next->导入属性值,主要是解决从网上下包很慢的问题
key:archetypeCatalog
value:internal
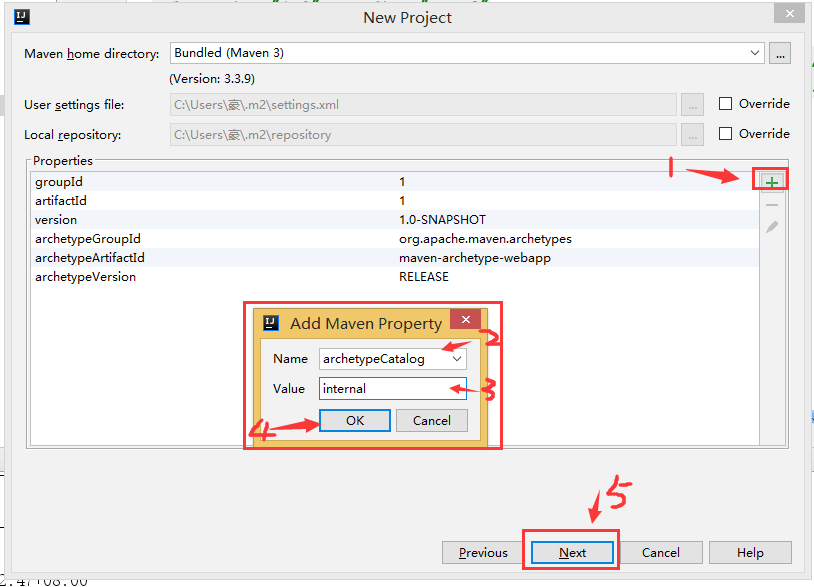
3、后面几个都是点击Next按钮
4、完成初始化状态
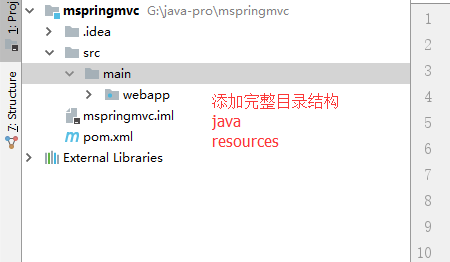
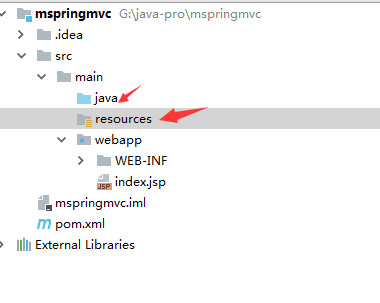
5、补全目录结构如图:
6、pom.xml导入jar包依赖
<properties>
<spring.version>5.0.2.RELEASE</spring.version>
</properties>
<dependencies>
<dependency>
<groupId>org.springframework</groupId>
<artifactId>spring-context</artifactId>
<version>${spring.version}</version>
</dependency>
<dependency>
<groupId>org.springframework</groupId>
<artifactId>spring-web</artifactId>
<version>${spring.version}</version>
</dependency>
<dependency>
<groupId>org.springframework</groupId>
<artifactId>spring-webmvc</artifactId>
<version>${spring.version}</version>
</dependency>
<dependency>
<groupId>javax.servlet</groupId>
<artifactId>servlet-api</artifactId>
<version>2.5</version>
<scope>provided</scope>
</dependency>
<dependency>
<groupId>javax.servlet.jsp</groupId>
<artifactId>jsp-api</artifactId>
<version>2.0</version>
<scope>provided</scope>
</dependency>
</dependencies>
7、配置SpringMVC请求处理器 web.xml
原图:
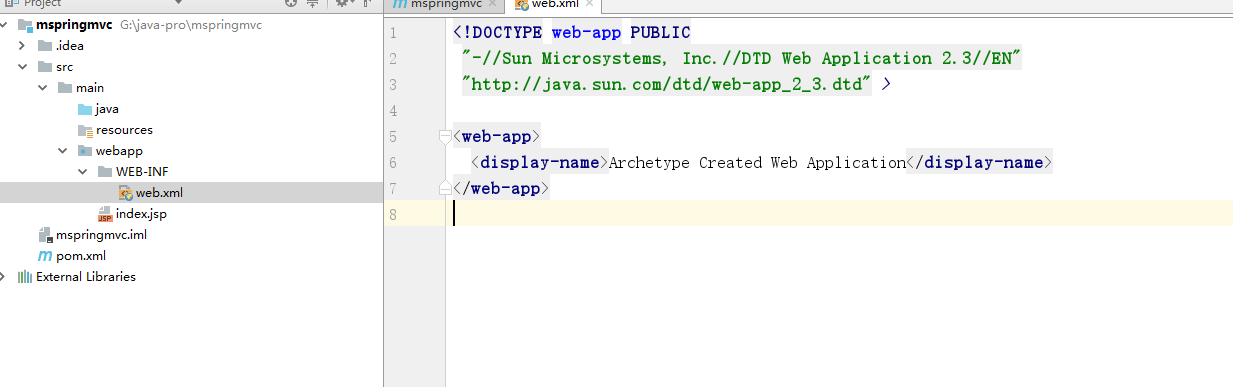
修改如下:
8、配置SpringMVC配置文件 resources文件下创建 springmvc.xml
<?xml version="1.0" encoding="UTF-8"?>
<beans xmlns="http://www.springframework.org/schema/beans"
xmlns:xsi="http://www.w3.org/2001/XMLSchema-instance"
xsi:schemaLocation="http://www.springframework.org/schema/beans http://www.springframework.org/schema/beans/spring-beans.xsd">
</beans>
修改beans 命名空间配置:
<?xml version="1.0" encoding="UTF-8"?>
<beans xmlns="http://www.springframework.org/schema/beans"
       xmlns:mvc="http://www.springframework.org/schema/mvc"
       xmlns:context="http://www.springframework.org/schema/context"
       xmlns:xsi="http://www.w3.org/2001/XMLSchema-instance"
       xsi:schemaLocation="
       http://www.springframework.org/schema/beans
       http://www.springframework.org/schema/beans/spring-beans.xsd
       http://www.springframework.org/schema/mvc
       http://www.springframework.org/schema/mvc/spring-mvc.xsd
       http://www.springframework.org/schema/context
       http://www.springframework.org/schema/context/spring-context.xsd">
</beans>
9、添加 springmvc.xml配置信息
10、springmvc.xml添加了开启注解配置,那么就需要重新修改web.xml,告诉DispatcherServlet加载配置的路径
11、到此SpringMVC相关的配置基本结束,可以进入代码开发了!
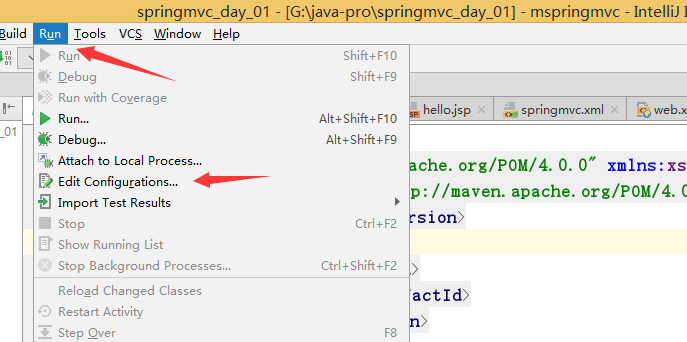
12、配置Tomcat
12.1 Rune->Edit Configurations
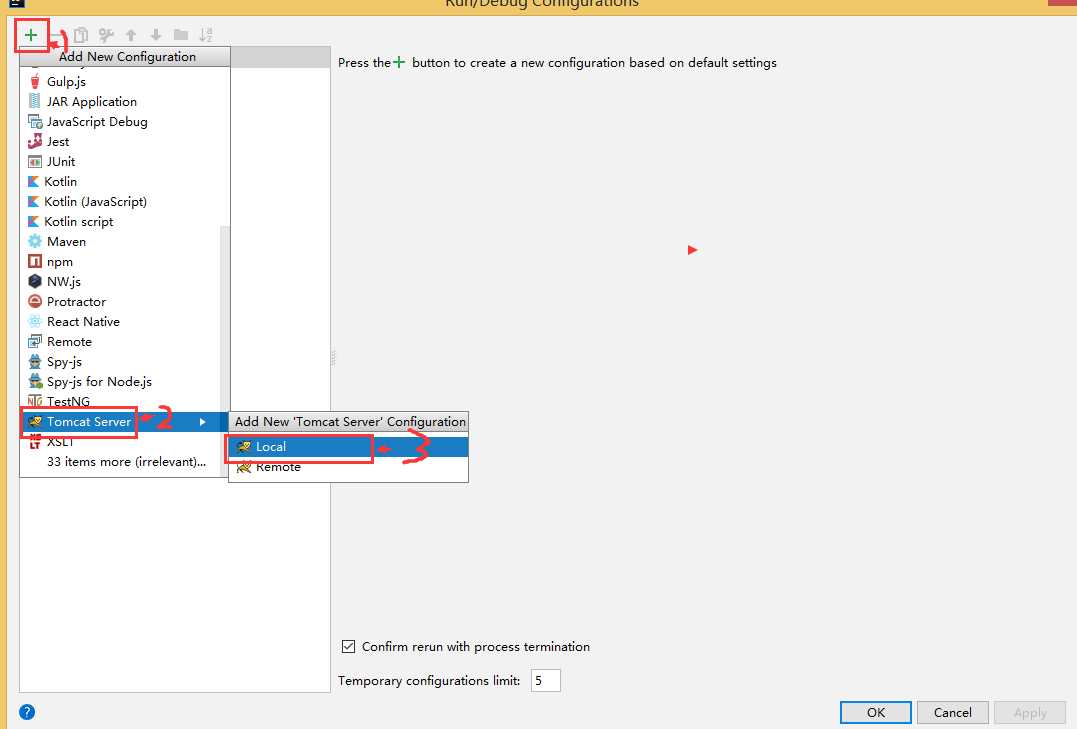
12.2 点击左上方加号--> Tomcat Server -->Local
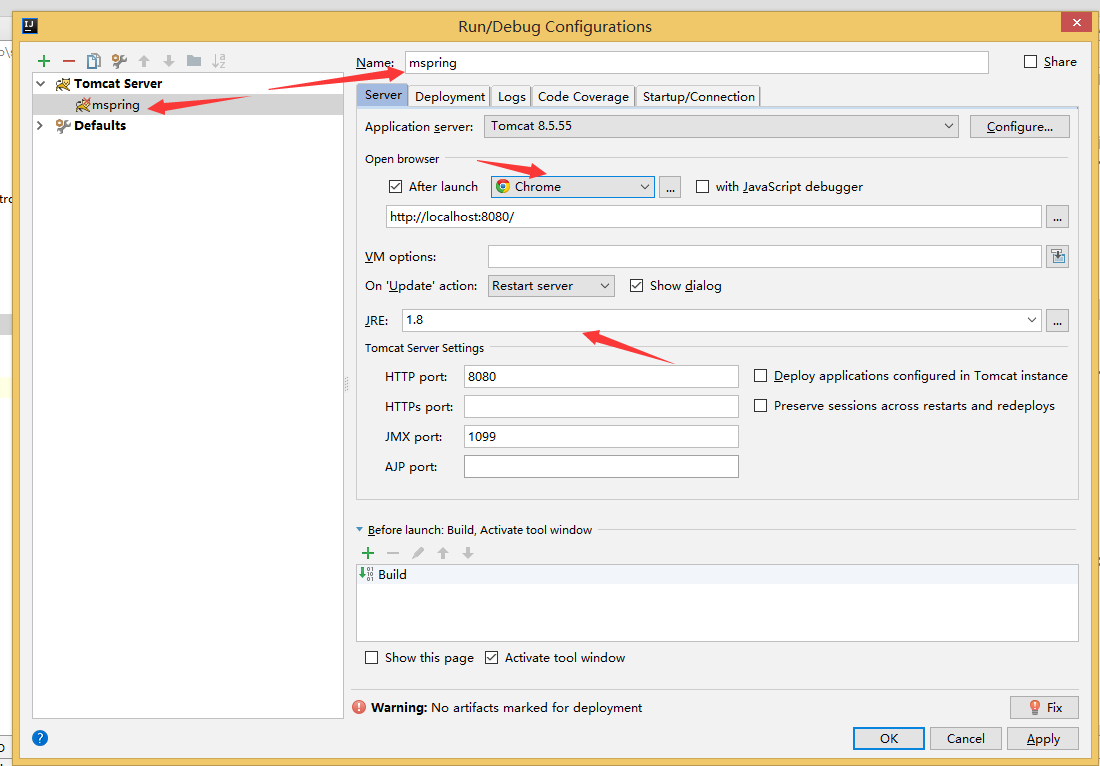
12.3 name(命名) -->启动浏览器--->JRE
12.4 Deployment -->Artifacts
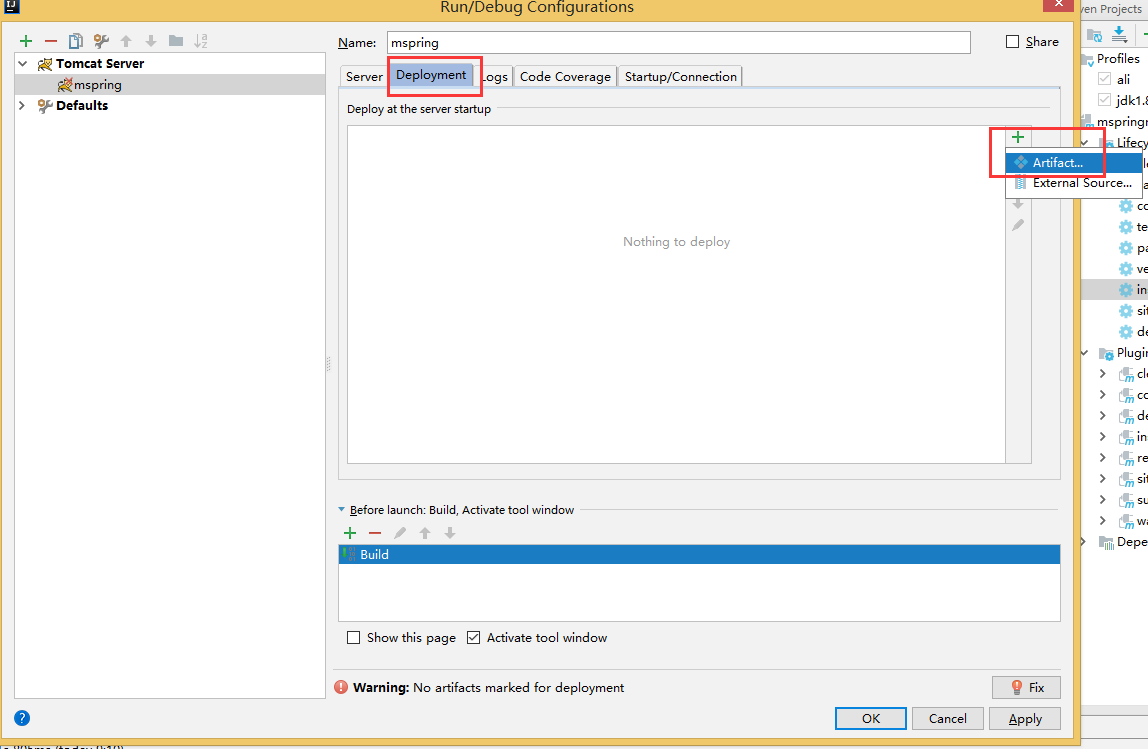
12.5 添加当前程序
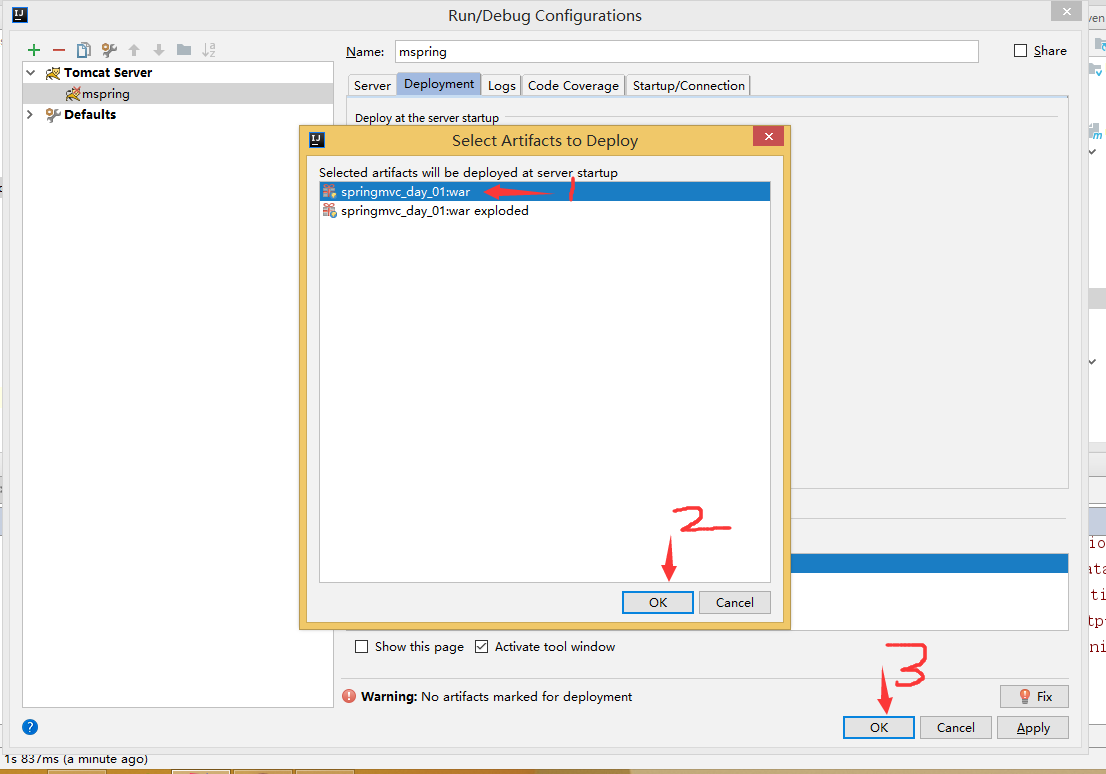
12.6 配置完成,基本上程序就可以启动了!
