Ubuntu系统部署tomcat并启用JMX实战案例
Ubuntu系统部署tomcat并启用JMX实战案例
作者:尹正杰
版权声明:原创作品,谢绝转载!否则将追究法律责任。
一.安装JDK环境
1>.更换阿里云的软件源
[root@zabbix_gateway250.yinzhengjie.org.cn ~]# vim /etc/apt/sources.list
[root@zabbix_gateway250.yinzhengjie.org.cn ~]#
[root@zabbix_gateway250.yinzhengjie.org.cn ~]# cat /etc/apt/sources.list
deb http://mirrors.aliyun.com/ubuntu/ bionic main restricted universe multiverse
deb-src http://mirrors.aliyun.com/ubuntu/ bionic main restricted universe multiverse

deb http://mirrors.aliyun.com/ubuntu/ bionic-security main restricted universe multiverse
deb-src http://mirrors.aliyun.com/ubuntu/ bionic-security main restricted universe multiverse

deb http://mirrors.aliyun.com/ubuntu/ bionic-updates main restricted universe multiverse
deb-src http://mirrors.aliyun.com/ubuntu/ bionic-updates main restricted universe multiverse

deb http://mirrors.aliyun.com/ubuntu/ bionic-proposed main restricted universe multiverse
deb-src http://mirrors.aliyun.com/ubuntu/ bionic-proposed main restricted universe multiverse

deb http://mirrors.aliyun.com/ubuntu/ bionic-backports main restricted universe multiverse
deb-src http://mirrors.aliyun.com/ubuntu/ bionic-backports main restricted universe multiverse
[root@zabbix_gateway250.yinzhengjie.org.cn ~]#
[root@zabbix_gateway250.yinzhengjie.org.cn ~]# apt-get update

2>.安装JDK
[root@tomcat250.yinzhengjie.org.cn ~]# apt-get -y install openjdk-8-jdk

3>.以二进制方式安装JDK
  博主推荐阅读:
    https://www.cnblogs.com/yinzhengjie/p/12199413.html
二.配置tomcat支持JMX功能
1>.基于二进制方式部署tomcat
  博主推荐阅读:
    https://www.cnblogs.com/yinzhengjie/p/12199468.html
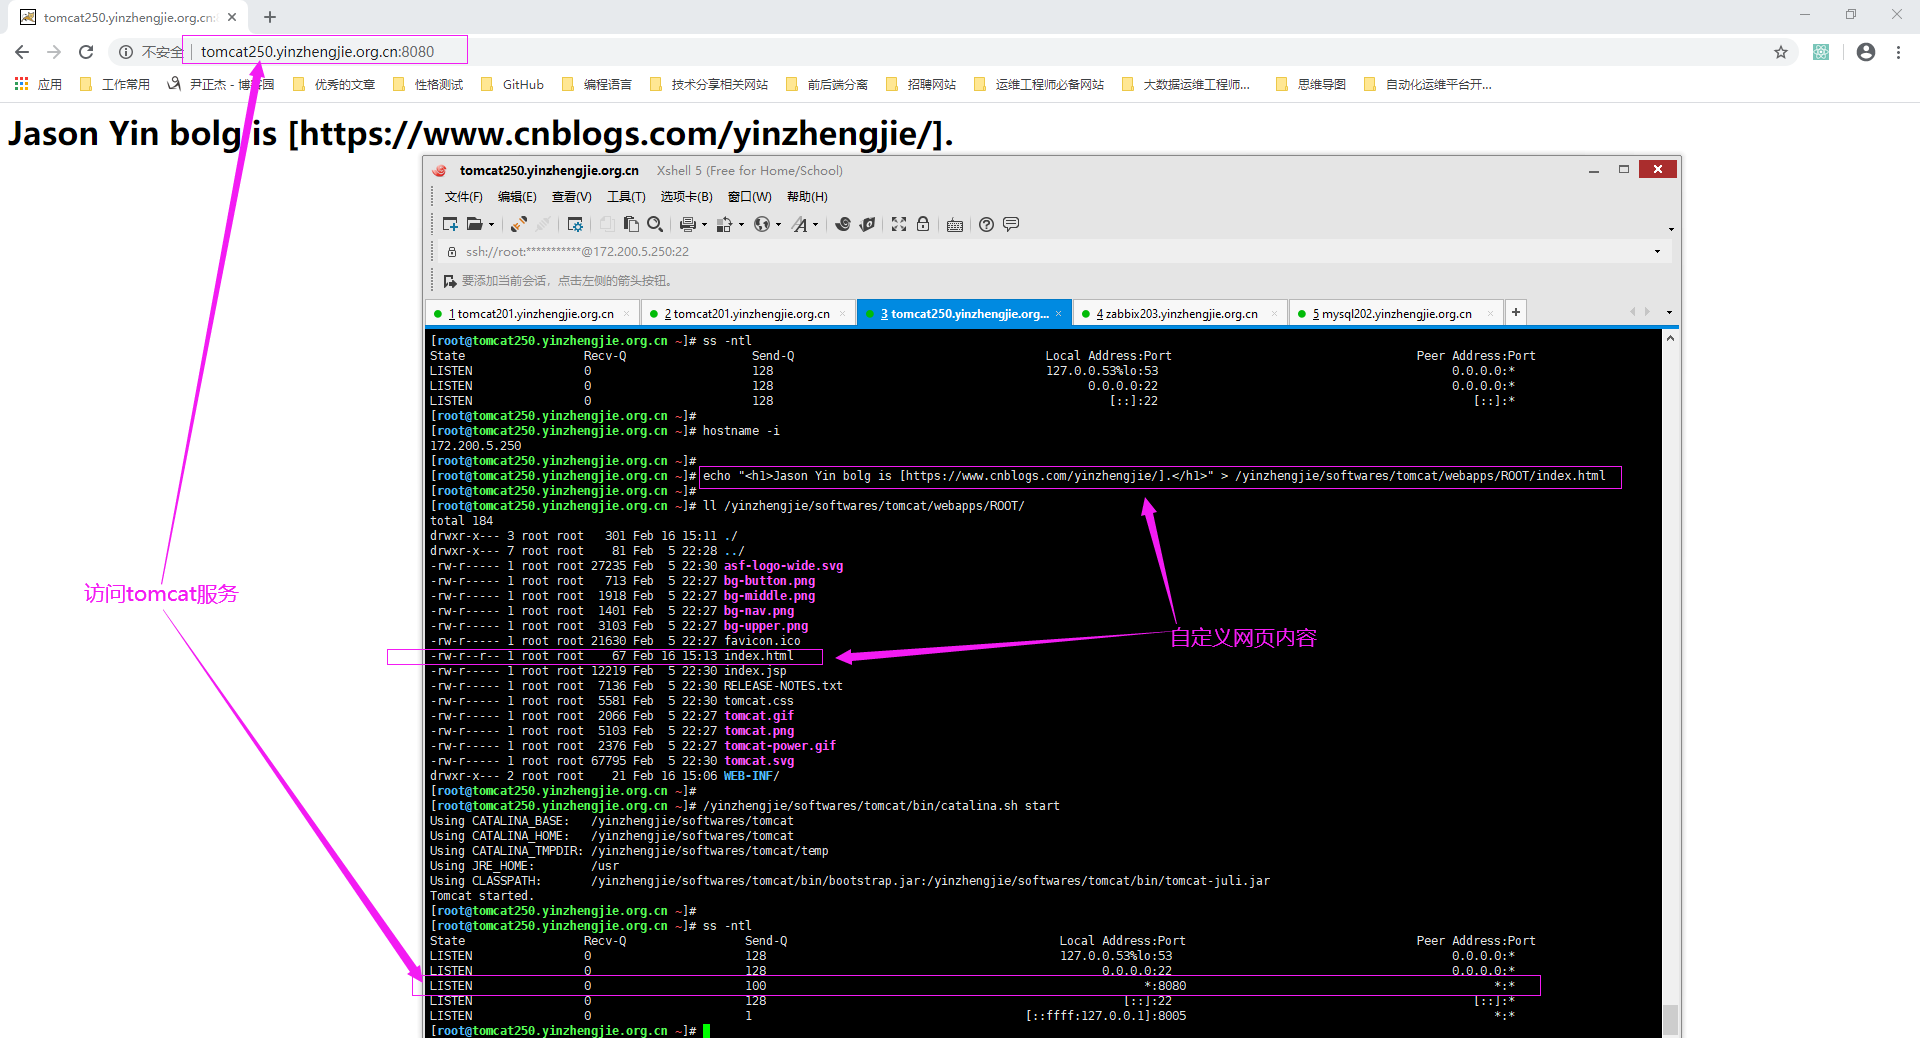
2>.自定义tomcat测试首页
[root@tomcat250.yinzhengjie.org.cn ~]# echo "<h1>Jason Yin bolg is [https://www.cnblogs.com/yinzhengjie/].</h1>" > /yinzhengjie/softwares/tomcat/webapps/ROOT/index.html
[root@tomcat250.yinzhengjie.org.cn ~]#
[root@tomcat250.yinzhengjie.org.cn ~]# /yinzhengjie/softwares/tomcat/bin/catalina.sh start
3>.配置tomcat支持JMX功能(/yinzhengjie/softwares/tomcat/bin/catalina.sh)
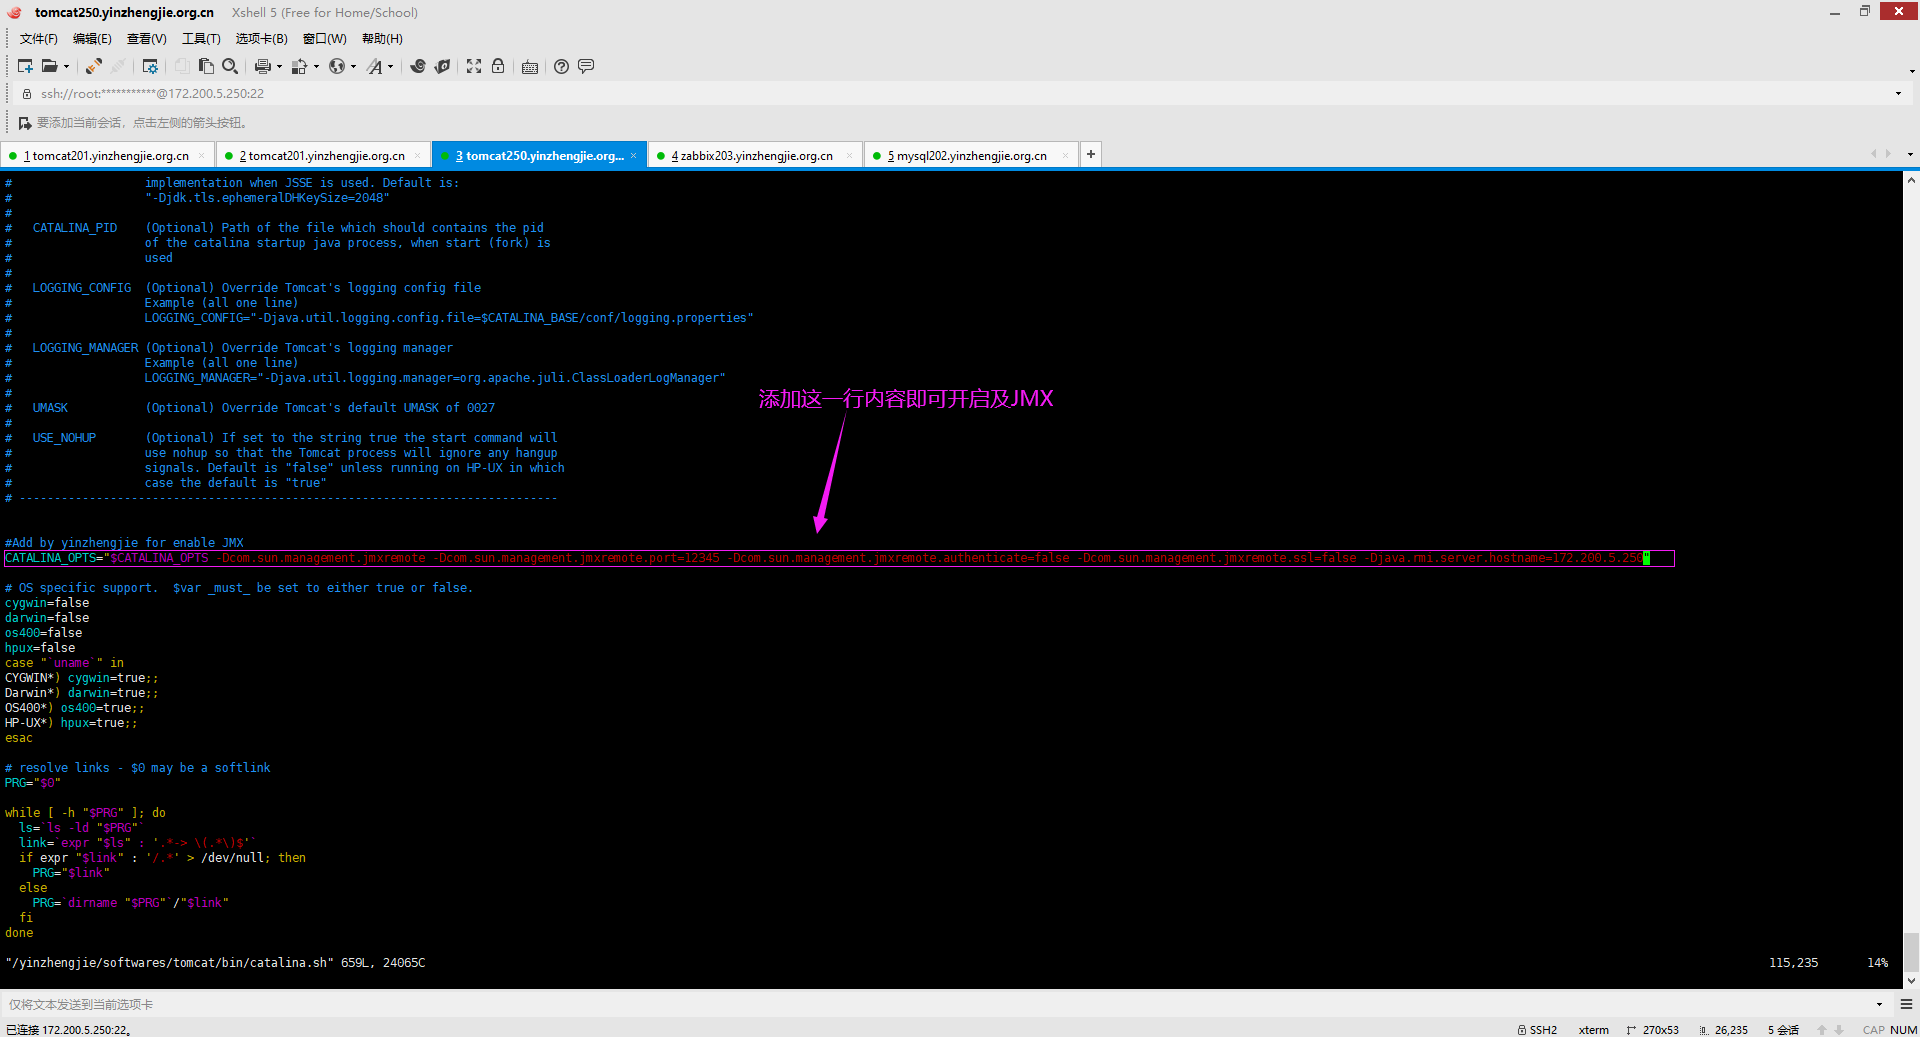
#Add by yinzhengjie for enable JMX
CATALINA_OPTS="$CATALINA_OPTS -Dcom.sun.management.jmxremote -Dcom.sun.management.jmxremote.port=12345 -Dcom.sun.management.jmxremote.authenticate=false -Dcom.sun.management.jmxremote.ssl=false -Djava.rmi.server.hostname=172.200.5.250"


温馨提示:
  -Dcom.sun.management.jmxremote:
    启用远程监控JMX。

  -Dcom.sun.management.jmxremote.port=12345:
    默认启动的JMX端口号,要和zabbix添加主机时候的端口一致即可。

  -Dcom.sun.management.jmxremote.authenticate=false :
    不使用用户名密码。

  -Dcom.sun.management.jmxremote.ssl=false:
    不使用ssl认证。

  -Djava.rmi.server.hostname=172.200.5.250":
    tomcat主机自己的IP地址,不要写zabbix服务器的地址。
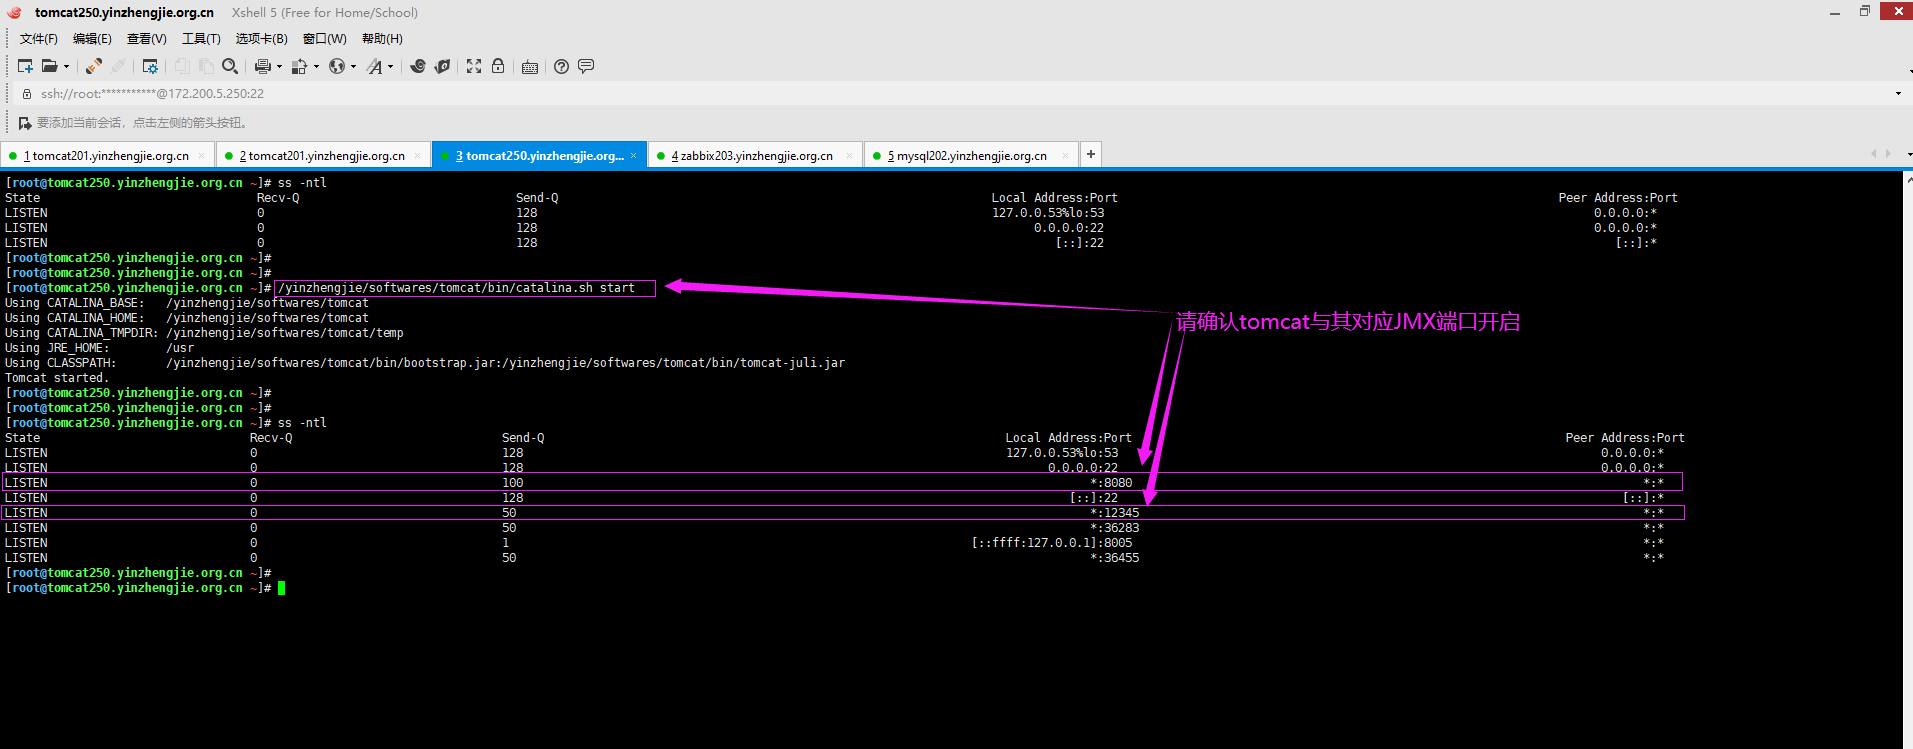
4>.重启tomcat并确认tomcat服务

[root@tomcat250.yinzhengjie.org.cn ~]# ss -ntl
State                              Recv-Q                              Send-Q                                                                   Local Address:Port                                                             Peer Address:Port
LISTEN                             0                                   128                                                                      127.0.0.53%lo:53                                                                    0.0.0.0:*
LISTEN                             0                                   128                                                                            0.0.0.0:22                                                                    0.0.0.0:*
LISTEN                             0                                   100                                                                                  *:8080                                                                        *:*
LISTEN                             0                                   128                                                                               [::]:22                                                                       [::]:*
LISTEN                             0                                   1                                                                   [::ffff:127.0.0.1]:8005                                                                        *:*
[root@tomcat250.yinzhengjie.org.cn ~]#
[root@tomcat250.yinzhengjie.org.cn ~]#
[root@tomcat250.yinzhengjie.org.cn ~]# /yinzhengjie/softwares/tomcat/bin/catalina.sh stop
Using CATALINA_BASE:   /yinzhengjie/softwares/tomcat
Using CATALINA_HOME:   /yinzhengjie/softwares/tomcat
Using CATALINA_TMPDIR: /yinzhengjie/softwares/tomcat/temp
Using JRE_HOME:        /usr
Using CLASSPATH:       /yinzhengjie/softwares/tomcat/bin/bootstrap.jar:/yinzhengjie/softwares/tomcat/bin/tomcat-juli.jar
[root@tomcat250.yinzhengjie.org.cn ~]#
[root@tomcat250.yinzhengjie.org.cn ~]#
[root@tomcat250.yinzhengjie.org.cn ~]# ss -ntl
State                               Recv-Q                               Send-Q                                                              Local Address:Port                                                               Peer Address:Port
LISTEN                              0                                    128                                                                 127.0.0.53%lo:53                                                                      0.0.0.0:*
LISTEN                              0                                    128                                                                       0.0.0.0:22                                                                      0.0.0.0:*
LISTEN                              0                                    128                                                                          [::]:22                                                                         [::]:*
[root@tomcat250.yinzhengjie.org.cn ~]#
[root@tomcat250.yinzhengjie.org.cn ~]#
三.使用JConsole连接tomcat jmx进行测试
1>.window操作系统安装JAVA
  博主推荐阅读:
    https://www.cnblogs.com/yinzhengjie2020/p/12206579.html
2>.如下图所示,运行JConsole并配置tomcat的JMX连接地址及端口,并点击"连接"

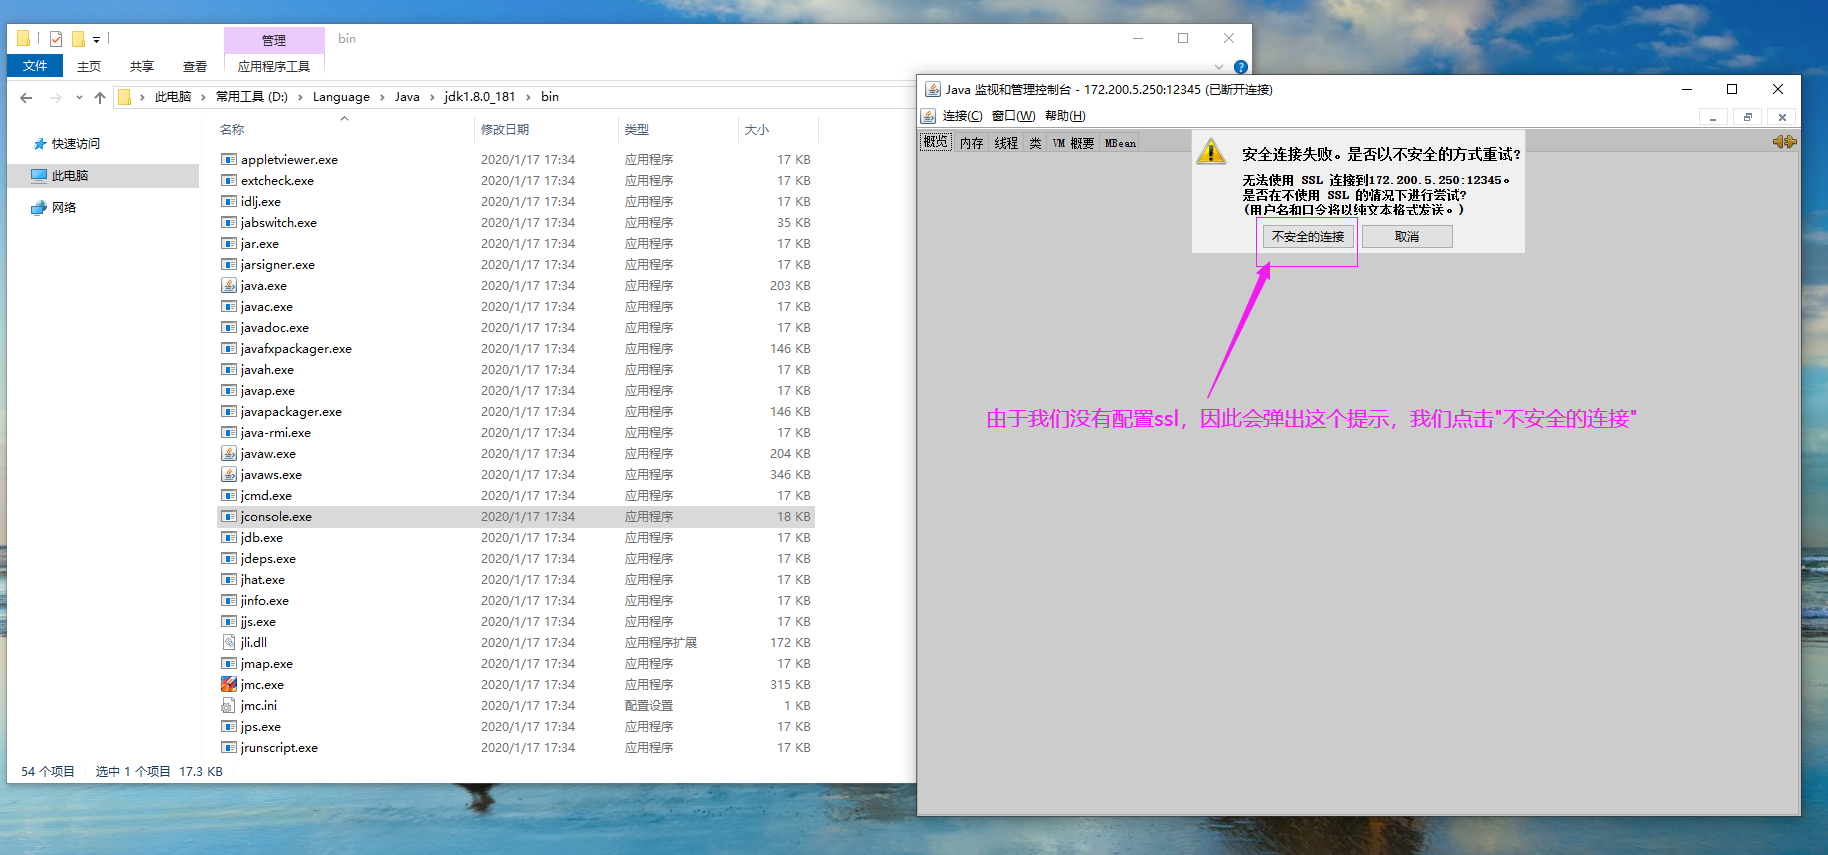
3>.点击"不安全的连接"
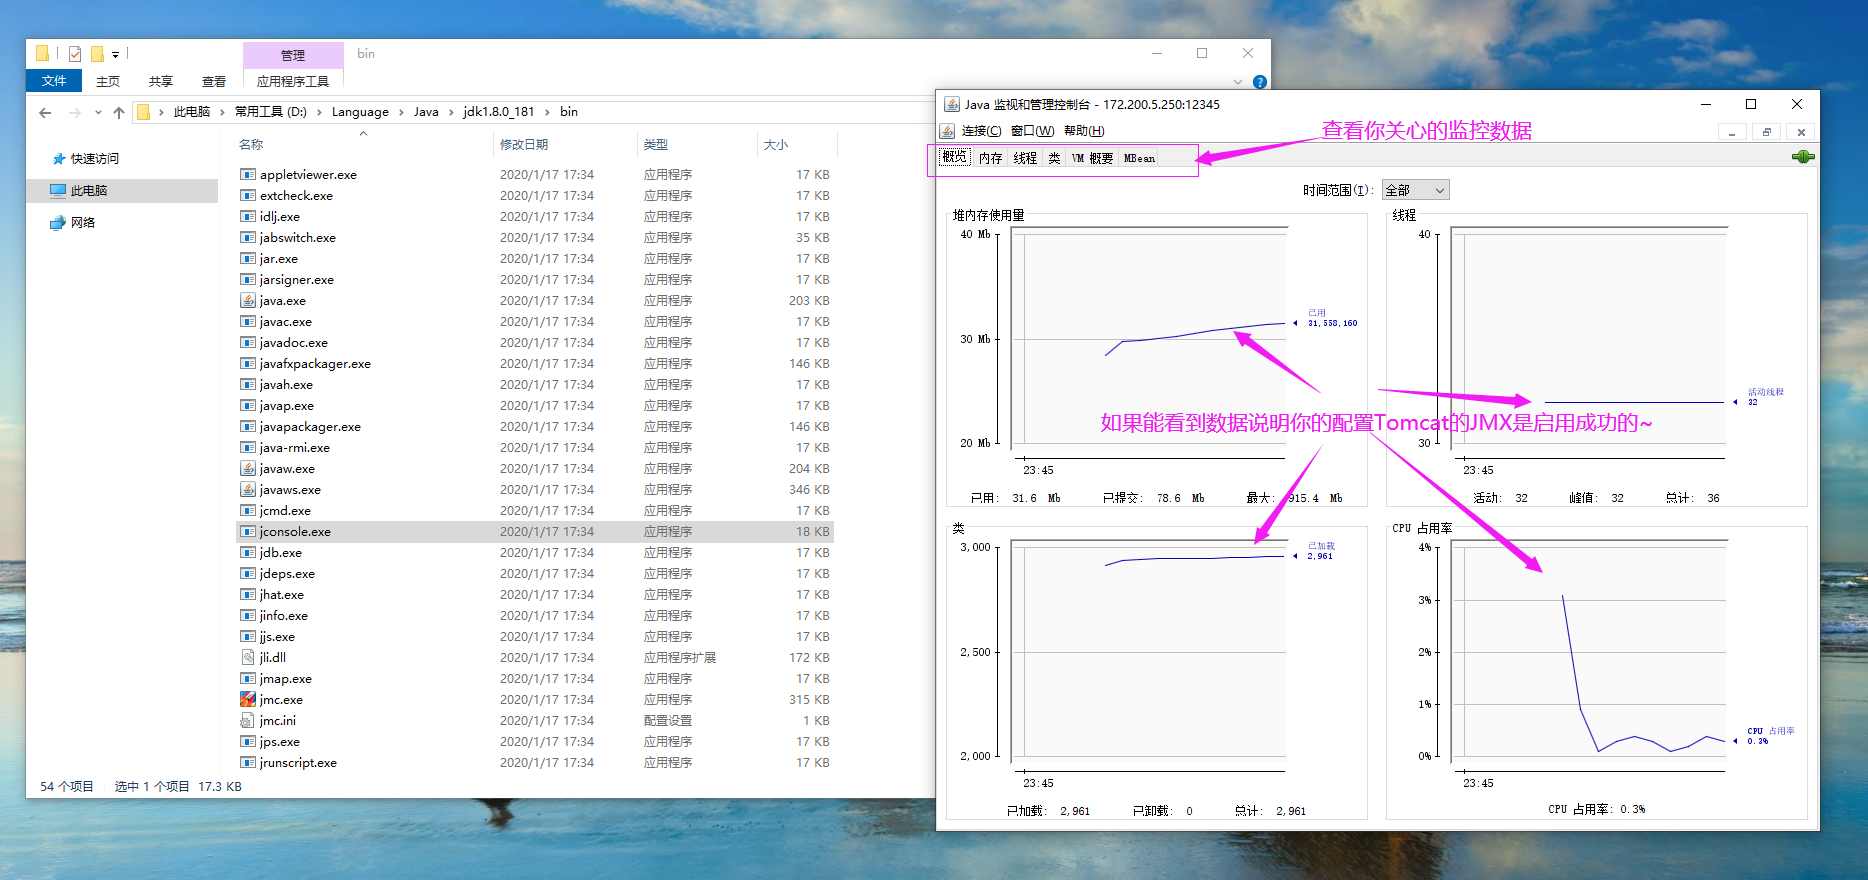
4>.查看你关心的监控数据
当你的才华还撑不起你的野心的时候,你就应该静下心来学习。当你的能力还驾驭不了你的目标的时候,你就应该沉下心来历练。问问自己,想要怎样的人生。 欢迎加入基础架构自动化运维:598432640,大数据SRE进阶之路:959042252,DevOps进阶之路:526991186


