mac中svn服务器的搭建以及如何在eclipse中使用
mac自带了svn客户端和服务端功能。
1.查看svn版本
svnserve --version
yintingtingdeMacBook-Pro:~ yintingting$ svnserve --version
svnserve, version 1.9.4 (r1740329)
   compiled Nov 15 2016, 20:35:27 on x86_64-apple-darwin15.0.0

Copyright (C) 2016 The Apache Software Foundation.
This software consists of contributions made by many people;
see the NOTICE file for more information.
Subversion is open source software, see http://subversion.apache.org/

The following repository back-end (FS) modules are available:

* fs_fs : Module for working with a plain file (FSFS) repository.
* fs_x : Module for working with an experimental (FSX) repository.
2.创建svn目录
sudo mkdir -p /Users/yintingting(根据自己的用户名修改)/svn/mycode //创建了一个文件夹,这个文件夹路径可以自己随意设定
sudo svnadmin create /Users/yintingting(根据自己的用户名修改)/svn/mycode //将之前创建的文件夹设置为svn的代码库
(下图svn_dir相当于mycode文件夹的样子)

3.
conf文件夹是配置文件夹,里面有相关配置,先选择svnserve.conf配置,如下图:
# anon-access = read
# auth-access = write
# password-db = passwd
# authz-db = authz
去掉这几个前面的#和空格,
anon-access 表示匿名访问权限(如果把anon-access=read修改为anon-access=none,这样就禁止了匿名访问,只有输入账号密码才可以访问)
4.
我们创建个帐户,要进passwd文件配置,在[users]后面加ytt=123,表示创建了ytt帐户,密码是123.
### This file is an example password file for svnserve.
### Its format is similar to that of svnserve.conf. As shown in the
### example below it contains one section labelled [users].
### The name and password for each user follow, one account per line.

[users]
# harry = harryssecret
# sally = sallyssecret
ytt = 123
xsd = 123
5.文件authz可以配置用户组及权限,可以把passwd里添加的用户加到一个用户组里或创建一个用户组,这样就可以对整个组设置权限了,还不用对每个用户进行单独权限设置。我们这里加了个zyxgroup组,包括用户zyx,权限是对根目录有读写权限,[/]表示根目录。
修改文件时写入不了就用vi编辑器,如果vi编辑器加了!还改不了,那就修改文件权限。
比如:切换到root用户:sudo -i
读写权限:chmod 666 你的文件(777也行,随便你,关键有w权限)
### This file is an example authorization file for svnserve.
### Its format is identical to that of mod_authz_svn authorization
### files.
### As shown below each section defines authorizations for the path and
### (optional) repository specified by the section name.
### The authorizations follow. An authorization line can refer to:
###  - a single user,
###  - a group of users defined in a special [groups] section,
###  - an alias defined in a special [aliases] section,
###  - all authenticated users, using the '$authenticated' token,
###  - only anonymous users, using the '$anonymous' token,
###  - anyone, using the '*' wildcard.
###
### A match can be inverted by prefixing the rule with '~'. Rules can
### grant read ('r') access, read-write ('rw') access, or no access
### ('').

[aliases]
# joe = /C=XZ/ST=Dessert/L=Snake City/O=Snake Oil, Ltd./OU=Research Institute/CN=Joe Average

[groups]
# harry_and_sally = harry,sally
# harry_sally_and_joe = harry,sally,&joe
yttgroup = xsd,ytt
# [/foo/bar]
# harry = rw
# &joe = r
# * =

# [repository:/baz/fuz]
# @harry_and_sally = rw
# * = r
[/]
@yttgroup=rw
6.启动svn服务器
svnserve -d -r /Users/yintingting/svn
注意不要输入svnserve -d -r /Users/yintingting/svn/mycode
7.关闭svn服务器的话,可以用ps找到它的pid,然后kill它就可以了。或者用活动监视器
ps -e | grep svnserve
5137 ??         0:00.00 /Library/Developer/CommandLineTools/usr/bin/svnserve -d -r svn_dir
 5142 ttys000    0:00.00 grep svnserve
kill 5137进程即可。
下面就是怎样在eclipse中使用了。。。。。。。
1.eclipse装上subclipse插件,help ->eclipse marketplace,搜索subclipse,安装,注意下面勾选内容(最好subclipse和svnkit都选)

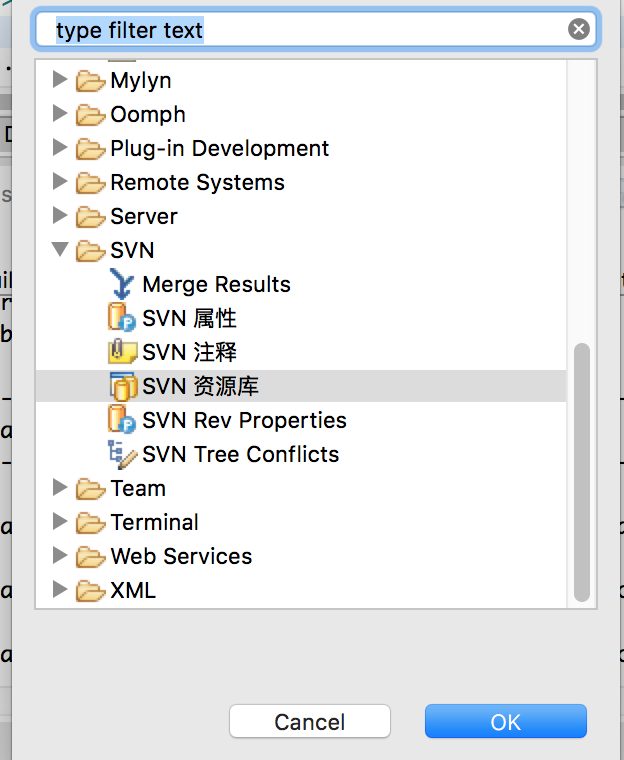
安装成功,window->show view->other,会出现如下图窗口

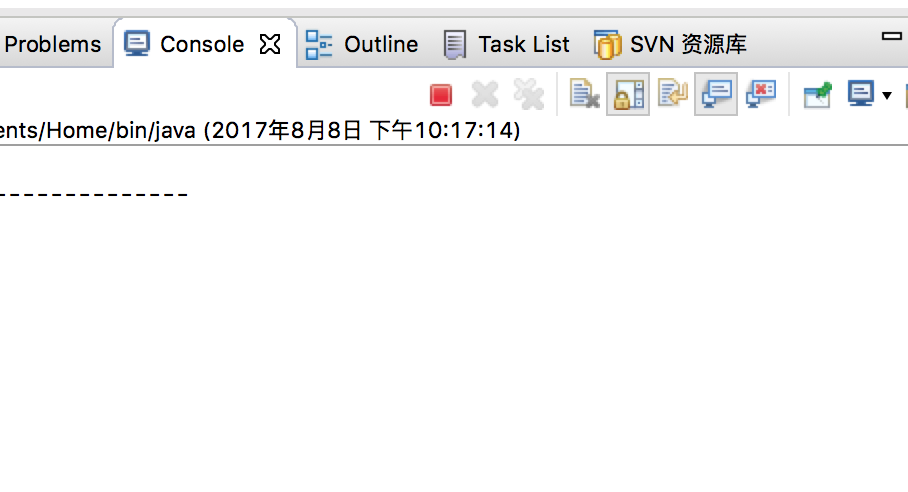
选择SVN资源库,点击OK,下方出现svn资源库

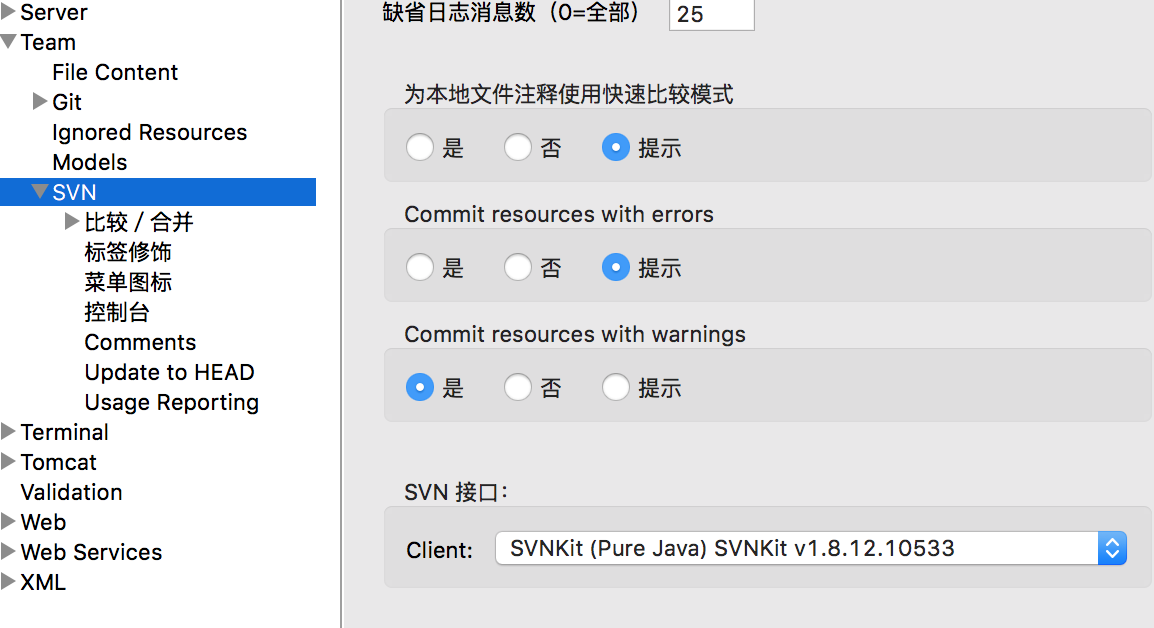
打开eclipse偏好设置,svn接口选一个(我这里选的是SVNKit,因为JavaHL(JNI) not available,而mac电脑用这个太麻烦),如果JavaHL可用那就用JavaHL好了。

切换到“SVN资源库”,新建-》资源库位置,
URL填写svn://ytt@localhost/mycode (ytt是用户名,之前创建的),在出来界面中输入用户名和密码,OK.


