
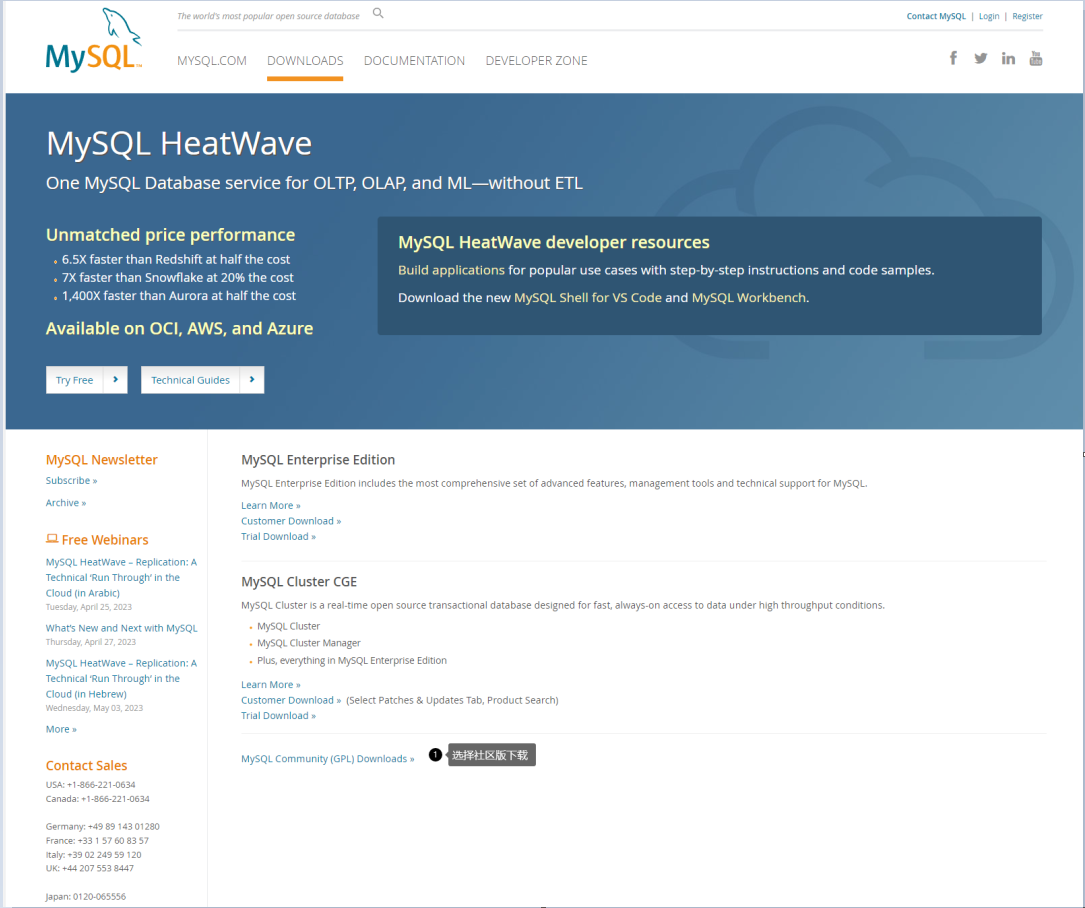
一、登录官网主页:https://www.mysql.com/downloads/,选择社区版下载,如下图:
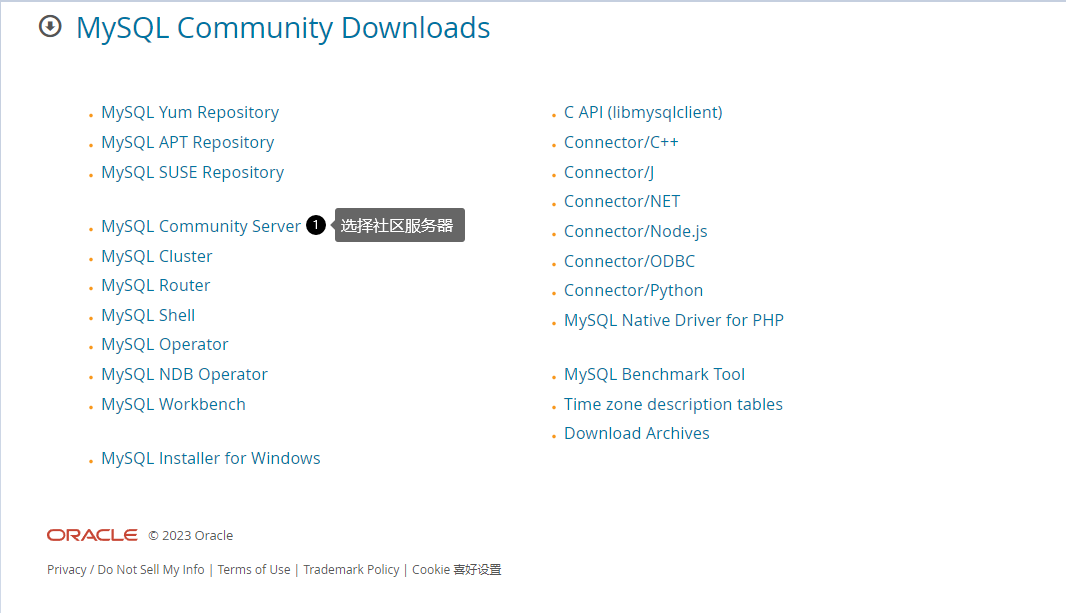
选择MySQL Community Server:
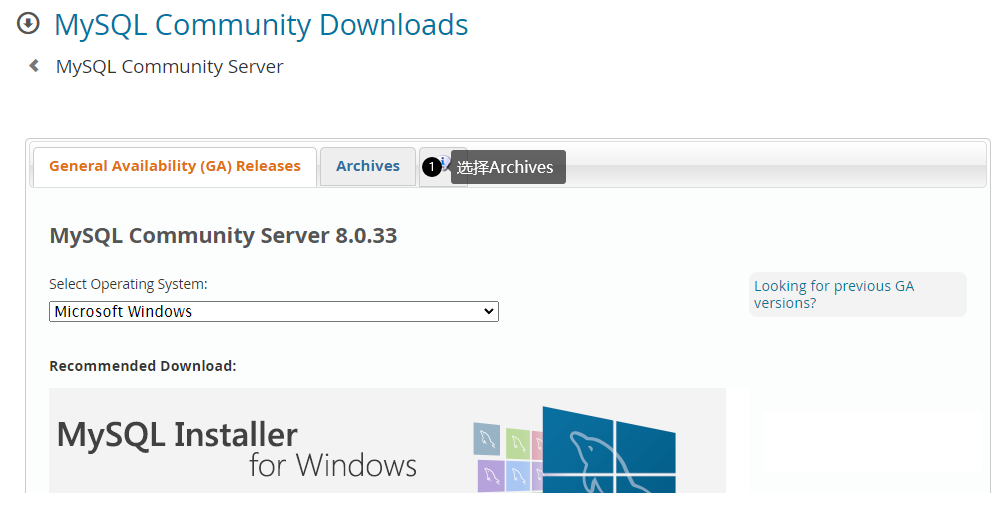
选择Archives:
按照下图步骤,获取下载的IP地址
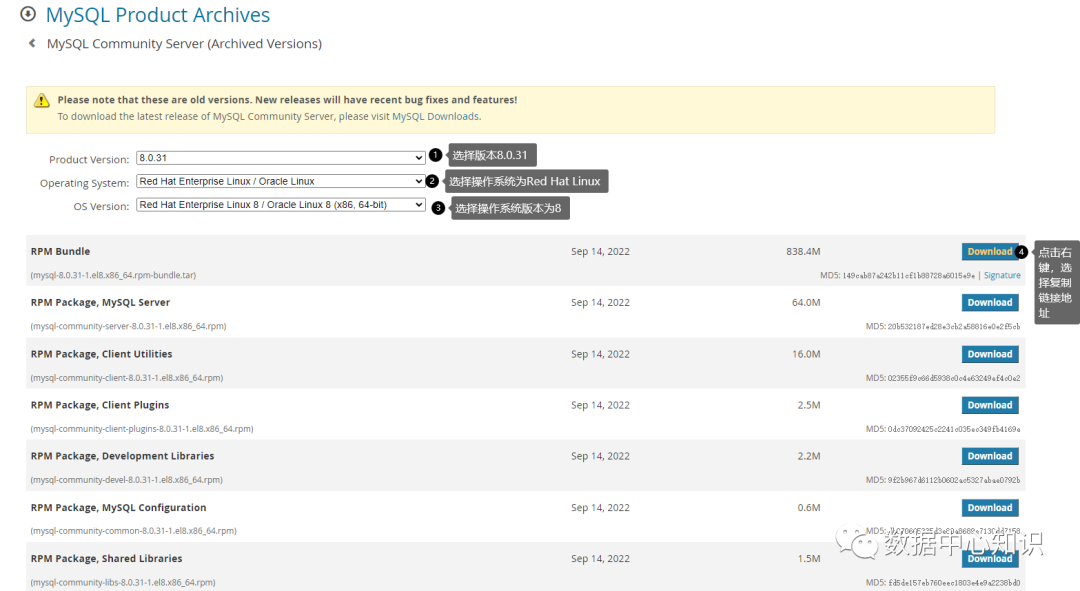
最终拿到的官网地址为:https://downloads.mysql.com/archives/get/p/23/file/mysql-8.0.31-1.el8.x86_64.rpm-bundle.tar
二、获取 MySQL 8.0.31
进入CentOS系统后,创建一个下载目录,开始下载软件:
wget https://downloads.mysql.com/archives/get/p/23/file/mysql-8.0.31-1.el8.x86_64.rpm-bundle.tar
执行结果:
--2023-04-23 09:37:14-- https://downloads.mysql.com/archives/get/p/23/file/mysql-8.0.31-1.el8.x86_64.rpm-bundle.tar
Resolving downloads.mysql.com (downloads.mysql.com)... 104.71.161.87, 2600:140b:2:99c::2e31, 2600:140b:2:99d::2e31
Connecting to downloads.mysql.com (downloads.mysql.com)|104.71.161.87|:443... connected.
HTTP request sent, awaiting response... 302 Moved Temporarily
Location: https://cdn.mysql.com/archives/mysql-8.0/mysql-8.0.31-1.el8.x86_64.rpm-bundle.tar [following]
--2023-04-23 09:37:15-- https://cdn.mysql.com/archives/mysql-8.0/mysql-8.0.31-1.el8.x86_64.rpm-bundle.tar
Resolving cdn.mysql.com (cdn.mysql.com)... 104.86.177.34
Connecting to cdn.mysql.com (cdn.mysql.com)|104.86.177.34|:443... connected.
HTTP request sent, awaiting response... 200 OK
Length: 879155200 (838M) [application/x-tar]
Saving to: ‘mysql-8.0.31-1.el8.x86_64.rpm-bundle.tar’
mysql-8.0.31-1.el8. 100%[===================>] 838.43M 5.79MB/s in 1m 55s
2023-04-23 09:39:11 (7.28 MB/s) - ‘mysql-8.0.31-1.el8.x86_64.rpm-bundle.tar’ saved [879155200/879155200]
解压:
tar -xvf mysql-8.0.31-1.el8.x86_64.rpm-bundle.tar
执行结果:
mysql-community-client-8.0.31-1.el8.x86_64.rpm
mysql-community-client-debuginfo-8.0.31-1.el8.x86_64.rpm
mysql-community-client-plugins-8.0.31-1.el8.x86_64.rpm
mysql-community-client-plugins-debuginfo-8.0.31-1.el8.x86_64.rpm
mysql-community-common-8.0.31-1.el8.x86_64.rpm
mysql-community-debuginfo-8.0.31-1.el8.x86_64.rpm
mysql-community-debugsource-8.0.31-1.el8.x86_64.rpm
mysql-community-devel-8.0.31-1.el8.x86_64.rpm
mysql-community-icu-data-files-8.0.31-1.el8.x86_64.rpm
mysql-community-libs-8.0.31-1.el8.x86_64.rpm
mysql-community-libs-debuginfo-8.0.31-1.el8.x86_64.rpm
mysql-community-server-8.0.31-1.el8.x86_64.rpm
mysql-community-server-debug-8.0.31-1.el8.x86_64.rpm
mysql-community-server-debug-debuginfo-8.0.31-1.el8.x86_64.rpm
mysql-community-server-debuginfo-8.0.31-1.el8.x86_64.rpm
mysql-community-test-8.0.31-1.el8.x86_64.rpm
mysql-community-test-debuginfo-8.0.31-1.el8.x86_64.rpm
三、开始安装 MySQL 8.0.31
安装之前,需要先安装net-tools和perl,采用yum安装的方式:
tar -xvf mysql-8.0.31-1.el8.x86_64.rpm-bundle.tar
yum install -y perl
然后开始分6步安装软件:
rpm -ivh mysql-community-common-8.0.31-1.el8.x86_64.rpm
执行结果:
warning: mysql-community-common-8.0.31-1.el8.x86_64.rpm: Header V4 RSA/SHA256 Signature, key ID 3a79bd29: NOKEY
Verifying... ################################# [100%]
Preparing... ################################# [100%]
Updating installing...
1:mysql-community-common-8.0.31-1.e################################# [100%]
rpm -ivh mysql-community-client-plugins-8.0.31-1.el8.x86_64.rpm
执行结果:
warning: mysql-community-client-plugins-8.0.31-1.el8.x86_64.rpm: Header V4 RSA/SHA256 Signature, key ID 3a79bd29: NOKEY
Verifying... ################################# [100%]
Preparing... ################################# [100%]
Updating installing...
1:mysql-community-client-plugins-8.################################# [100%]
rpm -ivh mysql-community-libs-8.0.31-1.el8.x86_64.rpm
执行结果:
warning: mysql-community-libs-8.0.31-1.el8.x86_64.rpm: Header V4 RSA/SHA256 Signature, key ID 3a79bd29: NOKEY
Verifying... ################################# [100%]
Preparing... ################################# [100%]
Updating installing...
1:mysql-community-libs-8.0.31-1.el8################################# [100%]
rpm -ivh mysql-community-client-8.0.31-1.el8.x86_64.rpm
执行结果:
warning: mysql-community-client-8.0.31-1.el8.x86_64.rpm: Header V4 RSA/SHA256 Signature, key ID 3a79bd29: NOKEY
Verifying... ################################# [100%]
Preparing... ################################# [100%]
Updating installing...
1:mysql-community-client-8.0.31-1.e################################# [100%]
rpm -ivh mysql-community-icu-data-files-8.0.31-1.el8.x86_64.rpm
执行结果:
warning: mysql-community-icu-data-files-8.0.31-1.el8.x86_64.rpm: Header V4 RSA/SHA256 Signature, key ID 3a79bd29: NOKEY
Verifying... ################################# [100%]
Preparing... ################################# [100%]
Updating installing...
1:mysql-community-icu-data-files-8.################################# [100%]
rpm -ivh mysql-community-server-8.0.31-1.el8.x86_64.rpm
执行结果:
warning: mysql-community-server-8.0.31-1.el8.x86_64.rpm: Header V4 RSA/SHA256 Signature, key ID 3a79bd29: NOKEY
Verifying... ################################# [100%]
Preparing... ################################# [100%]
Updating installing...
1:mysql-community-server-8.0.31-1.e################################# [100%]
如果执行该步安装时报如下错误:
[root@one mysqlpkg]# rpm -ivh mysql-community-server-8.0.31-1.el8.x86_64.rpm
warning: mysql-community-server-8.0.31-1.el8.x86_64.rpm: Header V4 RSA/SHA256 Signature, key ID 3a79bd29: NOKEY
error: Failed dependencies:
mariadb-connector-c-config is obsoleted by mysql-community-server-8.0.31-1.el8.x86_64
解决办法:yum remove掉即可,代码如下
yum remove mariadb-connector-c-config -y
四、MySQL安装完的验证
上面的6个软件包装完后,MySQL就已经安装完成。可以做如下验证操作:
查看软件包
rpm -qa | grep -i mysql
执行结果:
mysql-community-common-8.0.31-1.el8.x86_64
mysql-community-icu-data-files-8.0.31-1.el8.x86_64
mysql-community-client-plugins-8.0.31-1.el8.x86_64
mysql-community-client-8.0.31-1.el8.x86_64
mysql-community-libs-8.0.31-1.el8.x86_64
mysql-community-server-8.0.31-1.el8.x86_64
查看安装的文件情况:
find / -name mysql
执行结果:
/etc/logrotate.d/mysql
/var/lib/selinux/targeted/active/modules/100/mysql
/var/lib/mysql
/usr/bin/mysql
/usr/lib64/mysql
/usr/share/selinux/targeted/default/active/modules/100/mysql
/soft/mysql
查看安装的软件版本:
mysql -V
执行结果:
mysql Ver 8.0.31 for Linux on x86_64 (MySQL Community Server - GPL)
最后就是启动服务,并将服务写入开机自启中,并查看服务状态:
systemctl enable mysqld && systemctl start mysqld && systemctl status mysqld
执行结果:
mysqld.service - MySQL Server
Loaded: loaded (/usr/lib/systemd/system/mysqld.service; enabled; vendor pres>
Active: active (running) since Sun 2023-04-23 10:02:45 CST; 5h 22min ago
Docs: man:mysqld(8)
http://dev.mysql.com/doc/refman/en/using-systemd.html
Process: 1098 ExecStartPre=/usr/bin/mysqld_pre_systemd (code=exited, status=0>
Main PID: 1145 (mysqld)
Status: "Server is operational"
Tasks: 38 (limit: 23507)
Memory: 439.1M
CGroup: /system.slice/mysqld.service
└─1145 /usr/sbin/mysqld
Apr 23 10:02:42 MySQL systemd[1]: Starting MySQL Server...
Apr 23 10:02:45 MySQL systemd[1]: Started MySQL Server.
五、MySQL初始化
MySQL安装完成后,需要做一些初始化操作,比方说更改默认密码等:
查看临时密码:
grep "temporary password" /var/log/mysqld.log
执行结果:
[Note] [MY-010454] [Server] A temporary password is generated for root@localhost: j-Sk87LZ,?!j
通过临时密码登录MySQL命令行
mysql -u root -p
Enter password:
执行结果:
Welcome to the MySQL monitor. Commands end with ; or \g.
Your MySQL connection id is 8
Server version: 8.0.31
Copyright (c) 2000, 2022, Oracle and/or its affiliates.
Oracle is a registered trademark of Oracle Corporation and/or its
affiliates. Other names may be trademarks of their respective
owners.
Type 'help;' or '\h' for help. Type '\c' to clear the current input statement.
更改root账号的密码:
alter user root@localhost identified by 'Zqx9876@54';
执行结果:
Query OK, 0 rows affected (0.00 sec)
更改数据库
use mysql;
执行结果:
Reading table information for completion of table and column names
You can turn off this feature to get a quicker startup with -A
Database changed
更新root账号的登录范围
update user set Host='%' where User='root' and Host='localhost';
执行结果:
Query OK, 1 row affected (0.00 sec)
Rows matched: 1 Changed: 1 Warnings: 0
刷新权限
flush privileges;
退出
exit
至此,数据库安装配置就算成功了,后面就只剩指定路径及导入数据库的工作了。

 浙公网安备 33010602011771号