
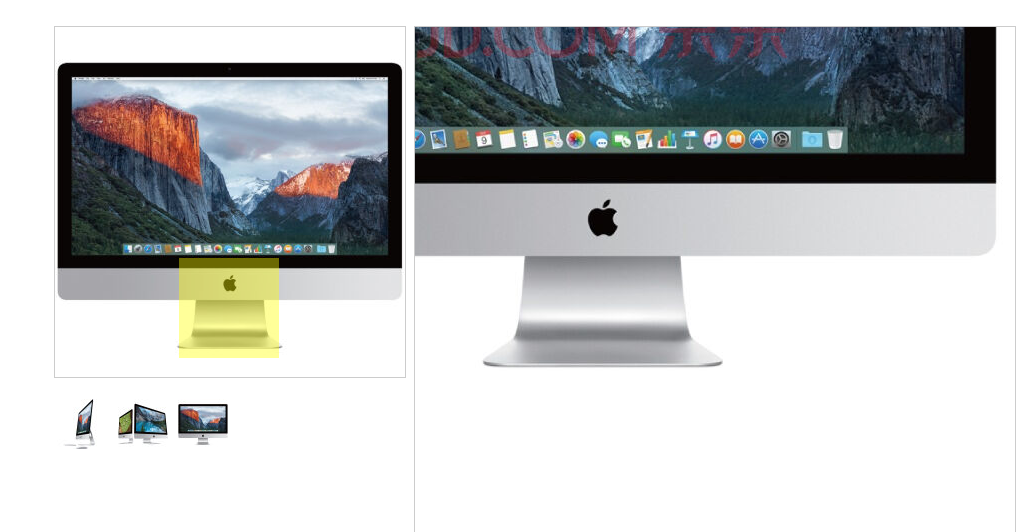
制作类似京东商城产品详细图的放大镜
源码如下:
  1 <!DOCTYPE html>
  2 <html lang="en">
  3 <head>
  4     <meta charset="UTF-8">
  5     <title></title>
  6     <style>
  7         *{
  8             margin: 0;
  9             padding: 0;
 10             border:none
 11         }
 12
 13         img{
 14             vertical-align: top;
 15         }
 16
 17         #box{
 18             width: 350px;
 19             height: 350px;
 20             background-color: red;
 21             margin: 100px 0 0 100px;
 22
 23             position: relative;
 24         }
 25
 26         #small_box{
 27             width: 100%;
 28             height: 100%;
 29             border: 1px solid #ccc;
 30
 31             position: relative;
 32         }
 33
 34         #small_box img{
 35             width: 350px;
 36             height: 350px;
 37         }
 38
 39         #mask{
 40             width: 100px;
 41             height: 100px;
 42             background-color: rgba(255, 255, 0, .4);
 43             position: absolute;
 44             left: 0;
 45             top:0;
 46             cursor: move;
 47
 48
 49             display: none;
 50         }
 51
 52         #big_box{
 53             width: 600px;
 54             height: 600px;
 55             border: 1px solid #ccc;
 56             overflow: hidden;
 57
 58             position: absolute;
 59             left: 360px;
 60             top:0;
 61
 62             display: none;
 63         }
 64
 65         #list{
 66             margin: 20px 0 0 100px;
 67         }
 68
 69         #list img{
 70             margin: 3px;
 71         }
 72     </style>
 73 </head>
 74 <body>
 75    <div id="box">
 76        <div id="small_box">
 77            <img src="images/pic001.jpg" alt="">
 78            <span id="mask"></span>
 79        </div>
 80        <div id="big_box">
 81            <img src="images/pic01.jpg" alt="" style="position: absolute; left:0; top:0;">
 82        </div>
 83    </div>
 84    <div id="list">
 85        <img src="images/pic0001.jpg" alt="">
 86        <img src="images/pic0002.jpg" alt="">
 87        <img src="images/pic0003.jpg" alt="">
 88    </div>
 89 <script>
 90     window.onload = function () {
 91         // 1. 获取需要的标签
 92         var box = document.getElementById("box");
 93         var small_box = box.children[0];
 94         var big_box = box.children[1];
 95         var mask = small_box.children[1];
 96         var big_img = big_box.children[0];
 97         var list_img = document.getElementById("list").children;
 98
 99         // 2. 监听鼠标进入小盒子
100         small_box.onmouseover = function () {
101             // 2.1 把隐藏的内容显示
102             mask.style.display = 'block';
103             big_box.style.display = 'block';
104
105             // 2.2 监听鼠标的移动
106             small_box.onmousemove = function (event) {
107                 var event = event || window.event;
108
109                 // 2.3 求出鼠标的坐标
110                 var pointX = event.clientX - small_box.offsetParent.offsetLeft - mask.offsetWidth * 0.5;
111                 var pointY = event.clientY - small_box.offsetParent.offsetTop - mask.offsetHeight * 0.5;
112
113                 // 2.4 边界检测
114                 if(pointX < 0){
115                     pointX = 0;
116                 }else if(pointX >= small_box.offsetWidth - mask.offsetWidth){
117                     pointX = small_box.offsetWidth - mask.offsetWidth;
118                 }
119
120                 if(pointY < 0){
121                     pointY = 0;
122                 }else if(pointY >= small_box.offsetHeight - mask.offsetHeight){
123                     pointY = small_box.offsetHeight - mask.offsetHeight;
124                 }
125
126                 // 2.5 让放大镜移动起来
127                 mask.style.left = pointX + 'px';
128                 mask.style.top = pointY + 'px';
129
130                 // 2.6 让大图移动起来
131                 /*
132                    smallX / bigX = smallBox.width / 大图的宽度
133                    bigX = smallX / ( smallBox.width / 大图的宽度 )
134                 */
135                 big_img.style.left = - pointX / (small_box.offsetWidth / big_box.offsetWidth) + 'px';
136                 big_img.style.top = - pointY / (small_box.offsetHeight / big_box.offsetHeight) + 'px';
137             }
138         };
139
140         // 3. 监听鼠标离开小盒子
141         small_box.onmouseout = function () {
142             // 2.1 把隐藏的内容显示
143             mask.style.display = 'none';
144             big_box.style.display = 'none';
145         };
146
147         // 4. 遍历列表图片
148         for(var i=0; i<list_img.length; i++){
149             (function (j) {
150                 var img = list_img[j];
151                 img.onmouseover = function () {
152                     small_box.children[0].src = "images/pic00"+ (j + 1) +".jpg";
153                     big_img.src = "images/pic0"+ (j + 1) +".jpg"
154                 }
155             })(i);
156         }
157     }
158 </script>
159 </body>
160 </html>

 浙公网安备 33010602011771号