harbor 部署-与高可用
harbor 部署-与高可用
- 复制功能的目标
1.首先要两个节点上都要部署harbor仓库 2.然后让他们相互的复制,达到镜像统一一致 3.最后使用keepalived,都部署上,达到高可用性
1)前提准备docker-ce环境与docker-compose环境
因为harbor是docker-compose管理的 所以需要提前安装命令
2)部署harbor
- harbor02
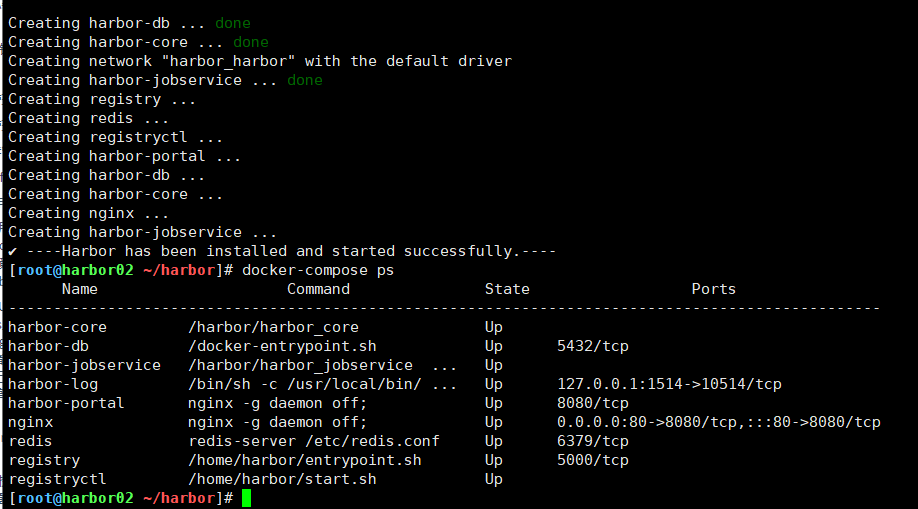
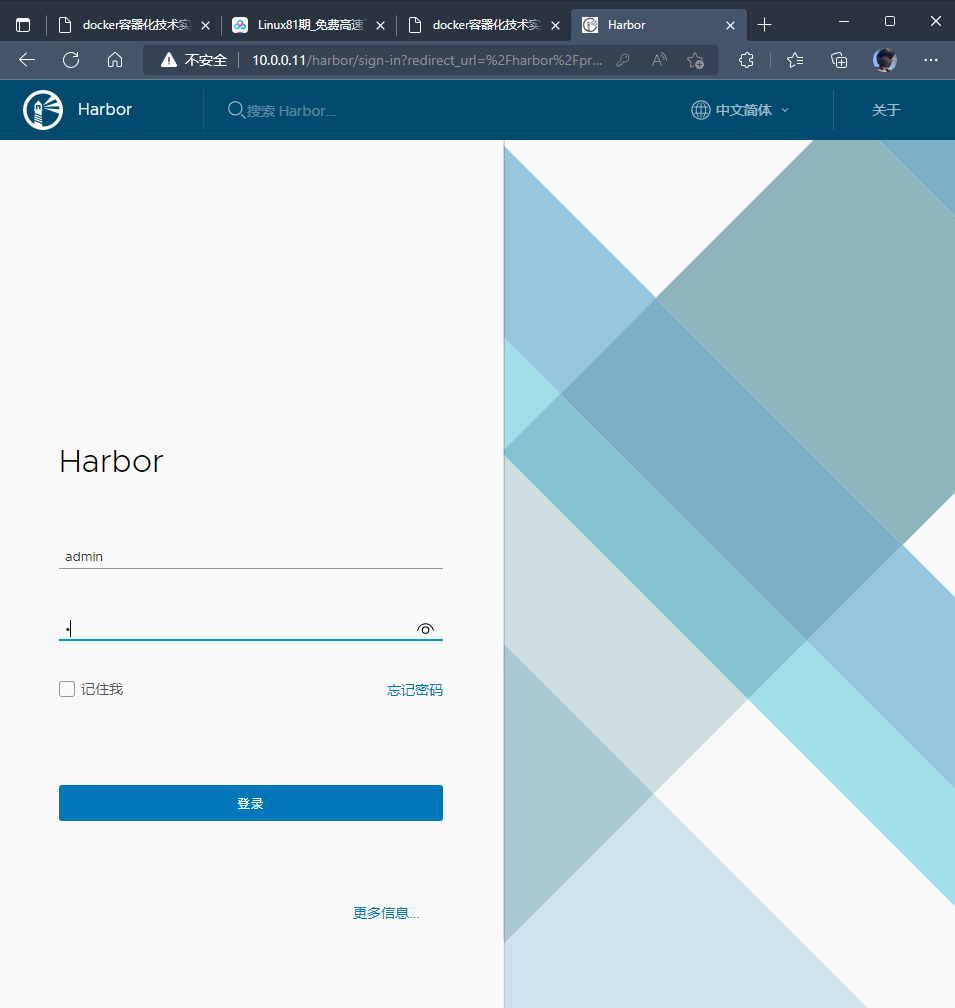
#01 先上传harbor镜像仓库 自行准备软件包-这个软件包下载非常的慢 #02 解压harbor软件包 [root@harbor02 ~]# tar xf harbor-offline-installer-v2.6.1.tgz #03 修改harbor的配置文件 [root@harbor02 ~/harbor]# vim harbor.yml #修改为主机地址 hostname: 10.0.0.129 #我这里为了使用方便直接写IP地址 # http related config http: # port for http, default is 80. If https enabled, this port will redirect to https port port: 80 #使用http不使用https # https related config #https: # # https port for harbor, default is 443 # port: 443 # # The path of cert and key files for nginx # certificate: /your/certificate/path # private_key: /your/private/key/path # Uncomment external_url if you want to enable external proxy # And when it enabled the hostname will no longer used # external_url: https://reg.mydomain.com:8433 # The initial password of Harbor admin # It only works in first time to install harbor # Remember Change the admin password from UI after launching Harbor. #仓库密码 harbor_admin_password: 1 #04 开始安装harbor服务 后面的这个参数是开启扫描功能 加不加都可以 [root@harbor02 ~/harbor]# ./install.sh --with-trivy #05访问harbor的页面 如下图所示,用户名为admin,密码为上面定义的"1"。
-
成功了
-
要是想不让harbor不加载镜像 可以提升速度
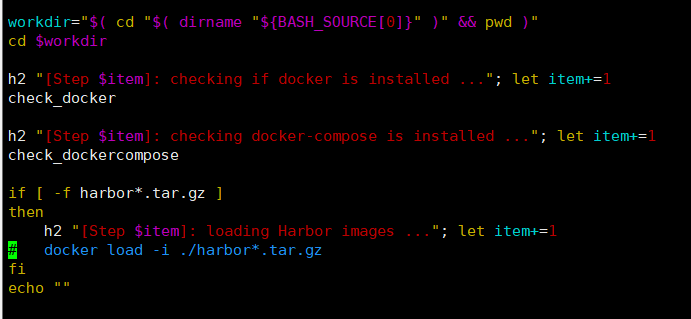
-
访问测试
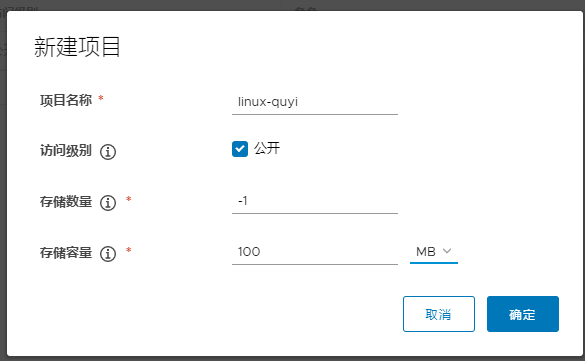
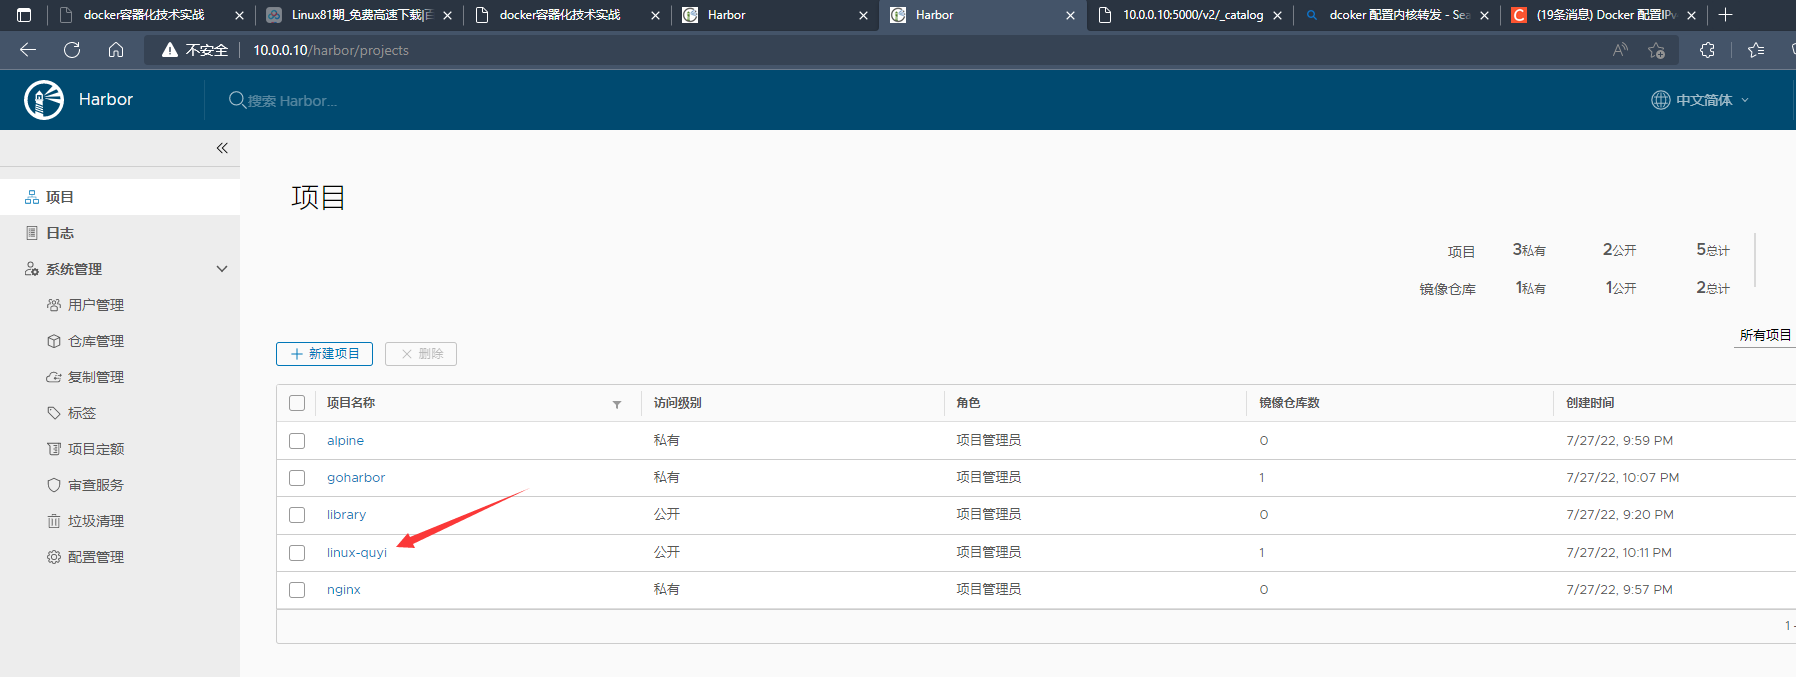
3)创建一个项目-基于http仓库
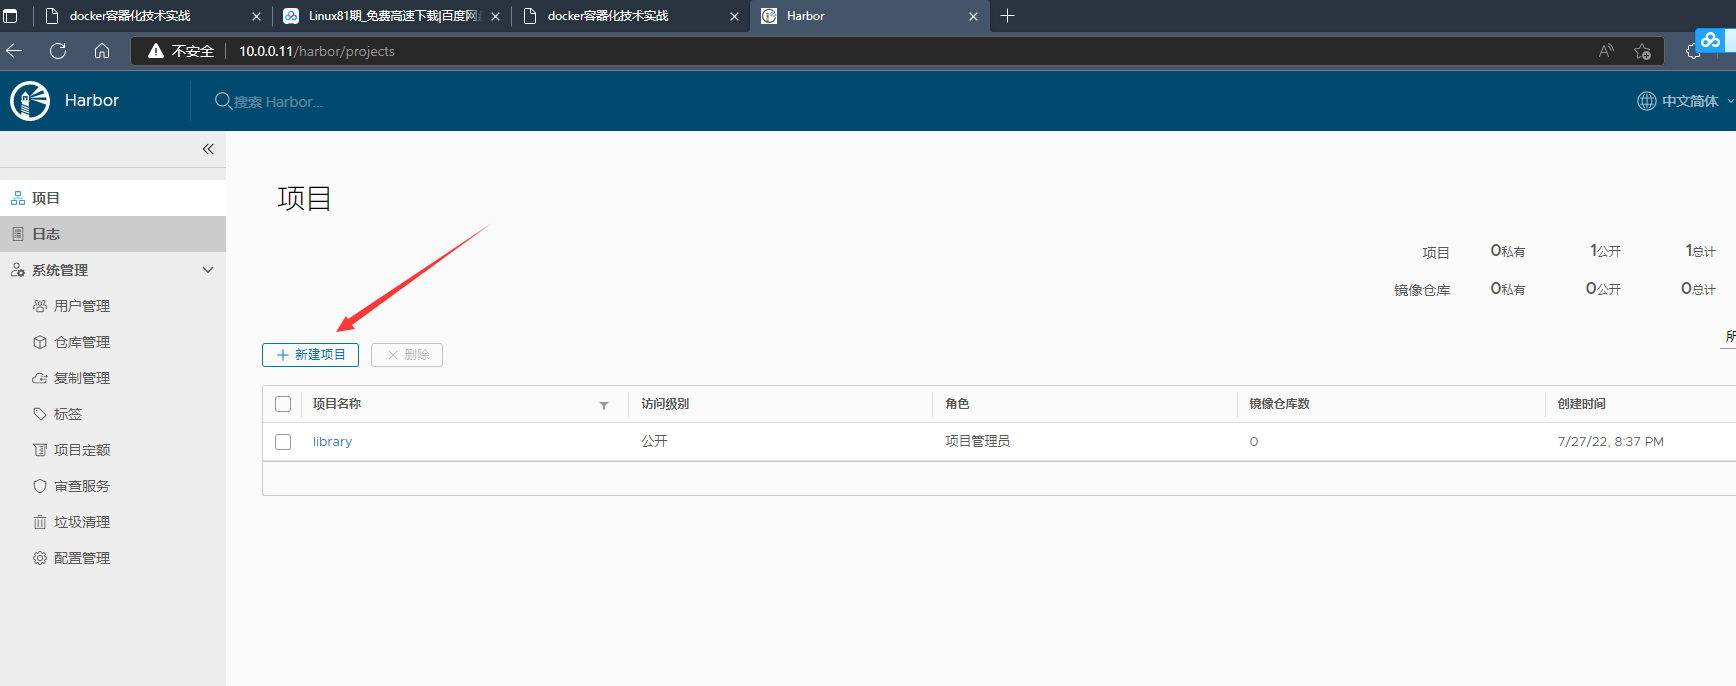
-
设置项目名称与限制大小
-
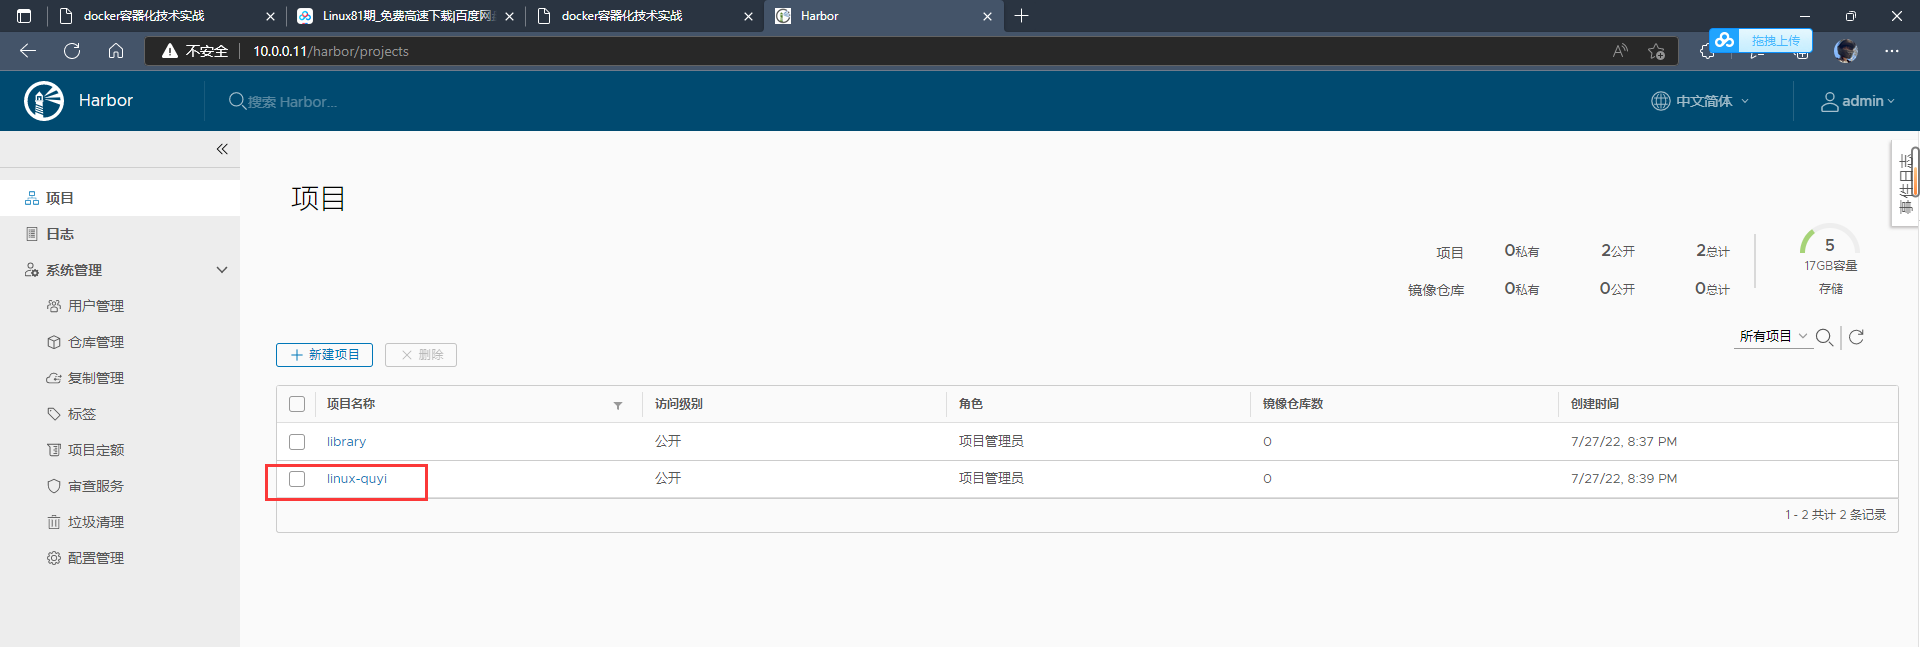
创建成功了
-
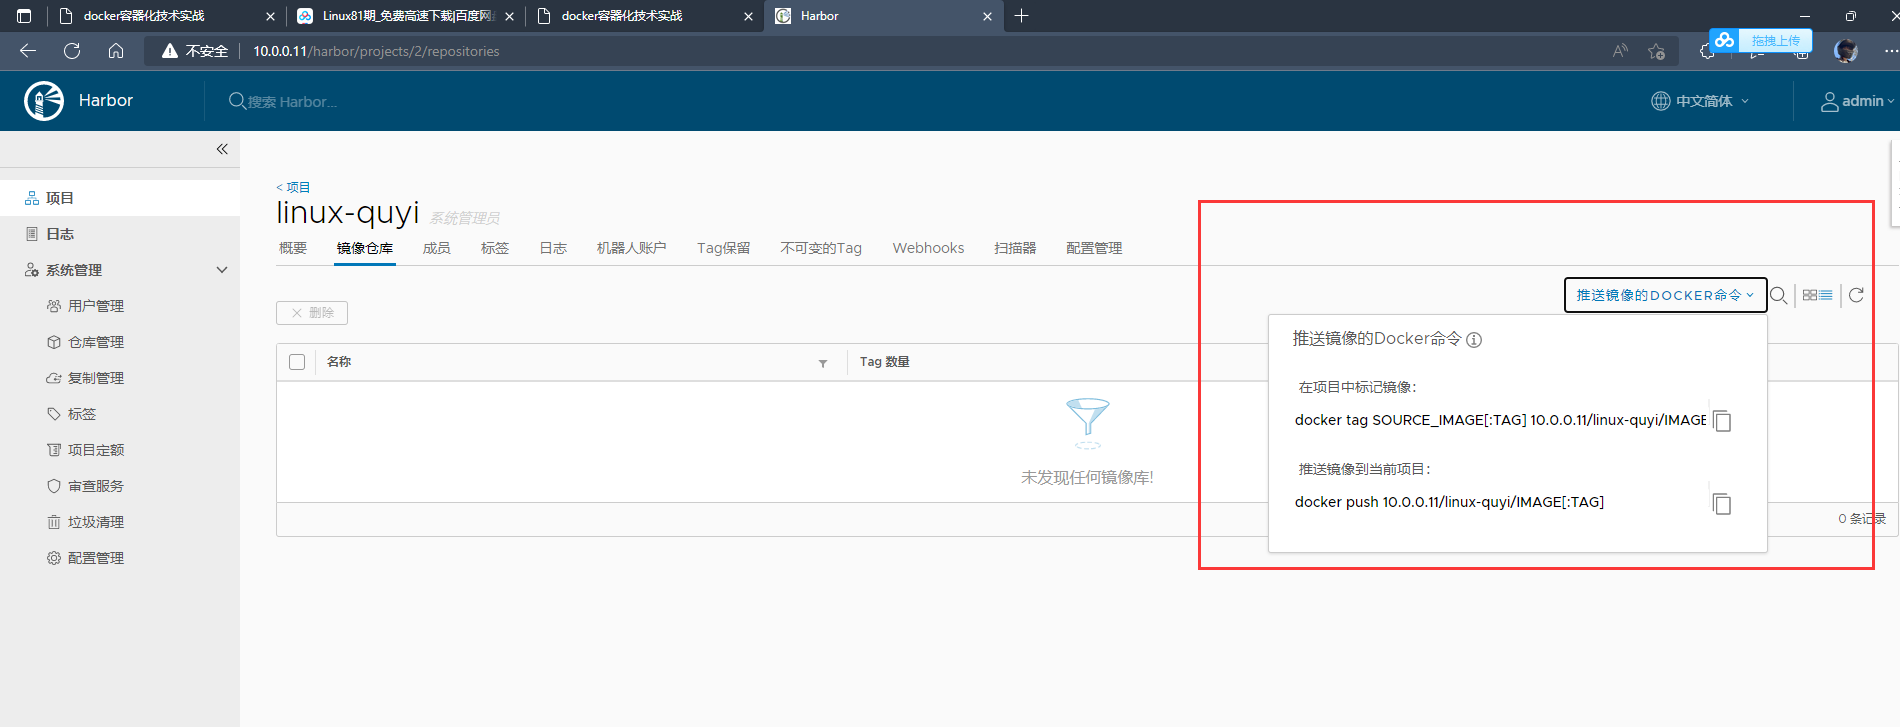
查看一下可以上传命令
-
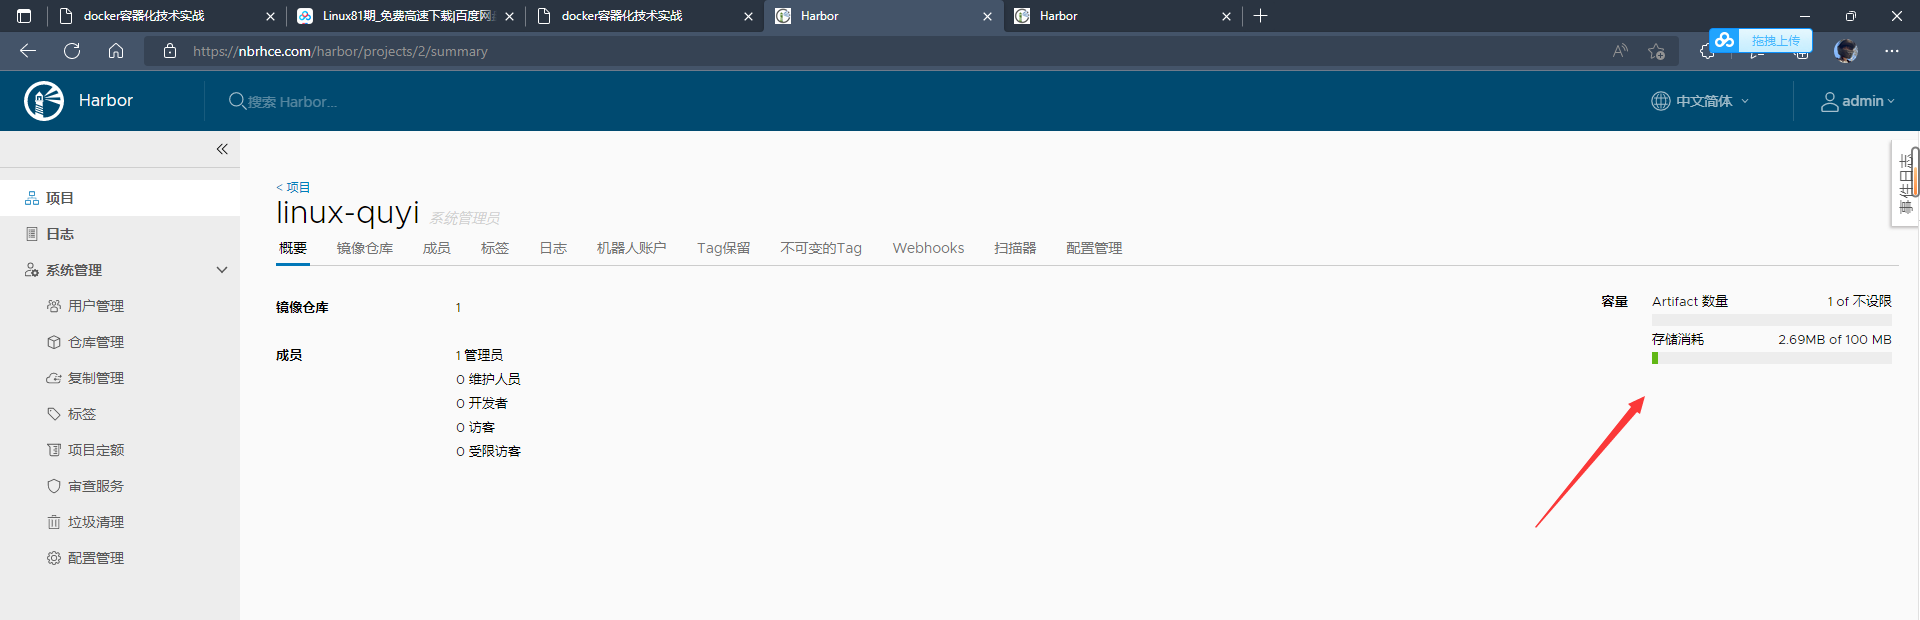
上传的镜像还会被压缩
-
命令-harbor01-主机
#设置一下镜像地址 [root@harbor01 ~]# cat /etc/docker/daemon.json { "registry-mirrors": ["https://tuv7rqqq.mirror.aliyuncs.com"], "insecure-registries": ["10.0.0.129"] } #重启 [root@harbor01 ~]# systemctl restart docker #例子 docker tag SOURCE_IMAGE[:TAG] 10.0.0.129/linux-quyi/IMAGE[:TAG] #先登录服务器 [root@harbor01 ~]# docker login 10.0.0.129 #上传之前先打个标签 [root@harbor02 ~/harbor]# docker tag alpine:latest 10.0.0.129/linux-quyi/alpine:latest #上传到镜像仓库 [root@harbor01 ~]# docker push 10.0.0.129/linux-quyi/alpine:latest #上传完退出 [root@harbor01 ~]# docker logout 10.0.0.129
- 报错
#这个错误就是访问的是https 更改daemon.json没有添加上镜像仓库地址 #然后要重启服务 [root@harbor02 ~/harbor]# docker push 10.0.0.11/linux-quyi/alpine:latest The push refers to repository [10.0.0.11/linux-quyi/alpine] Get "https://10.0.0.11/v2/": dial tcp 10.0.0.11:443: connect: connection refused
- 成功上传了

4)基于harbor配置https协议的私有仓库
- 只更改服务端harbor配置
#这个路径就是自己的上传证书的路径 #关闭http 开启https [root@harbor02 ~/harbor]# vim harbor.yml https: port: 443 certificate: /softwares/harbor/cert/blog.com.crt private_key: /softwares/harbor/cert/blog.com.key #重新安装 ./install.sh 温馨提示: (1)工作中可以直接使用你们公司的产品密钥替换上面的证书和私钥即可; (2)如果本地测试,需要配置域名劫持,即配置"/hosts"文件; (3)当然,也可以使用自建CA证书的方式配置https;
- 做hosts解析之后就可以了 小锁头

5)harbor的镜像同步--仓库管理
- 把harbor01也安装上 方法与 上面安装一致
[root@harbor01 ~/harbor]# cat harbor.yml # Configuration file of Harbor # The IP address or hostname to access admin UI and registry service. # DO NOT use localhost or 127.0.0.1, because Harbor needs to be accessed by external clients. hostname: 10.0.0.10 # http related config http: # port for http, default is 80. If https enabled, this port will redirect to https port port: 80 # https related config #https: # https port for harbor, default is 443 # port: 443 # The path of cert and key files for nginx # certificate: /your/certificate/path # private_key: /your/private/key/path # Uncomment external_url if you want to enable external proxy # And when it enabled the hostname will no longer used # external_url: https://reg.mydomain.com:8433 # The initial password of Harbor admin # It only works in first time to install harbor # Remember Change the admin password from UI after launching Harbor. harbor_admin_password: 1
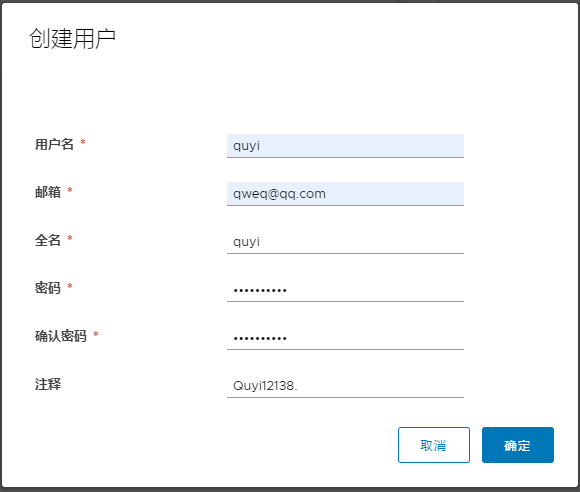
- 配置用户
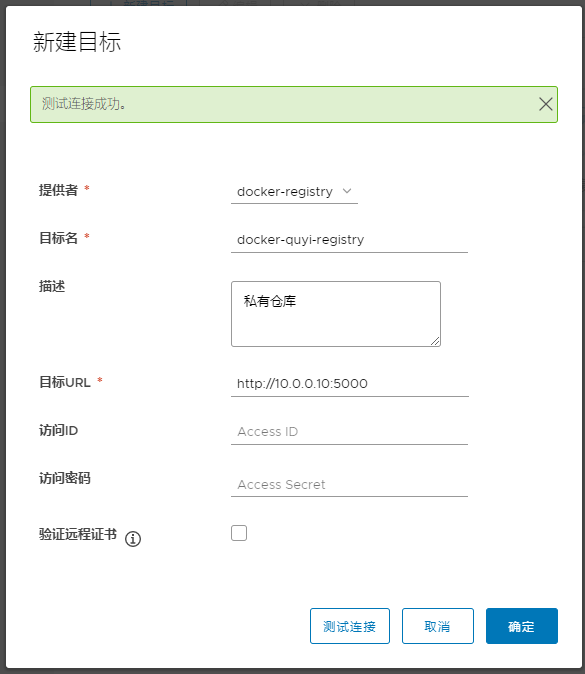
#这里还需要填写一个对方的仓库地址 要把仓库镜像传过去 [root@harbor01 ~/harbor]# cat /etc/docker/daemon.json { "registry-mirrors": ["https://tuv7rqqq.mirror.aliyuncs.com"], "insecure-registries": ["10.0.0.10:5000","10.0.0.11"] }
-
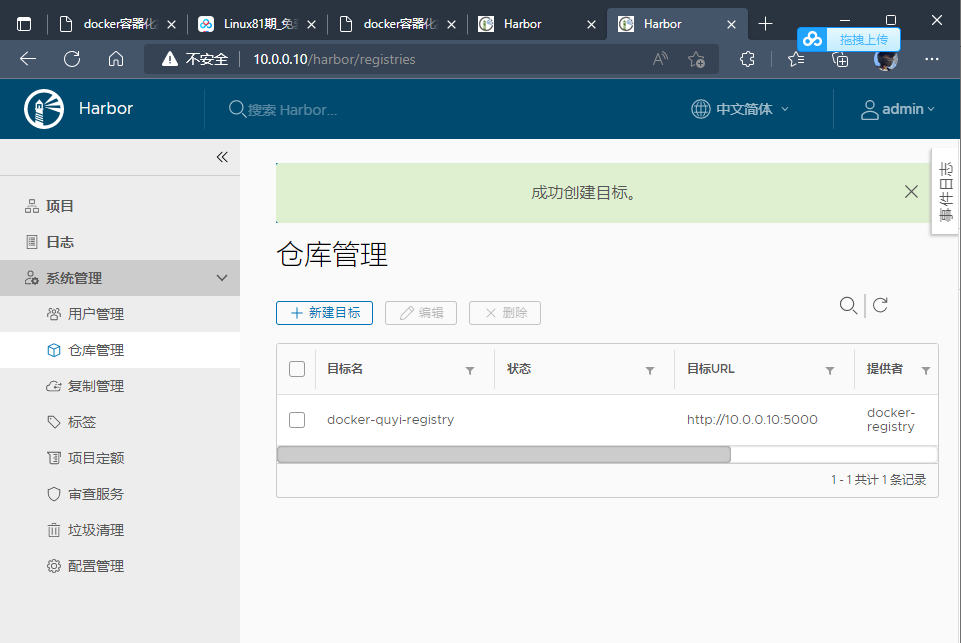
添加仓库管理--添加registry
-
成功了
-
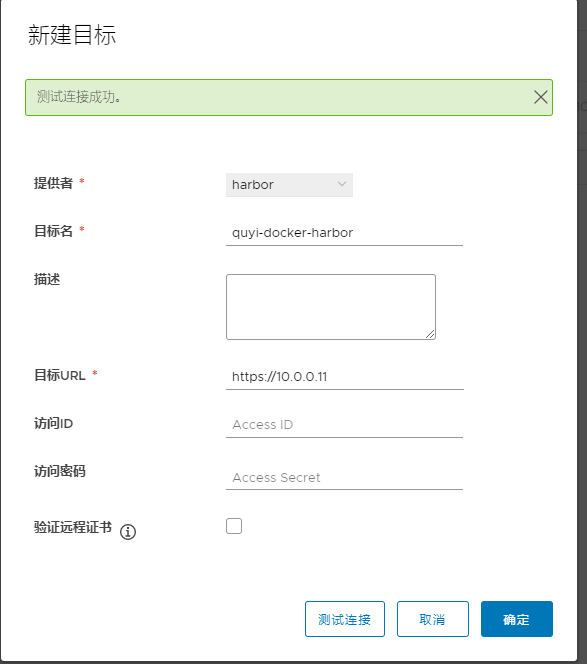
添加仓库管理-harbor
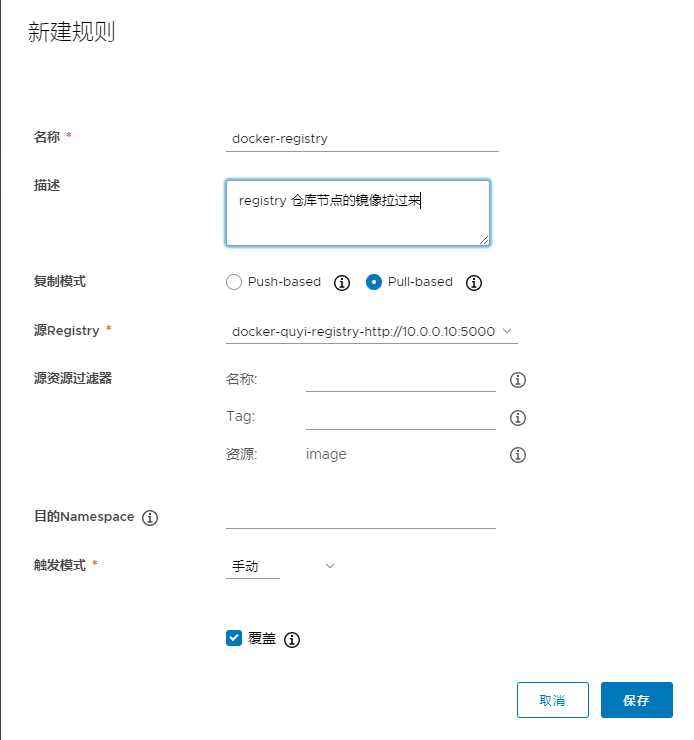
6.复制管理
- 复制功能的目标
1.首先要两个节点上都要部署harbor仓库 2.然后让他们相互的复制,达到镜像统一一致 3.最后使用keepalived,都部署上,达到高可用性
registry 仓库要先上传镜像,库里要存镜像 然后才能复制过来
-
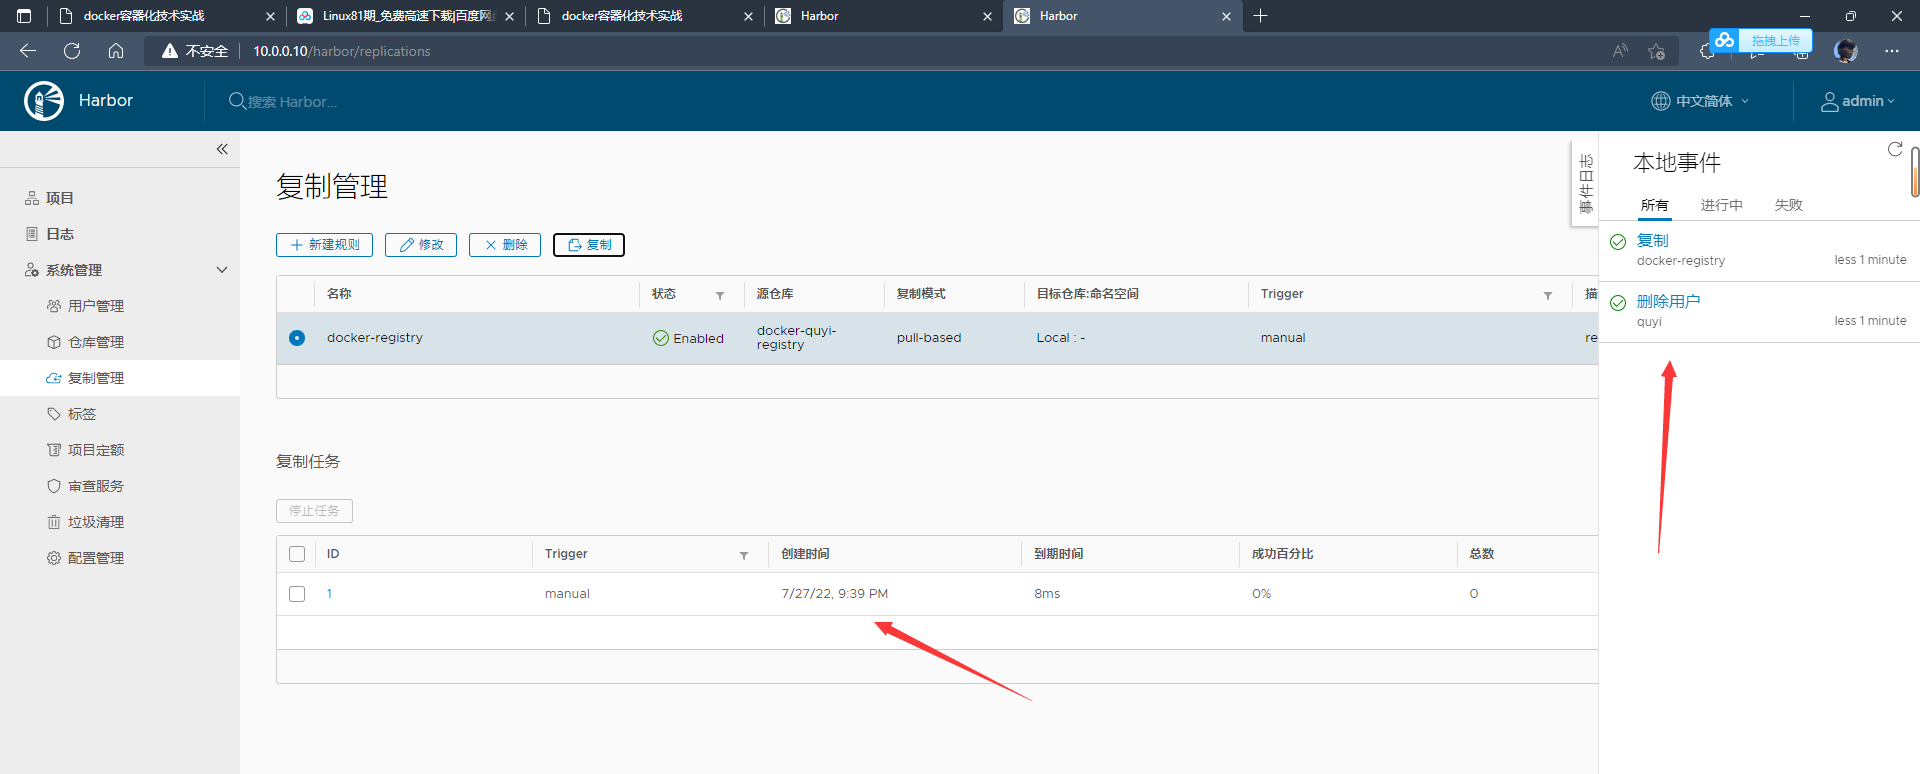
手动触发
-
成功了 拉取registry
-
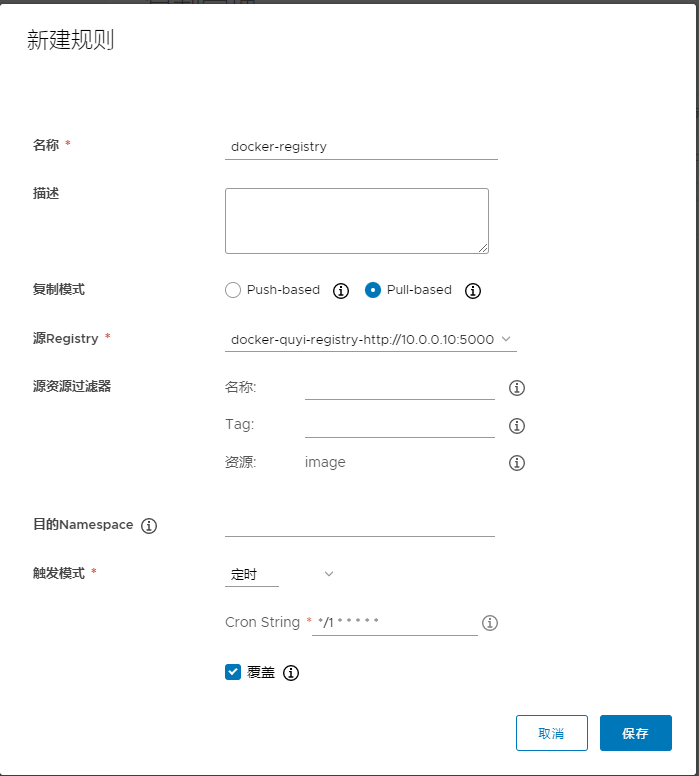
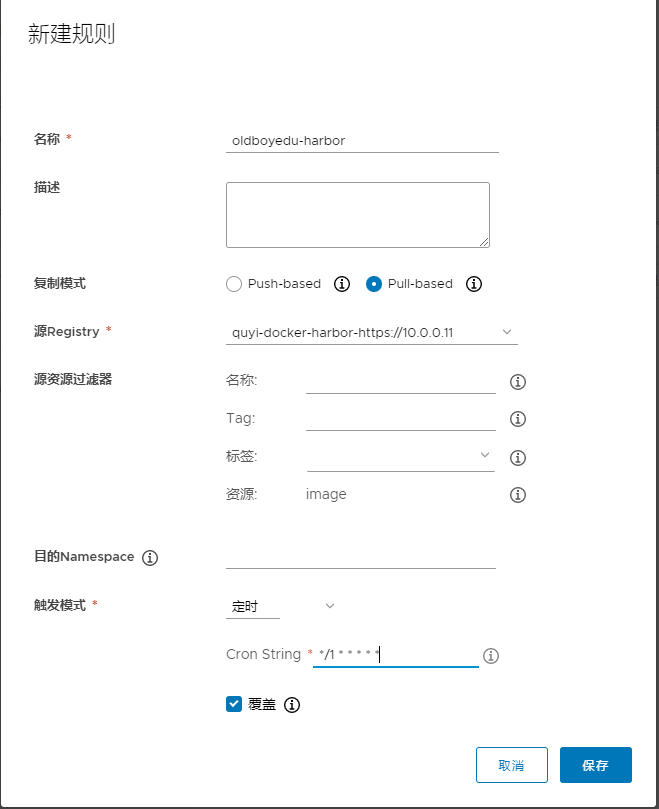
自动--就是靠定时拉取
-
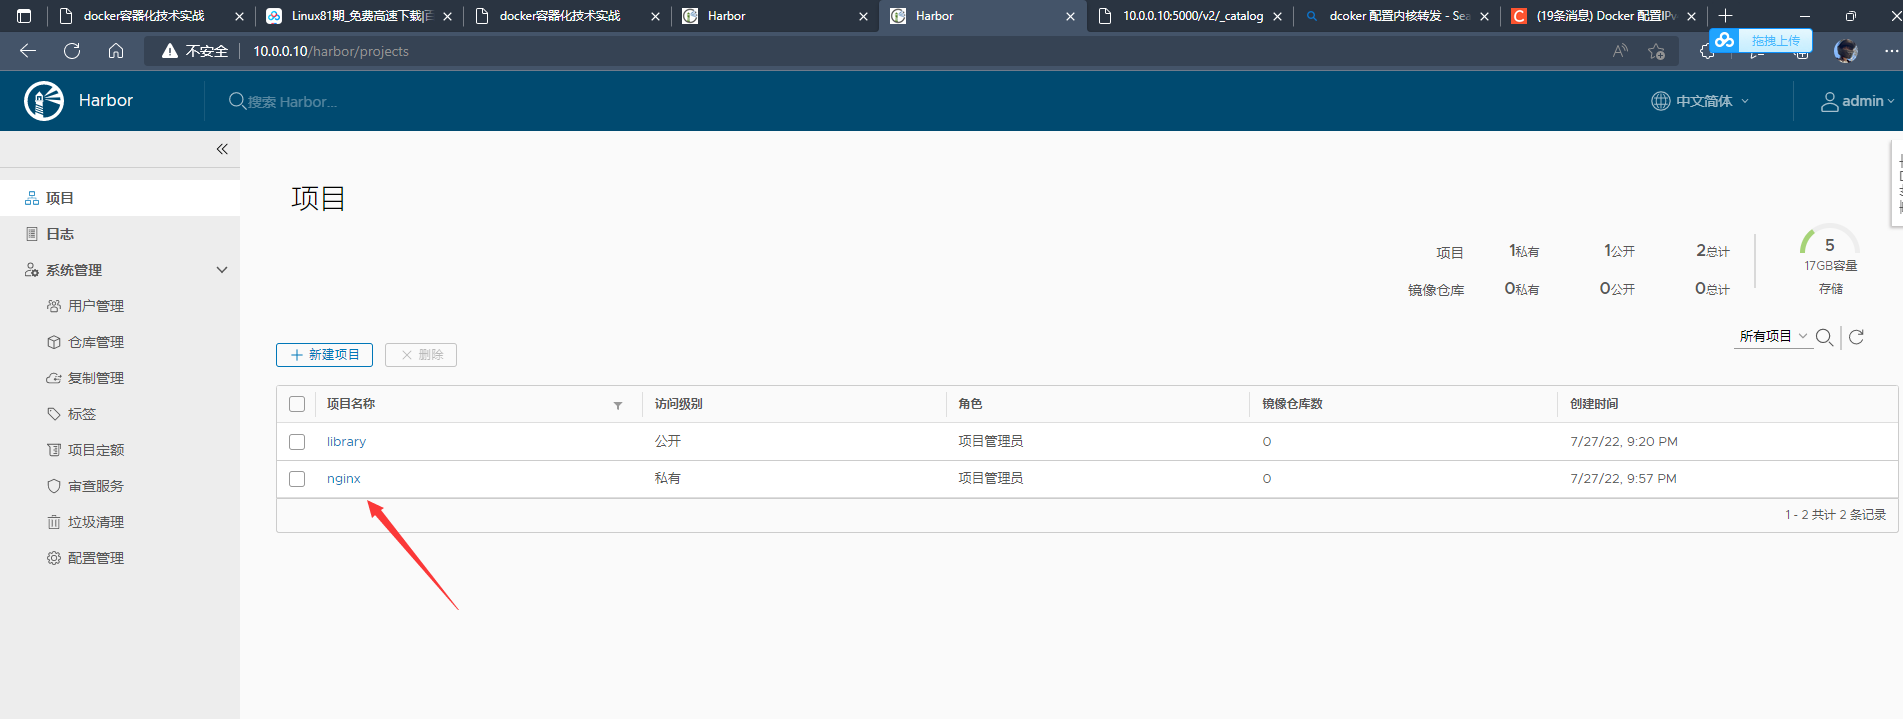
harbor仓库自动拉取
-
拉取过来了
7.harbor镜像-高可用
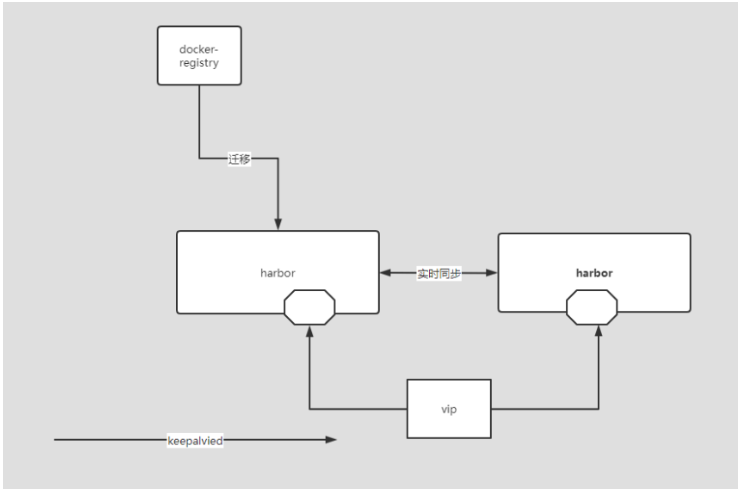
keep过程 设置好脚本关掉容器 地址会飘到另一台容器上
然后在把这个主启动起来,备在关闭然后地址就会飘到主上
本篇章直接就写vip地址了 并没有加负载均衡器 有需要可以加
- harbor01
[root@harbor01 ~/harbor]# cat /etc/keepalived/keepalived.conf ! Configuration File for keepalived global_defs { router_id harbor01 } #指定脚本路径 vrrp_script check_harbor { script "/root/harbor/check_harbor.sh" interval 2 weight 2 } vrrp_instance harbor_vip { state MASTER interface eth0 virtual_router_id 51 priority 200 advert_int 1 authentication { auth_type PASS auth_pass 1111 } virtual_ipaddress { 10.0.0.3/24 } #引用脚本名 track_script { check_harbor } }
- harbor02
[root@harbor02 ~/harbor]# cat /etc/keepalived/keepalived.conf global_defs { router_id harbor02 } vrrp_script check_harbor { script "/root/harbor/check_harbor.sh" interval 2 weight 2 } vrrp_instance harbor_vip { state BACKUP interface eth0 virtual_router_id 51 priority 100 advert_int 1 authentication { auth_type PASS auth_pass 1111 } virtual_ipaddress { 10.0.0.3/24 } track_script { check_harbor } }
- 监控脚本
#写完的脚本记得给执行权限 [root@harbor02 ~/harbor]# cat check_harbor.sh #!/bin/bash #author: quyi #desc: check nginx port #1.检查端口是否存在,个数 count=`ss -lntup | grep -v grep | grep -w 443 | wc -l` #2.如果端口数量为0,则关闭keepalived if ( count -eq 0 );then systemctl stop keepalived fi
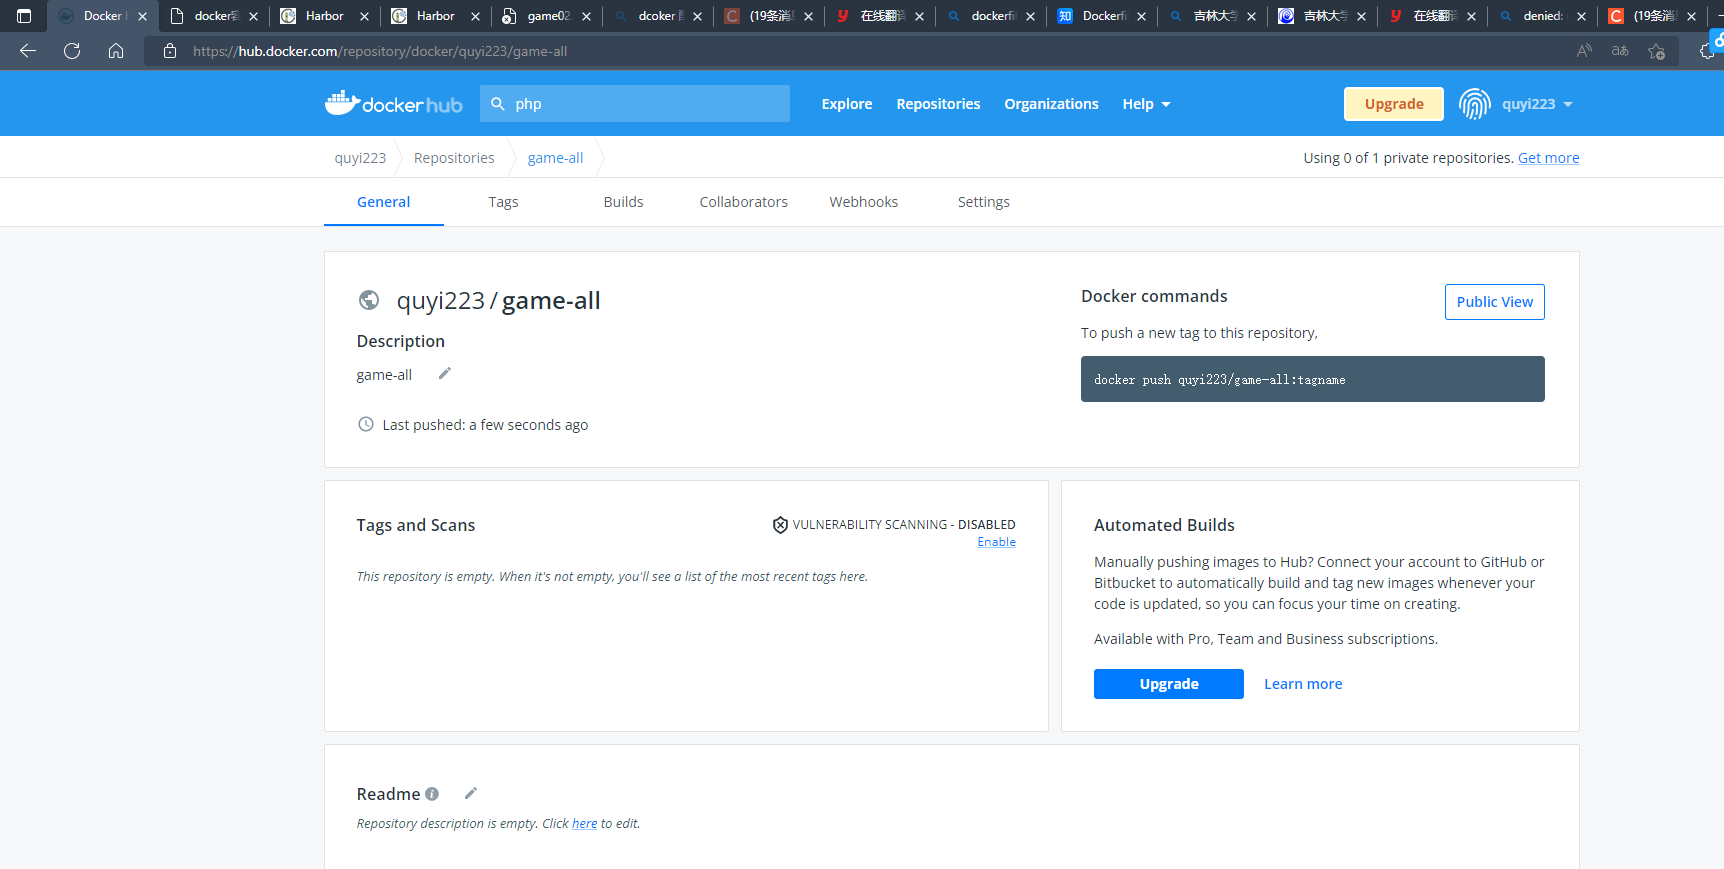
8.docker hub官方仓库上传镜像
推送本地镜像到官方仓库流程: (1)注册账号 (2)根据注册的账号登录官方 (3)创建存储库 (4)先在命令行中登录,将本地的镜像推送到官方 (5)删除镜像 温馨提示: (1)建议选择较小的镜像测试,详细操作见视频; (2)上传镜像成功后,记得退出账号,避免密码泄露;
-
根据tag标签格式来写
-
配置
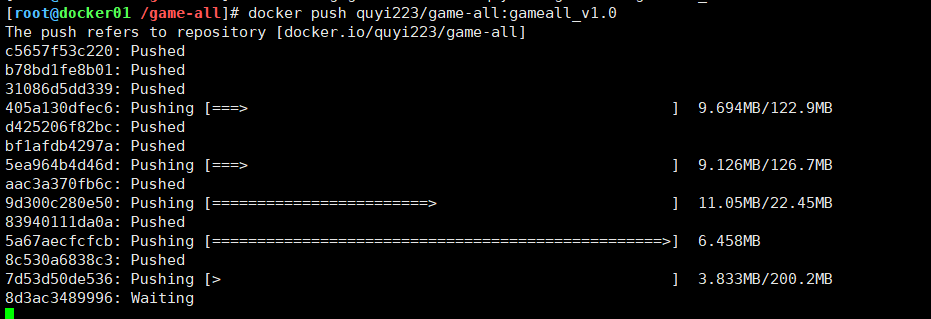
[root@docker01 /game-all]# docker login -u quyi223 Password: [root@docker01 /game-all]# docker tag game-all:v1.0 quyi223/game-all:gameall_v1.0 [root@docker01 /game-all]# docker push quyi223/game-all:gameall_v1.0
- 然后就可以上传了
补充harbor
上传时候的标签取决与镜像加速写的什么 10.0.0.120/标签 [root@harbor /harbor]# cat /etc/docker/daemon.json { "registry-mirrors": ["https://tuv7rqqq.mirror.aliyuncs.com"], "insecure-registries": ["10.0.0.120"] }
1)推送镜像到harbor仓库时候
- 要这样
- 这是项目
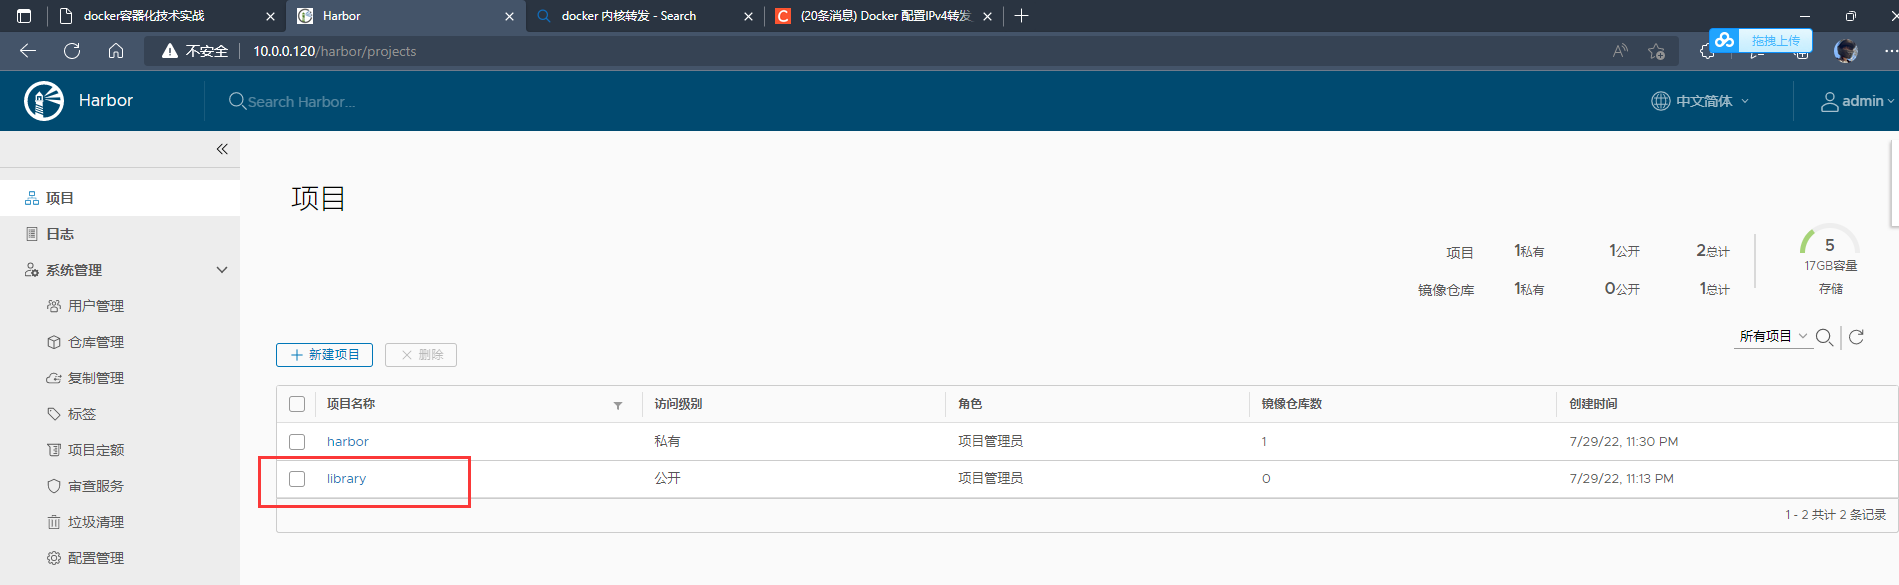
#上传的时候要 #加上这个项目标签否则找不到 [root@harbor /harbor]# docker tag kod:v5.0 10.0.0.120/harbor/kod:v5.0 [root@harbor /harbor]# docker push 10.0.0.120/harbor/kod:v5.0


