

Springboot快速集成阿里云RocketMq
前言
随着互联网的兴起,越来越多的用户开始享受科技带来的便利,对于服务的压力也日益增大,随即便有了高并发、高性能、高可用等各种解决方案,这里主要介绍RocketMq的集成方法。(文末附源码地址)
正文
1、添加依赖
<!-- RocketMQ依赖 -->
<dependency>
    <groupId>com.aliyun.openservices</groupId>
    <artifactId>ons-client</artifactId>
    <version>1.8.4.Final</version>
</dependency>
2、添加RocketMq配置

## 阿里RocketMQ配置
rocketmq:
  ## 连接点地址 参考控制台实例详情
  name-server: xxx.rmq.aliyuncs.com:8080
  access-key: xxx
  secret-key: xxx
  ## 自行在阿里云控制台添加group和topic
  group: test_group
  topic: test_topic
配置类:
@Data
@Configuration
@ConfigurationProperties(prefix = "rocketmq")
public class RocketMqConfig {

    private String nameServer;

    private String accessKey;

    private String secretKey;

    @Bean
    public Properties build() {
        Properties properties = new Properties();
        properties.setProperty(PropertyKeyConst.AccessKey, accessKey);
        properties.setProperty(PropertyKeyConst.SecretKey, secretKey);
        properties.setProperty(PropertyKeyConst.NAMESRV_ADDR, nameServer);
        return properties;
    }

}
3、生产端代码(配置+发送消息)
    @Autowired
    RocketMqConfig rocketMqConfig;

    @Value("${rocketmq.group}")
    private String group;

    @Bean(initMethod = "start", destroyMethod = "shutdown")
    public ProducerBean buildProducer() {
        ProducerBean producer = new ProducerBean();
        //配置文件
        Properties properties = rocketMqConfig.build();
        //设置发送超时时间,单位毫秒
        properties.setProperty(PropertyKeyConst.SendMsgTimeoutMillis, "3000");
        //设置组id
        properties.setProperty(PropertyKeyConst.GROUP_ID, group);
        producer.setProperties(properties);
        return producer;
    }
    public void sendAsyncMessage(String content, String topic) {
        Message msg = new Message();
        //设置主题和标签
        msg.setTopic(topic);
        msg.setTag("*");
        msg.setBody(content.getBytes());
        producer.sendAsync(msg, new SendAsyncMessage());
    }
4、消费端代码(配置+接收消息)
@Configuration
public class ConsumerClient {

    @Value("${rocketmq.group}")
    private String group;
    @Value("${rocketmq.topic}")
    private String topic;

    @Autowired
    RocketMqConfig rocketMqConfig;
    @Autowired
    private MyRocketMessageListener messageListener;

    @Bean(initMethod = "start", destroyMethod = "shutdown")
    public ConsumerBean buildConsumer() {

        //消费者对象bean
        ConsumerBean consumerBean = new ConsumerBean();
        //配置文件
        Properties properties = rocketMqConfig.build();
        //设置组id
        properties.setProperty(PropertyKeyConst.GROUP_ID, group);
        //将消费者线程数固定为20个 20为默认值
//        properties.setProperty(PropertyKeyConst.ConsumeThreadNums, threadNum);
        consumerBean.setProperties(properties);

        //配置订阅关系
        Map<Subscription, MessageListener> subscriptionTable = new HashMap<>();
        //当前为订阅一个主题配置(订阅多个topic一样设置)
        Subscription subscription = new Subscription();
        subscription.setTopic(topic);
        subscription.setExpression("*");
        subscriptionTable.put(subscription, messageListener);
        consumerBean.setSubscriptionTable(subscriptionTable);
        return consumerBean;
    }
}
@Slf4j
@Configuration
public class MyRocketMessageListener implements MessageListener {


    @Override
    public Action consume(Message message, ConsumeContext context) {

        // 业务处理逻辑
        log.info(">>>>> 【消费者】系统时间:[{}]接收消息MsgId=[{}],消息内容:{}", LocalDateTime.now(), message.getMsgID(), new String(message.getBody(), StandardCharsets.UTF_8));
        try {
            // todo 业务逻辑处理
            return Action.CommitMessage;
        } catch (Exception e) {
            //消费失败
            log.error(">>>>> 【消费者】系统时间:[{}]处理消息MsgId=[{}], 当前消费失败, 开始重试......!", LocalDateTime.now(), message.getMsgID());
            return Action.ReconsumeLater;
        }
    }
}
5、接口
@RestController
@RequestMapping("test")
public class MqTest {

    @Value("${rocketmq.topic}")
    private String topic;

    @Autowired
    RocketMQUtil rocketMQUtil;

    @RequestMapping("mq")
    public String testMq(@RequestParam("content") String content) {
        rocketMQUtil.sendAsyncMessage(content, topic);
        return "success";
    }

}
6、测试验证
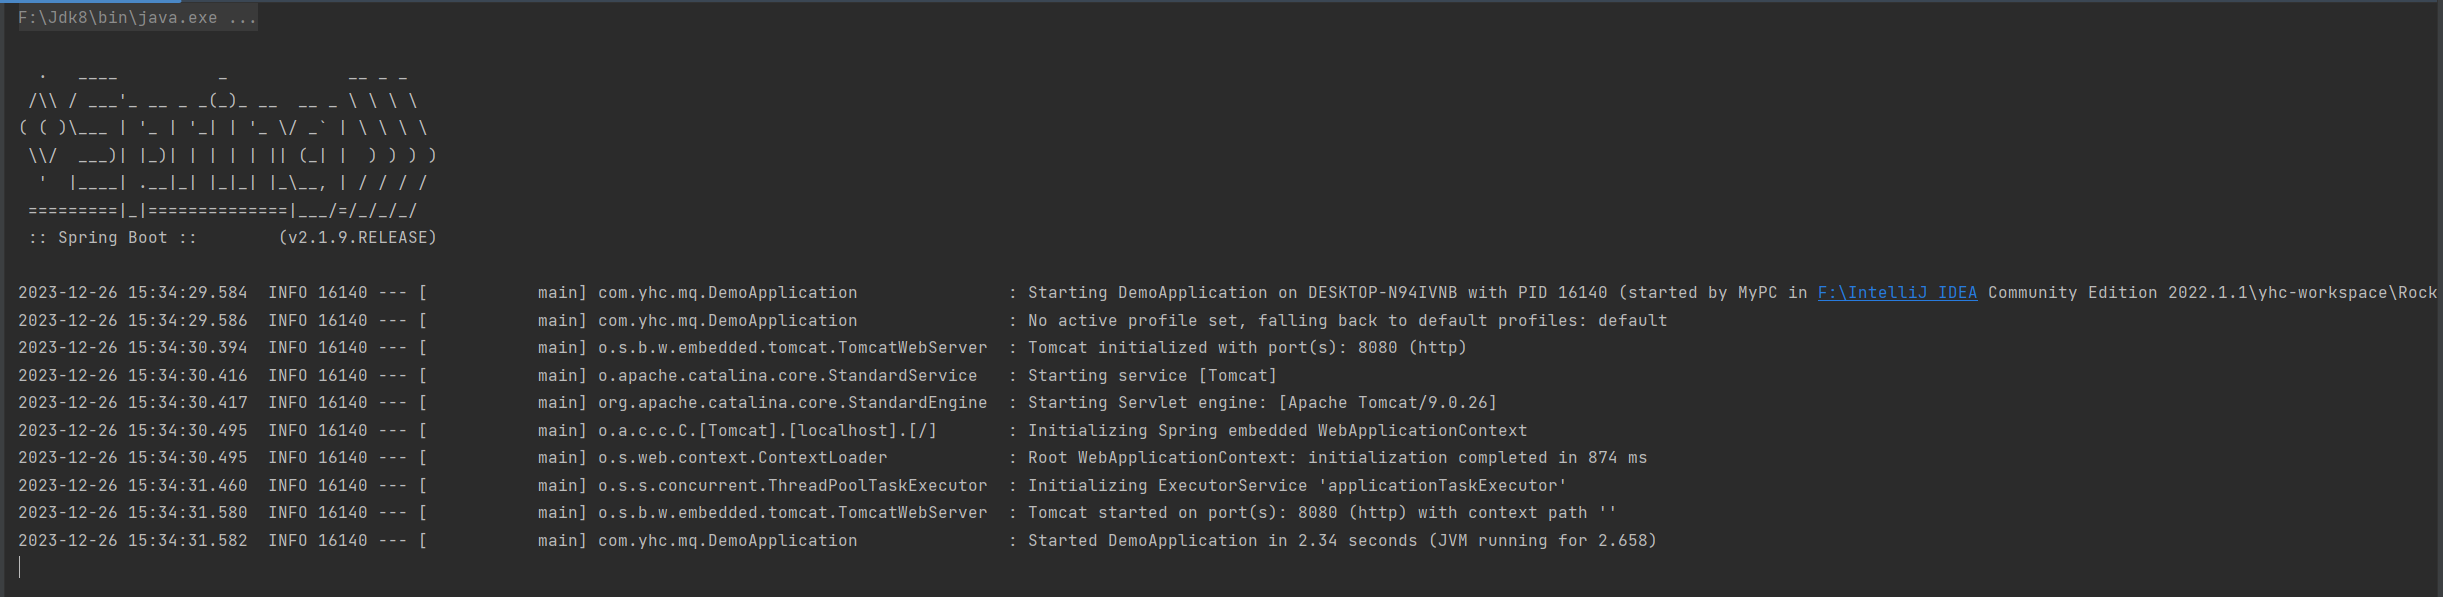
①启动项目
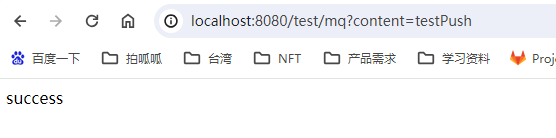
②调用接口
浏览器:http://localhost:8080/test/mq?content=testPush
观察后端日志:

至此,接入完成。
附:
未来的事,谁也说不准,活在当下!


【推荐】国内首个AI IDE,深度理解中文开发场景,立即下载体验Trae
【推荐】编程新体验,更懂你的AI,立即体验豆包MarsCode编程助手
【推荐】抖音旗下AI助手豆包,你的智能百科全书,全免费不限次数
【推荐】轻量又高性能的 SSH 工具 IShell:AI 加持,快人一步
· 无需6万激活码!GitHub神秘组织3小时极速复刻Manus,手把手教你使用OpenManus搭建本
· Manus爆火,是硬核还是营销?
· 终于写完轮子一部分:tcp代理 了,记录一下
· 别再用vector<bool>了!Google高级工程师:这可能是STL最大的设计失误
· 单元测试从入门到精通